Page History
...
In order to configure the H2O step, you will need to connect to an instance of H2O by providing a valid URL, then choose a data science model. Next, the input fields of the model will need to be set up. This is done by mapping them with the data from the transformation flow. Unlike configuration with other outputs of data science models (such as PMML), there is no need to configure an output field. The generated result is defined during the creation of the model.
Model Output
Supported Model Categories
The types of models that Yellowfin supports can be generalized into four categories. Note: To check the category of a model, refer to the model’s Output section in H2O.
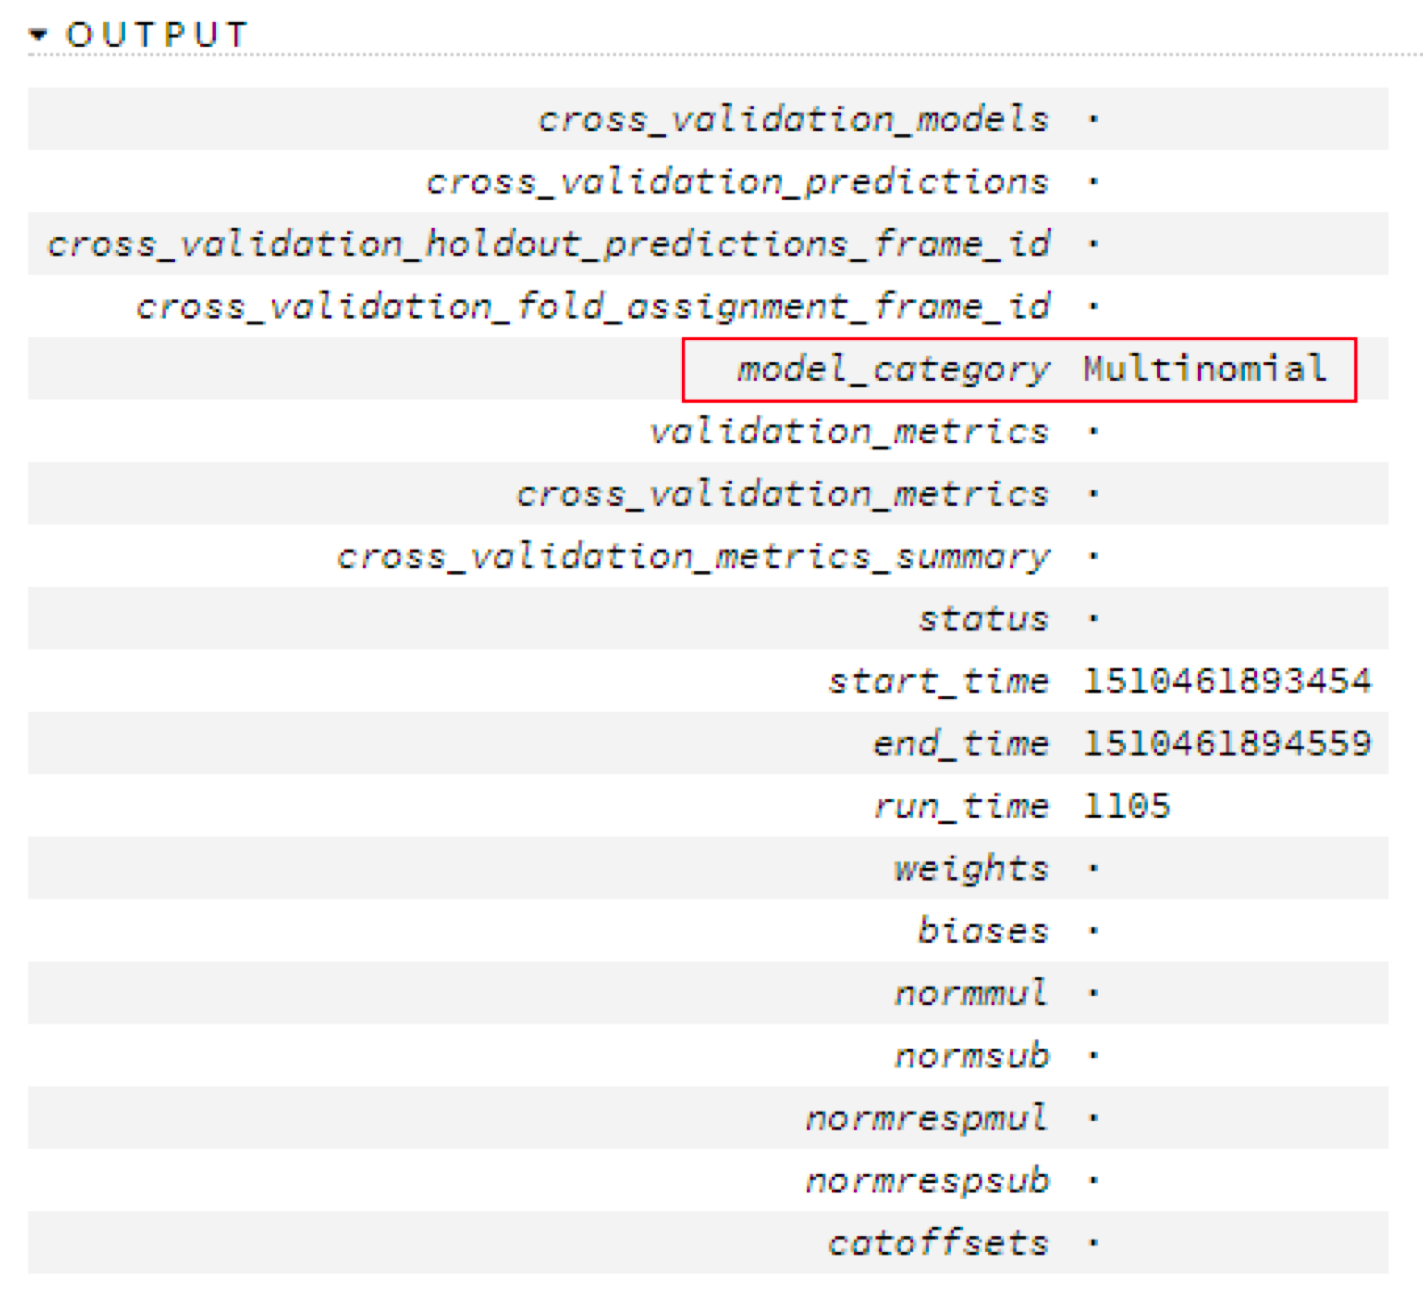
Following describes the type of output each of these categories generate:
- Regression: Models belonging to this category will generate actual predicted value for every row of data.
- Binomial: These types of models will output the text label of the class that was predicted for every row.
- Multinomial: (Same as above.)
- Clustering: Such models will result in the index number of the cluster to which every row belongs.
Checking your model’s outputYour Model’s Output
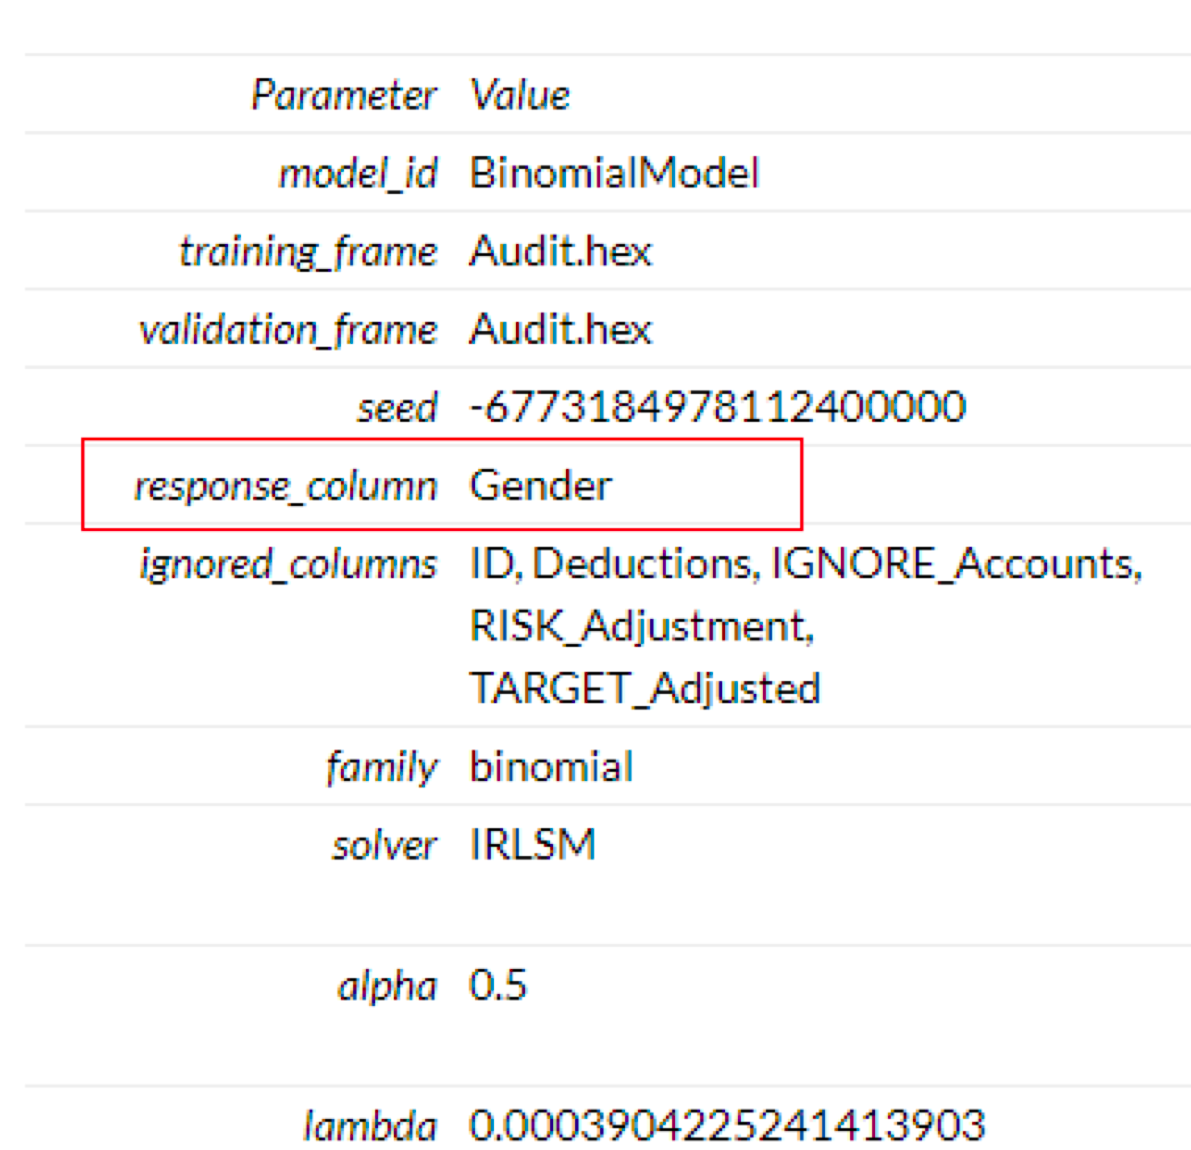
In most cases, the user would know the output of the model. But you can still determine the output by selecting the model from your instance of H2O and checking the output settings. For example, for a binary model, the output can be checked in the model’s parameters.
Datatype of your model:Your Model Output
The datatype of the output column will also depend on what has been configured in the model. It will be NUMERIC for models belonging to the “Clustering” and “Regression” categories. For other cases it will be TEXT.
Guideline: Using H2O.ai in Yellowfin
...
H2O is a modern open source AI platform that allows users to work with predictive models. You can download the latest version of H2O from here: http://h2o-release.s3.amazonaws.com/h2o/rel-weierstrass/7/index.html
You can use H2O either locally by starting it and using it on your machine, or by using a publicly available space accessible through a URL.
The following procedure shows how to run H2O locally:
- Download H2O.ai
- Unzip the file into a directory.
- Open a terminal (Apple terminal or MSDOS) and go to the extracted folder.
- Run the jar via “java –jar h2o.jar” – this will start the H2O.ai server.
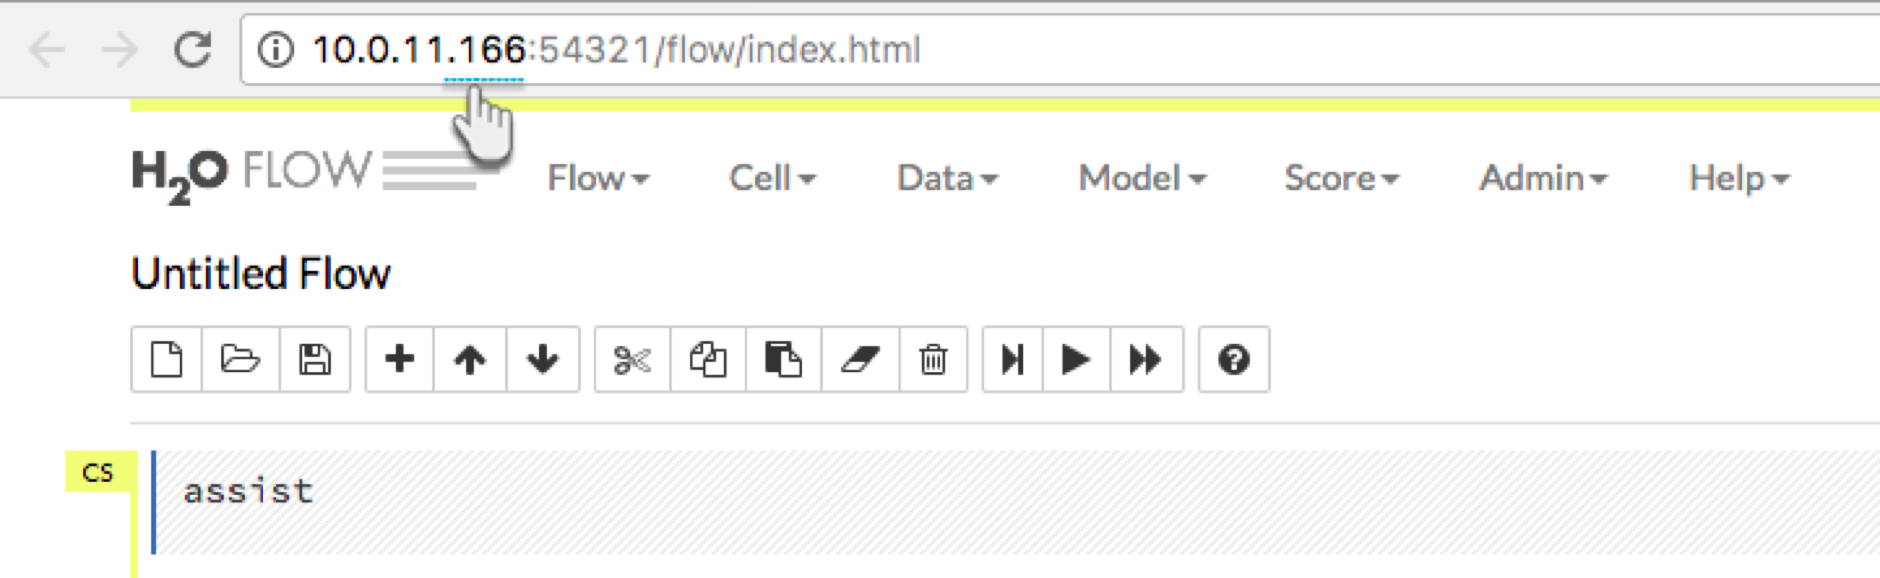
- By default, H2O.ai server will run at http://localhost:54321/ (once set up correctly). Note: You can customize the URL and other settings of your H2O instance.
...
H2O URL: To establish a connection to an instance of H2O, you would need to provide the instance’s URL. This can be done by either giving the default one if set up locally (e.g. http://localhost:54321/) or including the IP address (such as, http://127.0.0.1:54321/) for both, a local setup or remote access (ensure that you have a stable internet connection if trying to access it remotely). Note: You need to include http:// as part of the URL for it to be recognized correctly. The transformation step will not function if an incorrect URL is provided..
Part 2: Using an H2O model in the transformation flow
...
This guide shows you how to integrate your data science model using the H2O transformation step into Yellowfin.
- Build a model in H2O and save it.
- Navigate to Yellowfin’s Data Transformation model. (Create button > Transformation Flow)
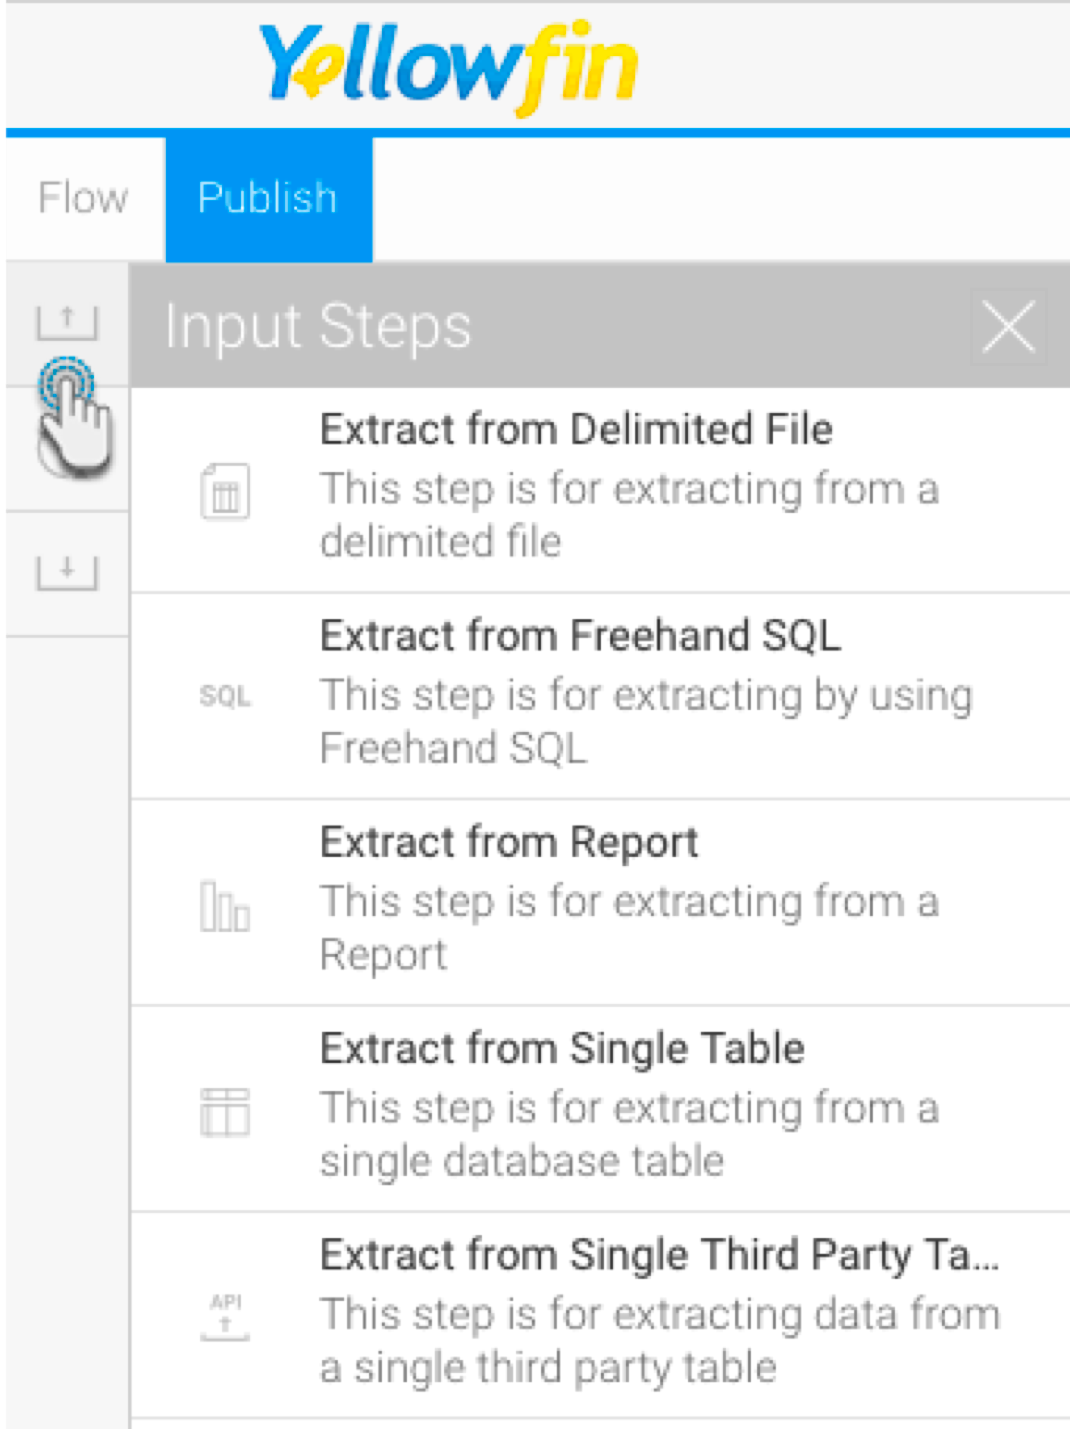
- Create a transformation flow beginning with an input step to extract data. (Click here if you want to learn how to create a basic flow, or here to learn about the different ways data can be extracted).
- The extracted data will appear in the data preview panel. You can add more steps to further transform the data.
- Once you are ready to use the data science model from your H2O instance, follow the procedure below.
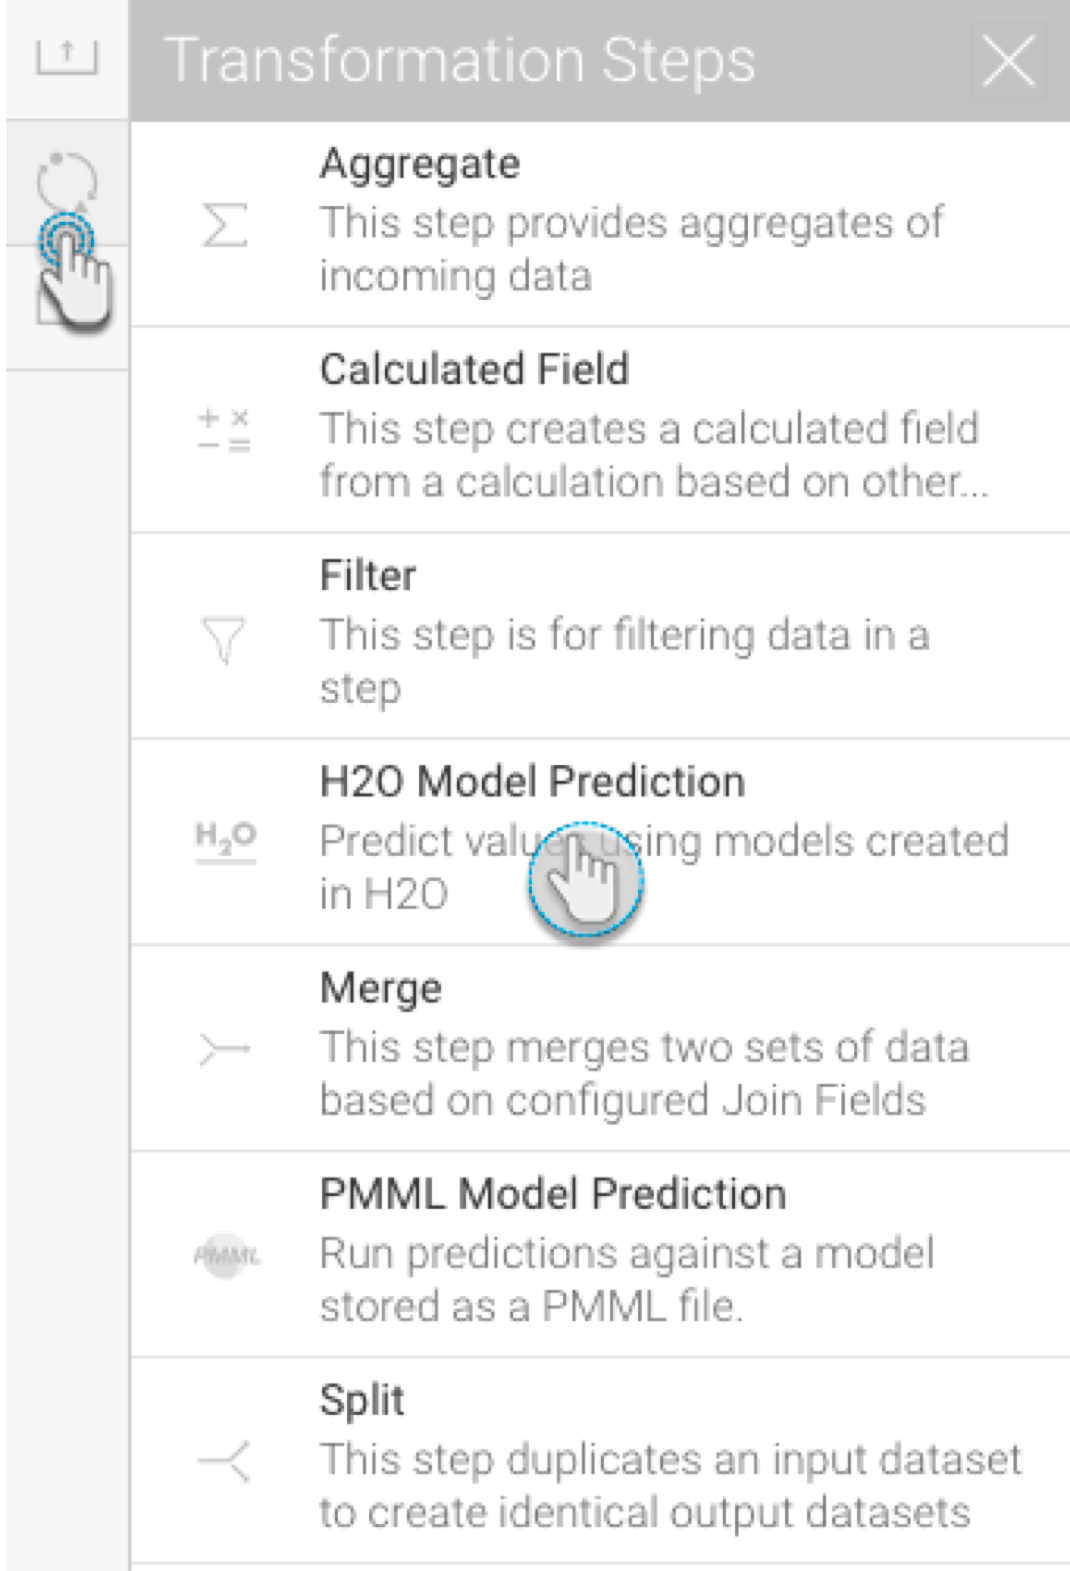
- Drag the H2O Model Prediction step from the transformation step list onto the canvas. (Note: If you don’t see this step, ensure that you have installed the H2O plug-in.)
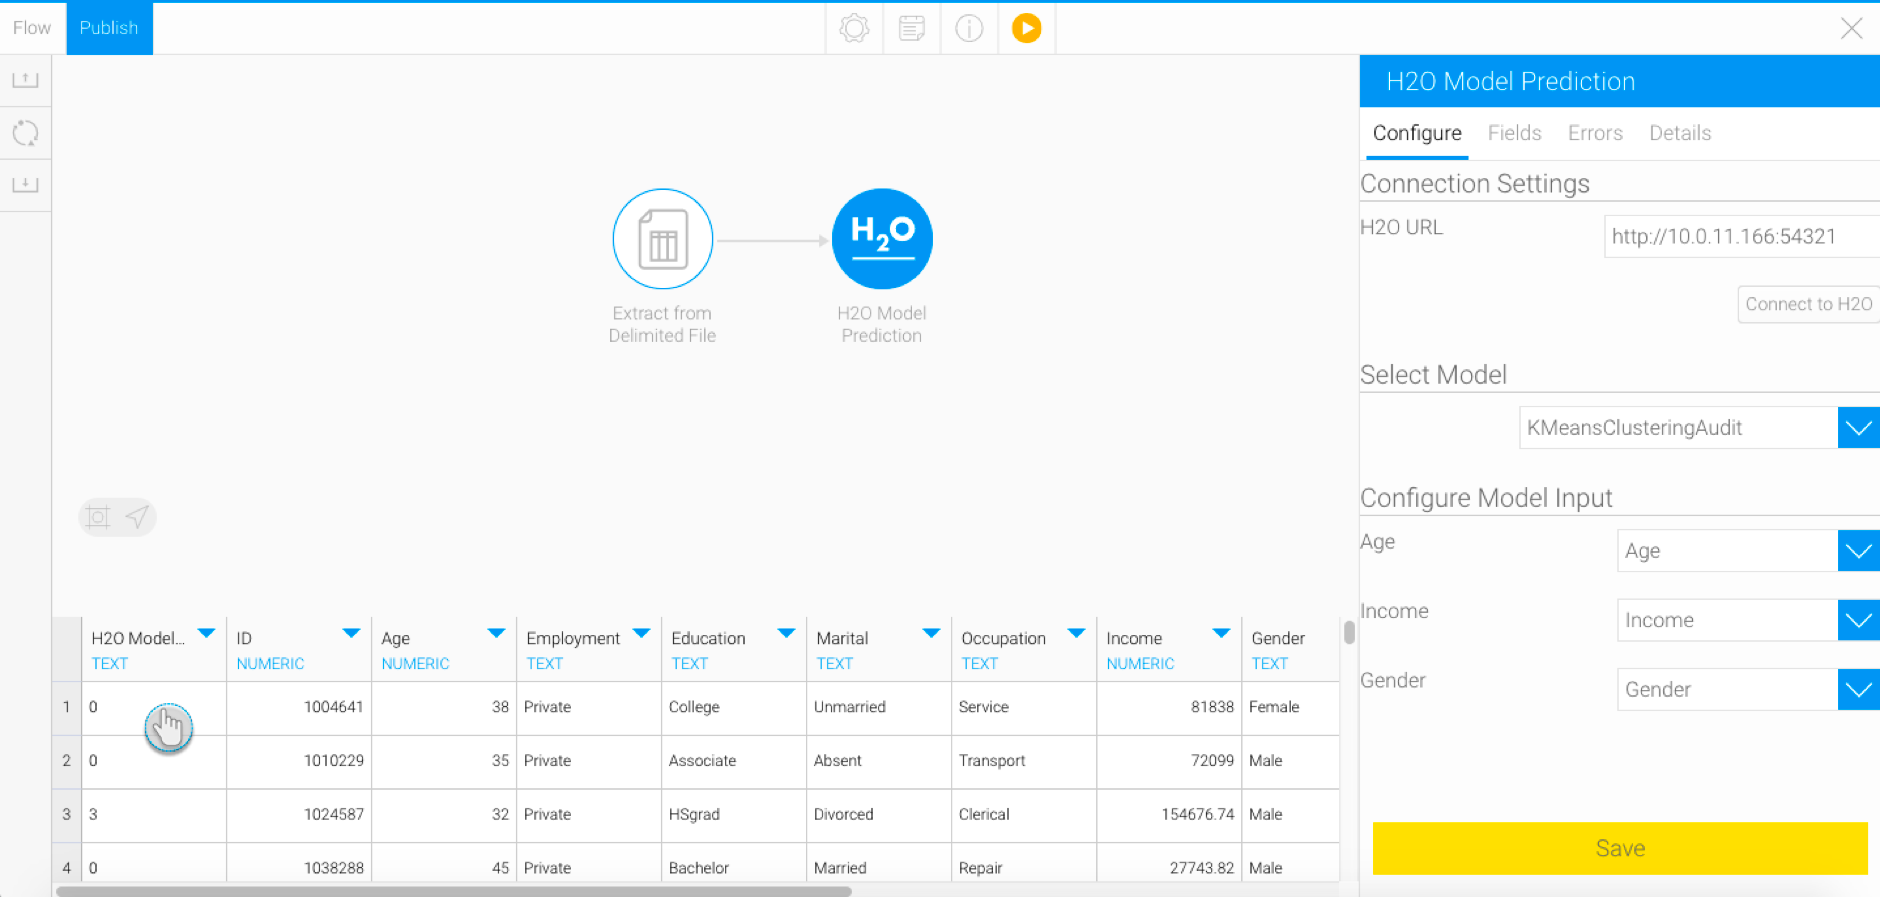
- Using a connection point, create a connection from the last step to the H2O transformation step.

- Next you need to configure the H2O step. (Make sure it is selected to bring up its configurable details.)

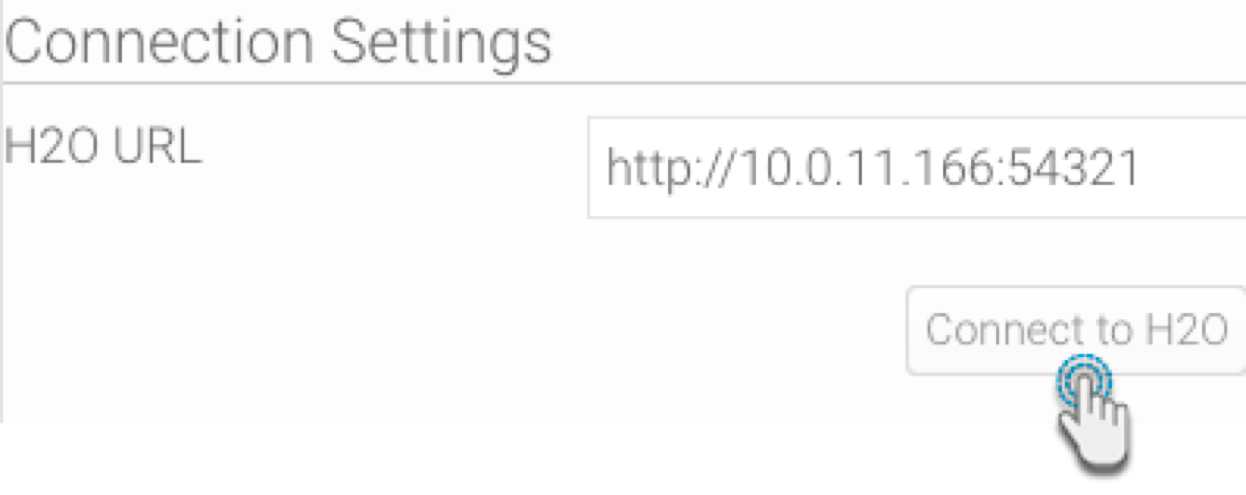
- Copy the path to your instance of H2O. (Note: You only need to provide the IP and port number.) For instance, we will provide http://10.0.11.166:54321 as the H2O URL based on our example below:
- Click on Connect to H2O.
Note: If the provided URL is incorrect, or if no actively running H2O instance was found, then error messages will appear. For example:
- Once you have successfully connected to your H2O instance, a new section will appear with a list of all the models on the linked H2O instance. (Note: It could take some time for any changes to appear in the step configuration panel on the use of the connect button.)
- Choose the model that you want to use. (Note: If no models appear in the list, then ensure that the instance has models created in it, and that they are supported by Yellowfin.) (Note 2: If a model you have selected or are trying to select, gets deleted from the H2O instance, then an error will appear. You will then need to manually update the model list in the step configuration panel, e.g. by clicking Connect to H2O again.)
- Next, further configuration options will appear to map the input fields. These will be specific to the model.
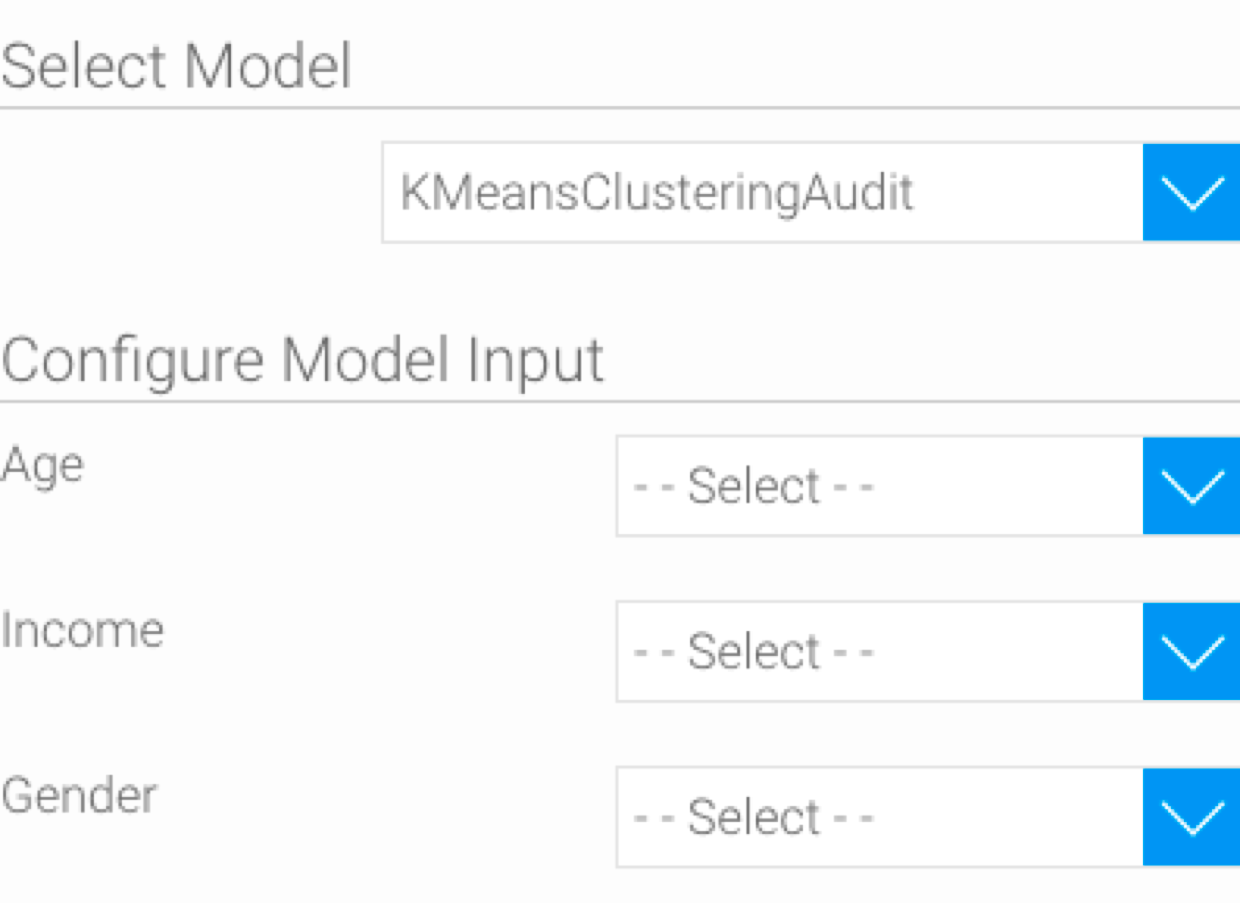
- Match the data to the input columns required by the model. For example, our model requires input in the form of age, income, and gender.
- Note: It is mandatory to match all the fields for this step to run and generate a result. You must also match the data correctly, ensuring the right values with the same datatypes are mapped. (If an incorrect mapping is made, the Errors field will generate errors for each of the data values.)
- Then click Save.
- On doing so, a new column named “H2O Model Result” will appear in the data preview panel with the model output. The result generated here will depend on the type of model.
- You can perform further transformations or save your result in a database. <add links>
Editing the H2O step
Changes to the H2O model: What happens if the H2O model that you’re using in the step changes?
...