Page History
The following set of instructions will allow you to connect to a relational database in the cloud via Amazon’s relational database service. Amazon RDS is available on a few different database instance types, with Yellowfin currently supporting Oracle, MySQL, and Microsoft SQL Server.
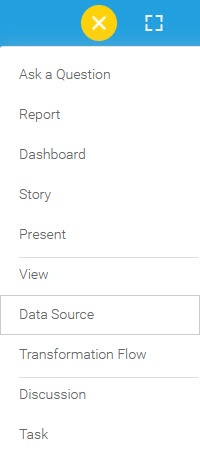
1. Click on the Create button and then on Data Source.
...
...
Click on the Database icon.
2. Select Amazon RDS from the databases list.

3. When the New Connection popup appears, provide a
...
Connection Nickname and
...
Connection Description for your Amazon RDS connection
...
Select Amazon RDS from the list of available database types. Additional configuration fields will appear on doing so.
.
4. Connection String: when selecting Connection String you have the same functionality as in Generic JDBC Data Source.

5. Authentication Adapter: Specify an authentication method for the database adapter. More details Advanced Connection Editor.
6. Choose the RDS engine that you want to set a connection with.
...

7. Based on your selection, the configuration fields will alter. You can refer to
...
Yellowfin's detailed guides to learn more about each of these database connections:
To connect to
an
8. Toggle Advanced Settings to see more settings. 
9. Once you have completed your connection information
...
, you will have several options:

- Back: This will navigate to the database selection.
- Cancel: This will close the New Connection popup
- .
- Test Connection: This will
validate - test the connection parameters you provided to ensure it can connect to your database. If the connection
was - is successful,
a message - an indicator will appear
.Create View: This will save your connection and get you started on creating a view based on it.
Save & Close: - and you will be able to save the connection.

- Save: This will allow you to save your connection and
close the New Connection popup, returning you - and you will be able to save the connection.
- navigate to the Success page
you were on previously.Cancel- :
This closes the New Connection popup without saving your connection, returning you to the page you were on previously.We recommend testing the connection, and then saving it by using the Save & Close button.

Advanced Connection Editor: This will take you to the Data Source page in the Admin Console and allow you to edit all the advanced options available for your database
