Part 2: Transformation step connection and configuration
Next, expand the transformation step panel by hovering on its icon in the step builder, and then dragging a transformation step onto the canvas.
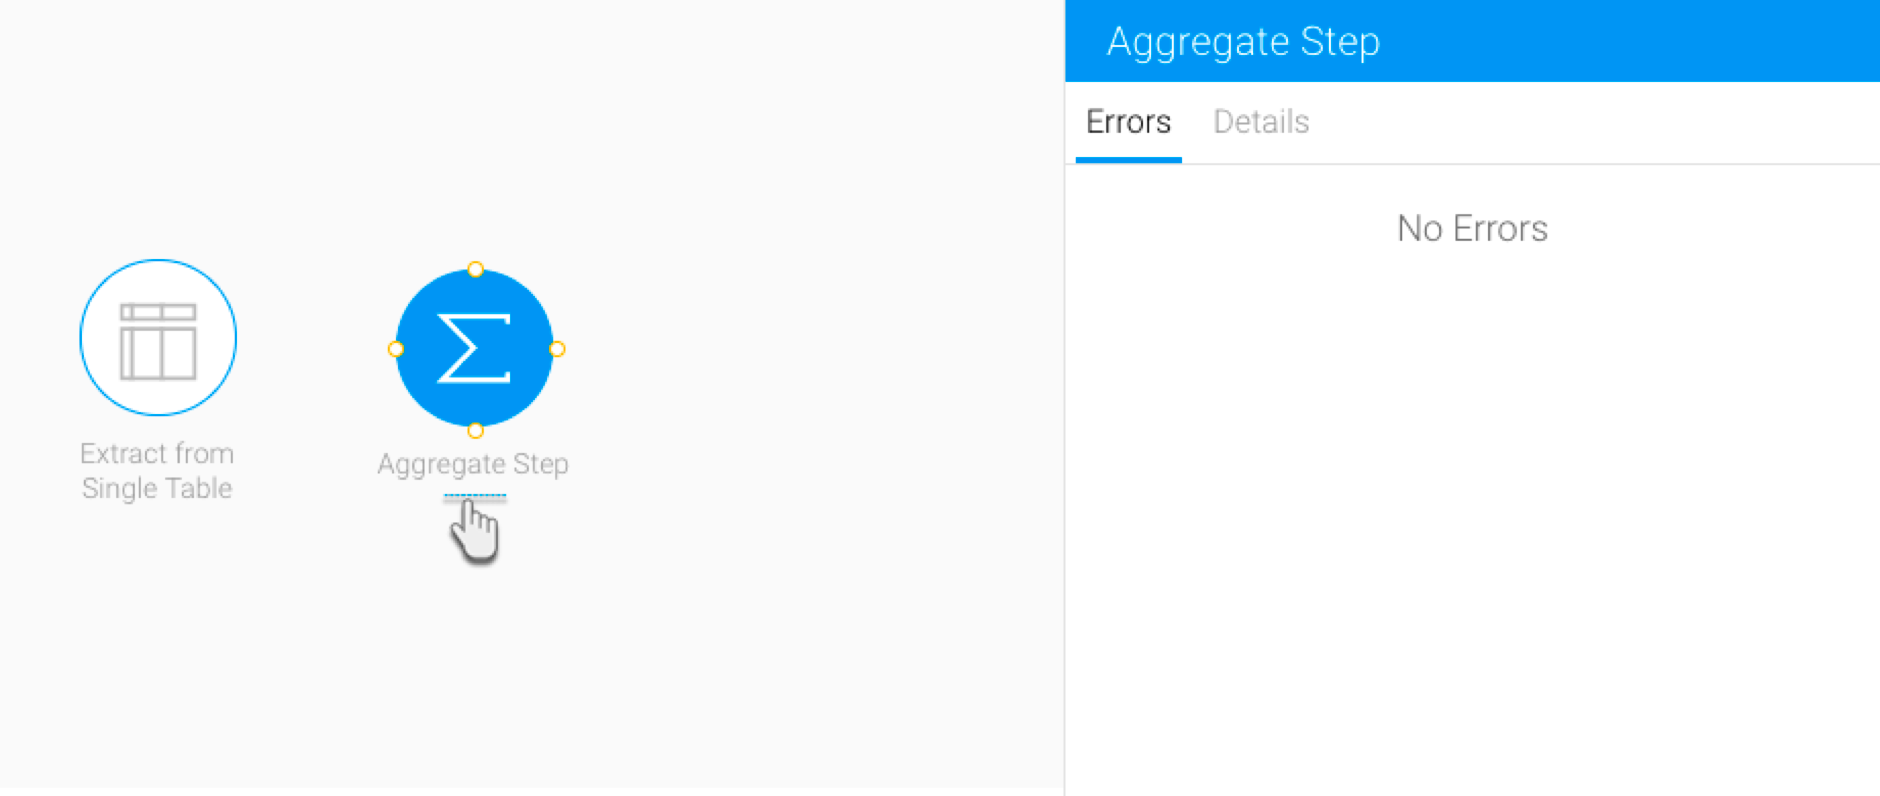
A transformation step will appear on the canvas.
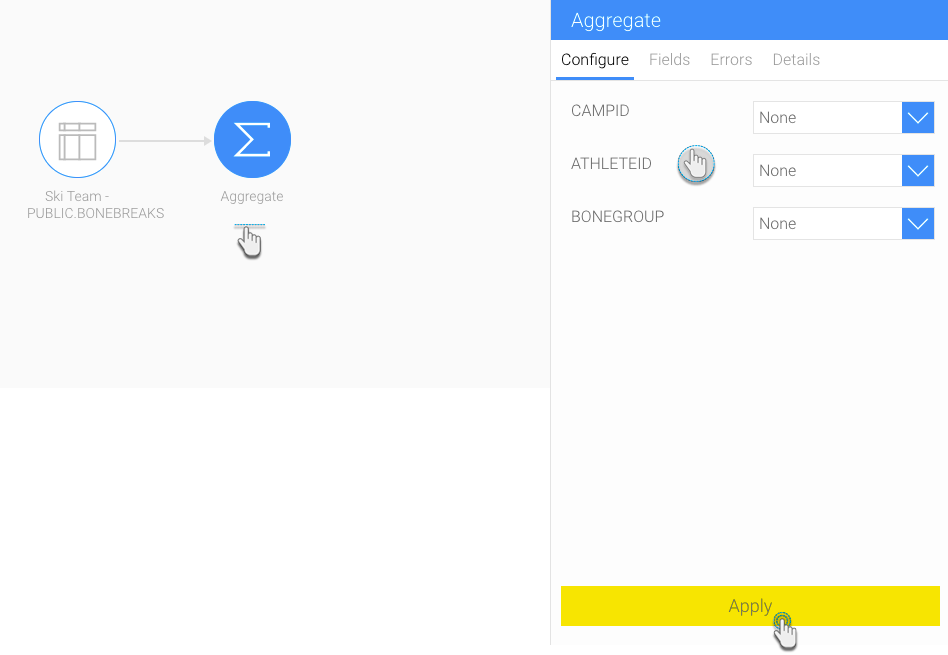
Next, create a connection between the input step and the transformation step. Hover over an input step and connecting points will form.
Drag a point and connect it to the transformation step to form a relationship between them. (Click here to learn about rules involving connections, and how to break existing connections.)
Now you can configure the transformation step, by clicking on its icon and using the configuration panel. (Each transformation step type will be configured differently.)
Save changes using the Apply button.
Note: When a transformation is made to the data, the Transformation tab will appear in the configuration panel.
Warning: Extra caution should be taken when configuring the output database step so that any existing source data does not get accidentally overwritten. The output to database step has a variety of options such as dropping tables, truncating (deleting) data, adding new rows, and updating existing data. It is recommended that a test database is used when developing transformation flows. Further, the output data step is disabled by default when in edit mode (Run in Preview mode option). If you have any concerns about this, please first contact your system administrator.
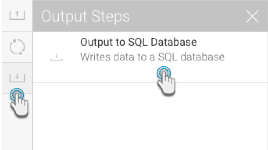
Extend the output step panel by hovering on its icon, and drag an output step onto the canvas.
Next, connect the transformation step to the output step as mentioned above (part 2, steps 3 and 4).
Then configure the output step through the panel on the right-side.
Click here to learn more about configuring this step.
You can also view the flow’s success status in the run logs tab in the configuration panel.
Click on the run button in the top header menu to execute the flow. The step will only be run for the data that is available in the preview (ie. limited to 200 rows). By default, any output to database step will not be run. This behaviour can be overridden by enabling the Run in Preview mode option in the Output to Database step. This should only be done subject to the warnings listed earlier on this page.