Like what you see? Have a play with our trial version.

Error rendering macro 'rw-search'

null

Versions Compared

Key

  • This line was added.
  • This line was removed.
  • Formatting was changed.

...

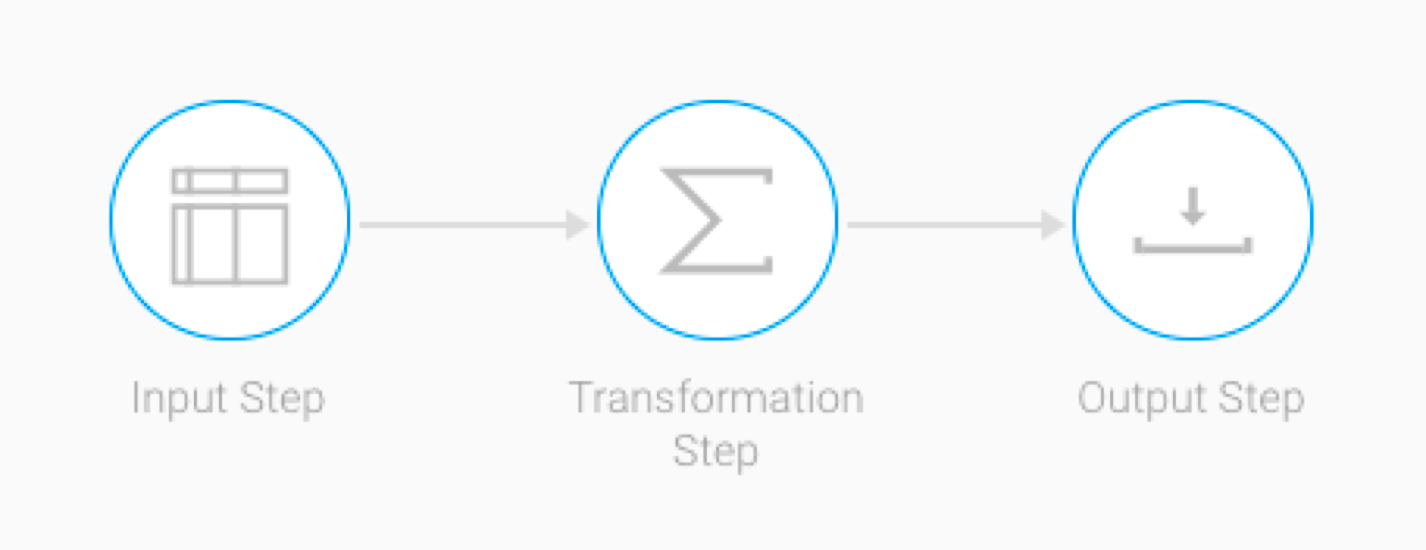
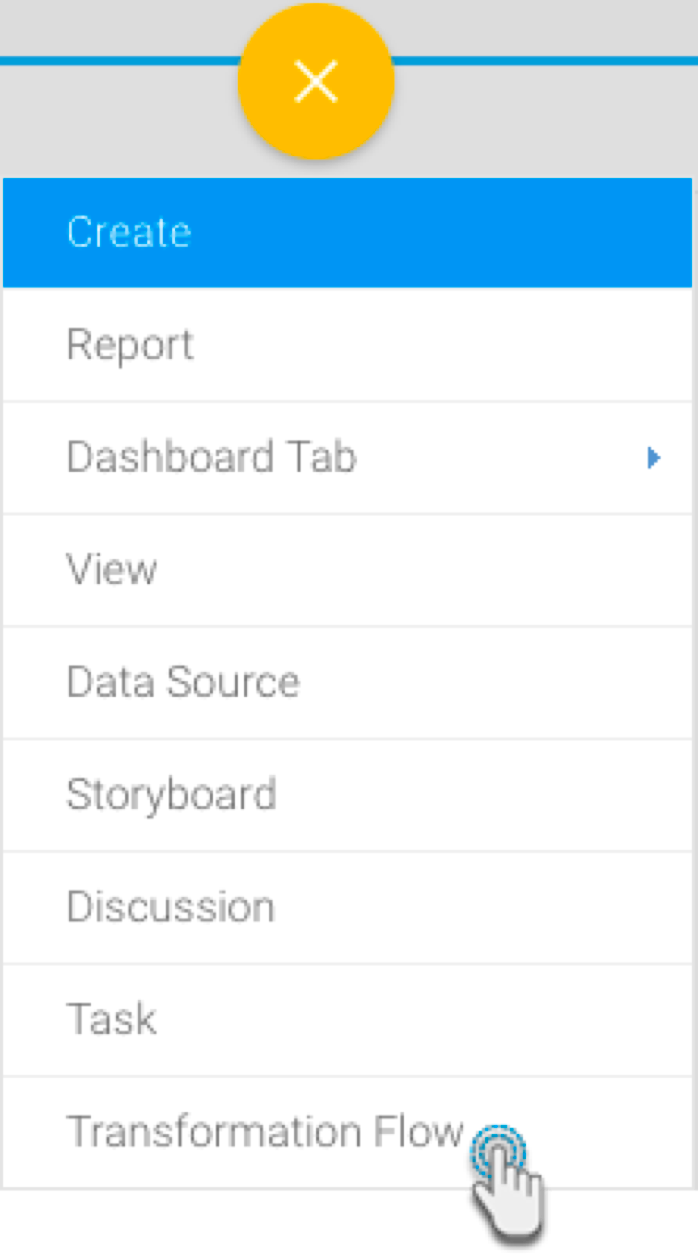
In this example, we will cover how to create a simple transformation flow. This involves setting up an input step, adding a transformation step, and connecting the two together. Then add an output step and join the transformation step to it. These steps require configuration when added to the flow. These flows are created in the transformation builder. Click here to learn about this module and its components.


Image Added


Expand
titlePart 1: Input step configuration


  1. Click on the Create button on the top-right corner.

  2. Then select the Transformation Flow option. 

    Image Added

  3. You will be taken to the transformation builder. (Click here to learn more about this builder and its components.)

  4. Hover your cursor over the Input Steps button on the left side to make the panel appear. (Click here to learn more about each of these input steps.) 

    Image Added

  5. Then drag an input step from this panel onto the canvas. (For this procedure, we will use the single database table as an example.)

  6. On doing so, a popup will appear, requiring information on the selected data source. (The steps within this popup will differ for each type of input step.) 

  7. Select the data source, and then a single table (since our selected input was a single table).

  8. Then click on the Submit button. 

  9. Next, click on the newly created input step in the canvas. Its details will appear in the configure flow panel. 

  10. Note: Clicking on a blank space in the canvas will show the configurations of the entire flow, but clicking on a specific step shows only that step’s configurations.

  11. If required, you can rename the input step. Click on the Details tab in the Configuration panel, and provide a new name, or even an updated description. 

  12. Click on the Configure tab and select only the fields that you want data to be extracted from.

  13. Click on the Add Filter button to apply filters to control the data being extracted, when the Filter popup appears. 

  14. Once you’re done with the configuration, click on the Apply button. Note: Clicking on Apply saves the configuration details. If you do not click on this button, and click anywhere else first, you will lose the config details. 

  15. On doing so, the data preview panel will display the data extracted from the configured data source. A maximum row setting of 200 applies. 

  16. You can apply transformations to fields directly from the data panel. Click here to learn more.

  17. A new Fields tab will also appear in the Configuration panel. Use this to manage the data fields that are extracted. 


...