Like what you see? Have a play with our trial version.

Error rendering macro 'rw-search'

null

Versions Compared

Key

  • This line was added.
  • This line was removed.
  • Formatting was changed.

...

Expand
titlePart 2: Transformation step connection and configuration


  1. Next, expand the transformation step panel by hovering on its icon in the step builder, and then dragging a transformation step onto the canvas. 


  2. A transformation step will appear on the canvas. 


  3. Next, create a connection between the input step and the transformation step. Hover over an input step and connecting points will form.

  4. Drag a point and connect it to the transformation step to form a relationship between them. (Click here to learn about rules involving connections, and how to break existing connections.)


  5. Now you can configure the transformation step, by clicking on its icon and using the configuration panel. (Each transformation step type will be configured differently.)

  6. Save changes using the Apply button.


  7. Note: When a transformation is made to the data, the Transformation tab will appear in the configuration panel.


Expand
titlePart 3: Output step configuration and connection
Warning

Warning: Extra caution should be taken when configuring the output database step so that any existing source data does not get accidentally overwritten. The output to database step has a variety of options which can be destructive to data. For example, it can drop tables, truncate (delete) data, add news rows and update existing data. It is recommended that a test database with test data is used when developing transformation flows. Further, the output data step is disabled by default when in edit mode (Run in Preview mode option). If you are confident that the database you are using is a test database, or that the underlying data is safe to delete, then and only then should you change this setting. If you have any concerns about this, please first contact your system administrator.


  1. Extend the output step panel by hovering on its icon, and drag an output step onto the canvas.

    Image Added

  2. Next, connect the transformation step to the output step by repeating steps 20 and 21as mentioned above (part 2, steps 3 and 4)

  3. Then configure the output step through the panel on the right-side. 

    Image Added

  4. Click here to learn more about configuring this step.

  5. You can also view the flow’s success status in the run logs tab in the configuration panel.

  6. Click on the run button in the top header menu to execute the flow. The step will only be run for the data that is available in the preview (ie. limited to 200 rows). By default, any output to database step will not be run. This behaviour can be overridden by enabling the Run in Preview mode option in the Output to Database step. This should only be done subject to the warnings listed earlier on this page.   

    Image Added


Expand
titlePart 4: Publishing transformation flow


  1. Once a flow has been created, it will need to be saved before it can be fully executed. Click on the Publish button to do so.

  2. Provide details in the popup that appears.

    Image Added


Expand
titlePart 5: Full transformation flow execution


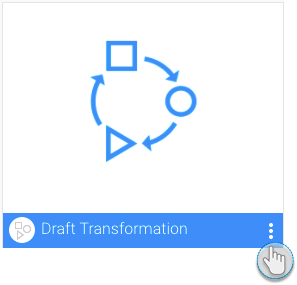
Once a flow is created, you can either execute it manually or schedule for it to be executedits execution.
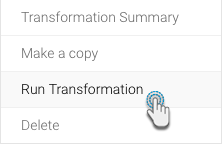
 

Manual Execution

This process shows how to execute the transformation flow manually:
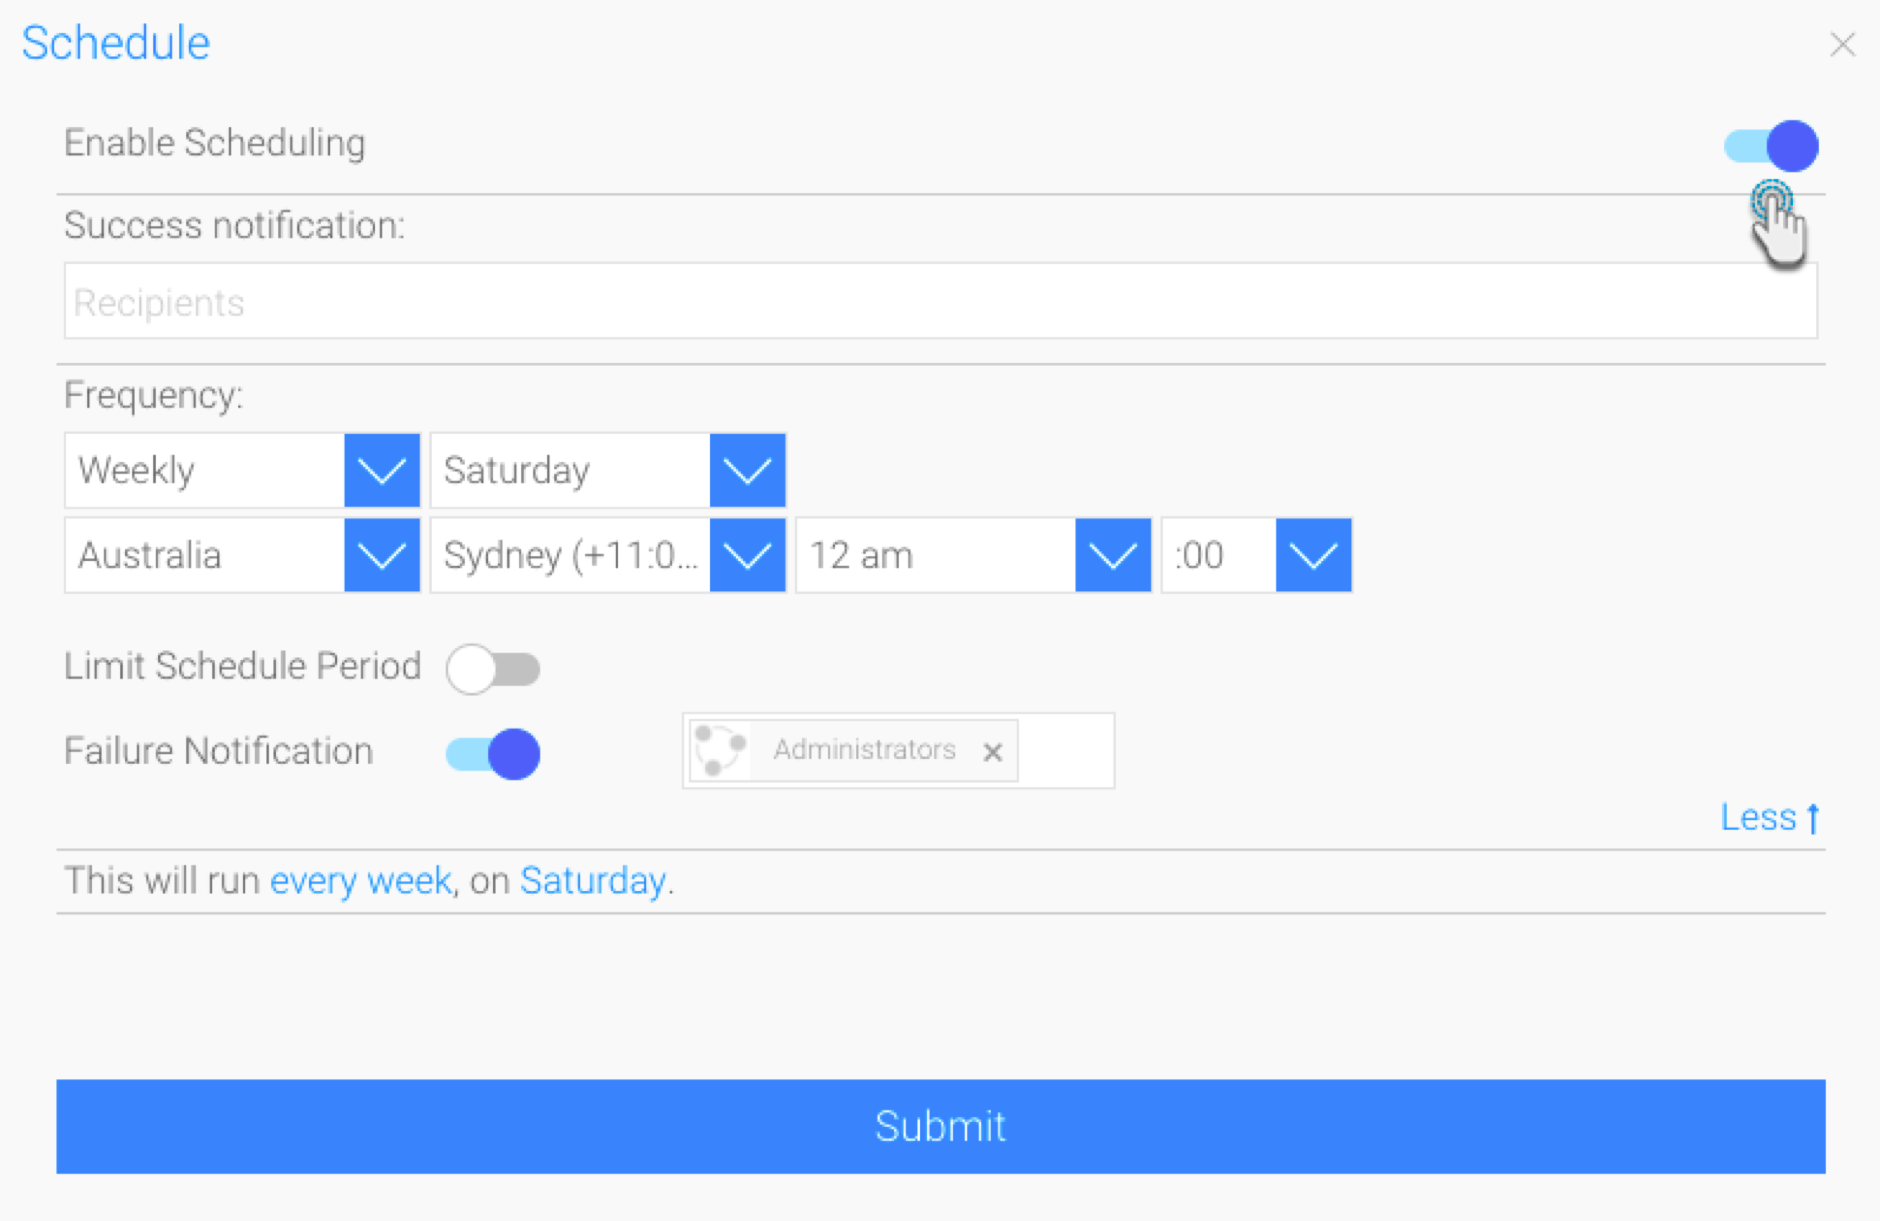
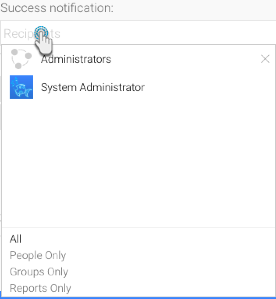
  1. Navigate to left side menu > Browse > Transformation Flows. 

    Image Added

  2. Locate the flow that you want to run, and click on its menu icon. (The menu icon will appear when you hover the cursor on the bottom-right corner of the thumbnail.). This menu can also be invoked by right-clicking the flow.)

    Image Added

  3. Then click on the Run Transformation option. 


    Image Added


Scheduled Execution

Here’s how to schedule a data transformation flow to be executed through the scheduler:


  1. Click on the schedule button in the transformation builder's header menu. 

    Image Added

  2. When the scheduling popup appears, click on the button to enable it. 

    Image Added

  3. Provide scheduling details to run the batch at specified intervals:

    1. Click on the Recipients textbox to select users to notify when the batch has executed successfully. You can add individual users and even groups. 

      Image Added

    2. Choose frequency with which to run the transformation flow. <add more steps>

    3. Enable option to limit schedule period. This allows you to establish a time period within which the batch will be executed. Once the end period passes, the transformation will stop being executed. 

      Image Added

    4. Enable the Failure Notification button and add user groups to notify if the transformation failed to be executed. 

      Image Added

    5. Finally, click on the Submit button.


...