Page History
| Table of Contents | ||
|---|---|---|
|
Overview
At the core of your dashboards are your reports that provide the analytical view of your data. Pre-existing reports can easily be added to the dashboard, accessible via the Reports panel, which appears by clicking on the Reports button on the left side.
Report branching
You can include multiple copies of a report, such as its individual charts, table, or even the report canvas, to the dashboard. This holds true for live reports, snapshots, and bookmarks. Adding multiple copies of the same report provides further flexibility to the design.
| Info |
|---|
During report branching, the system runs the SQL only once. This limits resource consumption and increases performance. |
Note: Report branching is possible if your selected report contains multiple types of content.
Multiple report versions
You can also add multiple versions of the same report onto your dashboard; this means snapshots, bookmarks, and the live report itself. For any of these versions, you can choose the content type you display them in. This is ideal if you wish to add various bookmarks of the same report, or want to add different charts, or even the same chart multiple times, and provide different filters on each.
How to add reports to a dashboard
This tutorial is suitable for pre-existing reports, and also works if your report contains snapshots or bookmarks.
- Click on the Reports button on the left side, to bring up the Reports panel.
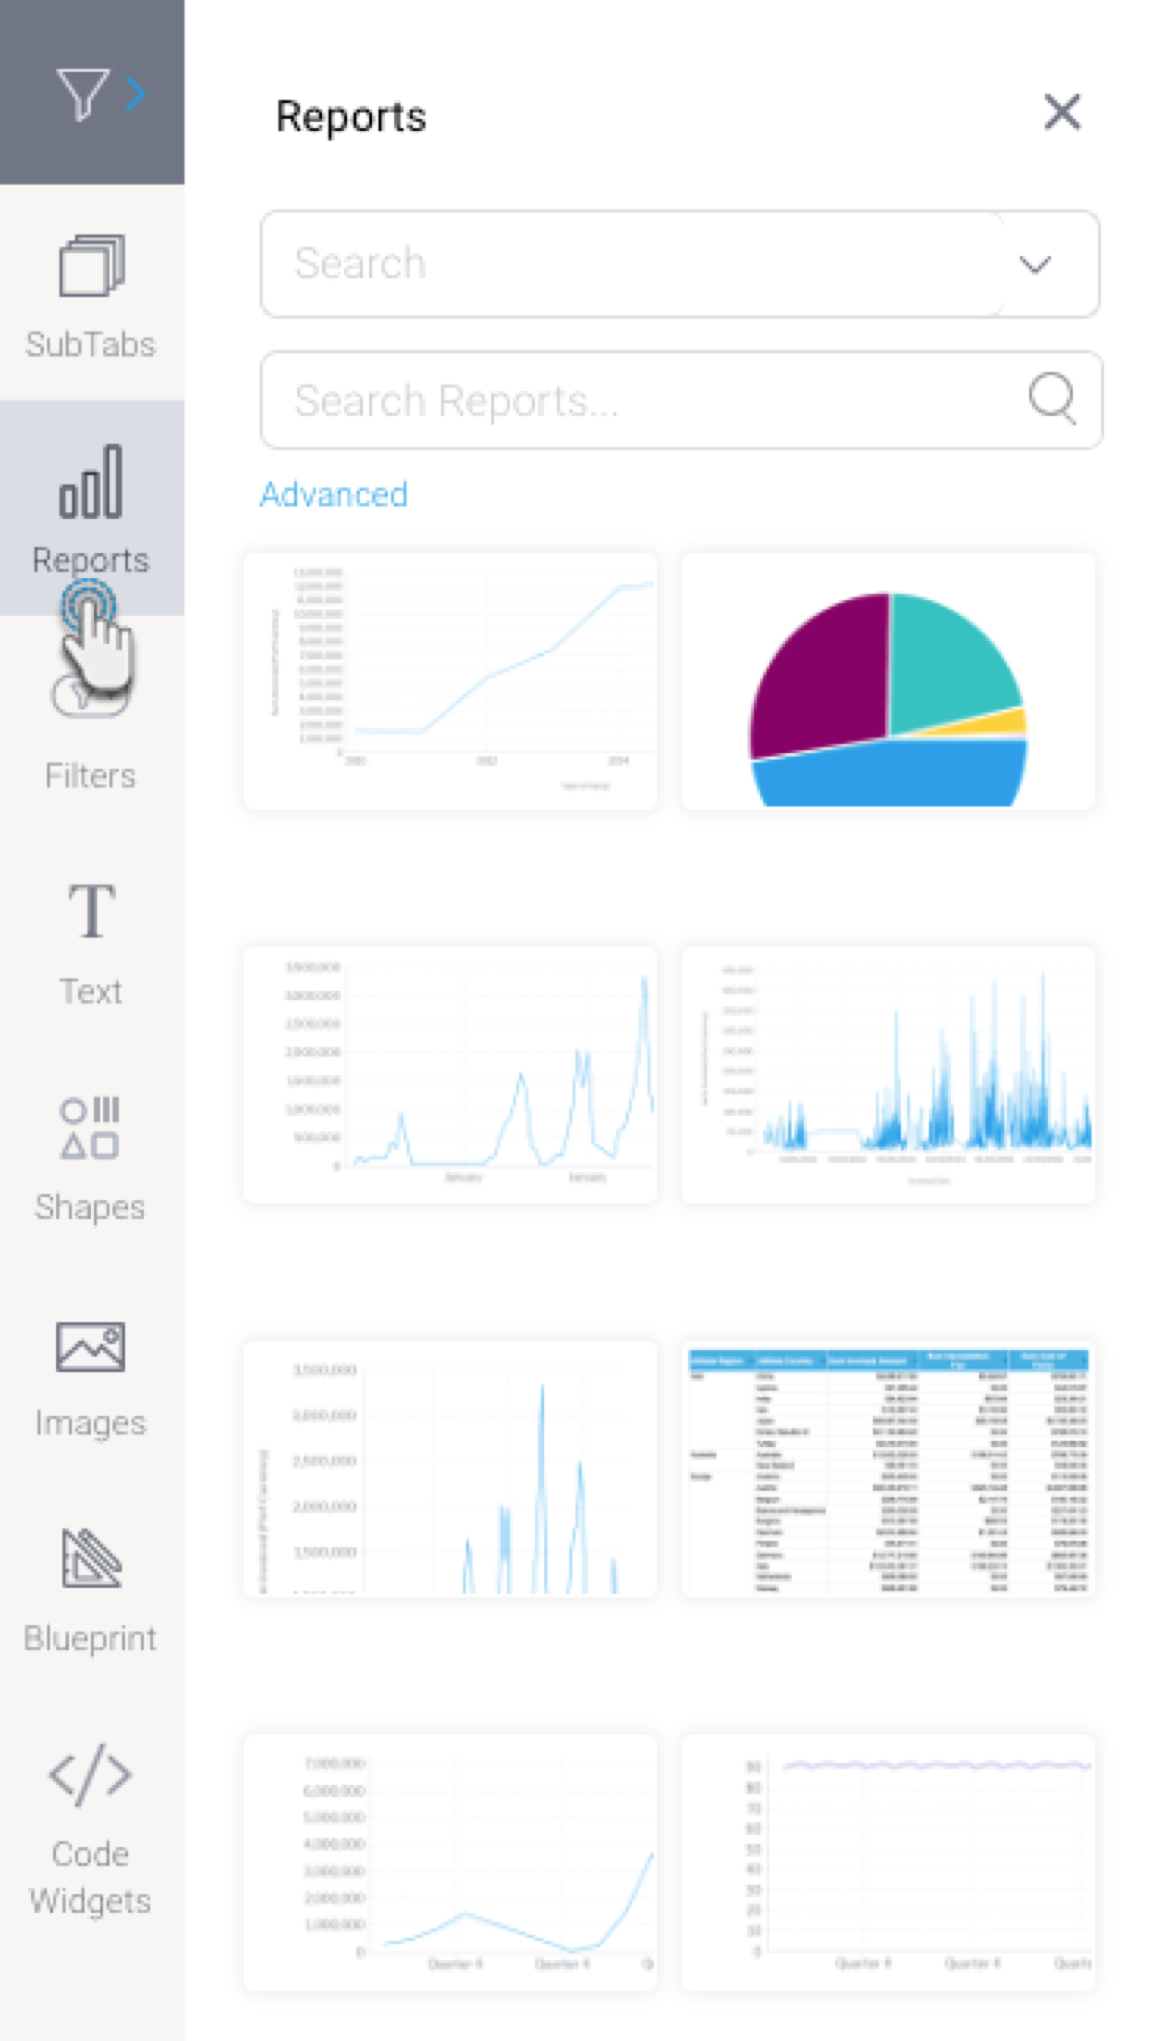
- To search for a report, enter the report name into the second Search bar.
- Alternatively, use the first search dropdown to look up reports that were recently accessed, are newly created, or are in your favorite content list.
- You may also click on Advanced to use additional search filters to find your report.
- Drag a report on the dashboard’s content area to add it. If it contains multiple content types, multiple charts, or even bookmarks or snapshots, then the following Choose Report Type popup will appear. (But if it doesn’t contain multiple content types, then the selected report will simply be added to the tab).
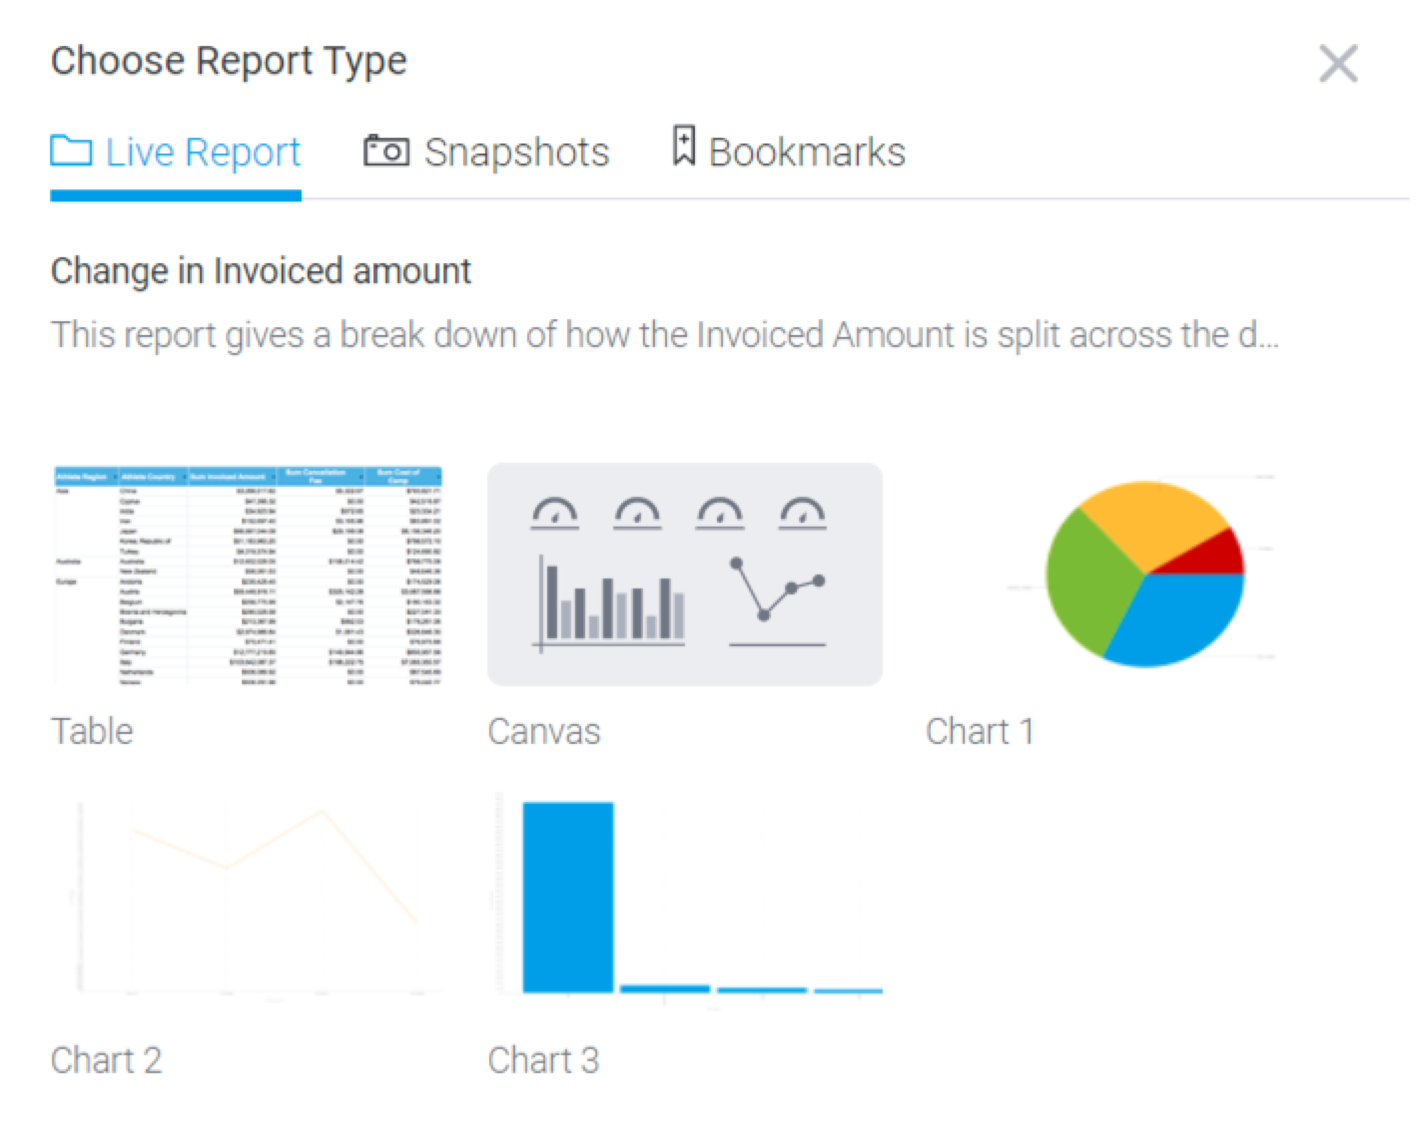
- You can use this popup to change the default report display type. This popup divides the report content into 3 tabs: one for all individual charts, tables, and canvas of the report, another for similar content of its snapshot, and a third for bookmarks.
- Switch to a tab by clicking on its name. For example, to add a snapshot, click on the Snapshots tab. Then choose name of snapshot from the list on the left.
Next, select the content type you want to display this snapshot as by clicking on it.
Tip Note: You can also change this selection after adding it. See the Report Type configuration in the properties panel.
- After adding the report item, you can further customize it. To do so, bring up to report properties panel on the right side by clicking on the report widget, and use the configurations to customize it. Refer here to learn about the type of customization done on a report widget.
- You can further manage this widget by right-clicking on it, and using the menu that appears. Learn more about the menu options here.
Report properties
Click on a report to bring up its properties in the Properties panel. You will be able to edit these on a canvas layout.
| Section | |||||||||||||||||||||||||||||||||||||||||||||||||||||||||||||||||||||||||||||||||||||||||||||||||||||||||||||
|---|---|---|---|---|---|---|---|---|---|---|---|---|---|---|---|---|---|---|---|---|---|---|---|---|---|---|---|---|---|---|---|---|---|---|---|---|---|---|---|---|---|---|---|---|---|---|---|---|---|---|---|---|---|---|---|---|---|---|---|---|---|---|---|---|---|---|---|---|---|---|---|---|---|---|---|---|---|---|---|---|---|---|---|---|---|---|---|---|---|---|---|---|---|---|---|---|---|---|---|---|---|---|---|---|---|---|---|---|---|
| |||||||||||||||||||||||||||||||||||||||||||||||||||||||||||||||||||||||||||||||||||||||||||||||||||||||||||||

Report access
Dashboard designers, and end users alike will not be able to view reports that they do not have access to. The following image will appear in place of 'secure' reports: