Page History
| Anchor | ||||
|---|---|---|---|---|
|
| Table of Contents | ||
|---|---|---|
|
User List
| Styleclass | ||
|---|---|---|
| ||
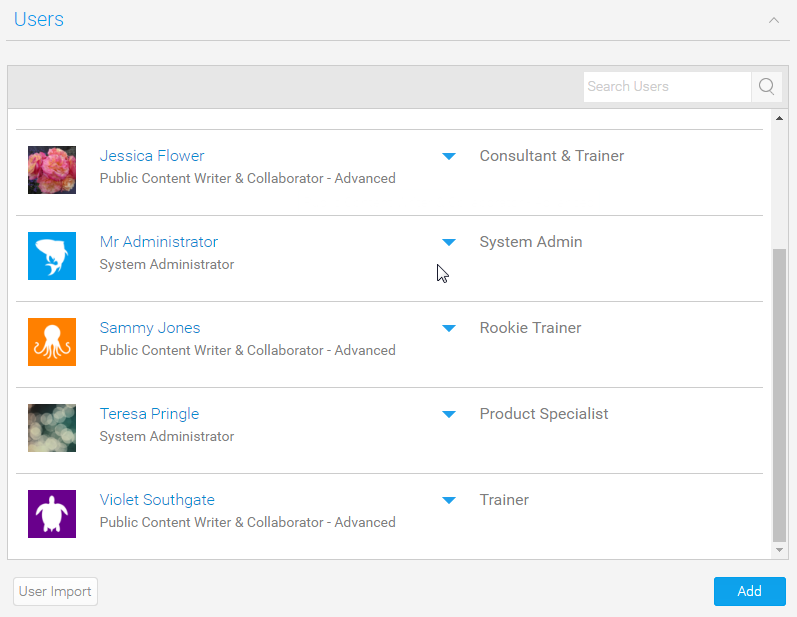
Access to system is based on users logins. Through the Admin Console administrators can create, edit and delete users within the application. The user list provides administrators with the ability to browse all the users within the system. To access this list click expand the Users section in the main panel of the Admin Console.
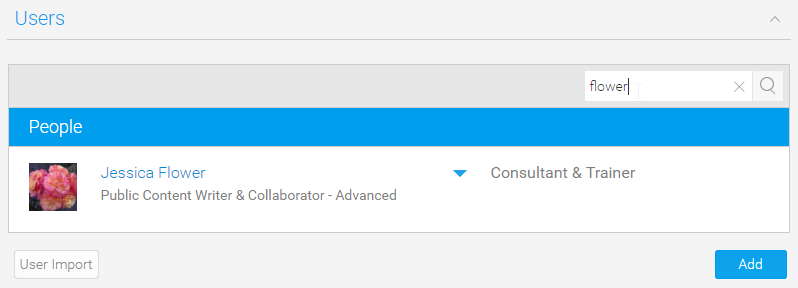
Search Users
If you have many users and you want to find a specific user you may have to use the search box at the top of the user list.
- Type in the users first or last name into the search box.
- A list of users matching your query will be returned.
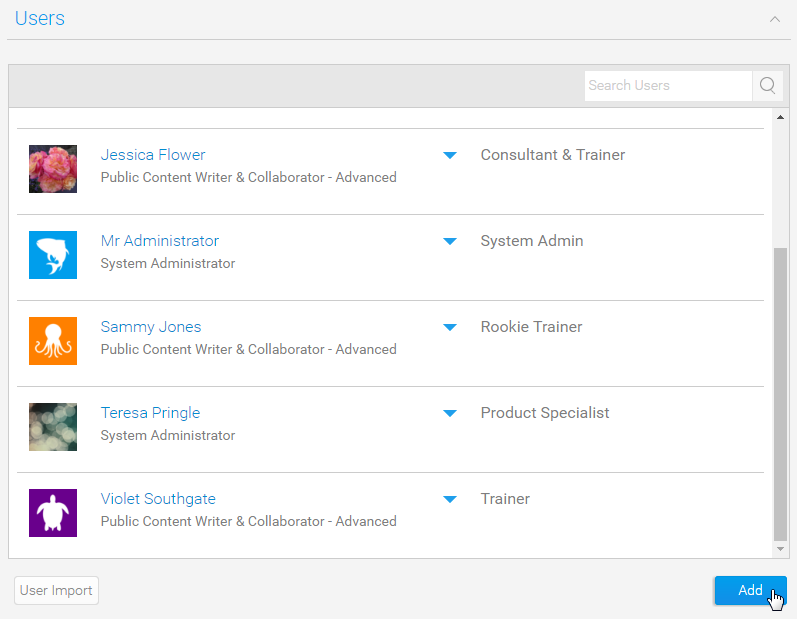
Add User
| Styleclass | ||
|---|---|---|
| ||
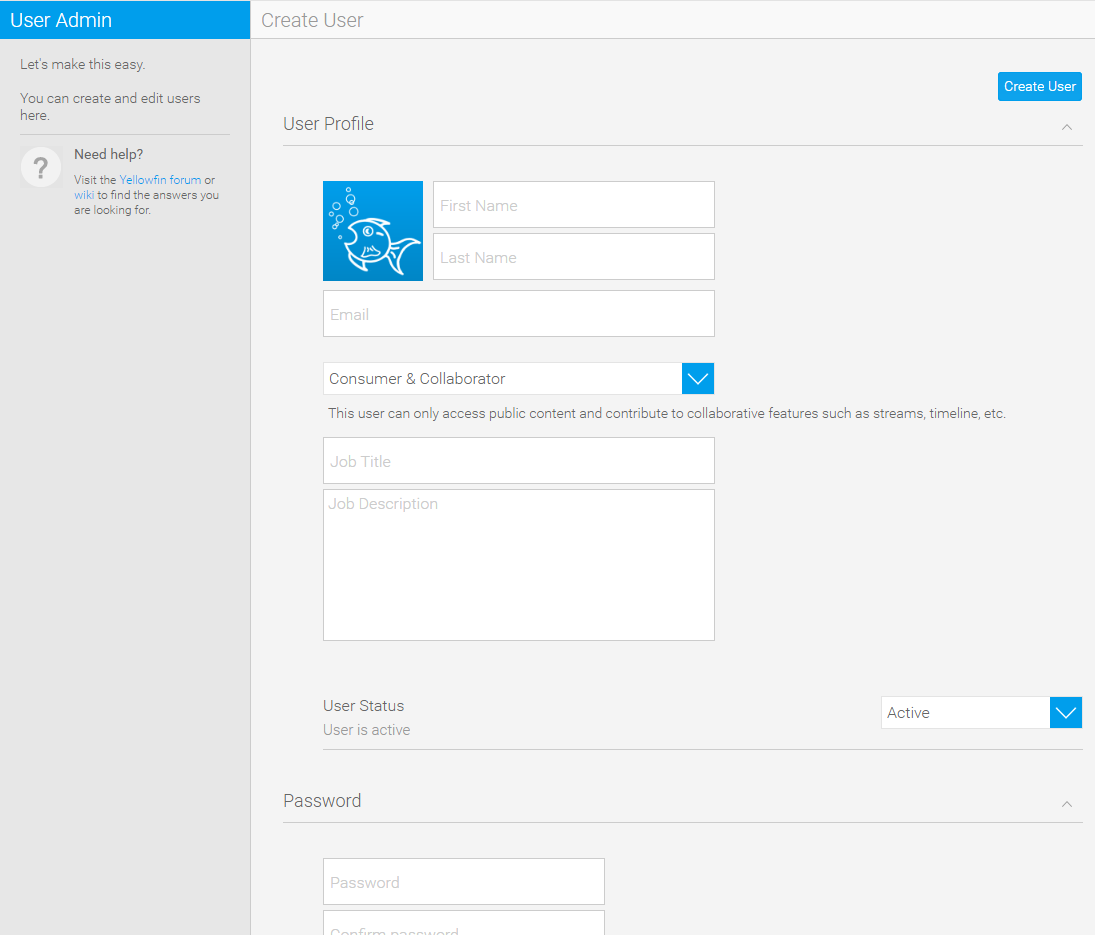
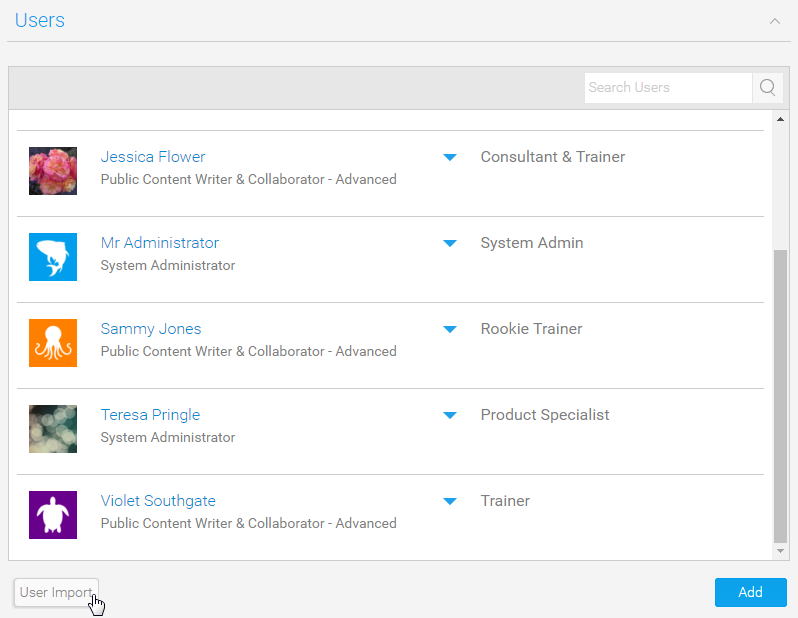
In order to create a new user you will need to click the Add button under the user list in the Admin Console.
This will open a User Details form that will need to be completed to set up the user. The user details required are as pictured.
Bulk User Import
If you need to create a large number of users at once it's possible to do this by using the Bulk Import process.
- Click on the User Import button at the bottom of the user list in the Admin Console.
You users should be contained in a CSV format with data contained within quotes. See the example below and on the screen for more detail. The example file format is as follows:
Code Block # Comments can be present. Starting with a # only. Blank lines will also be skipped. # First Name, Last Name, Initial, Salutation Code, Language Code, Time Zone Code, Email Address, UserName, Password, Role Code "Bob", "Jones", "A", "MR", "EN", "", "bob.jones@company.com", "bob.jones@company.com", "password", "YFADMIN"
- Click the Choose File button to locate and load your file.
- Click the Upload button to load and save your new users.
Edit User
| Styleclass | ||
|---|---|---|
| ||
From time to time users may require changes to be made to their account, from updating their name, to changing their password. Any changes can be made by locating the user in the users list, selecting the drop down menu next to their record and choosing the Edit option.
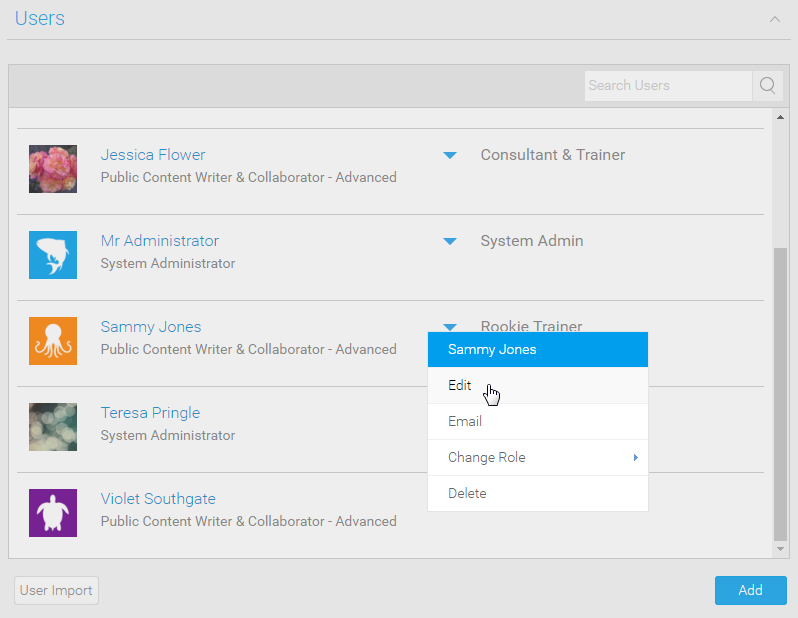
From here you will be taken to the User Details page where you can make adjustments to their account.
Change Role
| Styleclass | ||
|---|---|---|
| ||
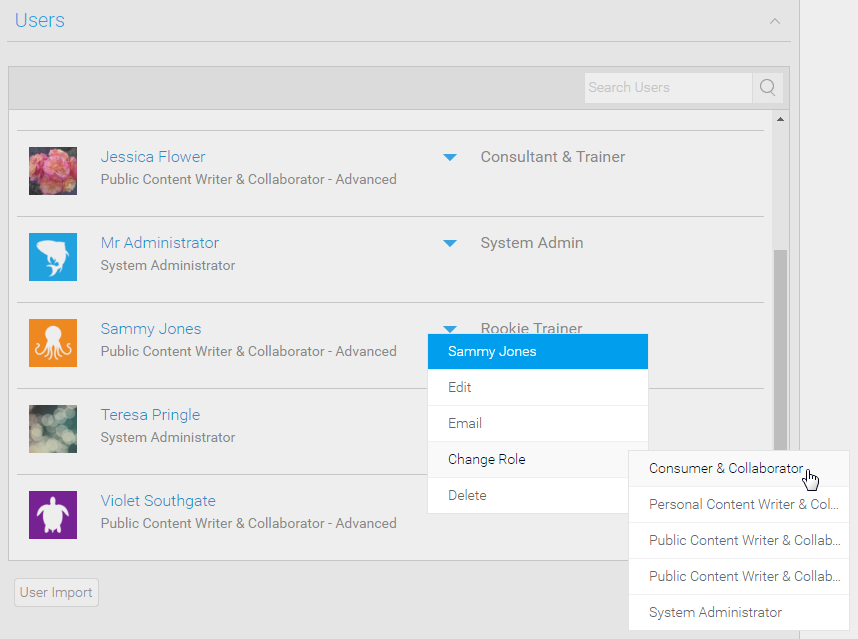
A user's role permissions can be changed through the edit process outlined above, or you can simply select the Change Role option from the drop down menu next to a user's name and select a different role.
Delete User
| Styleclass | ||
|---|---|---|
| ||
To remove a user's access to the system you will have to delete their account. Click on the drop down menu next to a user in the Admin Console and select the Delete option.
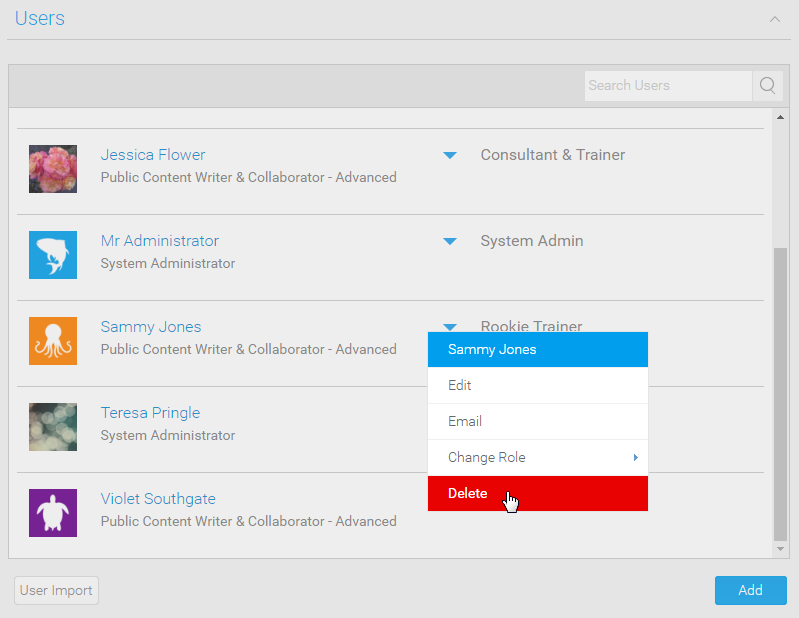
You will then be prompted to confirm the remove of the user on a separate page.
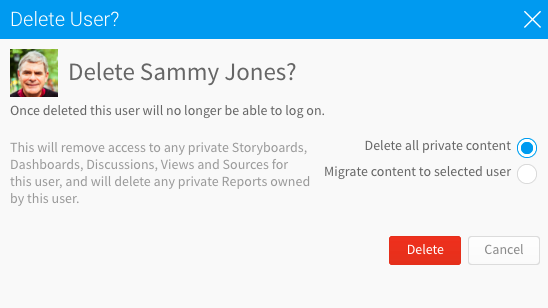
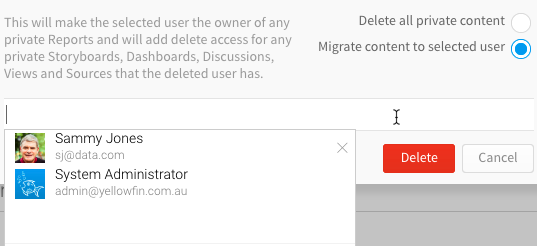
Migrate Private Content
When deleting a user, you have the option to delete the private content that they’ve created, or move that content to another user. This ensures that content does not get deleted or become inaccessible when a user is removed from the system.
Note: If the specific user is a member of multiple client organizations, then you can choose whether to remove them from all organizations, or the current one.
| horizontalrule |
|---|
| Styleclass | ||
|---|---|---|
| ||