Page History
...
Report content can be exported to a number of file formats for use outside the systemof Yellowfin. These formats include CSV, DOCDOCX, PDF, Text, XLS, and Print.
Tutorial
and XLSX. You can also print to a printer or add your export to a list of exports. Each of these options is discussed below.
Exporting a report from Yellowfin
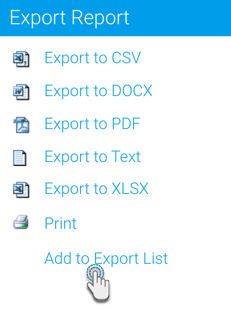
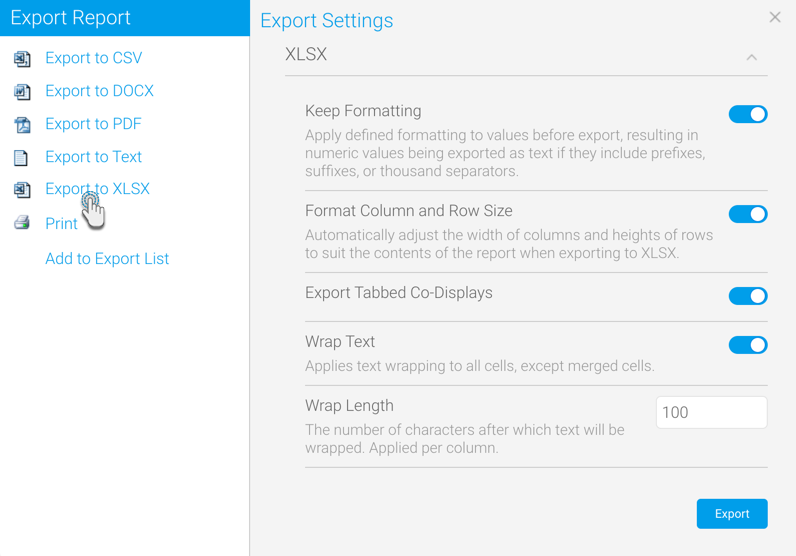
You may have already spotted the Export button ![]() in different places within Yellowfin. It provides a menu of export options, as shown in the steps below.To export a report from the Output step:
in different places within Yellowfin. It provides a menu of export options, as shown in the steps below.To export a report from the Output step:
- Click on the Export button button
 on the main navigation bar.toolbar
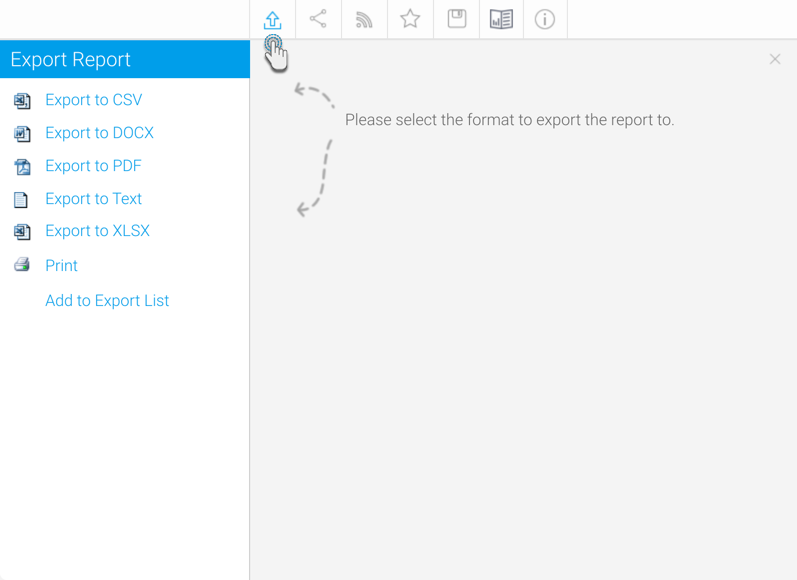
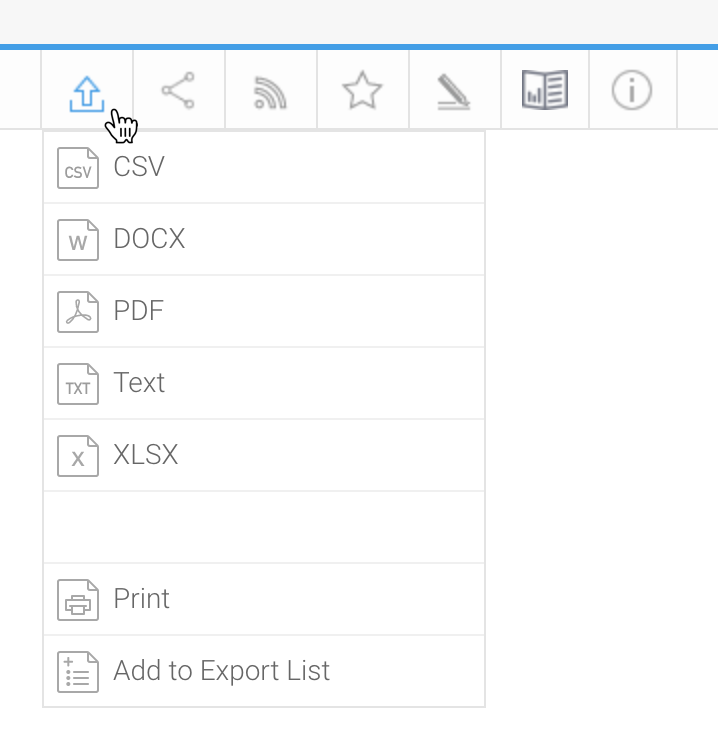
- Select the format you wish to export the report in.
From here, you may need to provide additional options based on the selected format. CSV, PDF, and Print formats have additional options, for all others simply follow browser instructions to download the file.
Note: if you choose to export If you've chosen an item from the top section, a dialog box will appear (the options will be different for each type of export)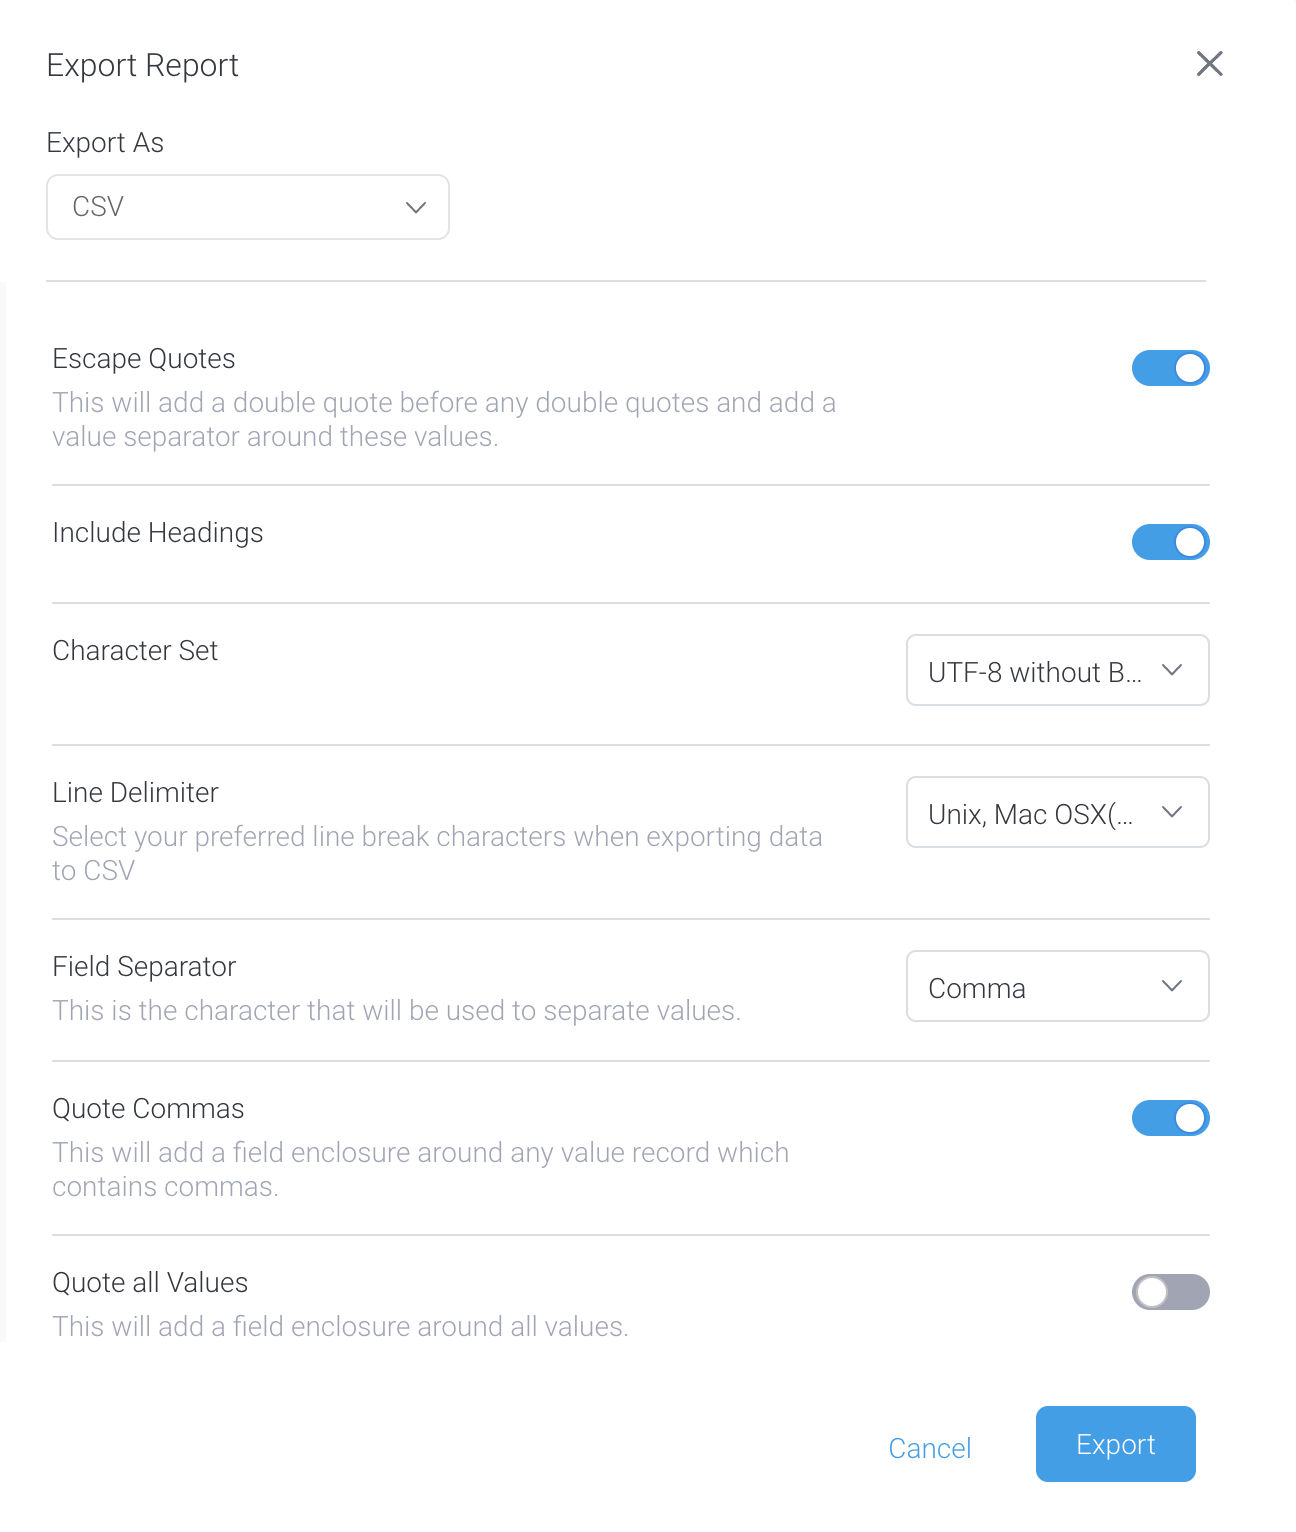
Note that you can also use the Export As dropdown to change the export type - From this dialog box, use the controls provided (described below) to adjust your export settings
| Info |
|---|
| If you choose to export a report which contains a chart, your chart will not be updated if you change your data |
...
| within the XLS |
...
| export. The chart will not be exported to CSV or Text formats. |
Add to export list
...
...
Export
...
to CSV
Exporting reports to comma-separated values (CSV) format provides some options specific to this export type.
...
Simply click on the Add to Export List option on the left side of the Export popup. The selected report’s definition will be included in the Export List, ready to be exported.
Report Exporting Formats
The following sections provide details on each of the exporting formats Yellowfin reports can be exported in.
CSV
Once you have chosen the CSV format, you will be presented with export settings on the right panel of the menu.
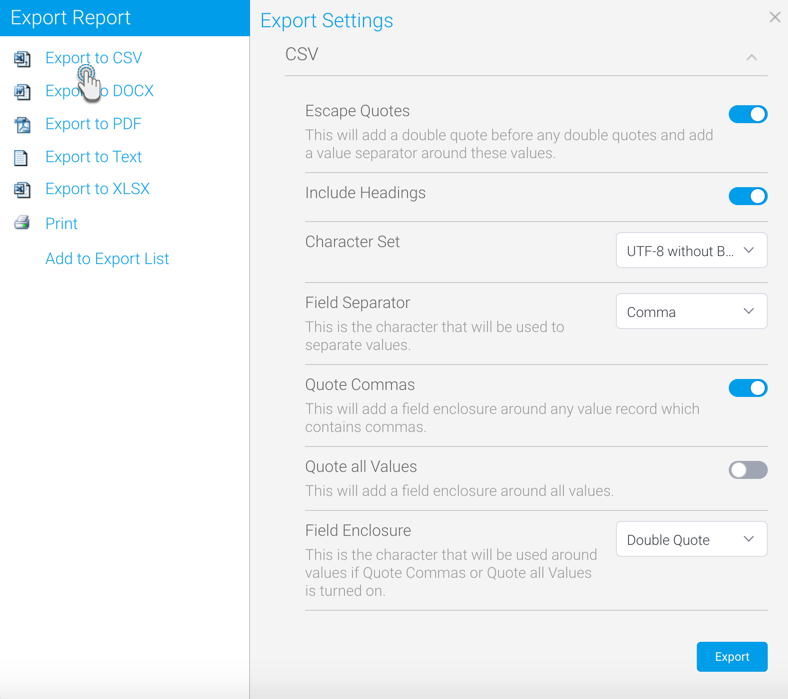
Select your preferred settings (see below for details on each) and click the Export button.
| Export setting | Description |
|---|---|
Escape Quotes | If enabled, this setting adds an extra pair of double quotes around any part of a field value that’s already double quoted. This ensures that the double quoted portion is treated as part of the same field, and displayed with quotes, rather than a separate field. |
Include Headings | Use this to show or hide report table headings. If enabled, the first row of the CSV file will be the column heading names. This also works for cross tab reports, in which case the row heading names are also included. |
Character Set | Select the character set with which to encode the export file. Using the right character encoding set is essential if the exported file is to be reused in other applications that use a particular file encoding. Tip: Yellowfin uses the standard UTF-8 for storing double-byte characters. |
| Line Delimiter | Select from CR, CRLF and LF as line break characters for carriage returns. This is a useful setting when working with third-party tools which may require a specific carriage return type to correctly process CSV files. |
Field Separator | This is the character that will be used to separate individual fields (or data values) in the exported CSV file. Choose predefined separators, such as comma, semicolon, tab, or define a custom separator character. |
Field Separator Character | If the ‘Other’ option was selected for Field Separator definition, then specify a character to be used to separate values. This could be any character, alphabet, number; you are also able to specify multiple characters. |
Quote Commas | This will add Field Enclosure characters around any field value which contains commas, if enabled. This ensures that values containing commas are not treated as separate values before and after the comma. This is ideal for numeric values such as invoices that contain commas, eg: $6,328,754. |
Quote all Values | This toggle will add Field Enclosure characters around all individual fields. If this toggle is enabled, the Quote Commas option will be switched off. |
Field Enclosure | This is the character used to quote individual field values if either the Quote Commas or Quote all Values settings are switched on. Choose pre-defined enclosures such as single or double quotes, or define a custom enclosure character. |
Field Enclosure Character | If ‘Other’ is selected for the Field Enclosure character then specify a character to be used to quote fields in. This could be any character, alphabet, number; you are also able to specify multiple characters. |
...
Export to DOCX
Once you have chosen the DOCX format, your report will be instantly exported and downloaded into your default folder. Note that there are no settings to be configured for this option.
Once you have chosen the PDF format, you will be presented with export settings on the right panel of the menu.
If you wish to export to the Microsoft Word format of DOCX, there's currently only one option available to configure.
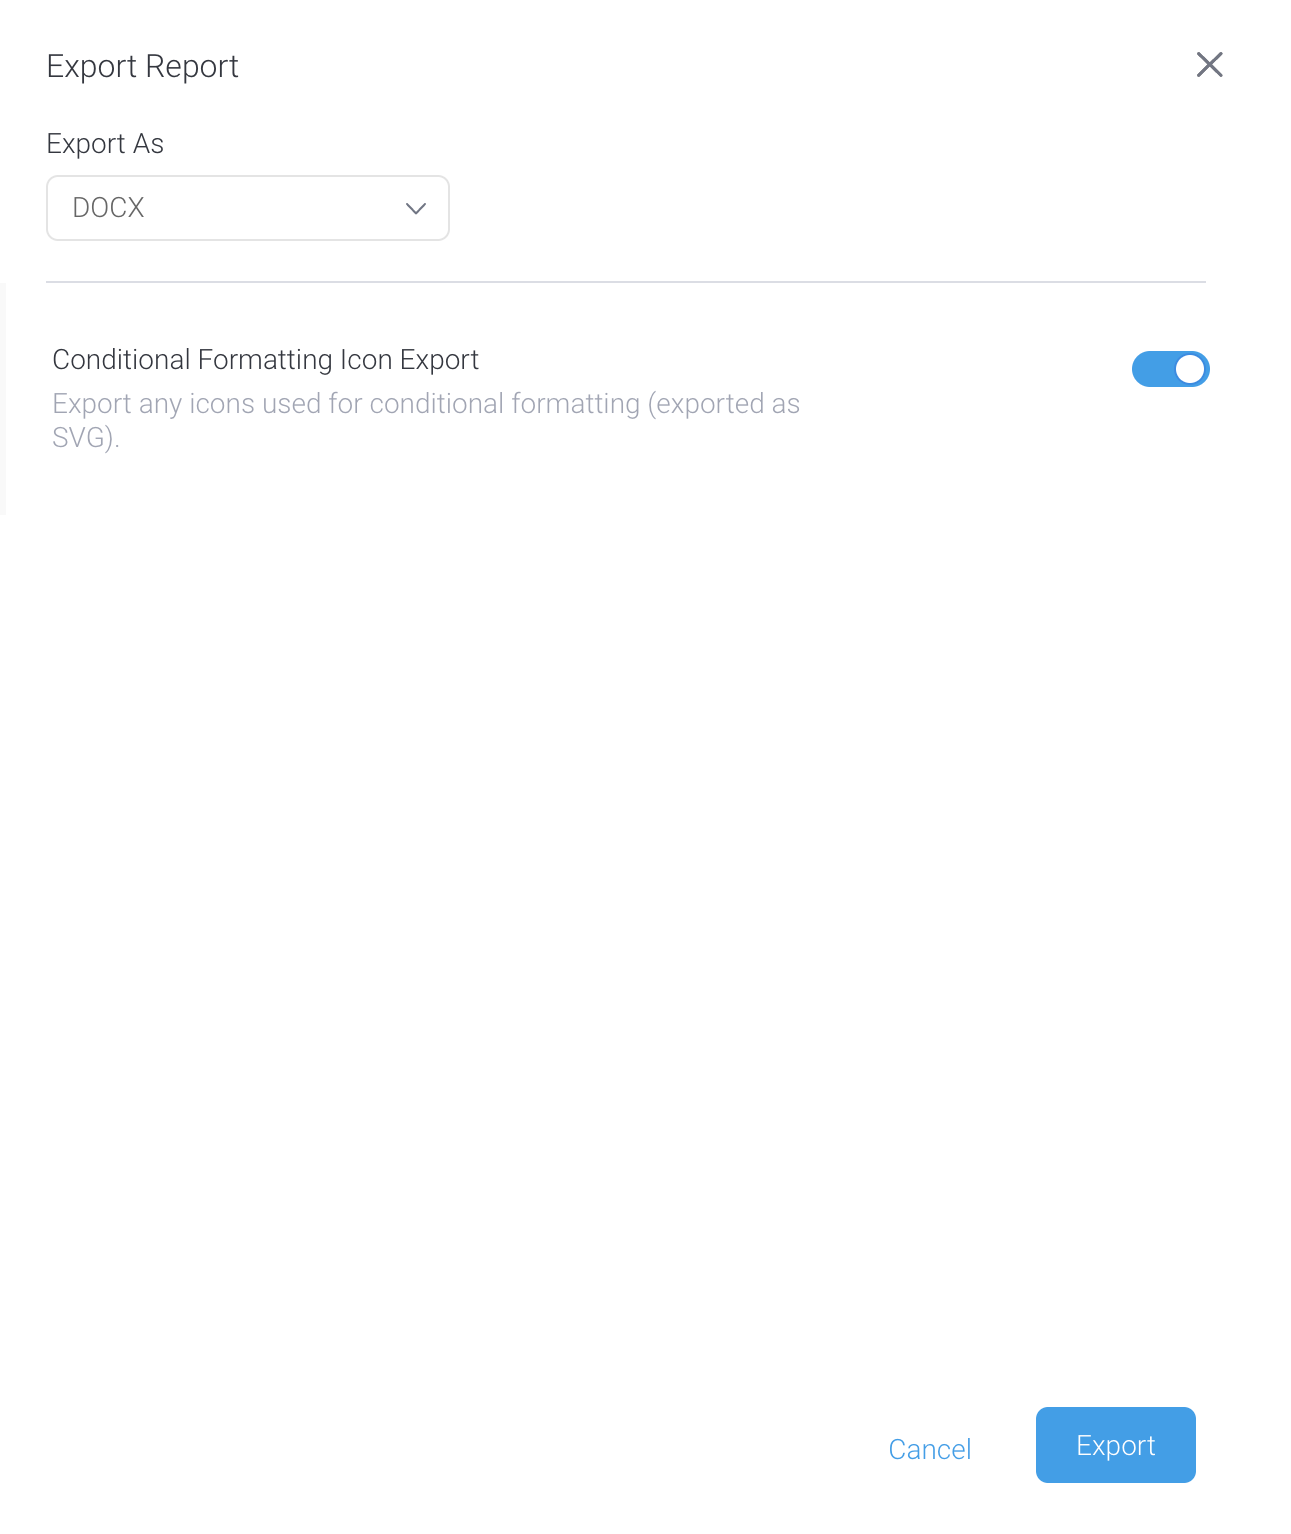
Select your preferred settings (see below for details) and click the Export button.
| Export setting | Description |
|---|---|
Conditional Formatting Icon Export | If your report uses conditional formatting to display icons instead of data, enabling this option will ensure that those icons are exported. Disabling this option will ignore any conditional formatting and instead use the original data values. |
...
Export to PDF
Exporting to PDF format provides you with an array of options, including some that only appear when you toggle off the option for User Default Layout Values. Your system administrator can set many of these as system-wide defaults.
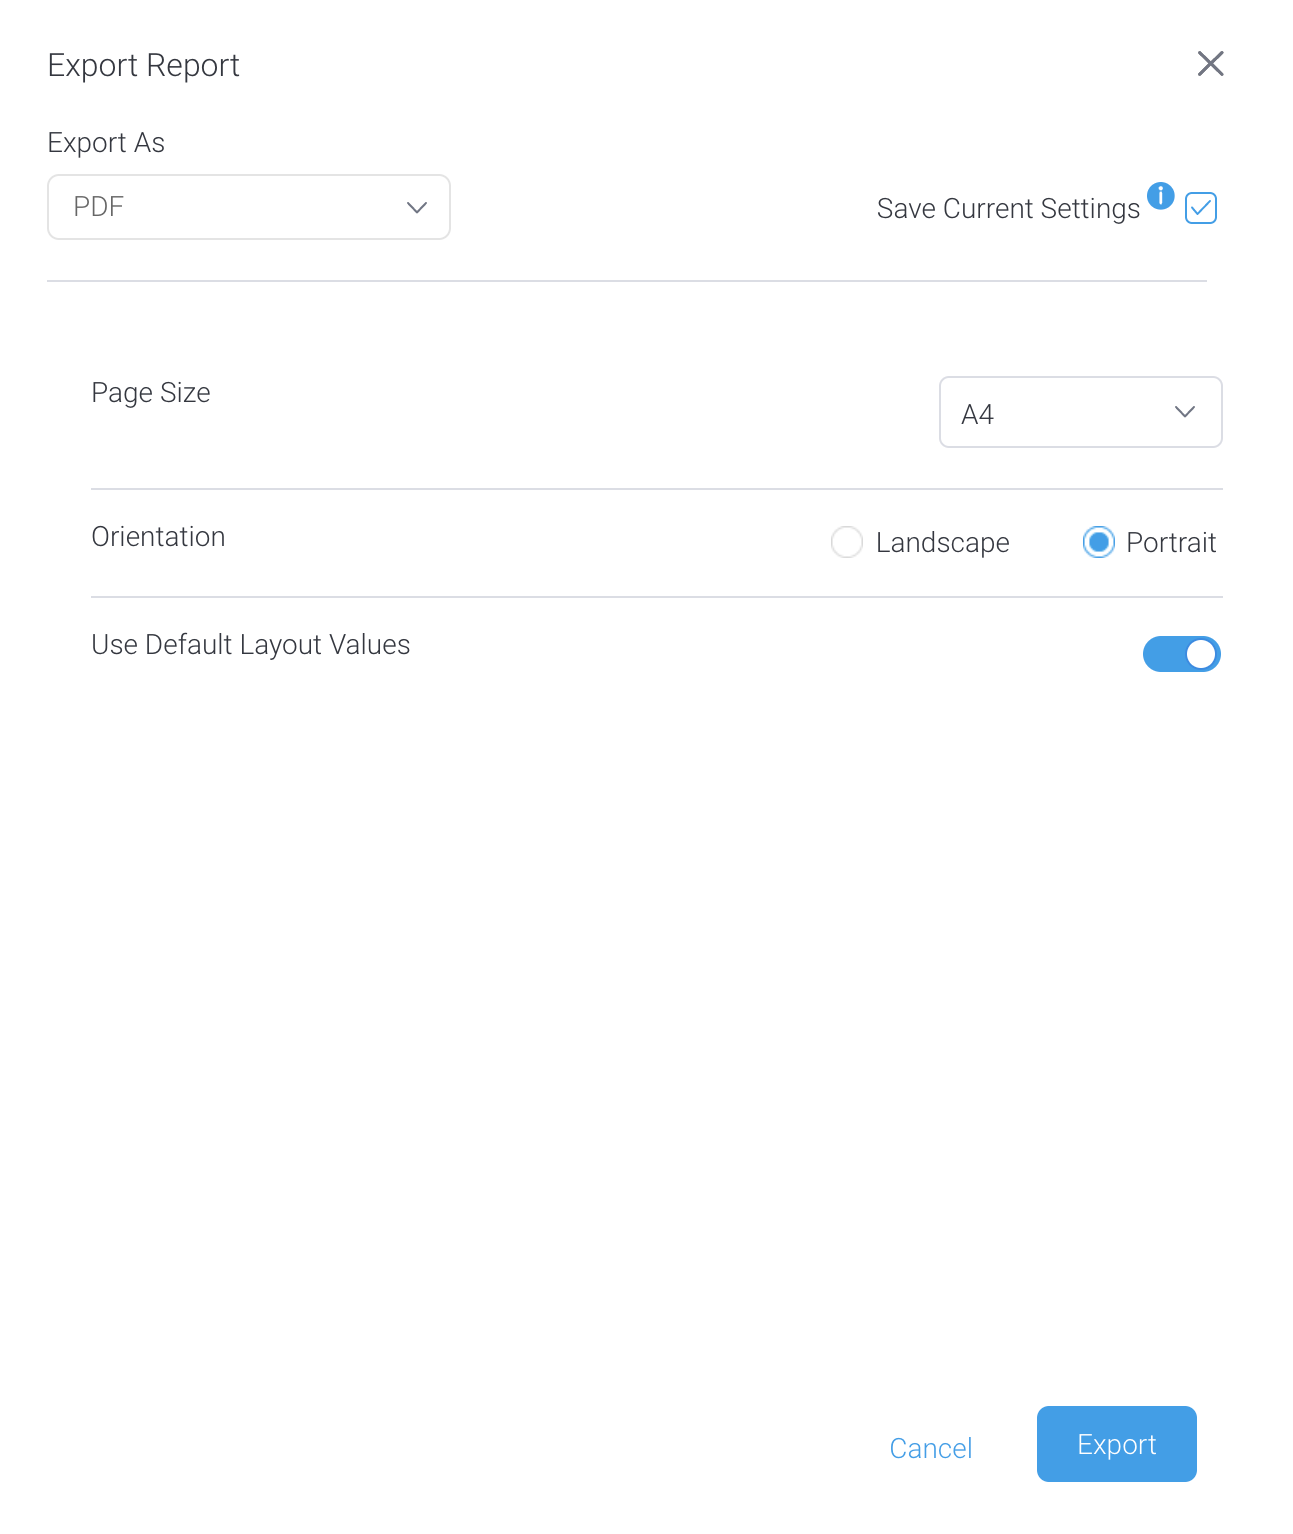
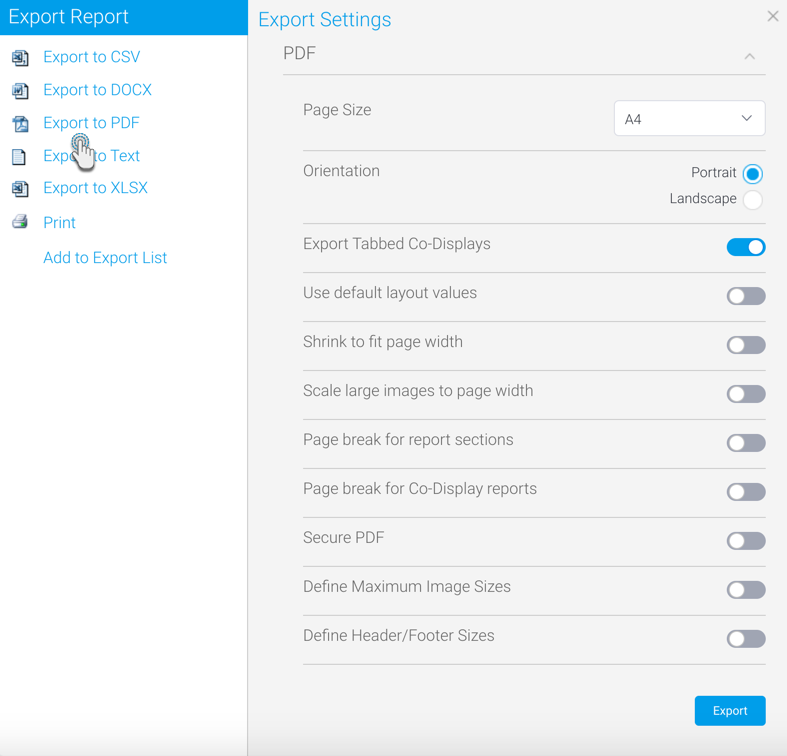
Select your preferred settings (see below for details on each) and click the Export button.
Export setting | Description | ||
|---|---|---|---|
| Save Current Settings | This checkbox is handy if you'd like to use the same settings for future exports (particularly if you switch off the Use Default Layout Values option to choose your own). By default, this radio button is checked so your settings will be automatically saved for next time, but if wish to create a one-off PDF file with specific settings that you don't plan to use again, uncheck this box. | ||
Page Size | Select the page size for your PDF file. This specification allows other layout settings to be configured properly. | ||
Orientation | Choose the orientation of your file. Options include Portrait or Landscape. | ||
Export Tabbed Co-Displays | Allows you to export tabbed co-display reports. If disabled, then only the main report is exported. Note that this setting only appears if your report consists of tabbed co-displayed reports. | ||
. | |||
Use Default Layout Values | This toggle lets you alter | Use default layout values | Allows you to use the default system layout settings for the this exported PDF. It does not update the system defaults. If disabled, you will be able to define specific layout options, discussed belowthe options below will appear. |
Shrink to fit page widthFit Page Width | If enabled, the report content will be shrunk to fit the page width. | ||
Scale large images to page width | If enabled, large sized images will be scaled to fit the page width. | ||
| Header Height (px) | If your report contains a header, enter the header's height in this box to avoid any overlap between your header and the top of the report. | ||
| Footer Height (px) | If your report contains a footer, enter the footer's height in this box to avoid any overlap between the report contents and your footer. | ||
Report Section Page Break | If enabled, this option | Page break for report sections | If enabled, it creates page breaks for report sections. This ensures that each new section in a report will start from at the top of a new page. Note that Yellowfin splits the report table when report sections are defined, by creating a separate table for the each report section. |
Page break for co-display reportsCo-Display Report Page Break | If enabled, it this option creates page breaks for co-display reports. This ensures that each co-display report will start from the top of a new page in the exported PDF. | ||
Secure PDF | Allows you to secure a PDF with password protection. | ||
PDF password | If Secure PDF is enabled, enter a password to open secure files. | ||
Define maximum image sizes | Enable this to define a maximum size for images. This ensures that an image does not exceed this specified limit. Doing so will bring up two fields to specify the size. Any image that is bigger than the size specified here, will be resized to fit the maximum size. | ||
Maximum image width | If the image size toggle is enabled, then provide the maximum width (in pixels) for images. | ||
Maximum image height | If the image size toggle is enabled, then provide the minimum width (in pixels) for images. | ||
Define header/footer sizes | Enable this to specify the height of headers and footers in the PDF. This ensures that large headers and footers are limited to a specific height. Enabling this will bring up the two new fields for defining the size. | ||
Header size | If the above toggle is enabled, provide the maximum height for the header. | ||
Footer size | If the above toggle is enabled, provide the maximum height for the footer. |
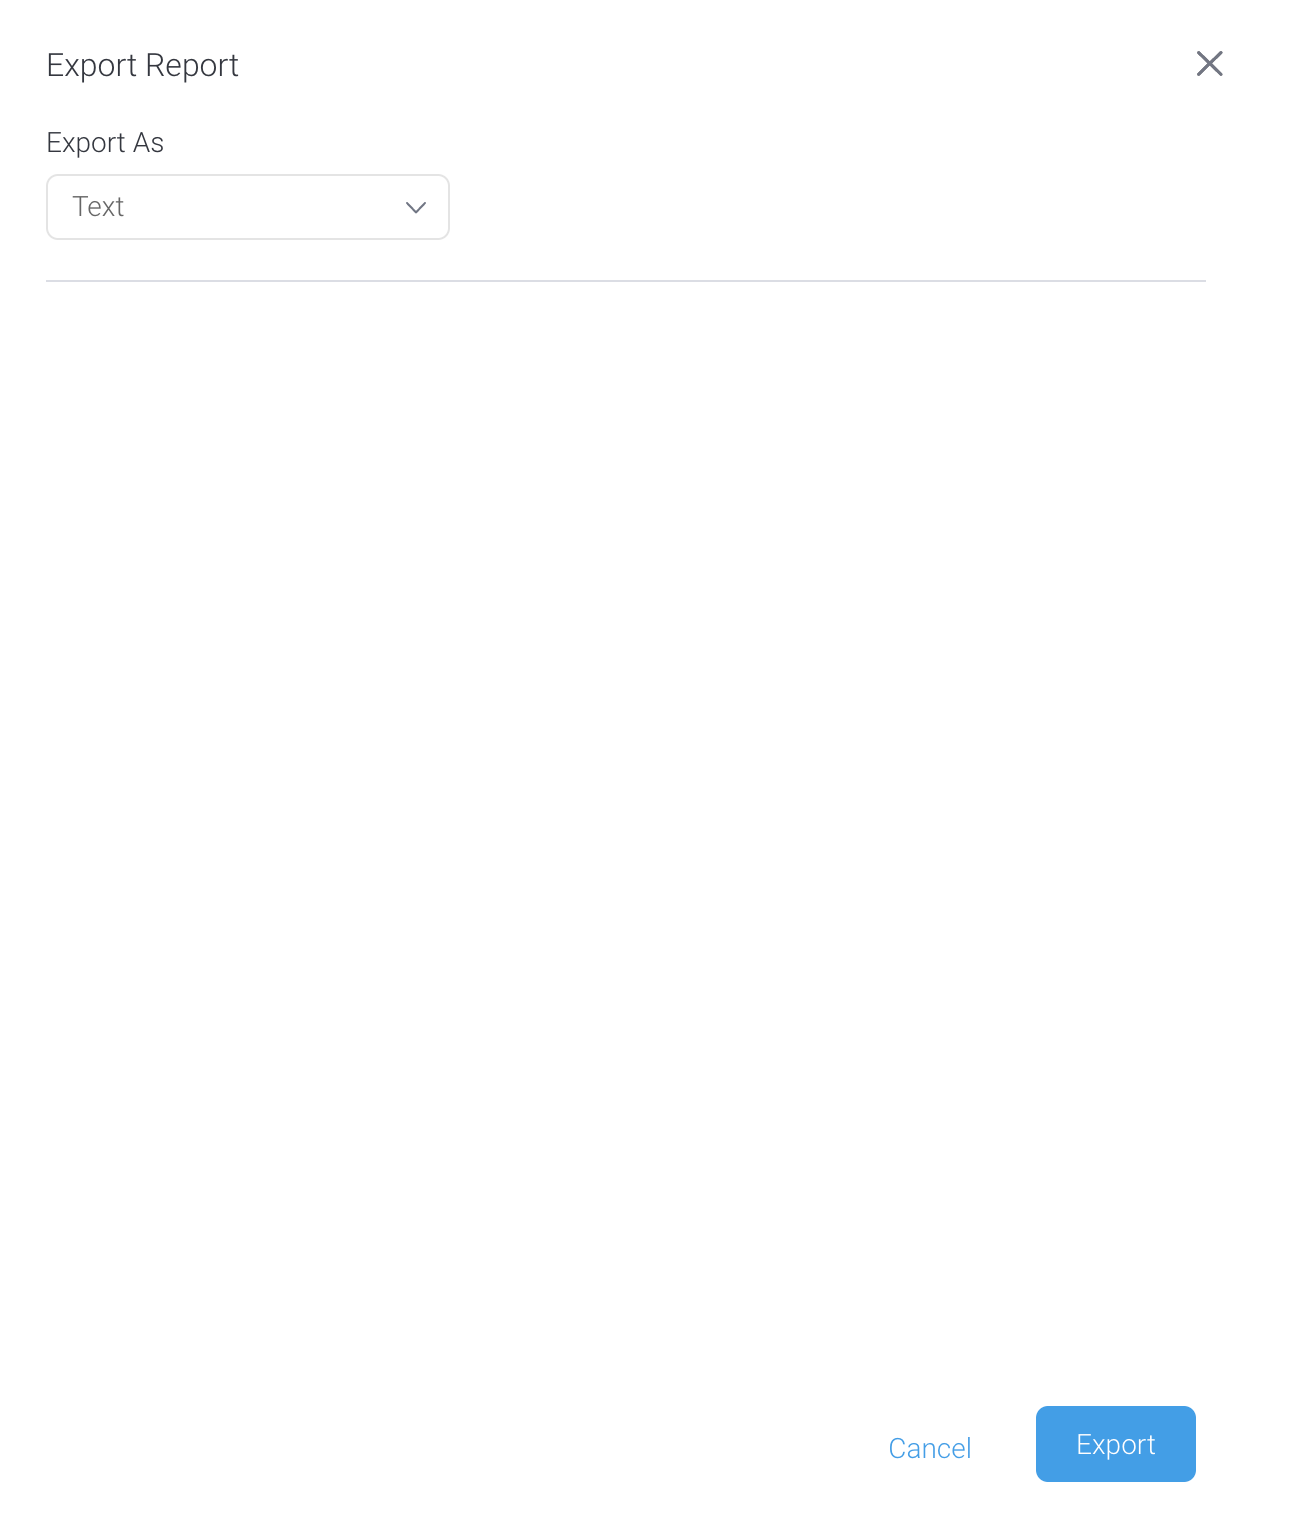
Text
Once you have chosen the Text format, your report will be instantly exported and downloaded into your default folder. Note that there are no settings to be configured for this option.
XLSX
Once you have chosen the XLSX format, you will be presented with export setting on the right panel of the menu.
...
Export to text
By its nature, exporting data to plain text doesn't allow for much customization. As a result, once you've selected your export preference as text, you can click on the Export button to download your file right away.
...
Export to XLSX
The XLSX file format, native to Microsoft Excel spreadsheets, has a choice of options so you can optimize your export before you download it.
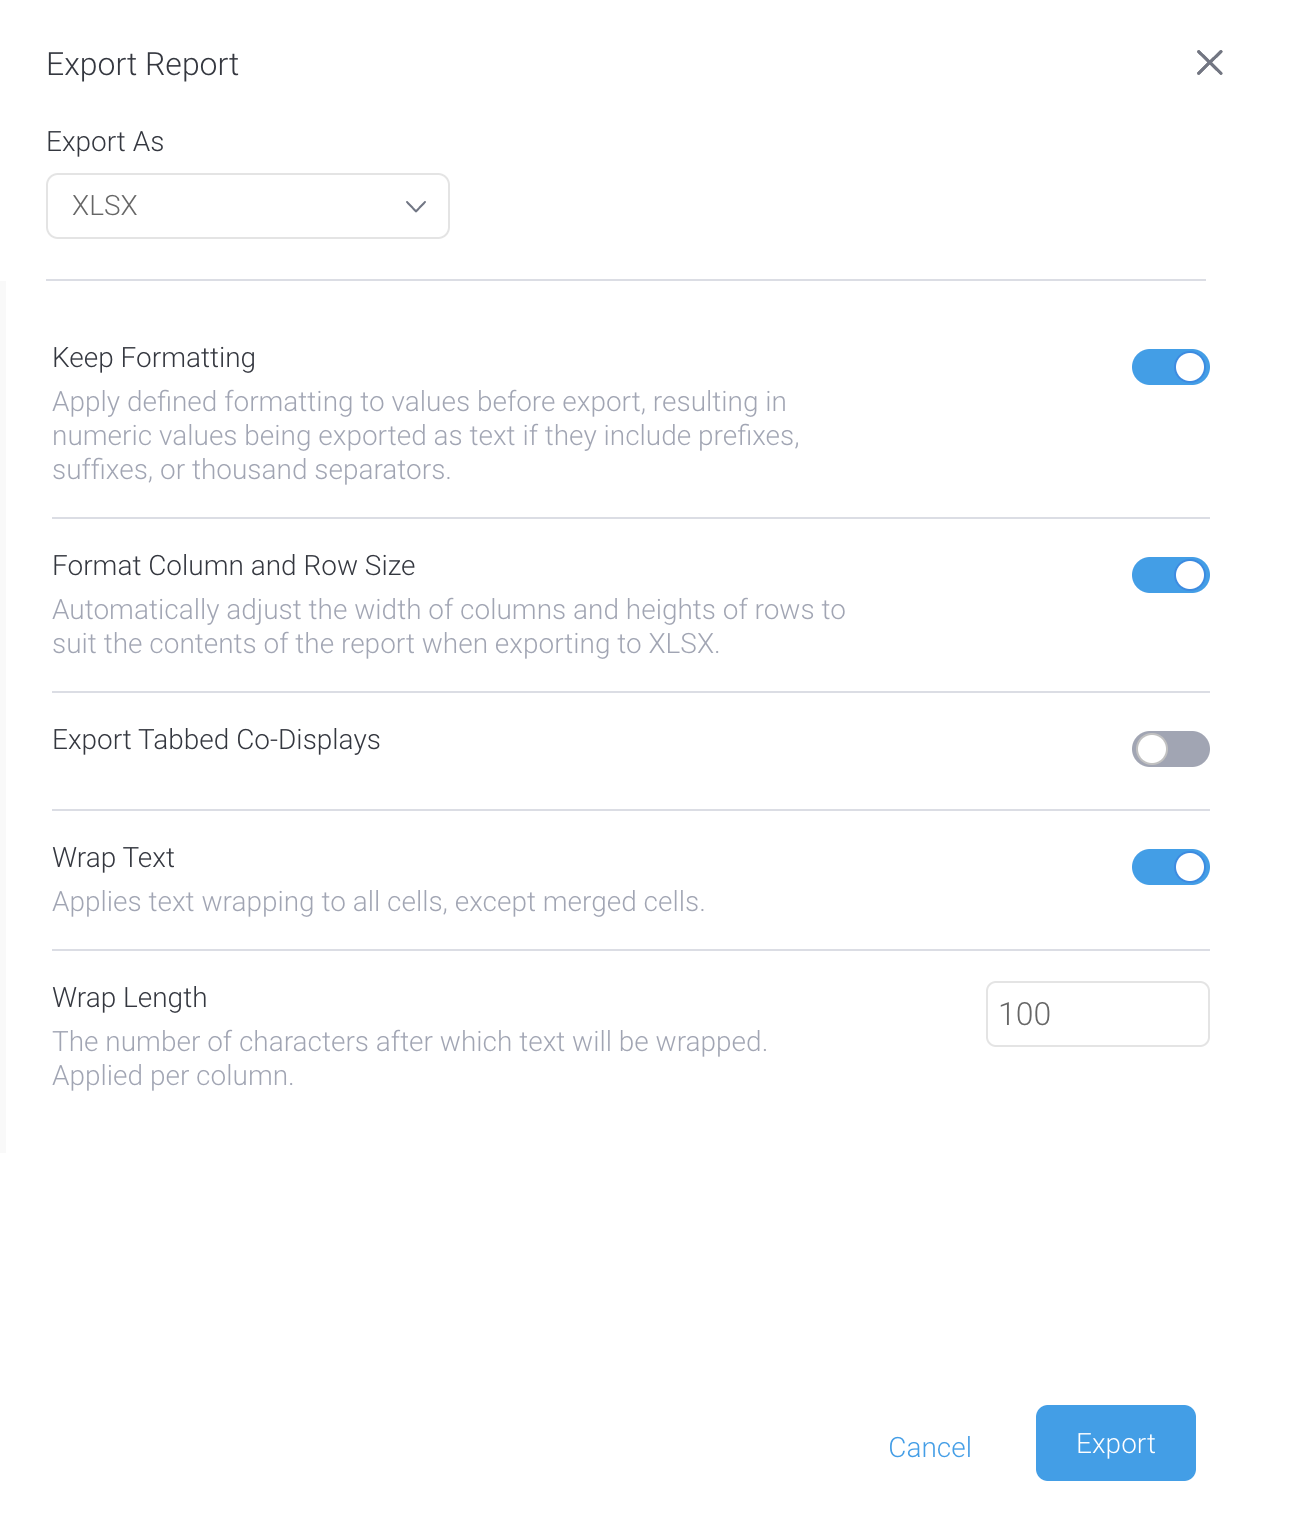
Select your preferred settings and click the Export button. See below for some tips in formatting this report.
...
Export setting | Description |
|---|---|
Keep formattingFormatting | This allows any formatting done on values to be retained when they are exported. Formatting includes prefixes, suffixes, or thousand separators in numeric values, a date format applied to date fields, or links added to text fields. Disable this to export raw values, without any formatting. In the above example, the values will be exported as numbers - provided Excel identifies them as numeric values. For instance, the above example will be exported as 100000000. |
Format column Column and row sizeRow Size | Enabling this will adjust the column widths and row heights to best fit the content in the Excel file. This allows all the content to be visible without opening the cells to see more in case of long text values. This will take longer to export content, however will make the file look neater and easier to read. Disable this to save export time in case of a large file. |
Export tabbed coTabbed Co-displaysDisplays | This setting is suitable for tabbed co-displayed reports that have separate reports that are brought up by navigating through tabs. The toggle will enable such reports to be exported in the same way, where each report will be in a separate Excel tab. If this is disabled, then only the main report will be exported. |
Wrap textText | Enable this toggle to wrap long lines of text when exporting a report to XLSX. The text limit can be defined by the user in the Wrap Length field. Note that this is not supported for merged cells. |
Wrap lengthLength | If text wrapping is enabled, provide the maximum number of characters in a column after which the line will break and move the remaining text to the next line. |
...
Print your report
Once you have chosen the Print format, you will see If you choose to print directly to a printer, selecting the Print menu option will open a preview window displayed. This window allows lets you to view the output and click to check it the layout prior to clicking on the Print link to proceed.

Note: you may be prompted to select your printer settings. These settings are determined by your printer and local software/hardware components. Choose the settings that are appropriate for you, and click the print button.
| horizontalrule |
|---|
Add to export list
You can add a report to the Export List section within Administration that allows you to export content definitions, in order to migrate it to another Yellowfin instance. Click here to learn more about content export.
Simply click on the Add to Export List option on the left side of the Export popup. The selected report’s definition will be included in the Export List, ready to be exported.
| horizontalrule |
|---|
...