Page History
...
Yellowfin is provided as a java archive file called Installer.jar. Copy the file to a temporary directory on the server onto which the application is to reside.
Language Selection
| Section | |||||||||||||
|---|---|---|---|---|---|---|---|---|---|---|---|---|---|
|

Welcome Screen
| Section | |||||||||||||
|---|---|---|---|---|---|---|---|---|---|---|---|---|---|
|

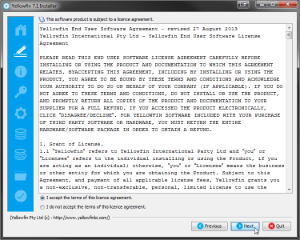
Terms & Conditions
| Section | |||||||||||||
|---|---|---|---|---|---|---|---|---|---|---|---|---|---|
|
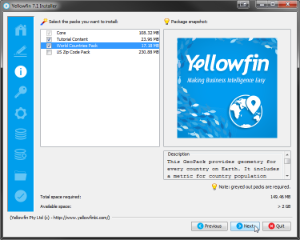
Required Components
| Section | |||||||||||||
|---|---|---|---|---|---|---|---|---|---|---|---|---|---|
|
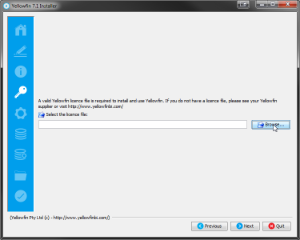
Licence File
| Section | |||||||||||||
|---|---|---|---|---|---|---|---|---|---|---|---|---|---|
|
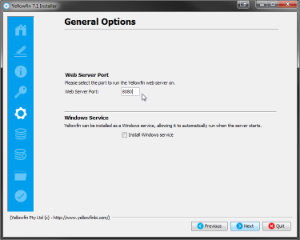
General Options
| Section | ||||||||||||
|---|---|---|---|---|---|---|---|---|---|---|---|---|
|
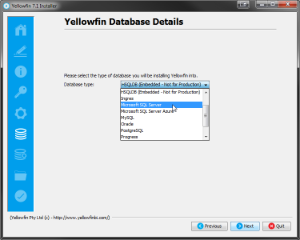
Database Selection
| Section | ||||||||||||
|---|---|---|---|---|---|---|---|---|---|---|---|---|
|
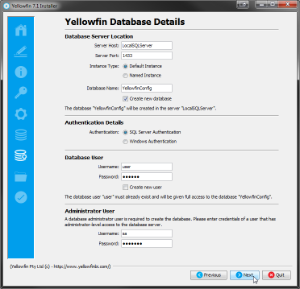
Database Details (Sample)
| Section | |||||||||||
|---|---|---|---|---|---|---|---|---|---|---|---|
|
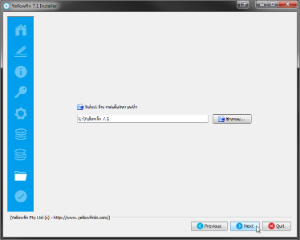
Installation Path
| Section | ||||||||||||
|---|---|---|---|---|---|---|---|---|---|---|---|---|
|
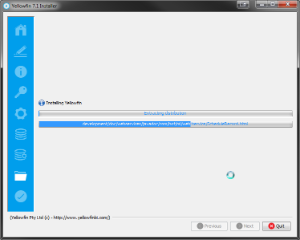
Installation Progress
| Section | ||||||||||||
|---|---|---|---|---|---|---|---|---|---|---|---|---|
|
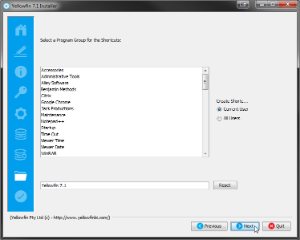
Shortcuts
| Section | |||||||||||
|---|---|---|---|---|---|---|---|---|---|---|---|
|
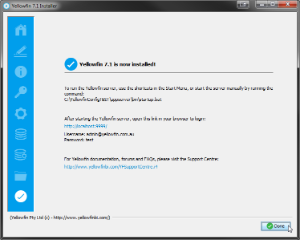
Installation Completion
| Section | ||||||||||||
|---|---|---|---|---|---|---|---|---|---|---|---|---|
|
Troubleshooting
...