Page History
...
| Section | ||||||||||
|---|---|---|---|---|---|---|---|---|---|---|
|

| Section | ||||||||||
|---|---|---|---|---|---|---|---|---|---|---|
|
...
| Section | ||||||||||
|---|---|---|---|---|---|---|---|---|---|---|
|
Location
| Section | ||||||||||
|---|---|---|---|---|---|---|---|---|---|---|
|
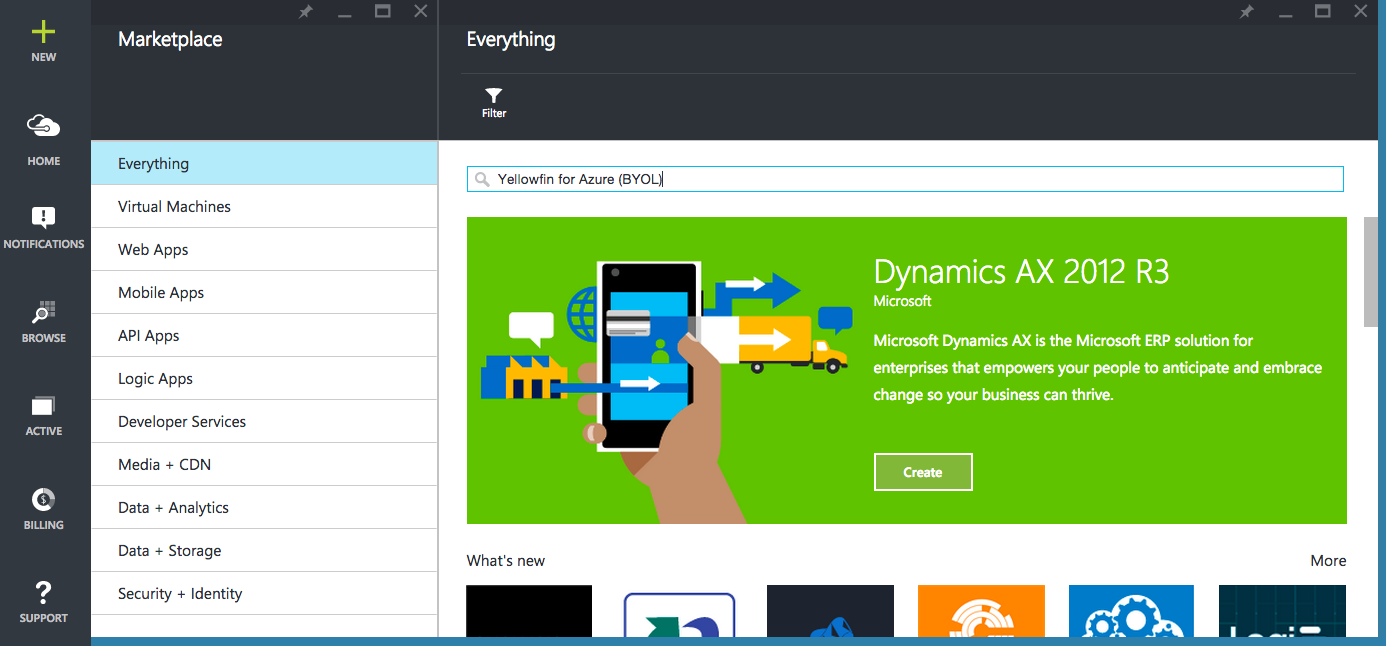
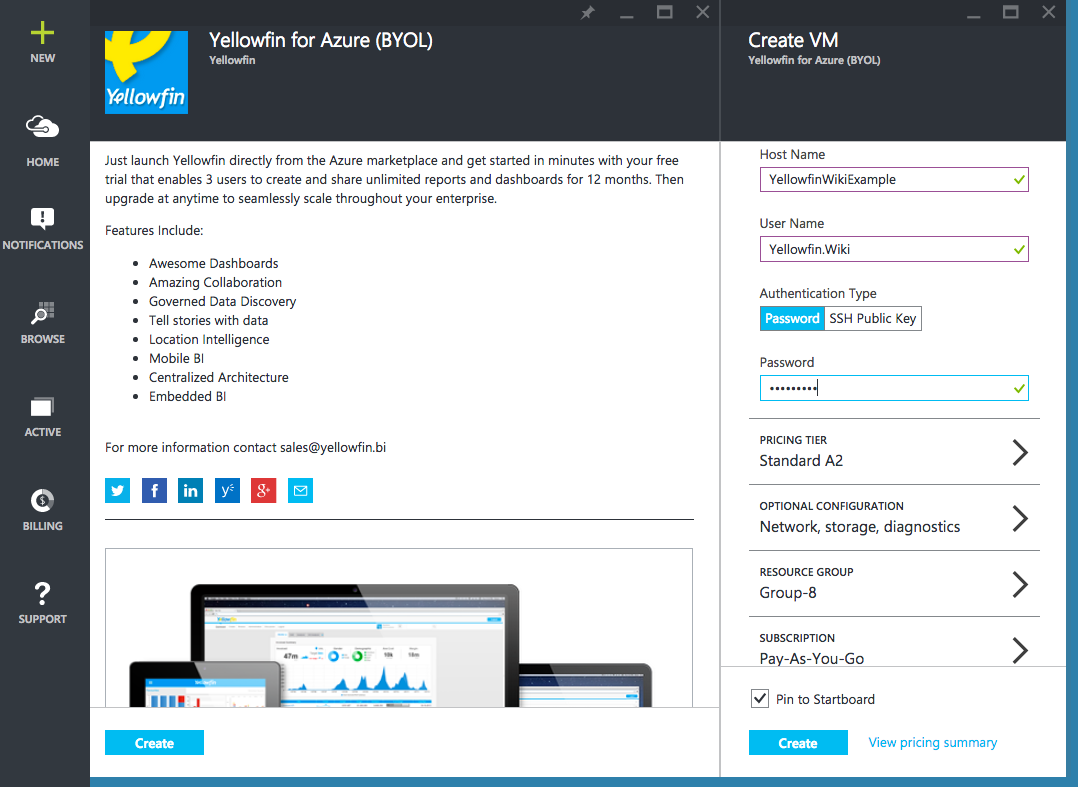
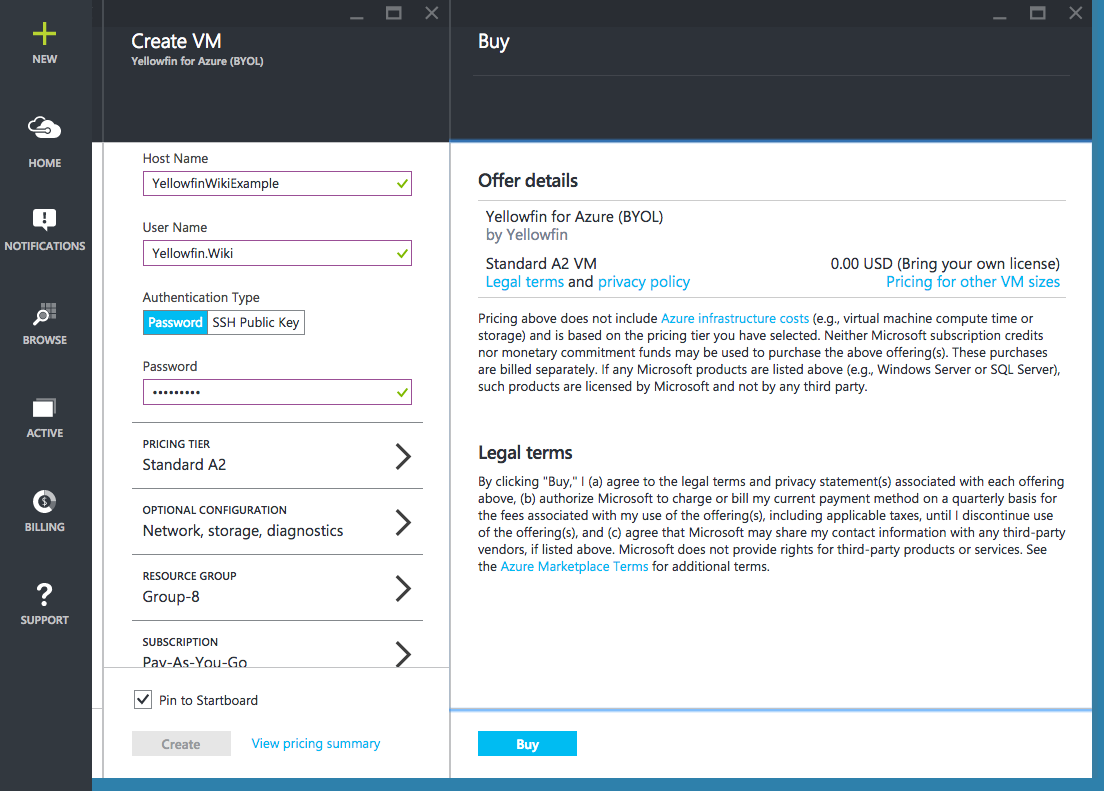
Create Instance
| Section | ||||||||||
|---|---|---|---|---|---|---|---|---|---|---|
|
Choose an Amazon Machine Image (AMI)
| Section | ||||||||||
|---|---|---|---|---|---|---|---|---|---|---|
|
| Section | ||||||||||
|---|---|---|---|---|---|---|---|---|---|---|
|
Choose Instance Type
| Section | ||||||||||
|---|---|---|---|---|---|---|---|---|---|---|
|
| Section | ||||||||||
|---|---|---|---|---|---|---|---|---|---|---|
|
Review & Launch
|
| Section | ||||||||||
|---|---|---|---|---|---|---|---|---|---|---|
| ||||||||||
| Section | ||||||||||
|
| Section | ||||||||||
|---|---|---|---|---|---|---|---|---|---|---|
|
| Section | ||||||||||
|---|---|---|---|---|---|---|---|---|---|---|
|
|
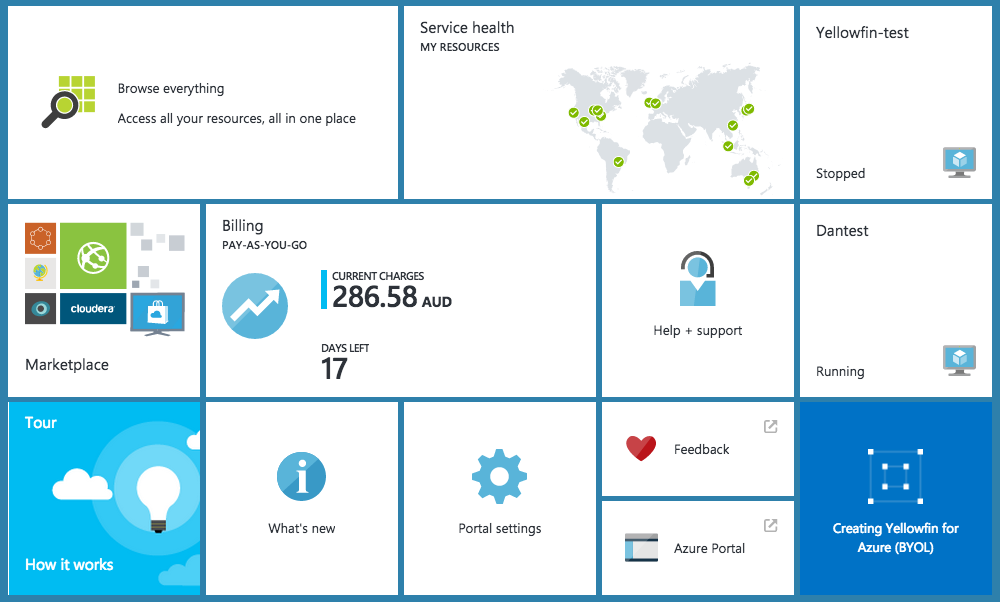
View Instances
| Section | ||||||||||
|---|---|---|---|---|---|---|---|---|---|---|
|
Instance Name
| Section | ||||||||||
|---|---|---|---|---|---|---|---|---|---|---|
|
Public IP
| Section | ||||||||||
|---|---|---|---|---|---|---|---|---|---|---|
|
Yellowfin
| Styleclass | ||
|---|---|---|
| ||
...