Page History
...
1. Click on the Create button and choose the data source option.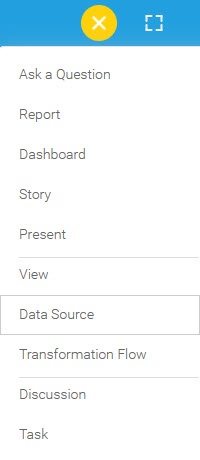
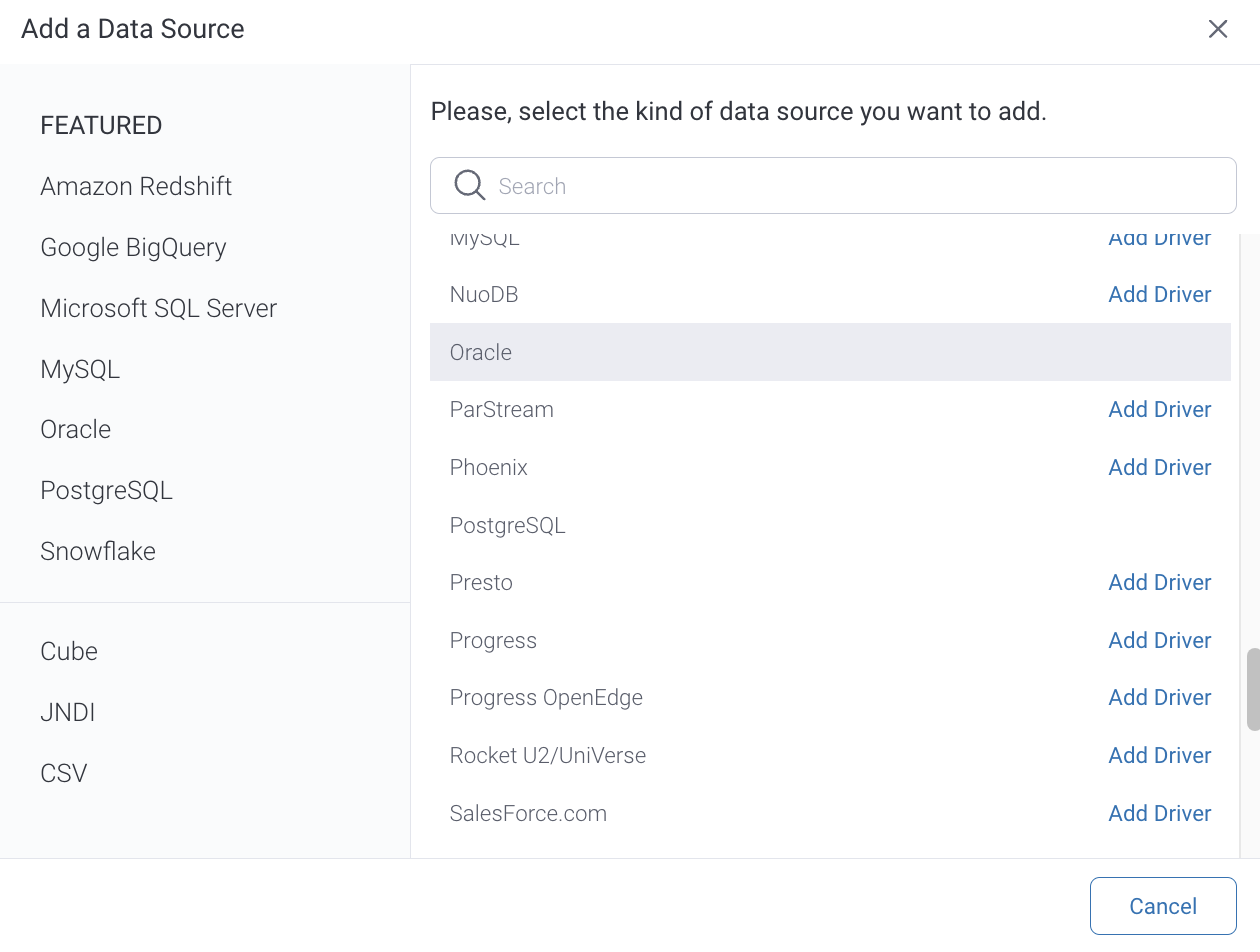
2. Select Select Oracle from the databases list.
3. When the New Connection popup appears, provide a name and description for your database.
4. Connection String: when selecting Connection String you have the same functionality as in Generic JDBC Data Source.

5. Oracle configuration configuration fields:
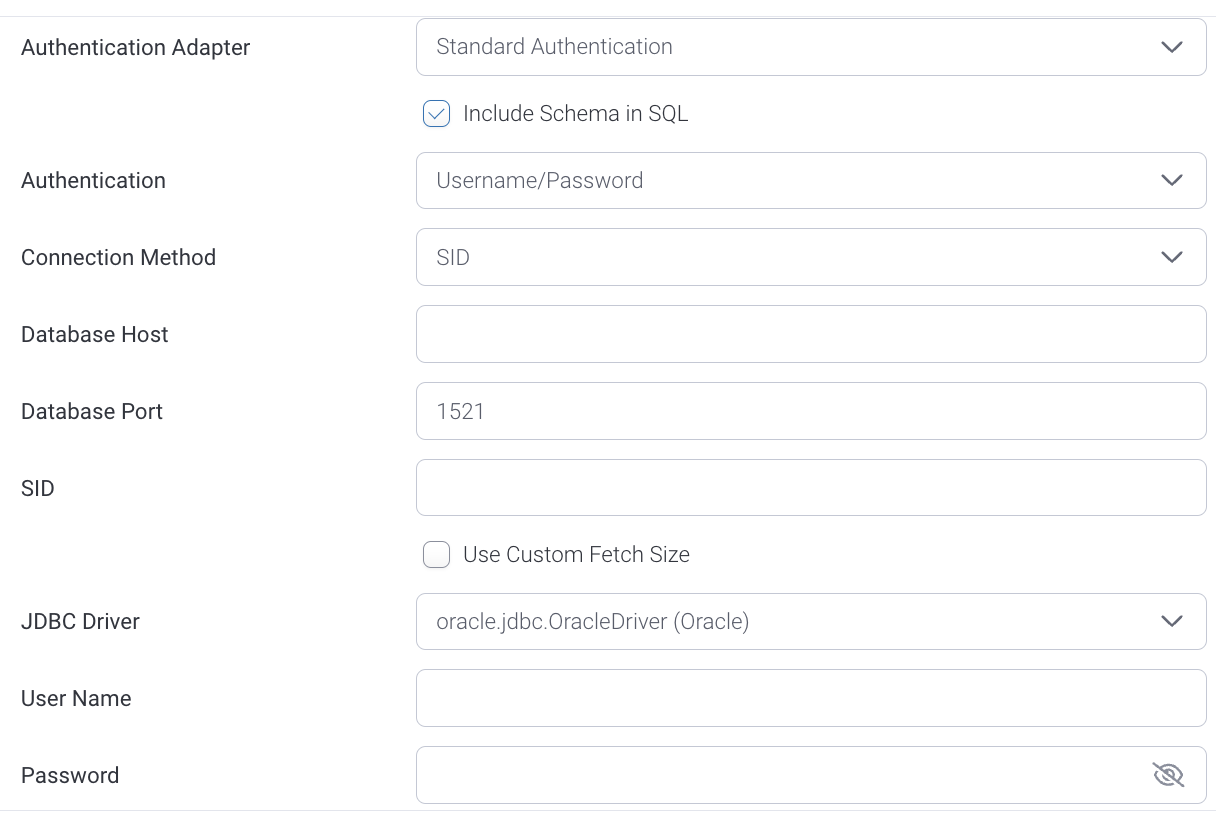
6. Authentication Adapter: Specify an authentication method for the database adapter. More details Advanced Connection Editor.
7. Select the the Include Schema in SQL checkbox to include the schema name when addressing database tables in SQL queries. 

8. Specify how you want to connect by choosing one of the following connection methods:
...
9. Next, enter the name or IP address of the server hosting the database.
10. The default port number for Oracle will automatically appear.
11. Provide the name of the database containing the data that you require.
12. Enter the value of the selected connection method (selected in step 6). E.g. if SID was chosen, provide the source ID number, or if TNSNAMES was selected, then provide the contents of your tnsnames.ora file.
13. Select the the Use Custom Fetch Size checkbox if you want a select number of data rows to be retrieved from the database after a query is executed. Specify the number of rows.


14. Yellowfin will automatically select the correct JDBC driver to talk to your Oracle database.
15. Enter the username and password of your database account.
16. Toggle Toggle Advanced Settings to to see more settings. 

17. Once you have completed your connection information, you will have several options:

- Back: This will navigate to the database selection.
- Cancel: This will close the New Connection popup.
- Test Connection: This will test the connection parameters you provided to ensure it can connect to your database. If the connection is successful, an indicator will appear and you will be able to save the connection.


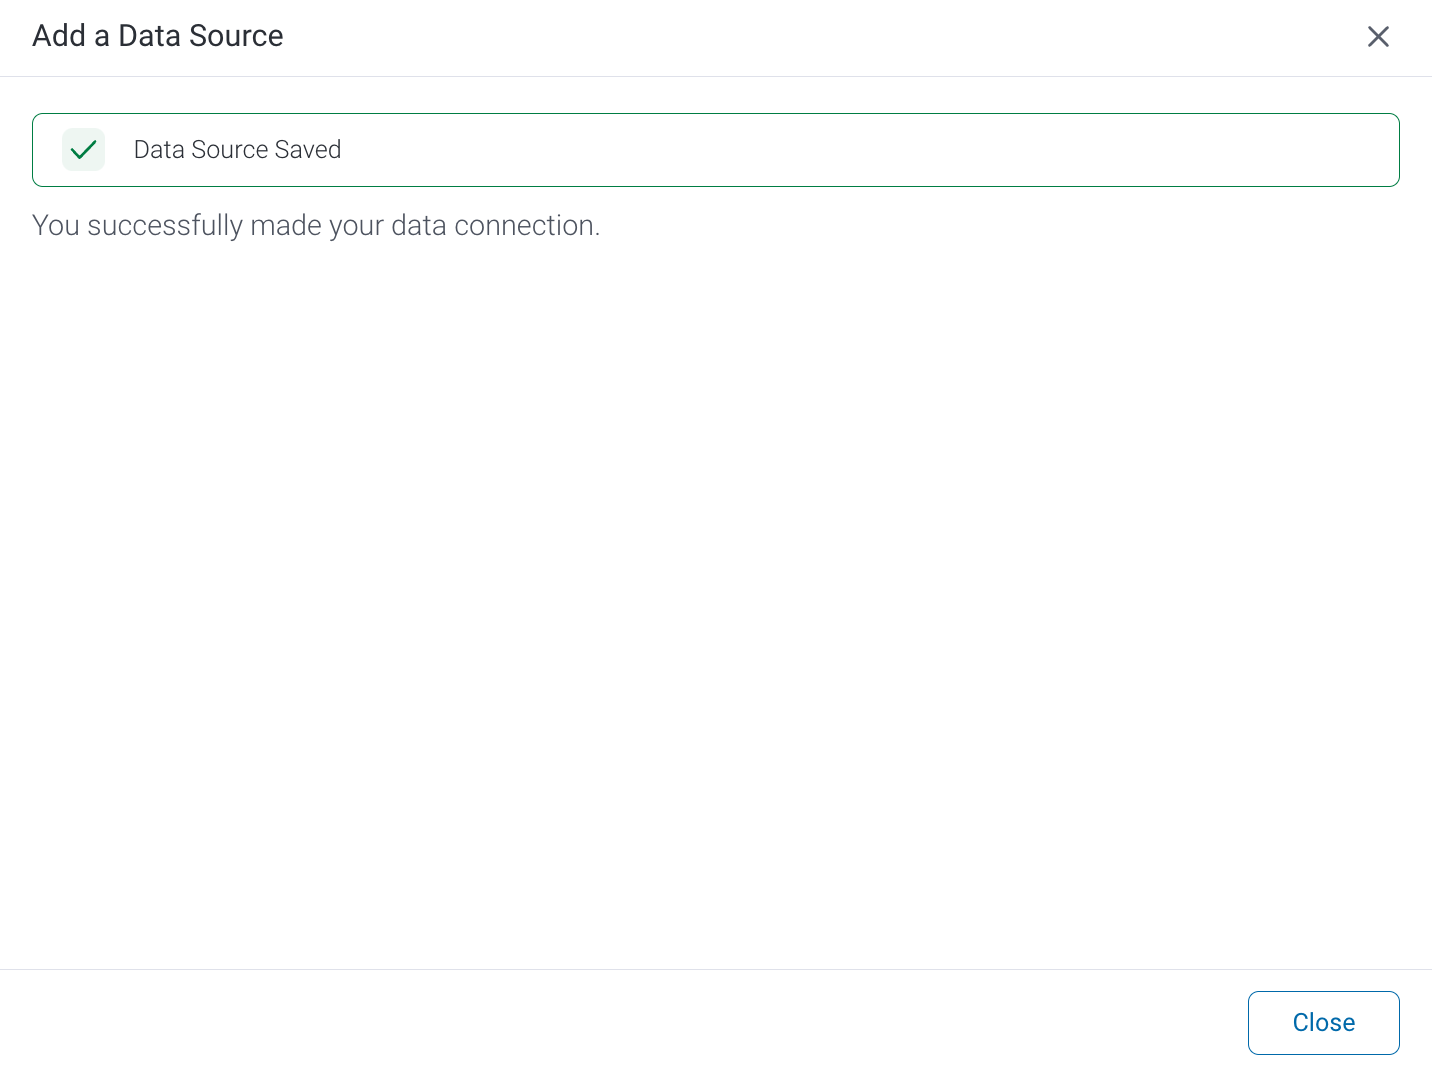
page - Save: This will allow you to save your connection and navigate to the Success page: