Page History
...
- Open the app, and tap on the Login button.
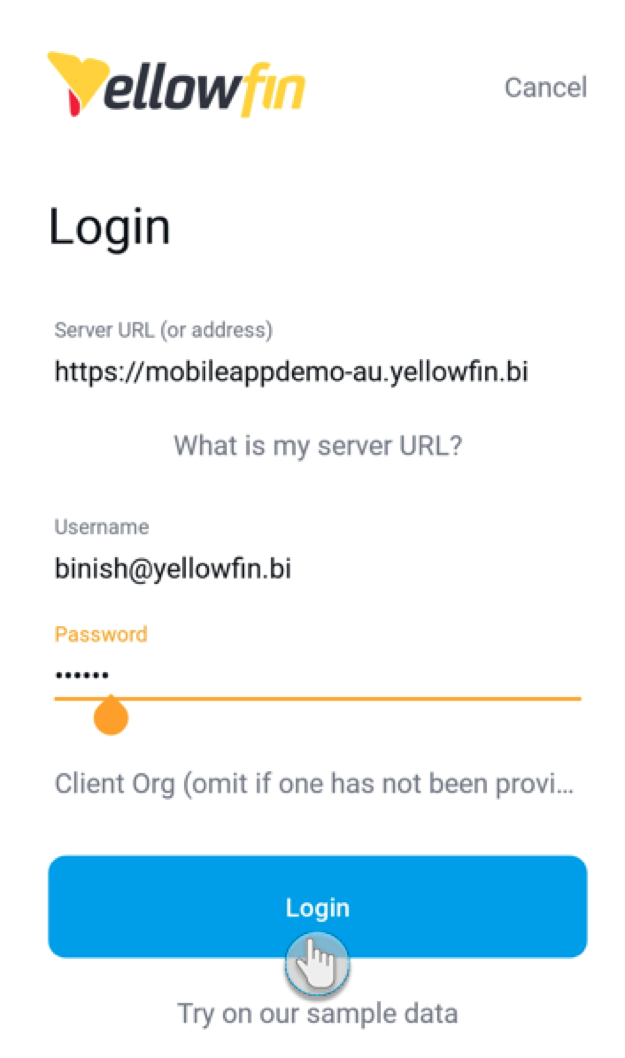
- When at the login page, specify your server URL. This is the address of the server where Yellowfin is deployed.
Tip: tap on the What is my server URL? link for an explanation on this URL.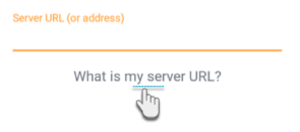
- Enter your Yellowfin username and password. Note that the username field is case sensitive.
- Tap on the Forgot Password link if you have an account, but can’t remember your password. An alert will advise you to contact your system administrator for your new password.
- To log into a specific client organization, provide the client org reference ID, otherwise leave this field empty.
- Once all the details are provided, tap on Login to continue.
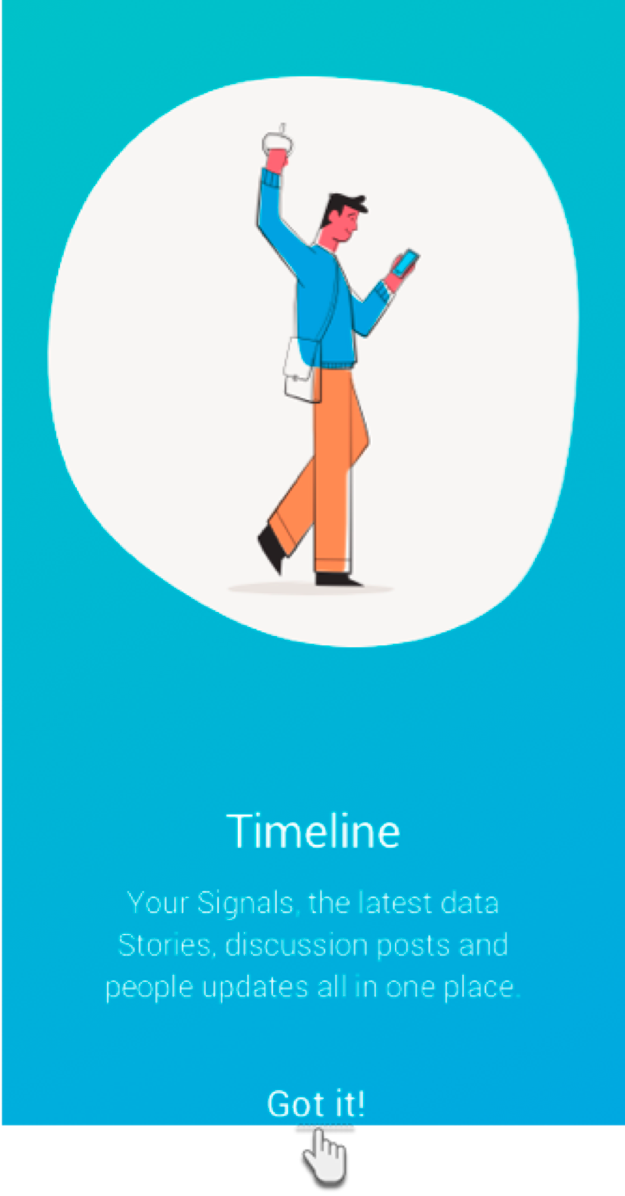
- Upon logging in successfully for the first time, you will be able to scroll through a series of introductory pages. Swipe left on each of them, and then tap Got it! on the last page.
- You will land on the Settings page that allows you to configure alternative login methods. Learn more about these here, or tap Skip.
- Tap on Continue. You will be taken to your Timeline.
Note: The next time you log in, you will be taken straight to the Timeline.
...
| Tip | ||
|---|---|---|
| ||
Before you begin, ensure that your email configuration has been set up in Yellowfin. You will also need to define an external URL to access this instance by specifying your IP address (in the External Instance Base URL field under General Settings). |
...
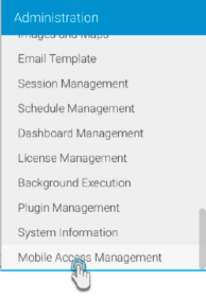
- Open your Yellowfin desktop platform. Then from the main menu, expand Administration, and click on Mobile Access Management.
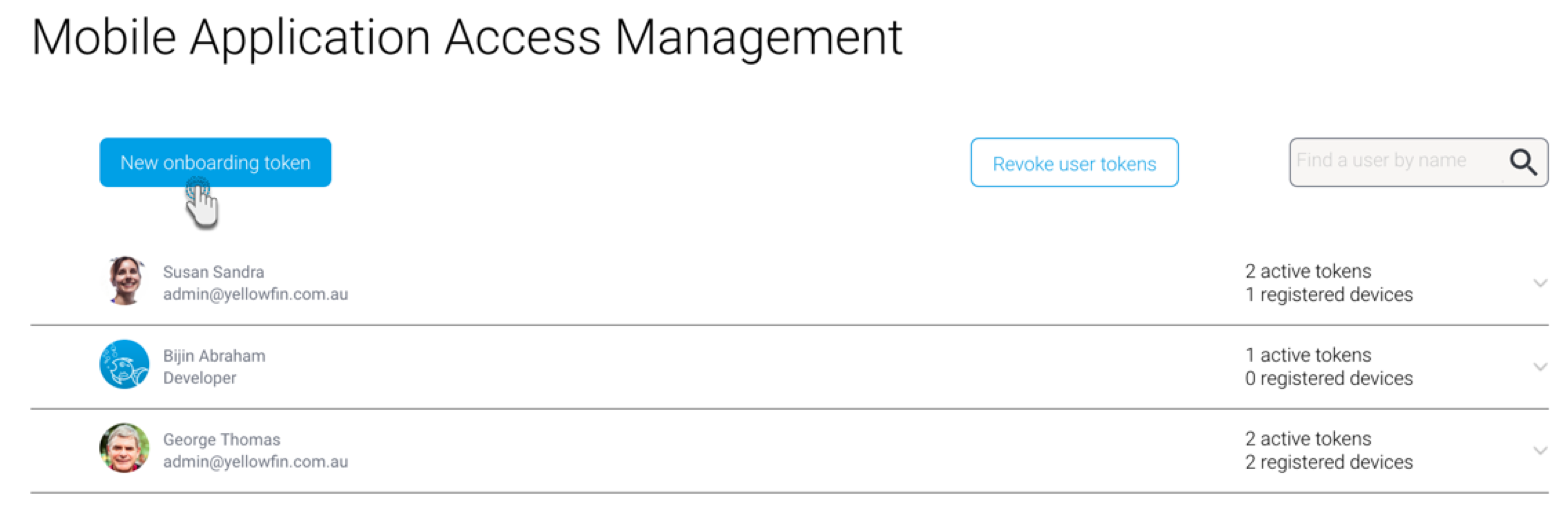
- When at the Mobile Access Management page, click on the New onboarding token button.
- In the new popup, add users (or even groups) whom you want to send the invite to.
- You may also select the Disregard users... checkbox if you do not wish to send invites to users who have already been issued invites, regardless of whether or not they’ve registered a device using the invite.
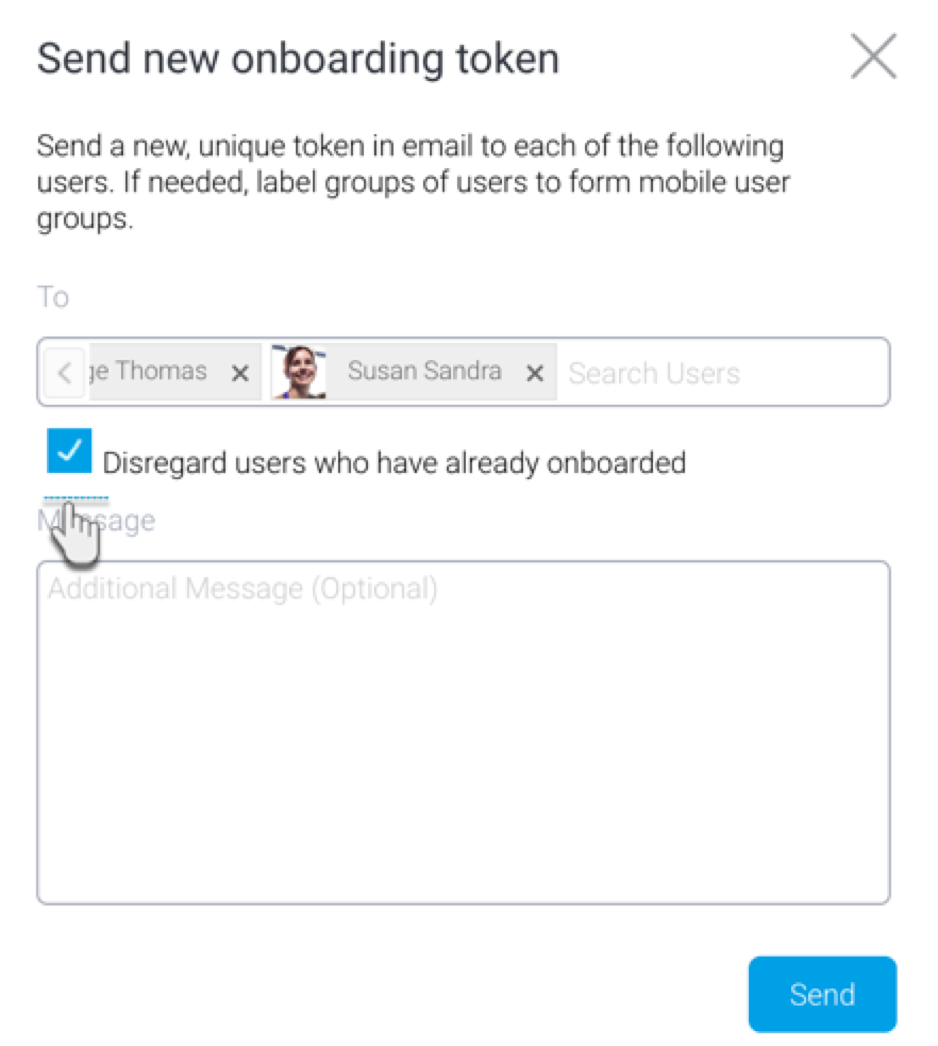
- You may add an optional message to be sent with the invite.
- Click on the Send button to send the invites. On doing so, you will also see invitees on the Access Management page. This allows you to manage their access to the mobile app. More here.
Self issued onboarding invite
...
- Through your mobile device, access the invitation email that you received.
- Tap on the ‘open and log in to mobile app’ link in the email.

- The app will open on your device and automatically log you in. Note: Your preferred browser is opened first, before the app is launched. Depending on your security settings, a confirmation message might appear, seeking permission to launch the app.
If you exit or switch to another app, you will remain logged in for 15 minutes before getting automatically logged out.
Tip Once onboarding users are logged out, they will need another token to access the app again. To save the trouble of issuing new tokens, set up a PIN code or biometric authentication on your app. Learn more about setting this up here.
...
| Anchor | ||||
|---|---|---|---|---|
|
...