Page History
| Anchor | ||||
|---|---|---|---|---|
|
| Table of Contents | ||
|---|---|---|
|
Introduction
| Styleclass | ||
|---|---|---|
| ||
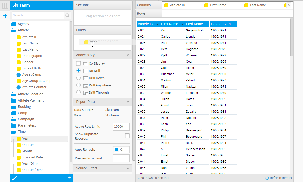
In this scenario our main report will have a list of athletes that attended camps in the current year. We will then remove athletes from that list that are in the minus list (athletes from prior to the current year), leaving us with only athletes attending camps for the first time this year.
| HTML |
|---|
<iframe width="700" height="394" src="https://www.youtube.com/embed/clsb3vv2BhM?color=white" frameborder="0" allowfullscreen></iframe> |
Create
| Styleclass | ||
|---|---|---|
| ||
| Section | ||||||||||||||||
|---|---|---|---|---|---|---|---|---|---|---|---|---|---|---|---|---|
|
| Section | ||||||||||
|---|---|---|---|---|---|---|---|---|---|---|
|
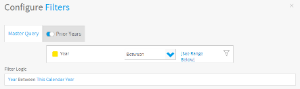
Master Query
| Styleclass | ||
|---|---|---|
| ||
| Section | ||||||||||
|---|---|---|---|---|---|---|---|---|---|---|
|

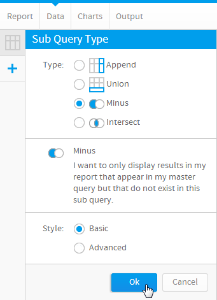
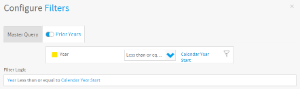
Minus Query
| Styleclass | ||
|---|---|---|
| ||
Create Minus
| Section | ||||||||||
|---|---|---|---|---|---|---|---|---|---|---|
|
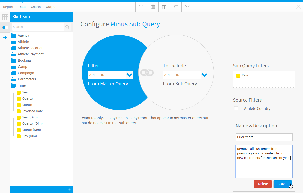
Configure Minus
| Section | ||||||||||
|---|---|---|---|---|---|---|---|---|---|---|
|
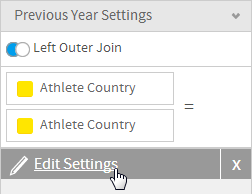
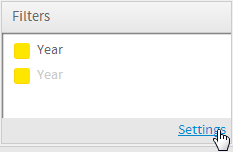
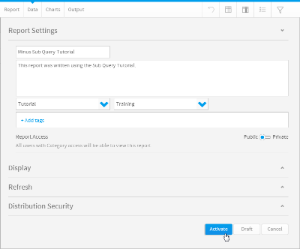
Edit Settings
| Section | ||||||||||
|---|---|---|---|---|---|---|---|---|---|---|
|
Apply Filters
| Styleclass | ||
|---|---|---|
| ||
| Section | ||||||||||
|---|---|---|---|---|---|---|---|---|---|---|
|
Master Filter
| Section | ||||||||||
|---|---|---|---|---|---|---|---|---|---|---|
|
Sub Query Filter
| Section | ||||||||||
|---|---|---|---|---|---|---|---|---|---|---|
|
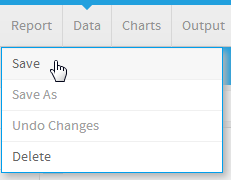
Save
| Styleclass | ||
|---|---|---|
| ||
| Section | ||||||||||
|---|---|---|---|---|---|---|---|---|---|---|
|
| Section | ||||||||||
|---|---|---|---|---|---|---|---|---|---|---|
|
| horizontalrule |
|---|
| Styleclass | ||
|---|---|---|
| ||