In this section, we look at how to create a view which requires authorisation to be published; we will use the same sub-folder we enabled the view approval setting for for this process.
Note
These steps are normally performed by a user who is a view administrator or creator. It is assumed that this user does not have the authorisation to grant approval for the views.
Create and prepare a view. (See Creating a View for more information on how to do this.)
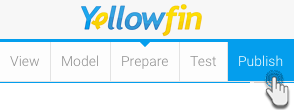
After creating the models and preparing the data, click on Publish
Image Added
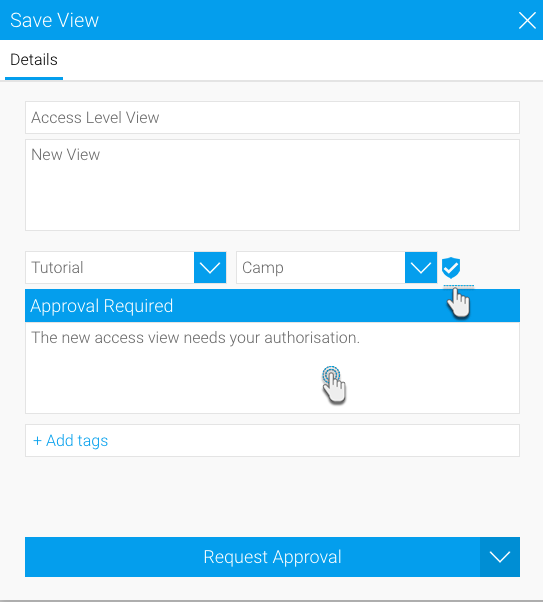
Add details of this new view in the Save View popup window
Give your view a name and add a description of it
Select the folder for your view
If the folder you have selected has the view approval setting enabled, a new Approval Required field will appear, along with a shield icon
Image Added
You must add a message regarding the view approval that will be sent to the approver
You can use add tags to connect tags to your view
Finally, click on the Request Approval button
Your view has been created and sent for approval. It will only be published if it gets approved by the appointed approver