Page History
| Anchor | ||||
|---|---|---|---|---|
|
| Table of Contents | ||
|---|---|---|
|
Prerequisites
| Styleclass | ||
|---|---|---|
| ||
...
The server hosting the Yellowfin application MUST have Java 1.5 or higher installed on it. The Java JRE is sufficient for this purpose. Refer to the Sun web site for download and installation instructions (http://www.java.sun.com![]() )
)
Database
The database software which will contain the Yellowfin database should already be installed. Suitable jdbc drivers to enable the database to communicate with the Yellowfin application should also be installed. It is not necessary for the database server to reside on the same machine as the Yellowfin application.
Installation Steps
| Styleclass | ||
|---|---|---|
| ||
Language Selection
| Section | ||||||||||||
|---|---|---|---|---|---|---|---|---|---|---|---|---|
|

Welcome Screen
| Section | |||||||||||||
|---|---|---|---|---|---|---|---|---|---|---|---|---|---|
|
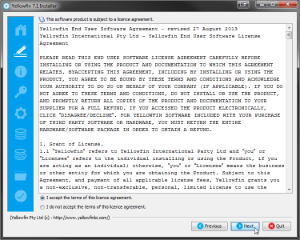
Terms & Conditions
| Section | ||||||||||||
|---|---|---|---|---|---|---|---|---|---|---|---|---|
|
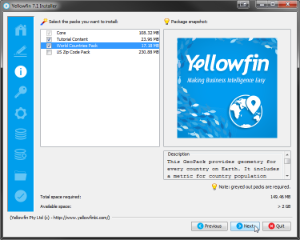
Required Components
| Section | |||||||||||||
|---|---|---|---|---|---|---|---|---|---|---|---|---|---|
|
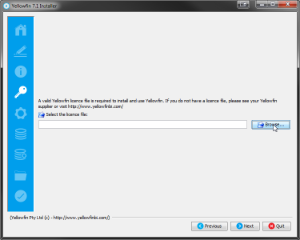
Licence File
| Section | ||||||||||||
|---|---|---|---|---|---|---|---|---|---|---|---|---|
|
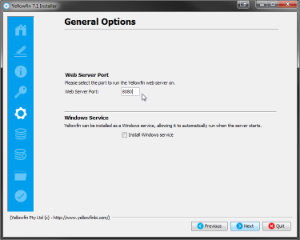
General Options
| Section | |||||||||||||
|---|---|---|---|---|---|---|---|---|---|---|---|---|---|
|
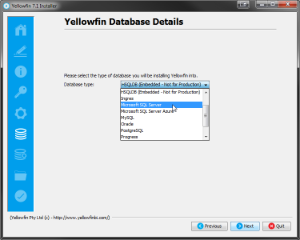
Database Selection
| Section | ||||||||||||
|---|---|---|---|---|---|---|---|---|---|---|---|---|
|
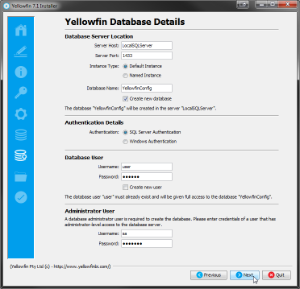
Database Details (Sample)
| Section | |||||||||||
|---|---|---|---|---|---|---|---|---|---|---|---|
|
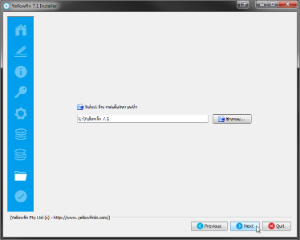
Installation Path
| Section | ||||||||||||
|---|---|---|---|---|---|---|---|---|---|---|---|---|
|
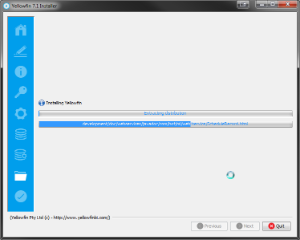
Installation Progress
| Section | |||||||||||
|---|---|---|---|---|---|---|---|---|---|---|---|
|
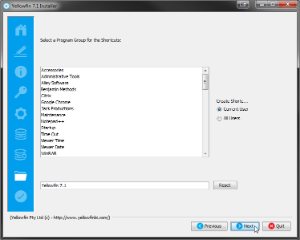
Shortcuts
| Section | |||||||||||
|---|---|---|---|---|---|---|---|---|---|---|---|
|
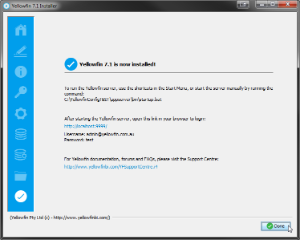
Installation Completion
| Section | ||||||||||||
|---|---|---|---|---|---|---|---|---|---|---|---|---|
|
Troubleshooting
...
If you are experiencing other installation issues the Yellowfin forum is a good place to look for answers. Go to http://www.yellowfinbi.com/YFForum.i4![]() to explore previous posts or seek help from other users and Support Members. Some useful troubleshooting posts include:
to explore previous posts or seek help from other users and Support Members. Some useful troubleshooting posts include:
- http://www.yellowfinbi.com/YFForum-ERROR-Yellowfin-Installation-on-MS-Server-08-?thread=103838

- http://www.yellowfinbi.com/YFForum-install-Yelliowfin-on-SQL-Server-2005-?thread=89809
- http://www.yellowfinbi.com/YFForum-New-installation-of-Yellowfin-but-it-s-not-launching-?thread=105437
If the above posts do not solve the issues you're experiencing, please send an email to support@yellowfin.bi with a clear description of the issue, along with the following:
- Screenshots (if applicable)
- YellowfinInstallLog-date.log (this can be found in the Yellowfin directory)
- All log files found in Yellowfin\appserver\LOGS (if you have any)
| horizontalrule |
|---|
| Styleclass | ||
|---|---|---|
| ||