Page History
...
If you're running Yellowfin directly from a cloud marketplace (such as Yellowfin for AWS), the start-up process is covered in our Install on in the Cloud section section (find your cloud type for full details).
...
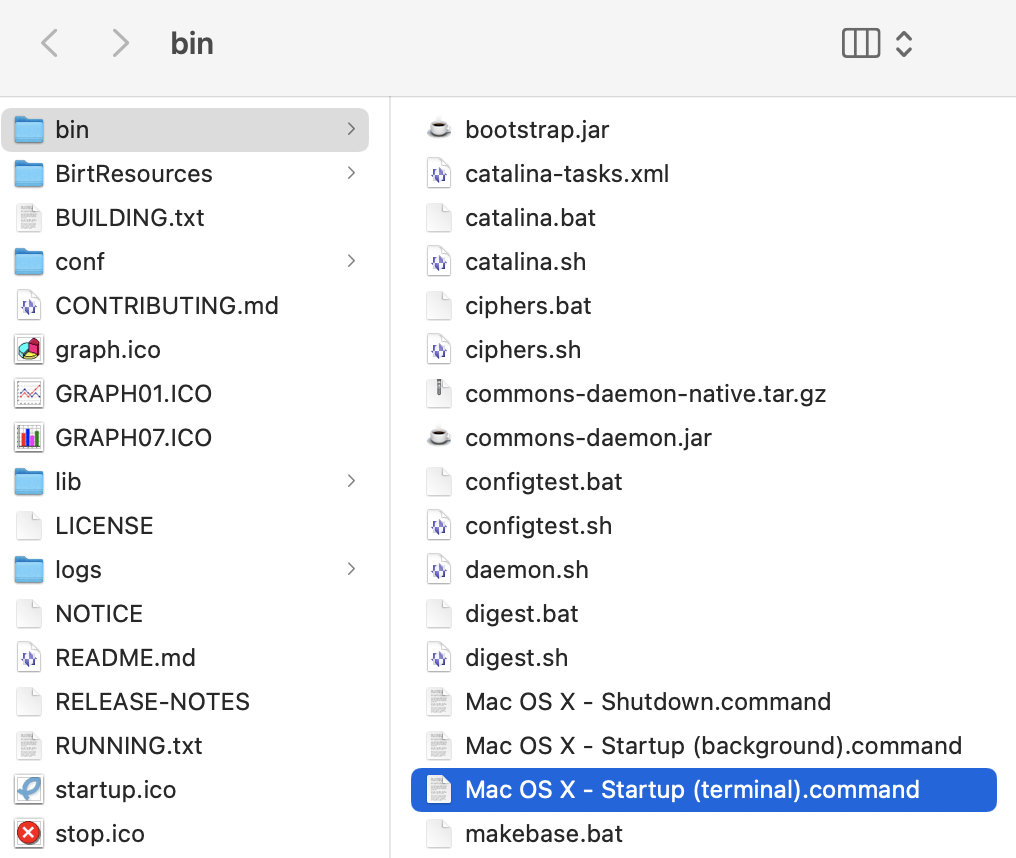
- Find the new Yellowfin directory: this was shown on the Installation Complete page at the end of your installation, or you can find it manually via your installation path > appserver folder > bin folder
- For Windows, locate the startup.bak file and double-click on it
- For Mac OS X or Linux, locate the Startup (terminal).command file and double-click on it (if you'd prefer to run it in the background, use Startup (background).command instead)
A terminal window will open and the Yellowfin application will start; this takes 60-90 seconds the first time, and 30-60 seconds after that (the time is shown at the end of the server start-up process):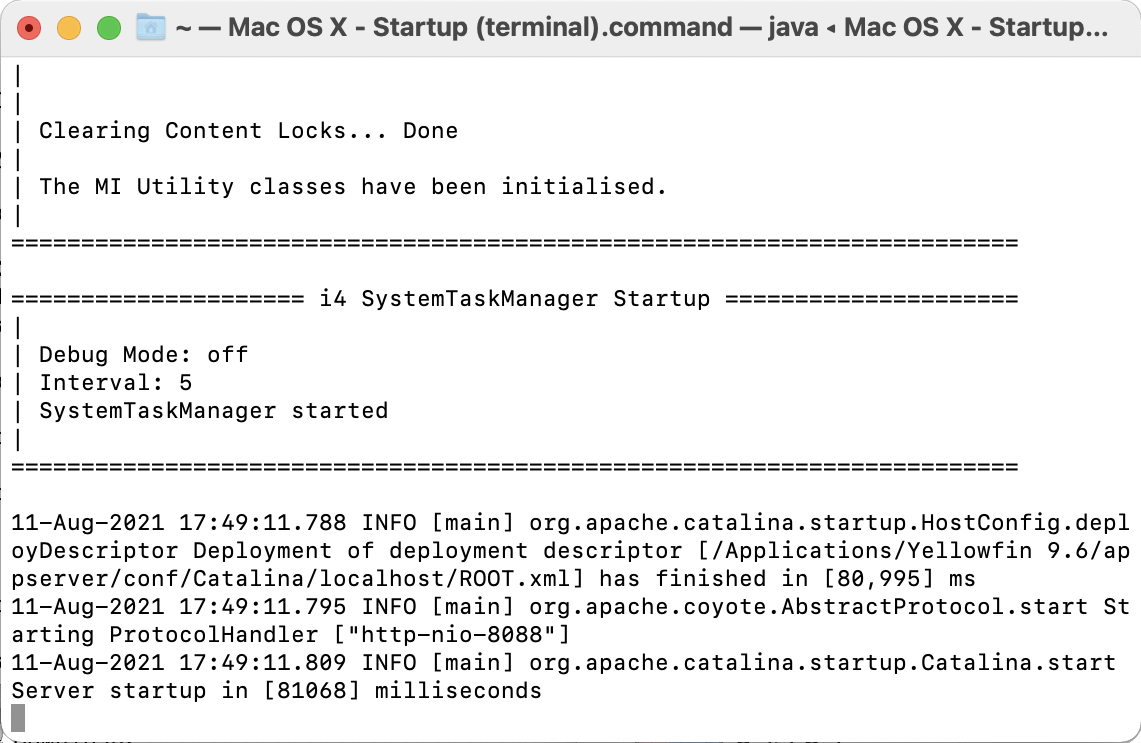
| Info |
|---|
You can stop the Yellowfin application server from a different file within the same directory. Find the shutdown.bat file (Windows) or Shutdown.command file (Mac/Linux) and double-click on it to trigger the shutdown. |
...
On Windows, you have an additional option of starting Yellowfin as a service. During the Yellowfin software installation process, you would have been prompted to install this feature. If you did, follow the steps below to start the service. If you didn't, visit our knowledge base article on how to enable this tool after installation, then follow the instructions below.
- On your keyboard press the Windows+R keys to open the Run dialogue box
- Type services.msc and press the Enter key

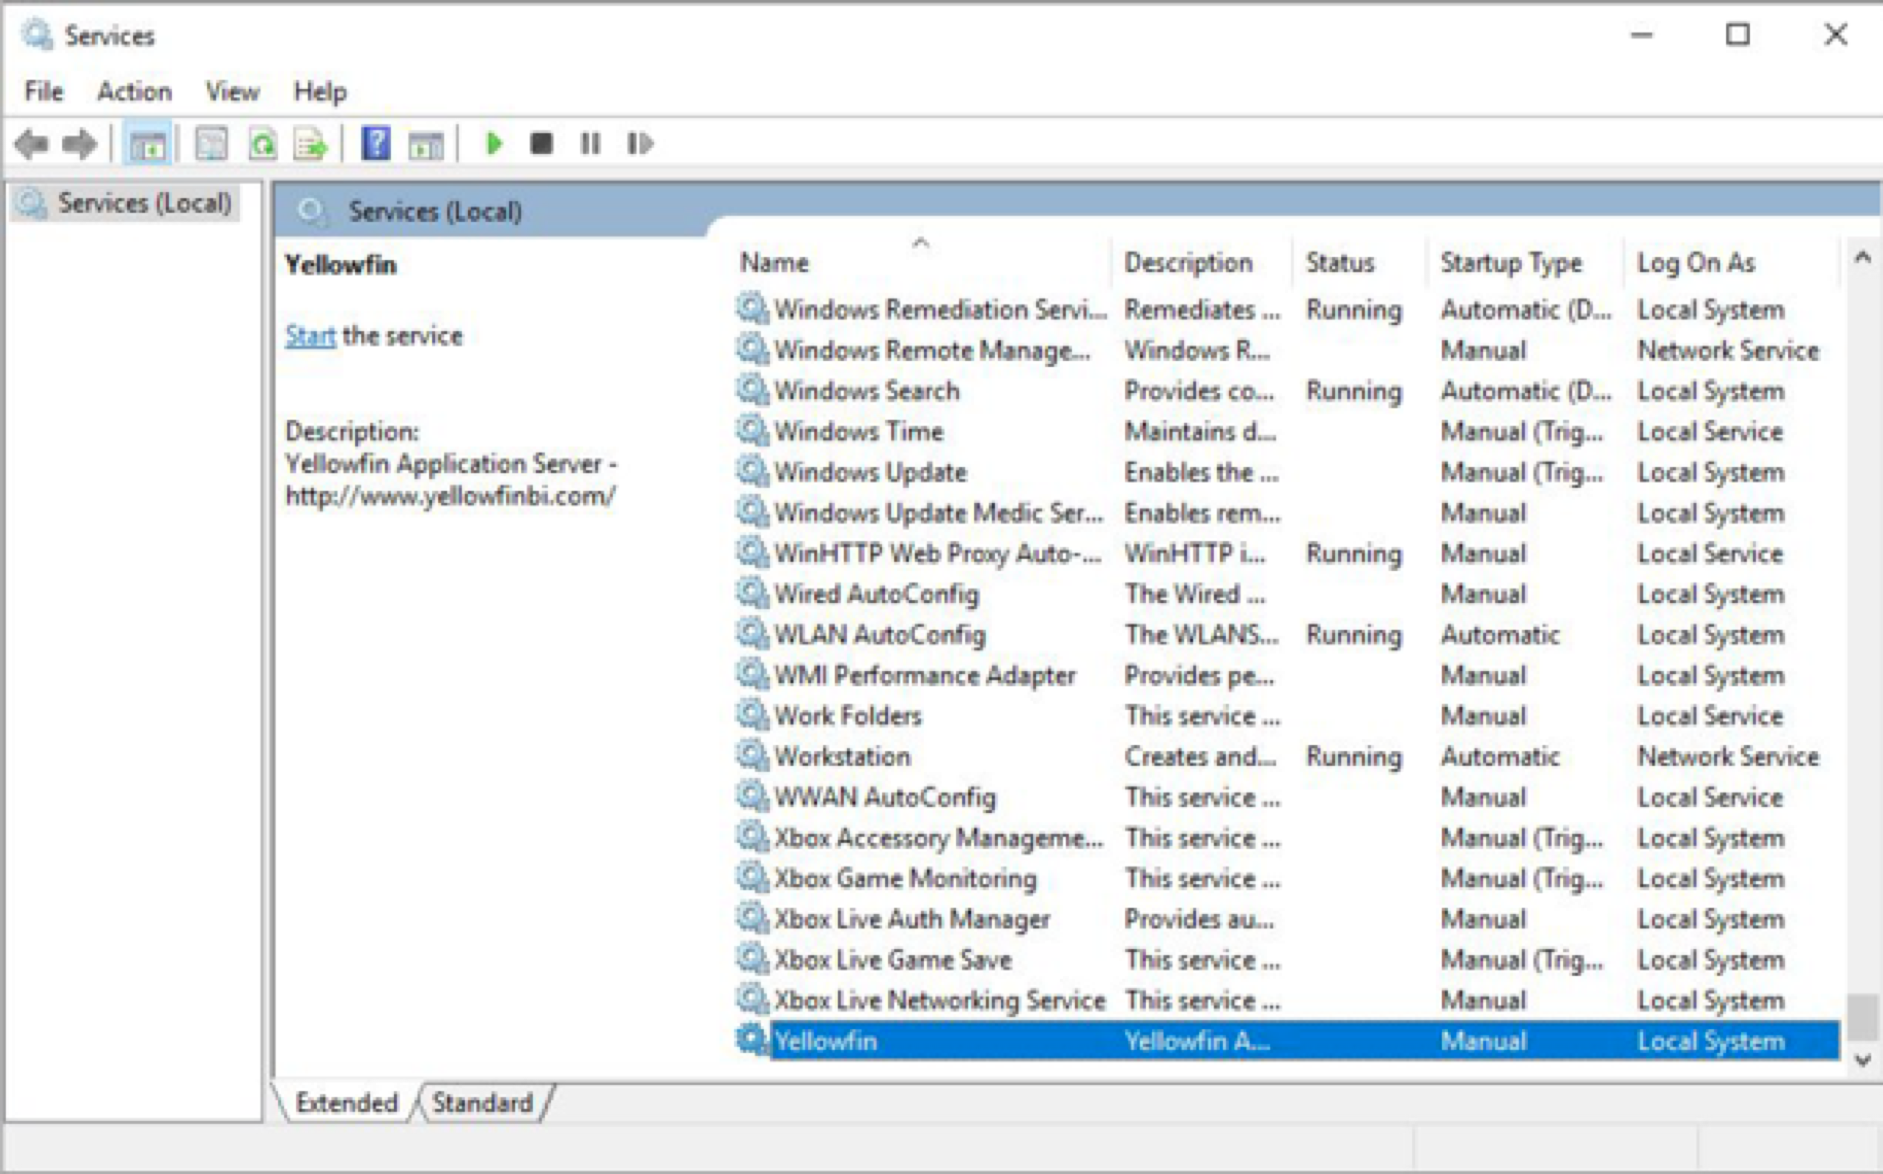
- Find the Yellowfin service in the list and right-click on it to display a pop-up menu
- Click on the Start menu option
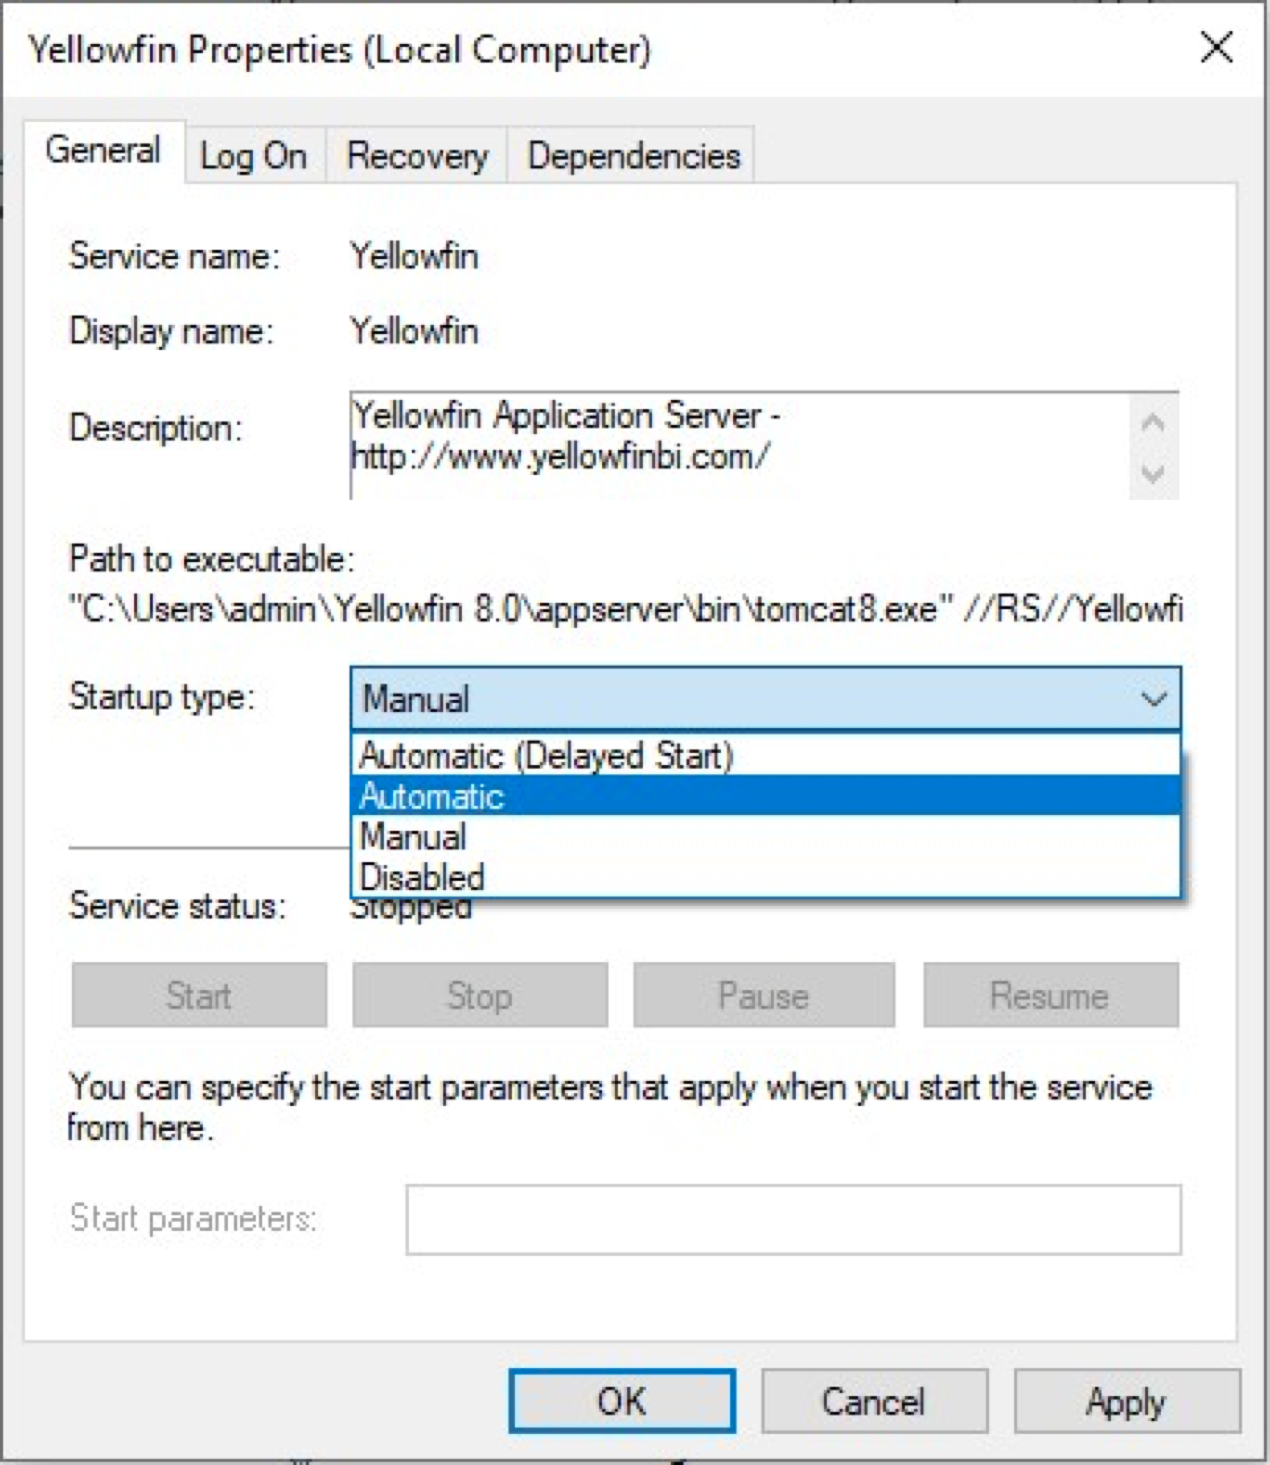
- If you'd like Yellowfin to start automatically with your computer, double-click on the Yellowfin service to open the Yellowfin Properties dialogue box
- From the Startup Type dropdown, select Automatic, then click on the OK button.

- To stop the Yellowfin service, right-click on it and select Stop
...
Configure the External Instance Base URL
| Anchor | ||||
|---|---|---|---|---|
|
Setting the External Instance Base URL ensures that email links and JS API access to Yellowfin are enabled.
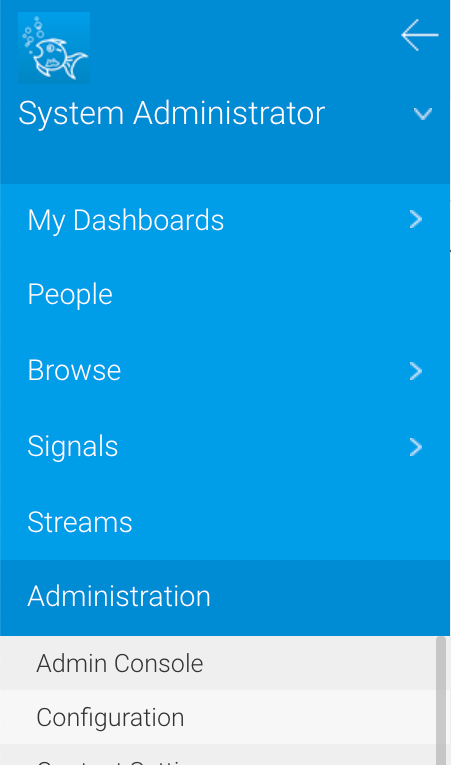
- In Yellowfin, click on the menu on the left and click on Administration, then Admin Console, then Configuration

- Click on the Admin button at the top
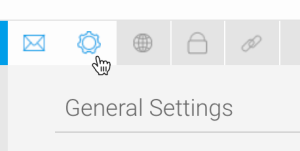
- Click on General Settings and locate the field called External Instance Base URL
- Change the text from localhost to whatever your actual external URL is (either an IPI address or domain name) to access your instance of Yellowfin
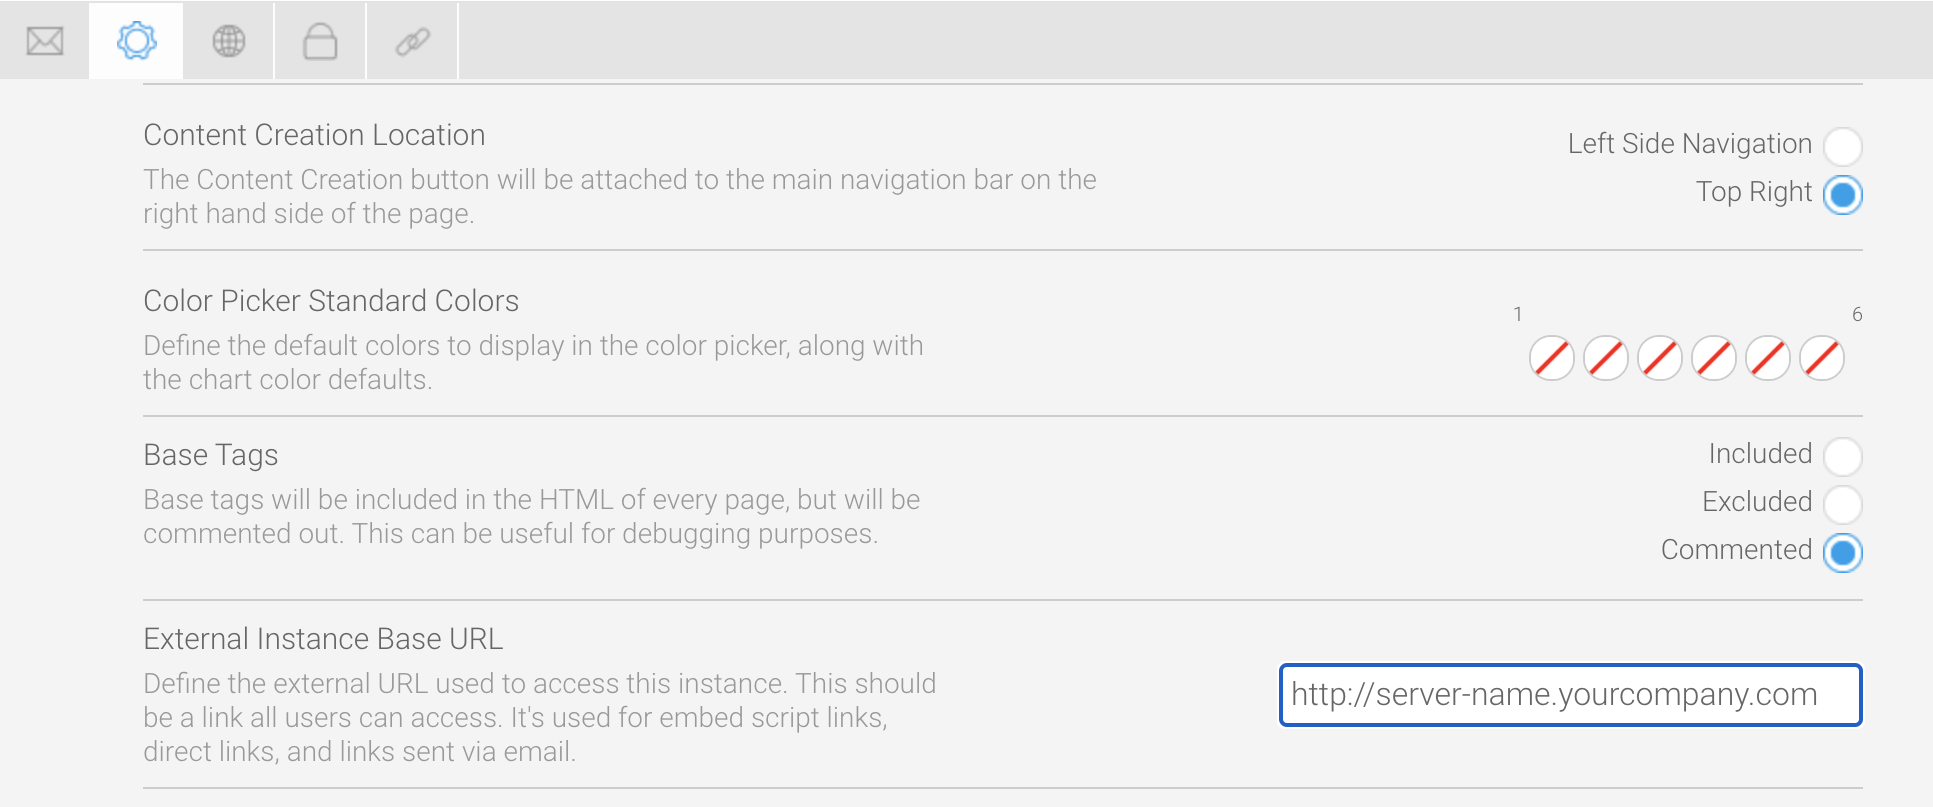
- Click on the Save button in the top right corner
...
Yellowfin is now minimally configured to run. Please see the list in the Post-deployment steps section above to learn about logging and other useful administration information.horizontalrule
| Styleclass | ||
|---|---|---|
| ||
Section navigation
| Section | |||||||||||||||||||||||||||||||||||||||||||||
|---|---|---|---|---|---|---|---|---|---|---|---|---|---|---|---|---|---|---|---|---|---|---|---|---|---|---|---|---|---|---|---|---|---|---|---|---|---|---|---|---|---|---|---|---|---|
Current topic - Deploy YellowfinThis page is part of the Install And Deploy Yellowfin section of the wiki, which has these topics:
|
| Styleclass | ||
|---|---|---|
| ||
...