Page History
...
| Note |
|---|
Yellowfin does not ship with the driver required for this connection due to licensing/paywall reasons. You will need to manually upload the driver through the the Plugin Manager or Creating a Basic Data Source Connection. |
...
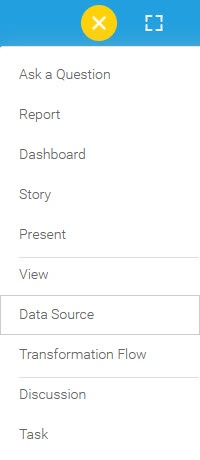
1. Click on the Create button and choose the data source option.
...
2. Select BMC Action Request from the databases list.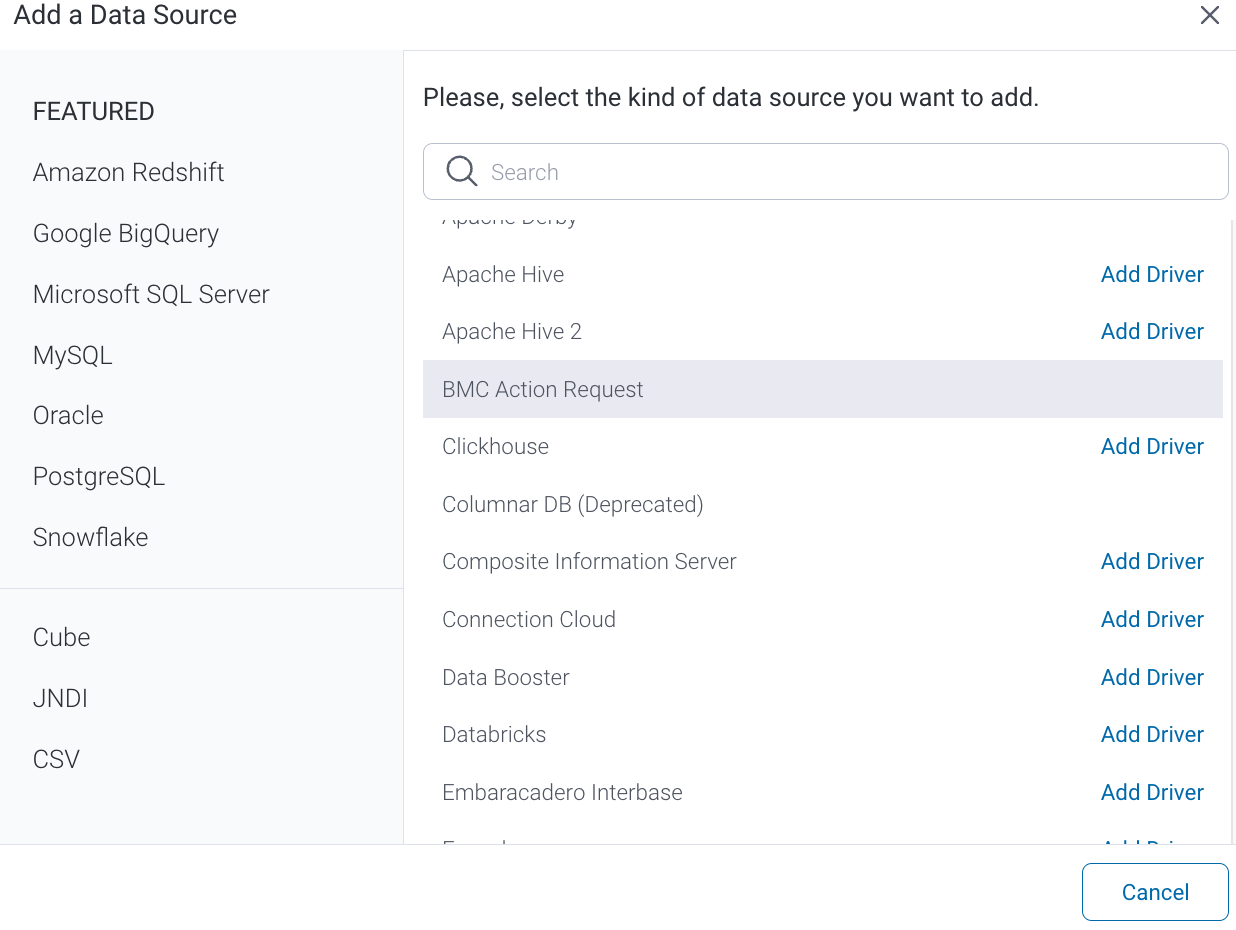
3. When the New Connection popup appears, provide a name and description for your database.
...
4. Connection String: when selecting Connection String you have the same functionality as in Generic JDBC Data Source.
5. BMC Action Requestconfiguration fields: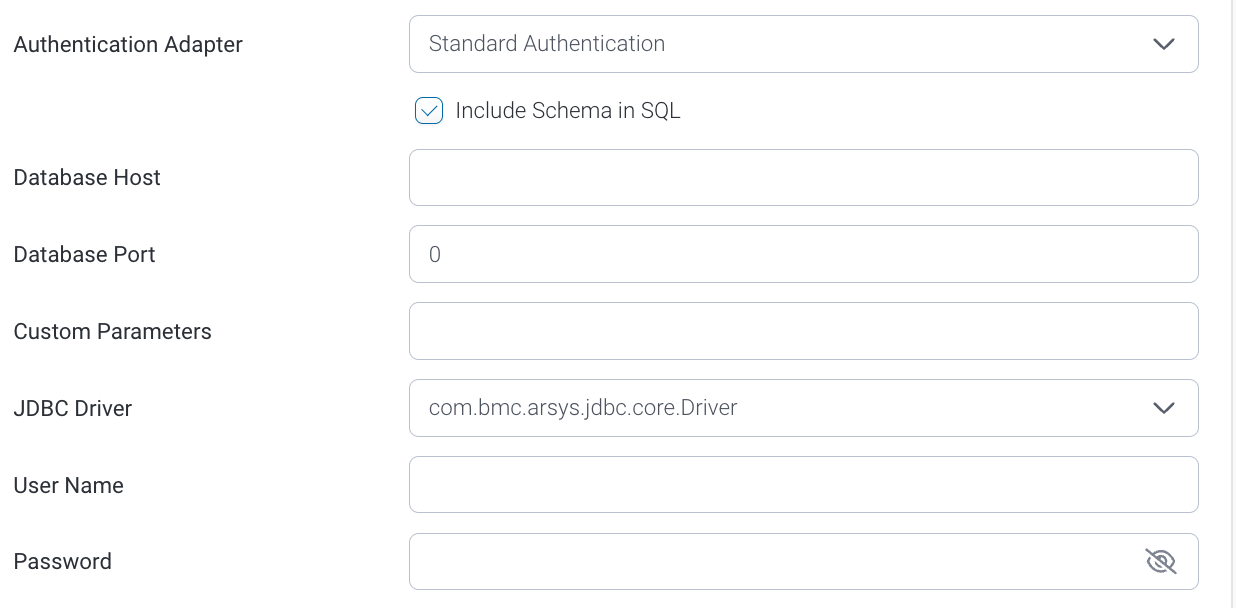
6. Authentication Adapter: Specify an authentication method for the database adapter. More details Advanced Connection Editor.
7. Include Schema in SQL: Select this checkbox to add the schema name when addressing database tables in SQL queries.
8. Database Host: Enter the name or IP address of the server hosting the BMC Action Request database.
9. Database Port: The TCP/IP port number for this database is set to 0. (The driver will connect to the correct port by itself.)
10. Custom Parameters: Use this field to specify custom parameters. For example,
refreshCache=10;rowLimit=10000;DateTimeFormat=MM/dd/yyyy hh:mm:ss a;DateFormat=yyyy-MM-dd;mode=new;locale=en;timeZone=AUSTRALIA/SYDNEY
11. JDBC Driver: The JDBC driver to talk to your BMC Action Request database.
...

12. Username: Enter the username of your BMC Action Request database account.
13. Password: Provide the password of the above account.
14. Toggle Advanced Settings to see more settings.
15. Once you have completed your connection information, you will have several options:
- Back:
Advanced Connection Editor: - This will
take you to the Data Source page in the Admin Console and allow you to edit all the advanced options available for your databasehis - navigate to the database selection.
- Cancel: This will close the New Connection popup.
- Test Connection:
T- This will
validate - test the connection parameters you provided to ensure it can connect to your database. If the connection
was - is successful,
a message - an indicator will appear
.- Create View: This will save your connection and get you started on creating a view based on it. Save & Close:
- and you will be able to save the connection.

- Save: This will allow you to save your connection and
close the New Connection popup, returning you - and you will be able to save the connection.
- navigate to the Success page
you were on previously.Cancel- :
This closes the New Connection popup without saving your connection, returning you to the page you were on previously.- We recommend testing the connection, and then saving it by using the Save & Close button.
...
