Page History
...
| Table of Contents | ||
|---|---|---|
|
Prerequisites
| Styleclass | ||
|---|---|---|
| ||
Yellowfin requires that the customer has installed the following products prior to installing the Yellowfin product:
...
The database software which will contain the Yellowfin database should already be installed. Suitable JDBC drivers to enable the database to communicate with the Yellowfin application should also be installed. It is not necessary for the database server to reside on the same machine as the Yellowfin application.
Installation Steps
| Styleclass | ||
|---|---|---|
| ||
Yellowfin is provided as a Java archive file called Installer.jar. Copy the file to a temporary directory on the server onto which the application is to reside.
...
| Section | ||||||||||
|---|---|---|---|---|---|---|---|---|---|---|
|

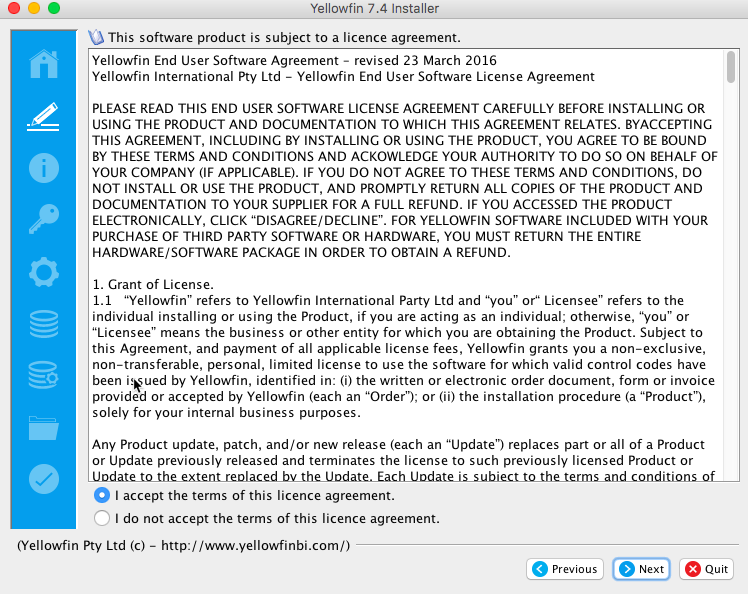
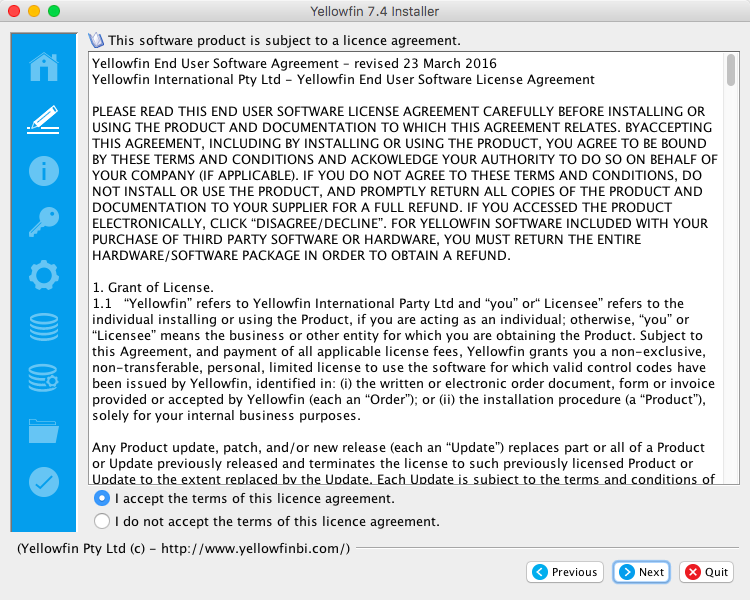
Terms & Conditions
| Section | ||||||||||
|---|---|---|---|---|---|---|---|---|---|---|
|
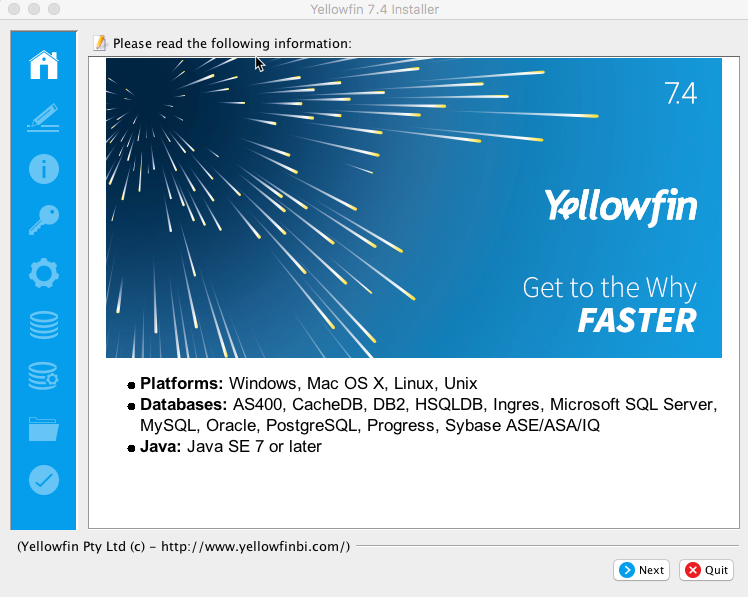
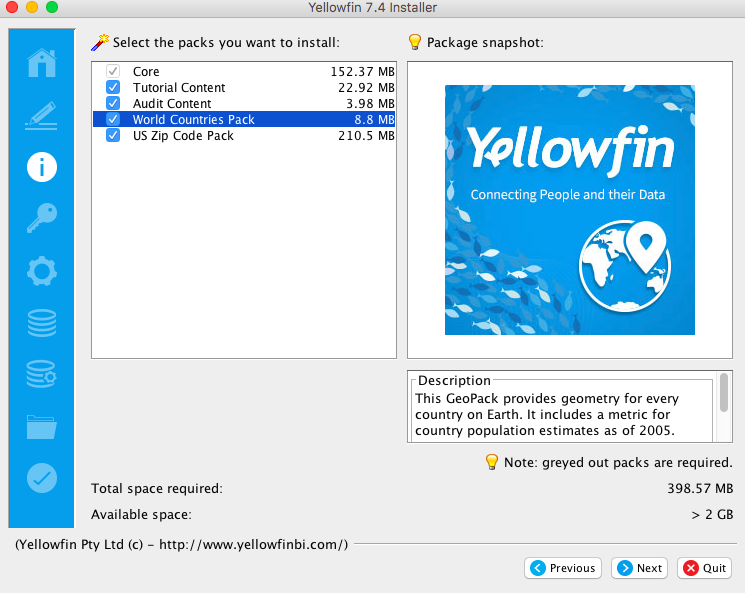
Required Components
| Section | ||||||||||
|---|---|---|---|---|---|---|---|---|---|---|
|

License File
| Section | ||||||||||
|---|---|---|---|---|---|---|---|---|---|---|
|

...
| Section | ||||||||||
|---|---|---|---|---|---|---|---|---|---|---|
|
...
| Section | ||||||||||
|---|---|---|---|---|---|---|---|---|---|---|
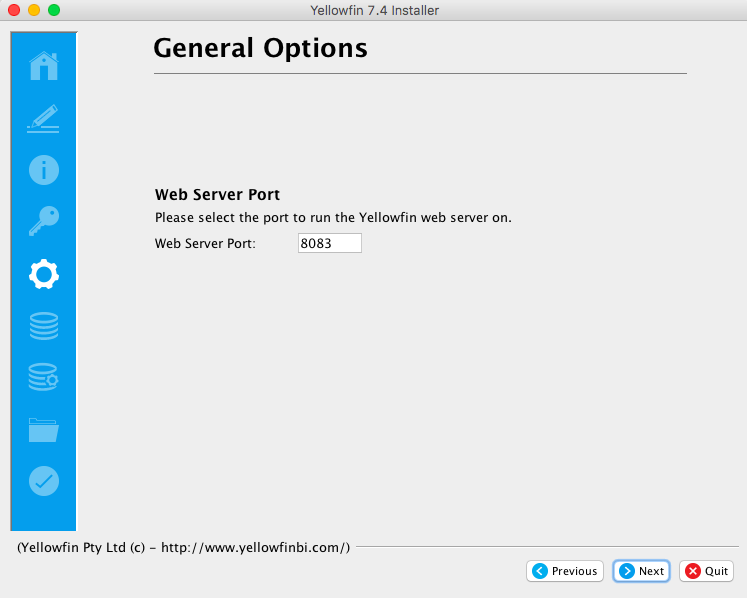
|

Installation Path
| Section | ||||||||||
|---|---|---|---|---|---|---|---|---|---|---|
|


...
| Section | ||||||||||
|---|---|---|---|---|---|---|---|---|---|---|
|
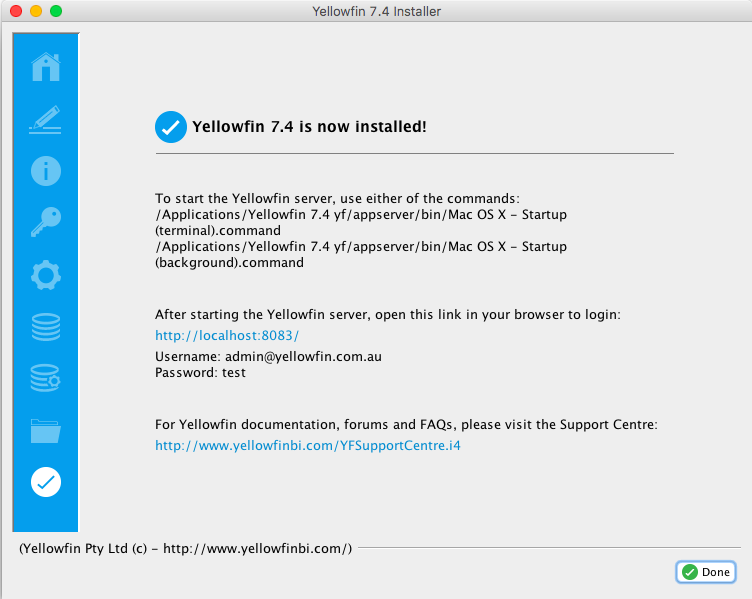
...
Directory Structure
Click here to learn about the folders and files present in your Yellowfin directory structure.
Troubleshooting
Most problems related to the Yellowfin application server installation relate to database connectivity and administration issues.
...
- Screenshots (if applicable)
- YellowfinInstallLog-date.log (this can be found in the Yellowfin directory)
- All log files found in Yellowfin\appserver\LOGS (if you have any)
...
| horizontalrule |
|---|
| Styleclass | ||
|---|---|---|
| ||
...