Page History
| Table of Contents | ||
|---|---|---|
|
Signals Alerts
As soon as a relevant Signal is discovered, you will receive an alert in your Timeline, along with an email notification. This Signal will also be added to your ‘watch’ list, allowing you to receive notifications on any user activity performed on it.
Navigate to your Timeline, and view the alerts.
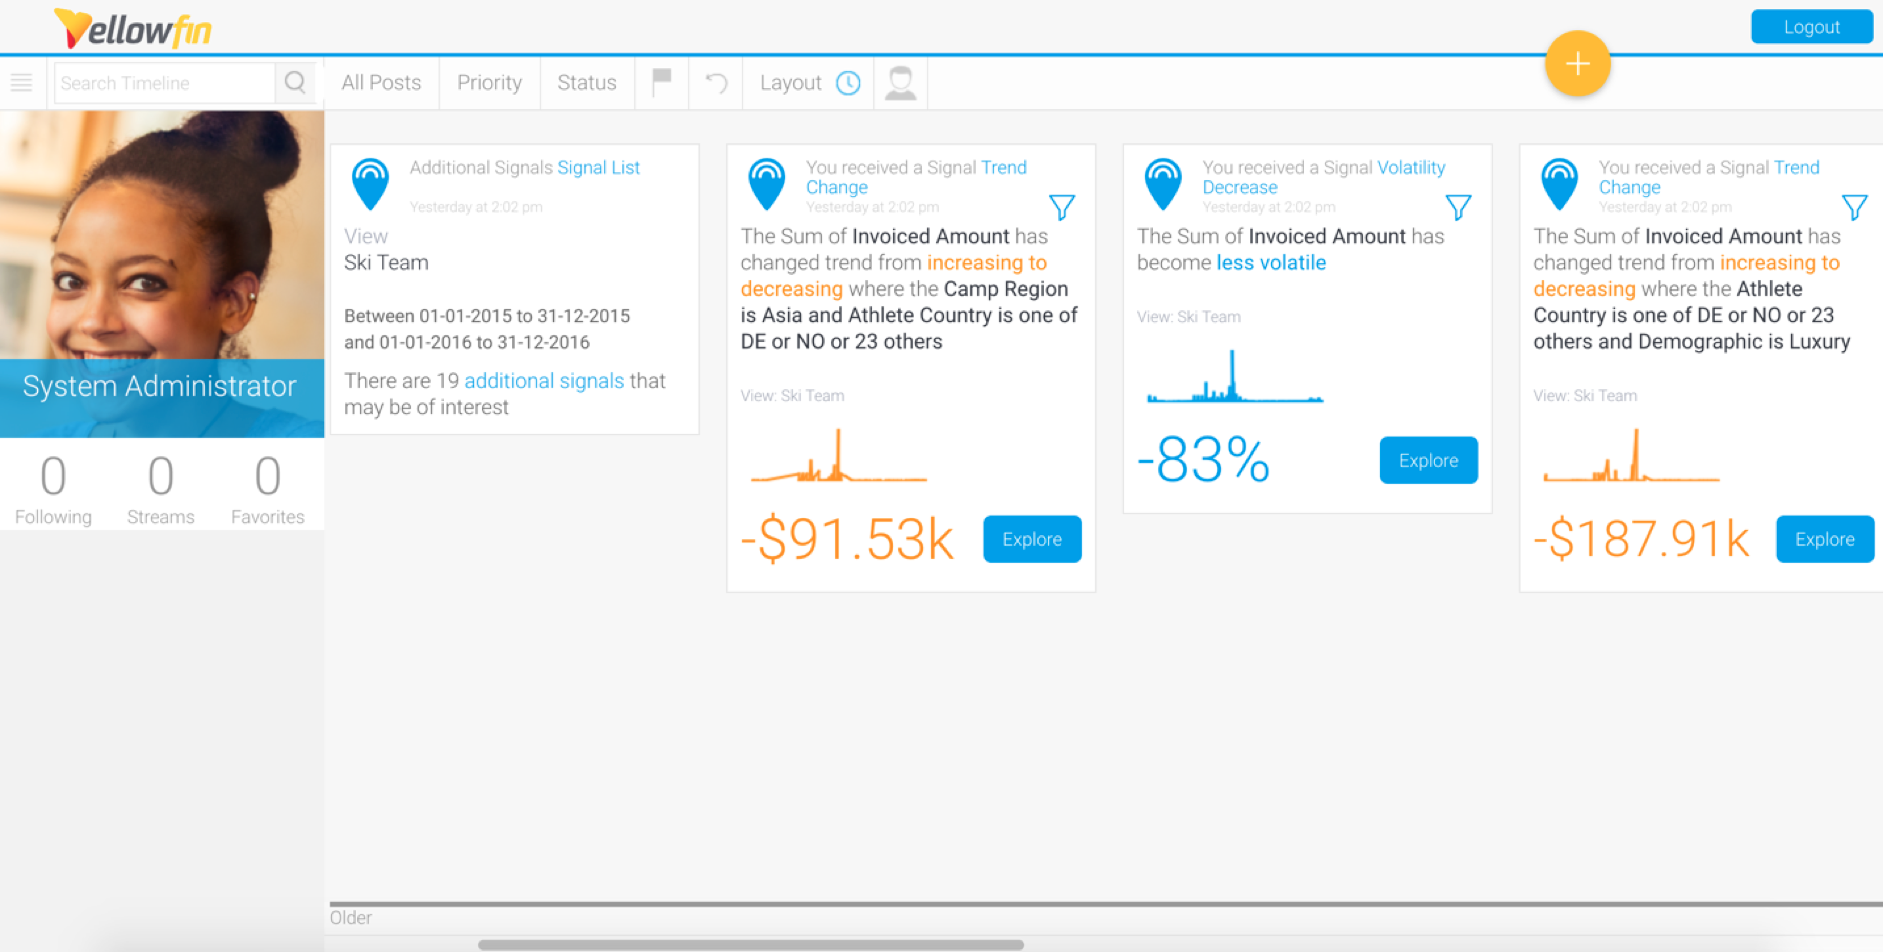
Each signals alert highlights the data change that was detected. You will also note that results that are considered to be 'good', such increase in customers, are highlighted as blue, and those that are considered to be bad, for example, decrease in sales, will be highlighted as orange. Users can also change this good/bad characteristic through the Signals configuration settings.
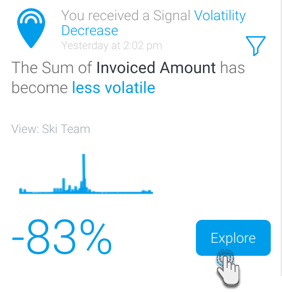
Click on the Explore button of an alert to navigate to its detail page and explore the Signal. Learn more about this here.
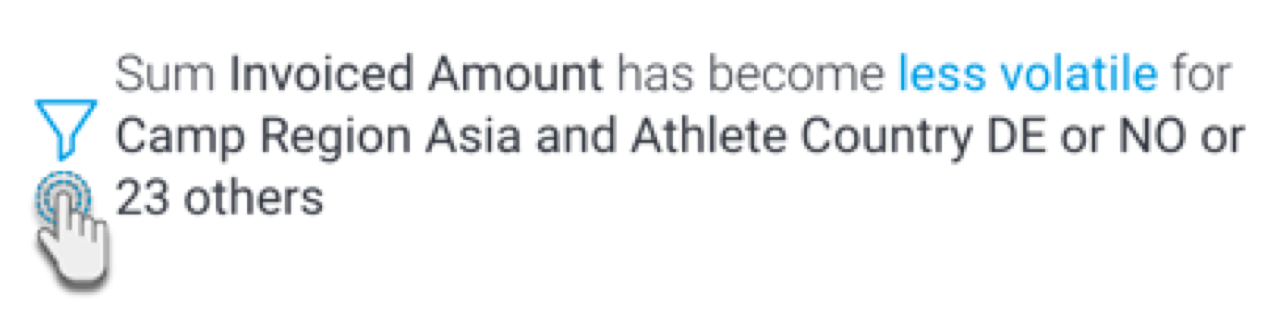
If you see a filter icon in your Signal alert, then this means that the Signal was filtered. To see the filter values applied in the Signal analysis, simply click on this icon.
Dismiss Signals
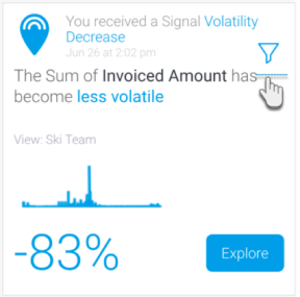
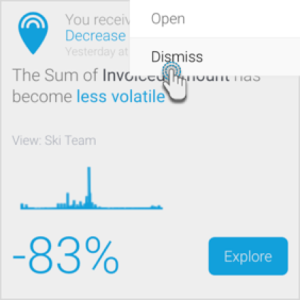
You can dismiss a Signal that you’re not interested in. Click on the menu option that appears when hovering over an alert, and select Dismiss. The Signal will be removed from the Timeline, and Signal List pages, and archived.
Alerts on Other Signals
To control the Signal alerts you receive on your Timeline, additional Signals that are relevant to you will be notified via a single alert message.
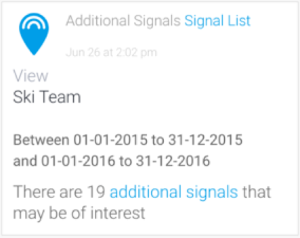
Click to view the additional signals. You will be directed to the Signals List page, where you can continue to discover these additional relevant data changes.
...
| Anchor | ||||
|---|---|---|---|---|
|
Locating all Signals
The Signals list page is where you can find all the Signals that have been generated by the system. This gives you a chance to explore additional Signals, besides those that were delivered to you.
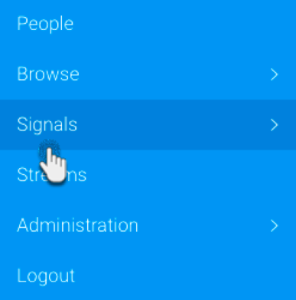
- Navigate to the Signals ist list page by expanding the main navigation menu and clicking Signals.
- On reaching the page, you will be able to see a list of every Signal generated (that you have access to).

...
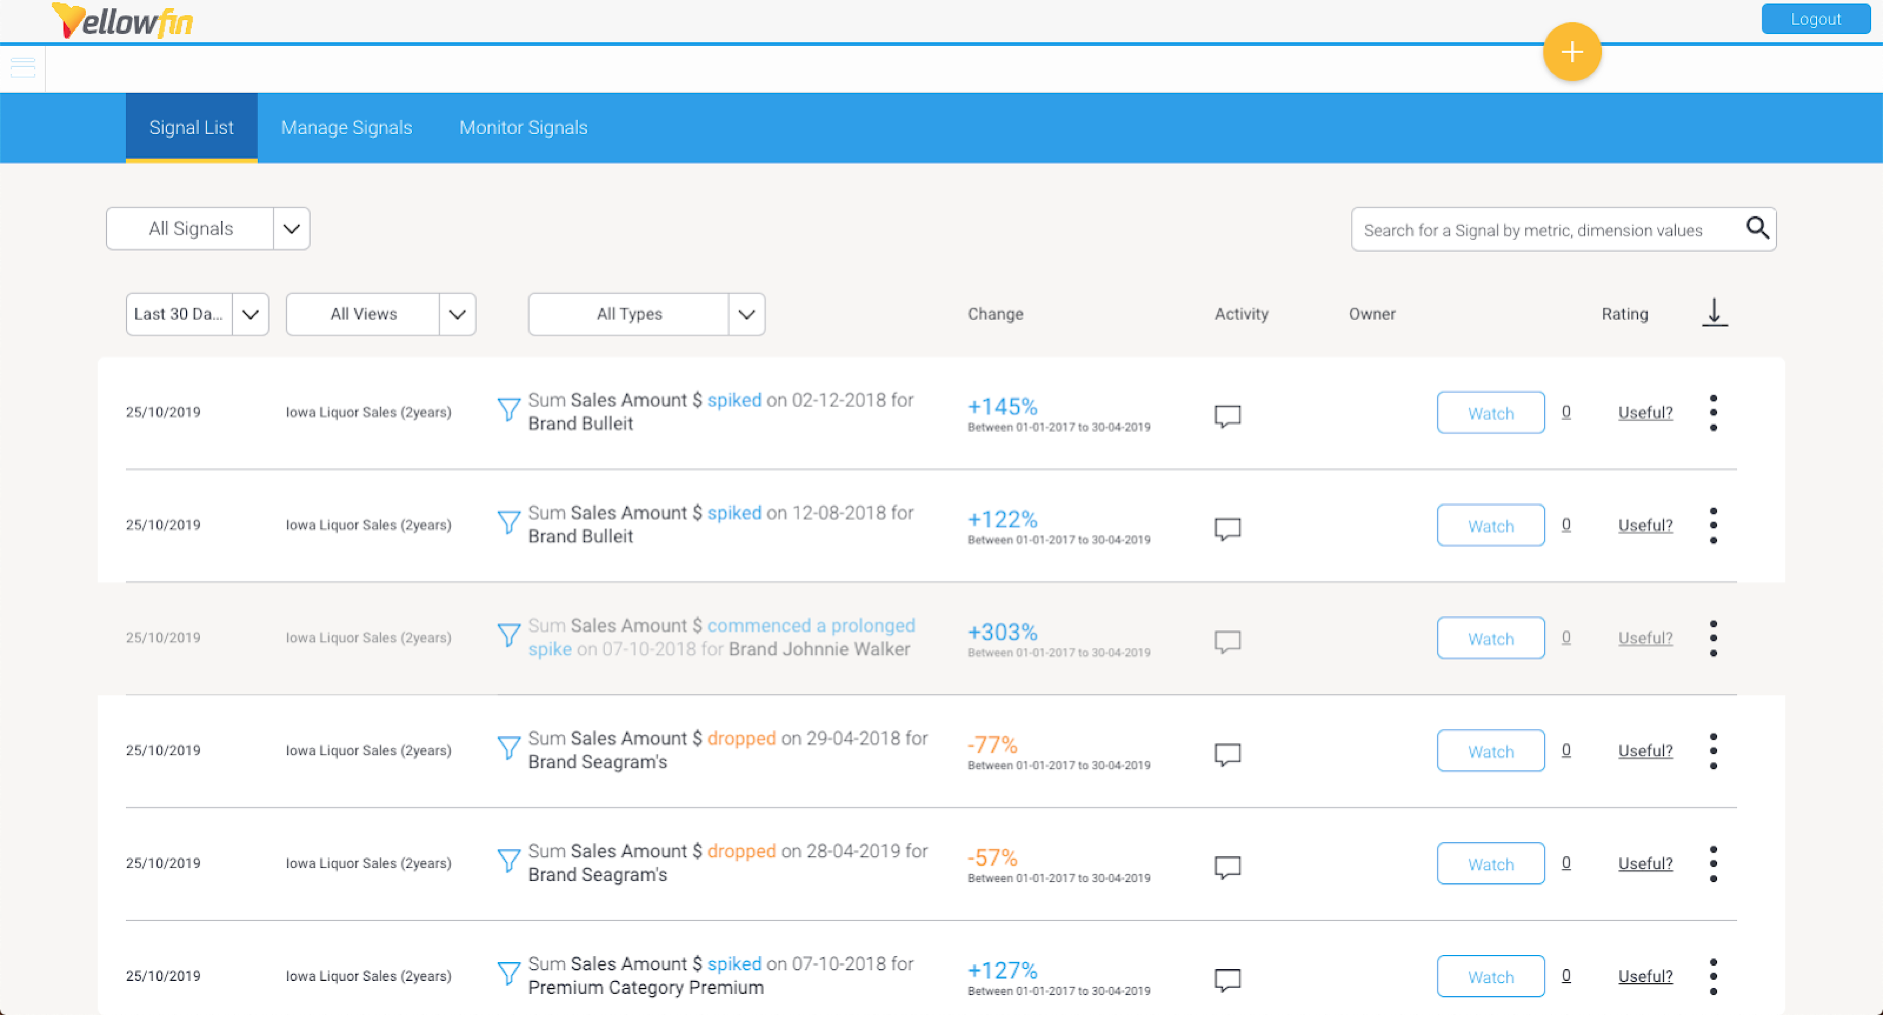
- This list provides additional information on each Signal, such as who their owners are, who is watching them, and perform actions such as rating, assigning owners, dismissing or closing Signals.
...
Signal Functions
You can interact with the discovered Signals in the following ways.
| Note |
|---|
Note that Signal interactions, such as adding comments, providing a rating, or even writing a Story on a Signal, is specific to the current client organization. Unlike other content in Yellowfin, Signal interactions do not automatically transfer across all other organizations in a multi-tenant structure. |
Searching and filtering
Use the filter and search options on the top of this page to filter the Signals that are listed on this page. Use one, more or all of the following filtering options.
- Filter by interaction - View all the Signals, or choose to see Signals you are watching or have rated (choose ‘My Signals’), those that you have dismissed, or closed, or even all the Signals that you’ve recently accessed.

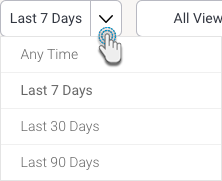
- Filter by time - Choose a pre-defined time range to restrict Signals by. For example, only view Signals that were created within the last 7 days.

- Filter by interaction - By default, all the Signals will be listed, but you can choose to only view Signals you are watching or have rated (choose ‘My Signals’), or even all the Signals that you’ve recently accessed.
 Views - View the Signals from all across the different views, or choose a particular view to limit the listed Signals to that view.
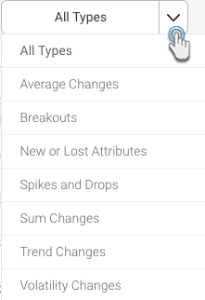
- Filter by Signals type - Restrict the list to display Signals based on the nature of an algorithm. For example, view Signals that were generated as a result of an increase in the total value of a selected field (Sum Increase), or a decrease in a field’s average (Average Drop).

- Search bar - Use keywords that match Signal narratives by utilizing this free text search.

...

Open a Signal
Click on a Signal’s narrative to open its detail page and explore the signal. See our section on this page here for further information.

...
Watch a Signal
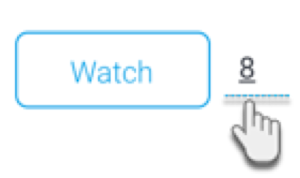
Click Watch to watch or track a Signal. This adds the signal to a user’s your watch list (filtered by choosing My Signals), and also sends alerts to the user you if other users interact with it (for example, by publishing a Story on it, or adding a comment).; users watching a particular Signal will receive email notifications when a comment is left on the signal, its Story is published, or its ownership gets changed. This allows “watchers” to always stay updated on a Signal. Users will also be able to see which Signals are being watched by other users and who these users are.
- Click on the number next to the Watch button to see a complete list of all watchers.
...
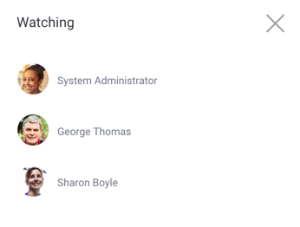
-
- A popup will appear, displaying the watchers' names.
Signals that you receive alerts about (that is, those that are relevant to you) will automatically be added to your watch list. However, you can change the watch status to stop watching these Signals.
...
| Anchor | ||||
|---|---|---|---|---|
|
Signal Rating
You can rate specify the importance usefulness of a Signal on a scale of 1 to 5 stars, with 5 being the most relevanteach Signal by declaring it as either useful or not. The system takes this into account and uses ratings applies this rating to optimize the delivery of signals in the future. This ensures that you receive Signals related to or similar to the ones you rated as useful, and receive less of those that you rated not useful. You can also change the rating after submitting it.
How to rate:
Click
on Ratethe rating link, to bring up
a star rating box.the options.
Choose Yes or No based on if the selected Signal was useful.
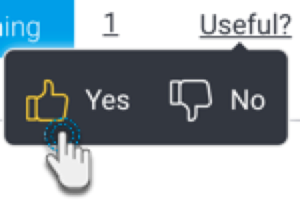
The rating will automatically be
automatically saved.
To change, click on the
star rating again, and choose a different
staroption.
Note: The rating that you submitted will also appear in the detail page of a Signal, and can be changed there as well.

Then submit a rating by clicking on a star.

...
| Anchor | ||||
|---|---|---|---|---|
|
Signal ownership
You can assign an owner to a Signal; this can be yourself or another user. Appointing an owner to a Signal ensures that there is a person responsible for taking any action on the Signal and share insights.
There can be only one owner of a Signal at a time. Once assigned, you can always change the ownership to another user. The owner must have access to the View the Signal is generated from, as well as the correct Signal user role function, to be granted ownership. The assigned users can also unassign themselves.
The owner of a Signal can clearly be seen in the list page, or even the detail page of the Signal.
Follow these steps to assign an owner to a Signal:
Click on the vertical ellipsis button of a Signal to bring up a menu.
...
Access a Signal
Click on a Signal’s narrative to open its detail page and explore the signal. See our section on this page here for further information.
Choose Own to assign yourself as the owner of the Signal. A notification will appear before you. Click Ok to continue.
Or select Assign to appoint another user as the owner.
In case of assigning another user, a popup will appear.
Choose a user, and add a message if required. Click Assign to assign the selected user as the owner.
Only if the chosen user has access to Signals (that is, has the correct role function), and access to the Signal's View, will they be assigned ownership of this Signal.
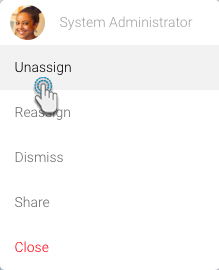
You can always usassign yourself as the owner using the Unassign option, or reassign a different owner with the help of a the Reassign option.


...
Dismissing Signals
You have the option of discarding or removing Signals from your Signals list by dismissing them. This removes the Signal from your list, but not other users. These Signals will be archived separately, however you can also bring back these dismissed Signals. Alerts of dismissed Signals are deleted from the Timeline.
Here's how to dismiss a Signal.
Click on the Actions button (if at the Signals detail page), or the vertical ellipsis button (if at the Signals list page) of a Signal to bring up a menu.
Click on the Dismiss option to remove the Signal from your list.
The signal will cease to appear on this page, and will be archived in the background.

Undismissed Signals
Signals that have been marked as dismissed, can always be brought back to the current Signals list page.
While at the Signals List page, click on the second filter option at the top, and select Dismissed to view all the dismissed Signals.
This will update the Signals in the list according to their chosen status.
Click on the vertical ellipsis button of that Signal that you want to bring back, and choose the Undo Dismissal option.
The Signal will be added along with the other open Signals on the list (you can use the ‘All Signals’ filter option to view this list.)


...
Closing Signals
You can also close a Signal. This not only removes the Signal from every user's Signal list, but also makes it inactive, thereby disabling most of the actions. Actions that are disabled include Owning, Assigning, Dismissing, Sharing, Watching, Rating, Commenting on Signals, and creating a Signal Story, and sharing the Signal chart in a Story. A Signal can be closed by any user, but can also be ‘opened’ again, if required. Closed signals can only be viewed when the “Closed” filter is applied on the Signal list page.
Note that all Watchers will be removed when the signal is closed, but not added back again if it is reopened. Owners, however, are not removed if the Signal is closed.
Here's how to close a Signal from the Signals list page, or the detail page of a Signal.
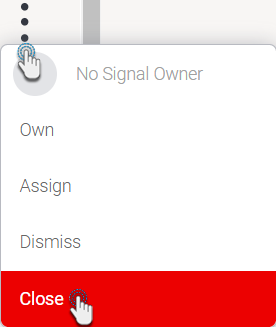
Click on the Actions button (if at the Signals detail page), or the vertical ellipsis button (if at the Signals list page) of a Signal to bring up a menu.
Click the Close option to remove it from every user’s list.
The signal will be closed.
Opening Signals
Closed signals can always be opened and made active again.
While at the Signals List page, click on the second filter option at the top, and select Closed.
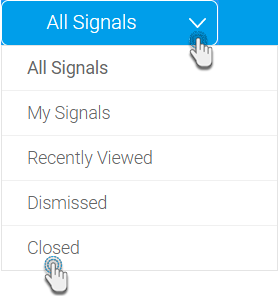
This will update the Signals in the list to show only Closed signals.
Click on the vertical ellipsis button of a Signal that you want to open, and click on the Open option.

The Signal will be opened again (and added back to the active list.)
...
Sharing a Signal
You can share a Signal with other Yellowfin users, provided the recipient have access to the Signal.
Ensure that you have the ‘Distribute Signal’ role function enabled to be able to perform the following steps. You can share via the Signals list page or the Signals detail page.
Click on the Action menu, or the vertical ellipses, of a Signal, and choose the Share option.
When the Share popup appears, select one or more recipient(s) who you want to share the selected Signal with.
You may add a message if you prefer. This will be sent as part of the email notification that they receive.
Click on the Submit.
The chosen recipients will be sent emails, as well as, alerts on their Timelines. They will also become watchers of this Signal.


...
Filtered Signals
If a Signal is generated as a result of data filters set up in the Signal configuration, then a filter icon will appear it. This makes it easy to see not only that the Signal's data is filtered, but also which filter values were used.
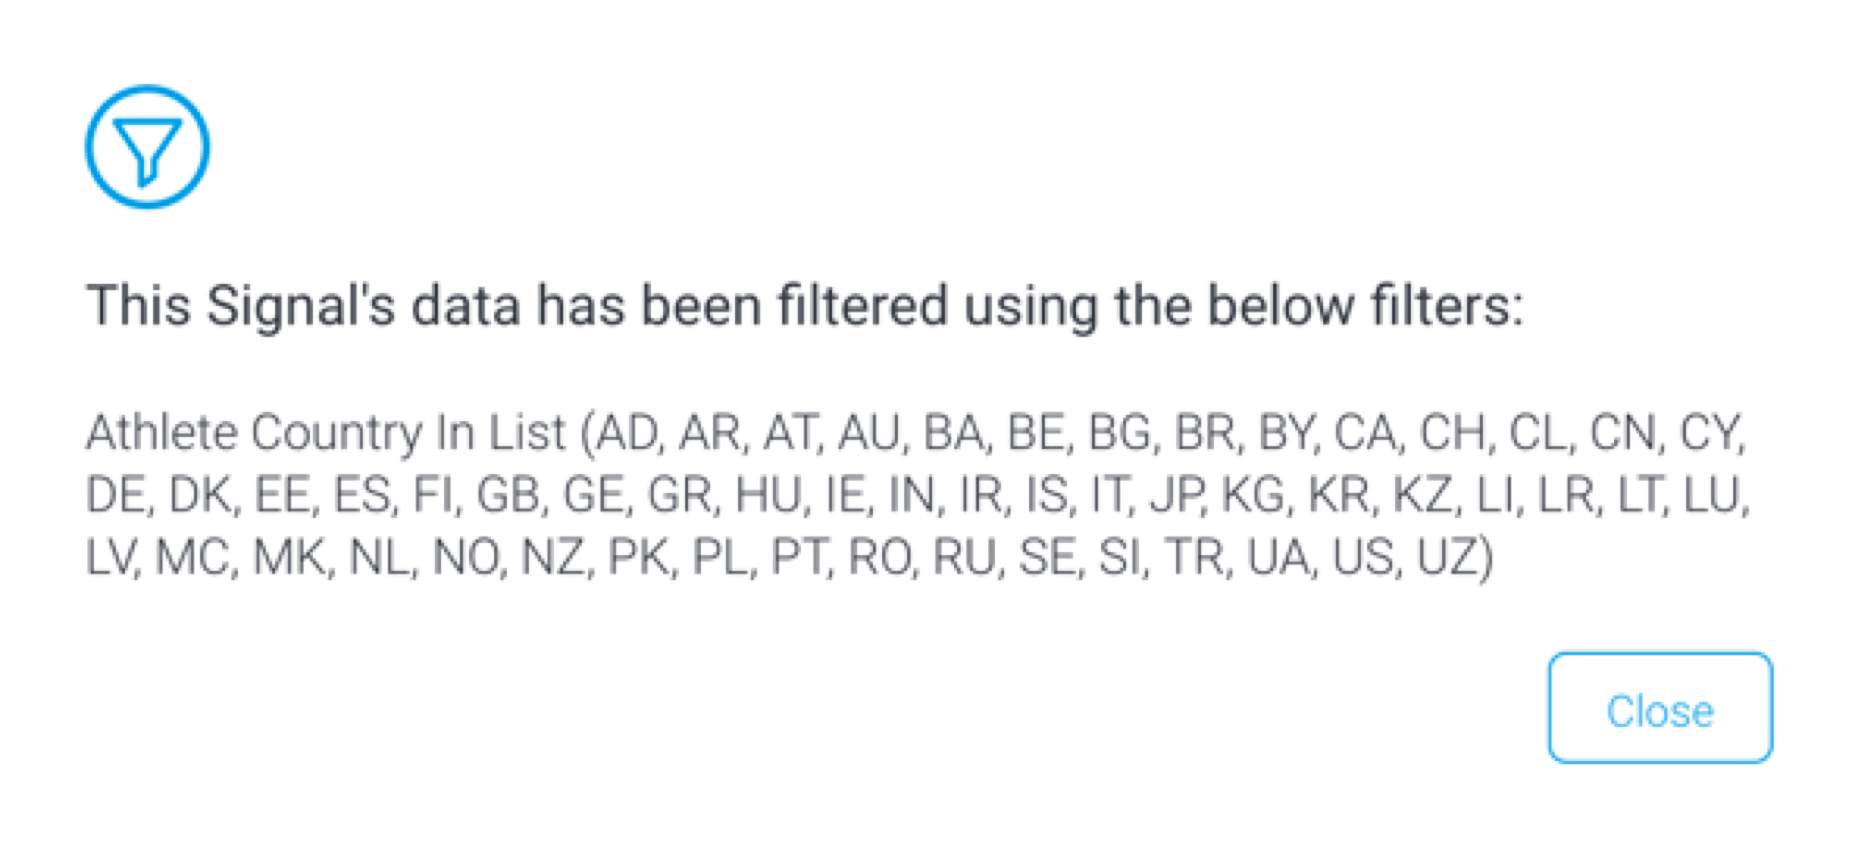
Click on this icon to see the filtered values. They will appear in a popup.
...
Export Signal List
You can export the entire list of Signals shown on your main Signals page into an external CSV file.
- Click on the
 icon in the top-right corner above the list.
 - Then select the Export Signals to CSV option.
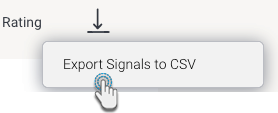
- This will create a CSV file with the Signals.
...