Page History
...
- Simply click on a new line in the Story.
- Start typing to enter your text, or you can also paste from your clipboard.
- The text will be automatically saved to your Story.
- To move on to the next line, press the Enter key.
Text formatting
You can format your text by using a formatting menu, as well as with a combination of your keyboard keys.
...
Icon | Type | Description | Key combination | |
| Heading 1 | Converts the entire line of text into a heading. | ||
| Heading 2 | Converts the entire line of text into the sub-heading. | ||
| Quote | Converts the entire line of text into a quote. | ||
| Bold | Makes only the selected text bold. |
| |
| Italic | Makes only the selected text italicized. | ||
| Link | Converts the selected text into a link. |
| |
| Numbered list | Creates a numbered/ordered list. See below for more details. | 1.<space> | |
Bullet point list | Creates a bullet list. See below for more details. | -<space> or *<space> |
Numbered list
To initiate a numbered list, follow the steps below:
...
- Hover over a report, and when the menu appears, click on the chart icon.
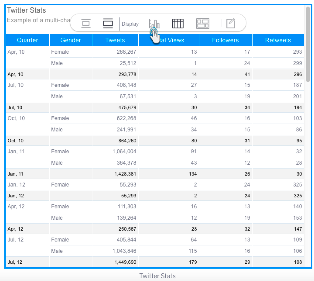
- In case of multiple charts, a popup will appear. Choose one of the charts that you want to include. Then click Insert to Story.
...
...
Sharing Hidden Content
If you add a secure report that is inaccessible to all your readers, then that report will be hidden for them in the story, with a message notifying them of the reason they can't view the report content. See the example below: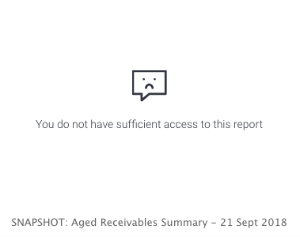
...
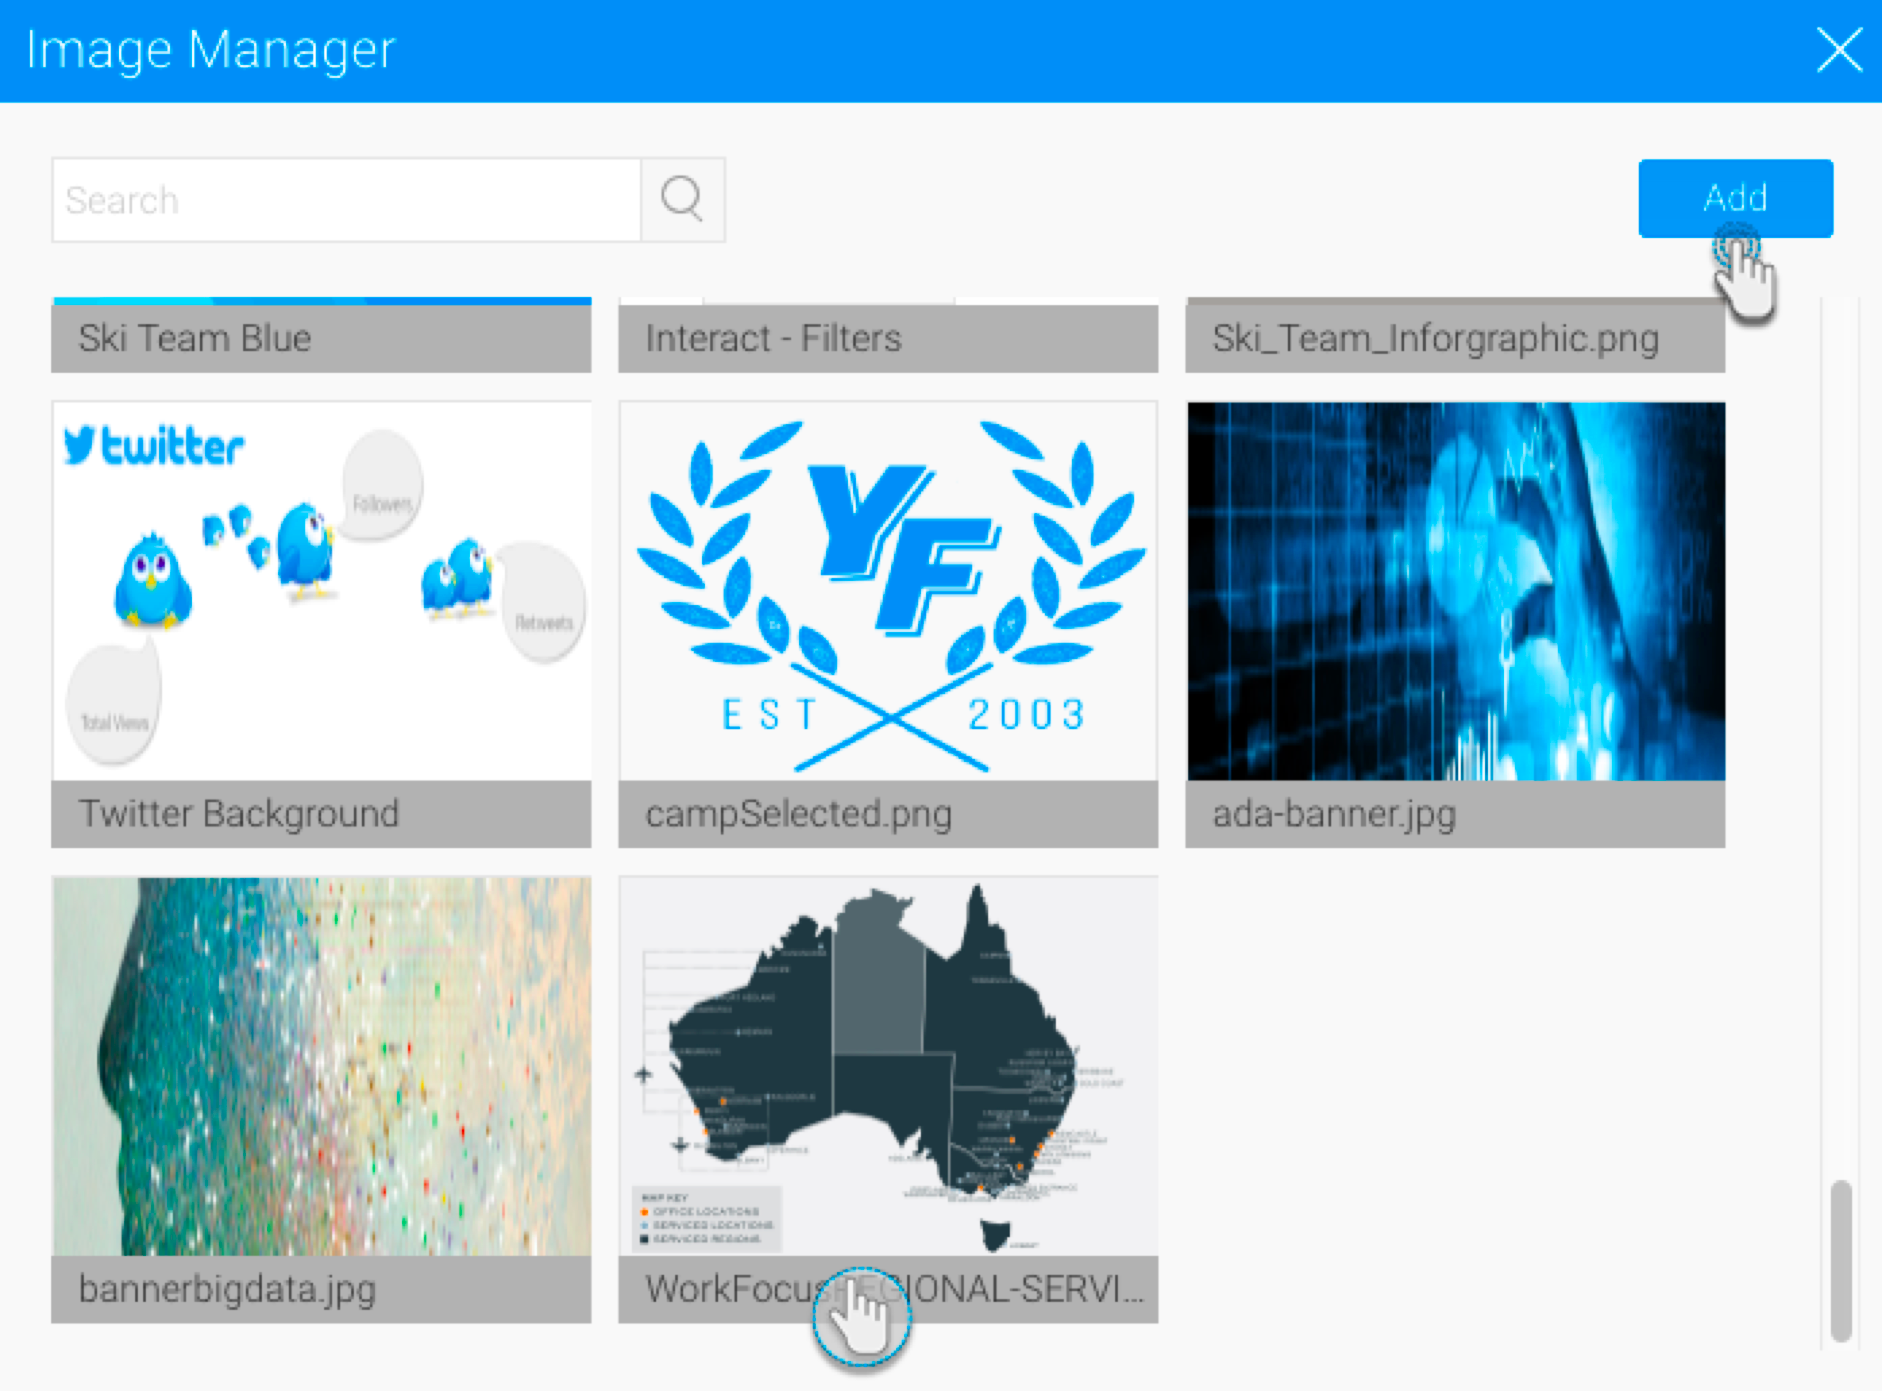
- Click on the plus button at the start of a new line. (Note if you do not see this button, simply click on a new line. The button will only appear if no text gets entered.)

- Select the image icon from the menu.

- The image manager popup will appear. Use it to choose an existing image by selecting its thumbnail, or add a new image by using the Add button.
- Once added, you can resize the image. See the chart below for the options.
- The image will be captioned with its name, which can also be edited or removed.
...
Image resizing options
Icon | Size option | Description |
| Original | Displays the image in its actual size. This option is only appears available if the original image width is less than 700 pixels. |
| Fit | Displays the image to fit the Story size, which is 700 pixels (that is, the image width will be stretched to 700 px while maintaining the aspect ratio). The image is displayed in this size by default. |
| Wide | The maximum size an image can be displayed in. (This option will stretch the width to 900 pixels, while maintaining the aspect ratio.) |
...