Page History
...
| Table of Contents | ||
|---|---|---|
|
Overview
| Styleclass | ||
|---|---|---|
| ||
With Yellowfin you can add specific comments to your reports in the form of annotations. There are three types of annotations to assist users of a report:
- Report Level Annotations
- View Level Annotations
- Organisation Level Annotations
Annotations assist your reports readers to understand the reports and data that they are viewing. They can only be added when a report is ACTIVE and the annotate drop down menu is visibleYellowfin allows you to annotate time series charts by highlighting and commenting on key points of interest, providing further detail for the report reader. Annotations are only available on reports with manually-selected time series chart visualizations.
Annotations are displayed in multiple places on a report, as seen in the example below:.
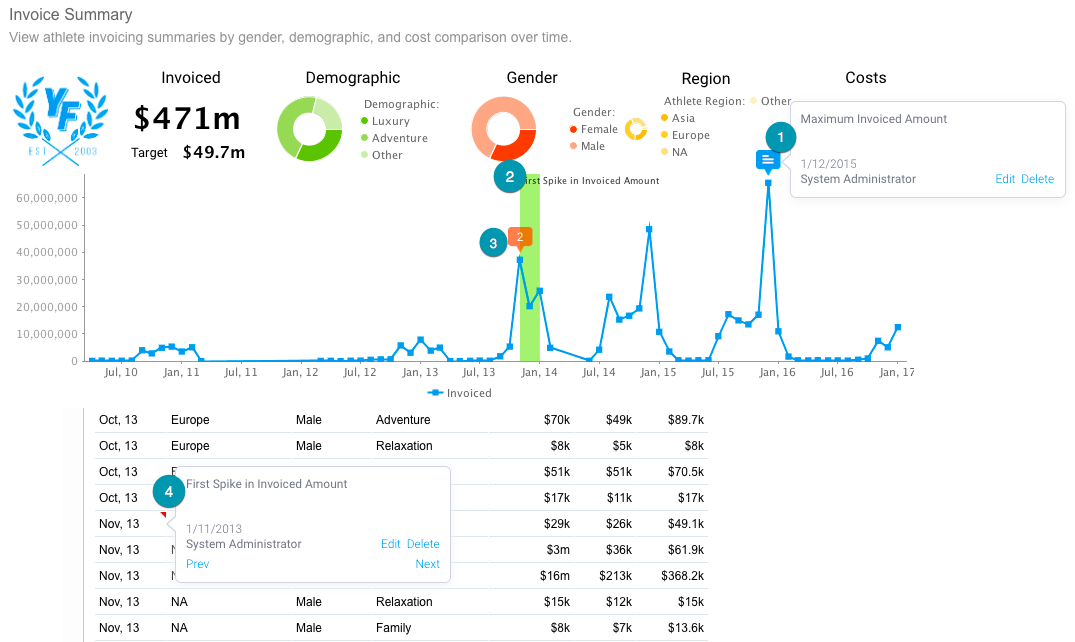
- A single annotation flag and its roll over highlighting the date, or start of date range, on the time series x axis, with a description.
Note: if the Annotation is set to Private the flag will be colored red. - Highlighting on a time series chart when the annotation has been applied to a date range rather than a single date.
- A multiple annotation that displays the number of annotations (for example, 2) at the exact spot.
- A descriptive roll over on the table displayed on the date, or start of the date range, that is editable from the report page.
| Number | Feature | Description |
|---|---|---|
| 1 | Annotation flag | Shows the details of an annotation via a tooltip on the chart visualization. If an annotation is private, it appears orange |
| 2 | Highlighted area | Shows that the annotation is applied to a date range as opposed to a single date. |
| 3 | Multiple annotations flag | Shows how many annotations are applied to a given point. |
| 4 | Annotation flag | Shows the details of an annotation via a tooltip on the report table. |
...
| Styleclass | ||
|---|---|---|
| ||
Enabling annotations
To There are two things you must do in order to use annotations in Yellowfin;
...
, an administrator
...
must enable annotation permissions for a user's role, and annotations must be enabled correctly for a given report.
Annotation permissions
...
Administrators must enable annotations for a user's role via the Admin Console. There are *C*reate, *R*ead, *U*pdate, and *D*elete role permission options available.
...
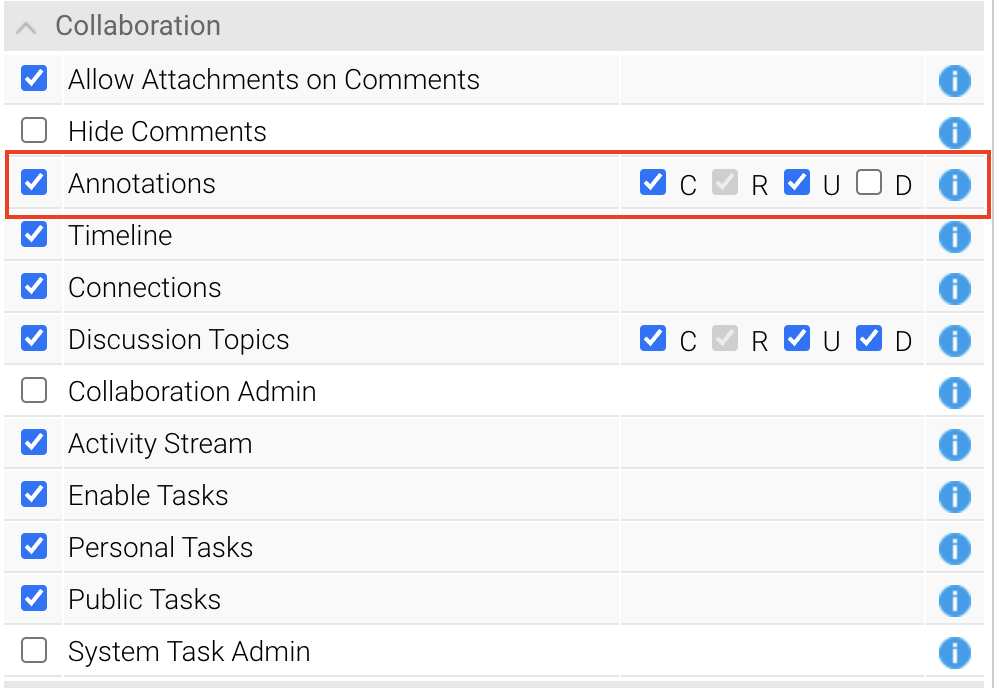
| Tip |
|---|
Only administrators can change role permissions. For more information on how to create and edit roles, visit Roles. |
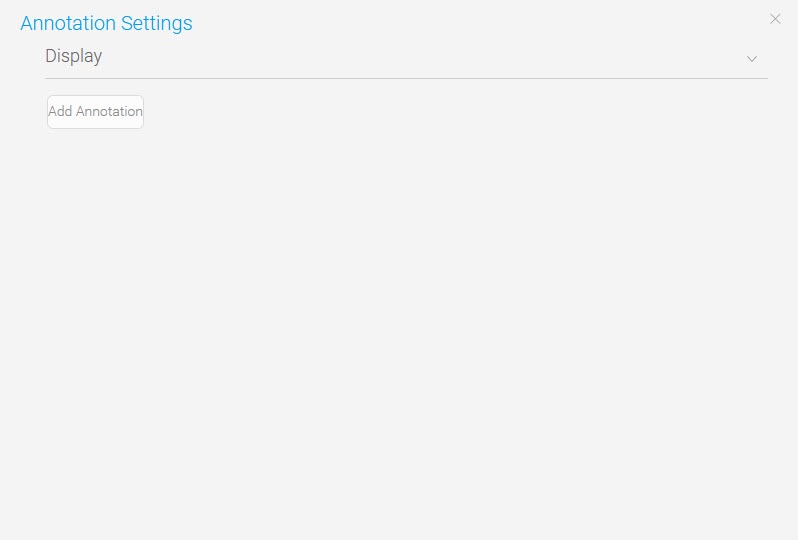
Report annotation settings
To display annotations on a given report, the report annotation settings must be enabled via the annotations toolbar on the draft or published report page.
- From the report page, click the Annotation tool
 on the toolbar to open Annotation Settings window
 - Click on the Display section
- Toggle on the Chart Display and Table Display toggles to enable annotations for this report

...
Creating Annotations
| Styleclass | ||
|---|---|---|
| ||
In order to create annotations you will need to complete the following:
Creating annotations
Follow the steps below to create an annotation.
- From the report page, click the Annotation tool on the toolbar to open Annotation Settings window
- Click
- Ensure your report is Active (not in Draft mode)
- In the Annotate menu, click on the Add Annotation button
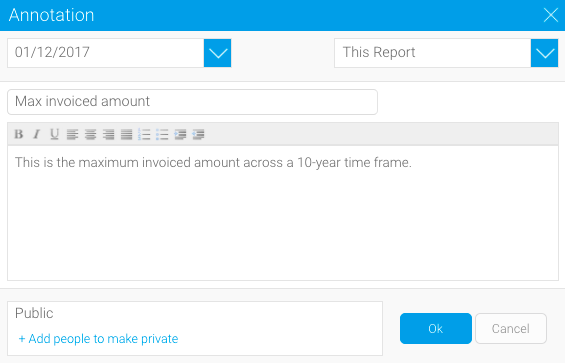
The Annotation window dialog box will opendisplay, providing you with the following options:


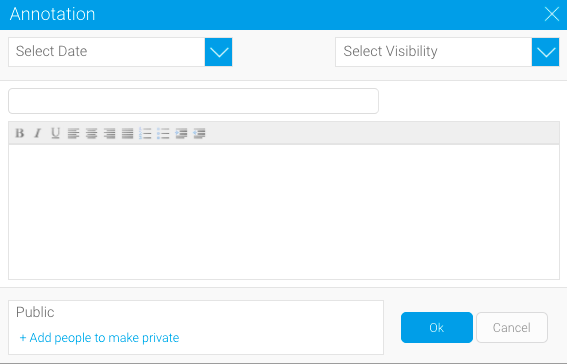
- Nominate the date, or date range for your annotation and click the Submit button
If a date range is selected, choose a highlight color for the chart annotation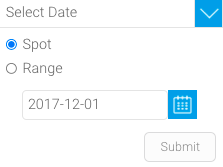
- Click the Select Visibility dropdown and click This Report
- Enter a title and description, and click the OK button
The report page will be displayed with the annotation flag visible at the selected date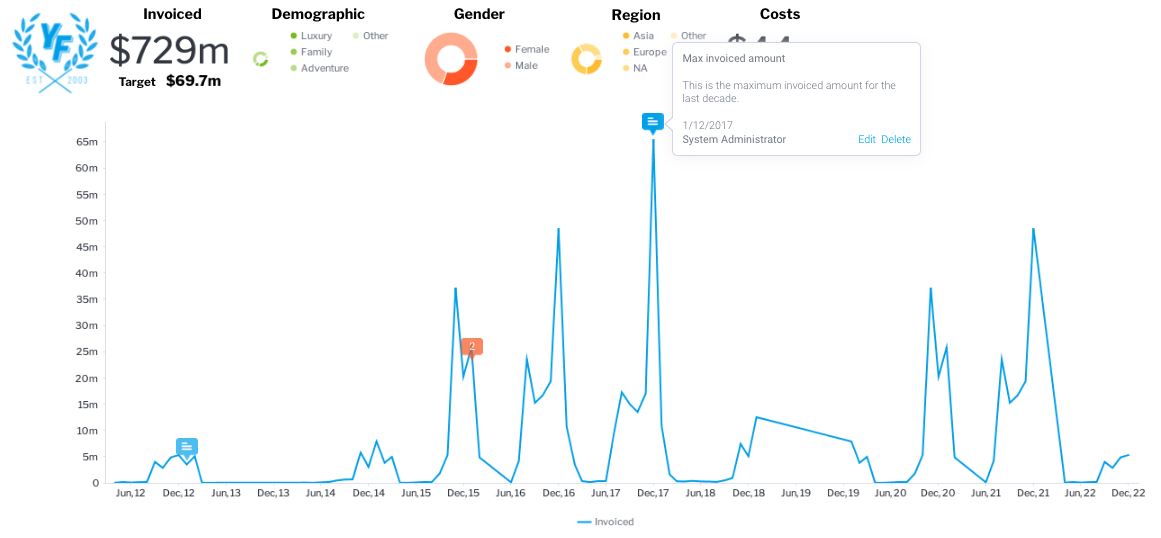
Tip When using multi-chart reports, annotations may not display immediately. Click Preview from the report page toolbar to preview the live report along with your annotations.

Annotation settings
Date
Nominate the date , or date range that for your annotation should be displayed for. If a date range is selected, you will also be able to can choose a colour highlight color for the chart highlightingannotation.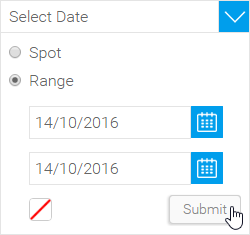
Filter
The optional Filter filter setting allows you to associate the Annotation an annotation with a filter value. This results in the Annotation only being means an annotation is only available if the report viewed contains the selected filter, and the specified value is available. 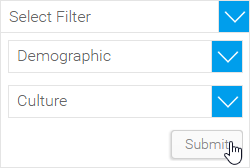
In order to To link your Annotation annotation to a filter value, you will need to complete the following steps:
- Add the required filter to your report, ensuring that it is :
- User Prompt
- Cached
- Click the Select Filter dropdown in the Annotation window, and choose your filter Select the Filter from the first drop down list in the Annotation windowdropdown list
- Select the desired value from the second drop down dropdown list in the Annotation window
...
- and click the Submit button
| Tip |
|---|
If you apply a |
...
filter link to your |
...
annotation, the |
...
visibility options will be reduced to This Report and |
...
Multi-Report -View, as the filter is linked to a view field and |
...
cannot be applied to reports based on other views. |
...
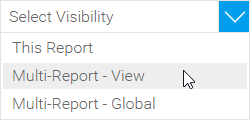
Visibility
Here you should select the level of your Annotation. This will restrict what You can select a visibility level for an annotation to restrict the content it can appear on. There are three levels available:.
| Option | Level | Description |
|---|---|---|
| This Report |
...
| Report level | If selected, annotations are |
...
| attached to a single report. Any date that falls on the specified date, or within the range, will be annotated. |
| Multi-Report - View |
...
| View level | If selected, annotations will be applied to all reports at the view level with the same data. | |
| Multi-Report |
...
| - Global | Organization level | If selected, anyone who belongs to the same organisation as the annotation creator will be able to see these annotations on any reports with the matching date data. |
...
Note: If the Annotation is linked to a filter, the Global (Organisation) level will not be available, as the filter is linked to a view field and as such cannot be applied to reports based on other views.
Title & Description
Enter the Subject of your Annotation and details about the event or data.
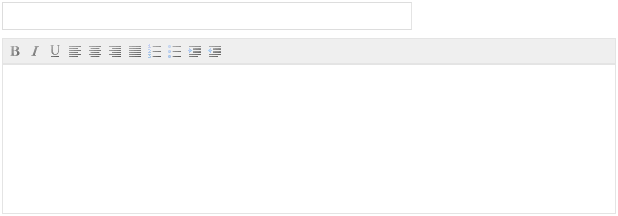
Title & description
The following fields allow you to enter a subject title and description for an annotation.
Security
Annotations are set to Public public by default. In order to To restrict visibility of the annotation, complete the following steps:
- Click on the + Add people to make private link
- Search for the appropriate users or groups by typing in the search fieldFrom here you are able to search through Yellowfin users & groups. Enter a search term in order to locate a user or group allowed to view the annotation. You will notice that groups have this symbol next to them.

- Click on the userusers/group groups you wish to add and continue until you have all the users required. Note: the
The creator of the annotation will always have permission to view itpermissions, and will be added by the system automatically.
...
- Once all other fields are complete, click the OK button to create the annotation
The private annotation flag will appear orange on the chart visualization
| Tip |
|---|
Annotations will always be secured by Client Org (if |
...
configured). If a public annotation is created within a given org, only users and groups within |
...
...
that org will see it. |
| Styleclass | ||
|---|---|---|
| ||
Viewing annotations
By default, a report will display an Annotation annotation if the following criteria are met:
- The Report report and/or Time Series Chart time series chart contains the matching date or range specified in the Annotationannotation
- Annotations display is enabled during report creation

- The Filters used in the Report match those used in the Annotation (if specified)
Global Annotations
| Styleclass | ||
|---|---|---|
| ||
Global annotations
When using the Client Organisations Orgs feature in Yellowfin, Administrators administrators of the Primary Org will have the option can enable Global Annotations. Enabling this feature means that all Annotations When enabled, all annotations created at the Primary Org (Default Leveldefault level) will be passed through and visible in all Client Orgs.
To enable this, the Administrator will have to:
- Navigate to Administration > Configuration > Authentication
- Under the Client Organisation Functionality, set Global Annotations to Yes.
- Save the settings.
| Tip |
|---|
Users logged in at the Client Org level will not be able to |
...
edit or |
...
delete the Global Annotations. |
...
However, they will be able to display or hide them through the same display settings as their own client annotations. |
Anyone with Yellowfin administrator rights can enable Global Annotations for Client Annotations.Note: when Orgs. Follow the steps below.
- On the left-side navigation pane, click on Administration, then Configuration
- Click on the Authentication
 tool along the top of the screen, then click on the Client Organizations section to display the following options
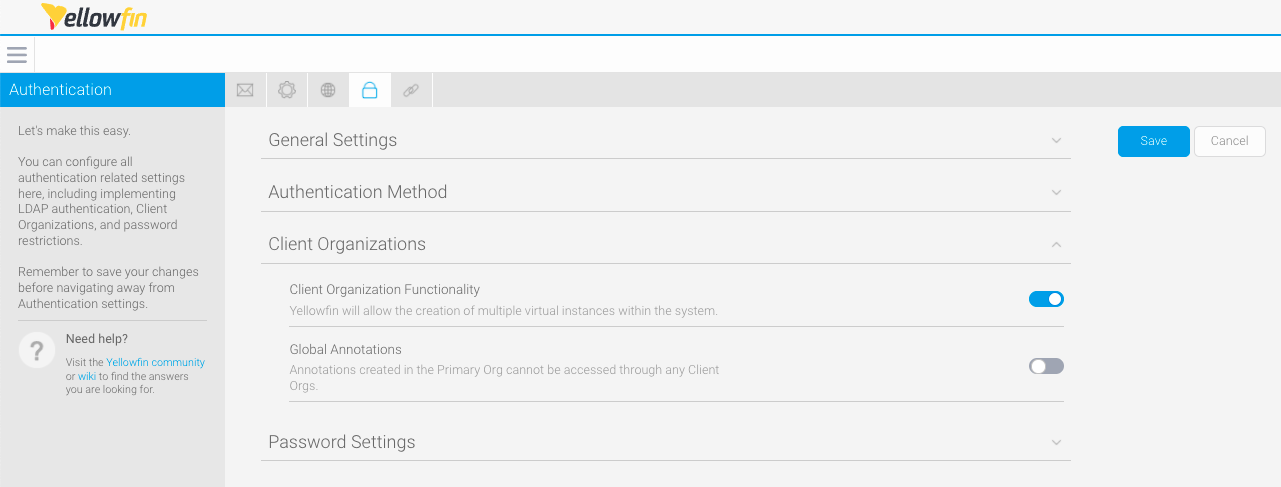
- Under the Client Organisation Functionality, toggle on Global Annotations
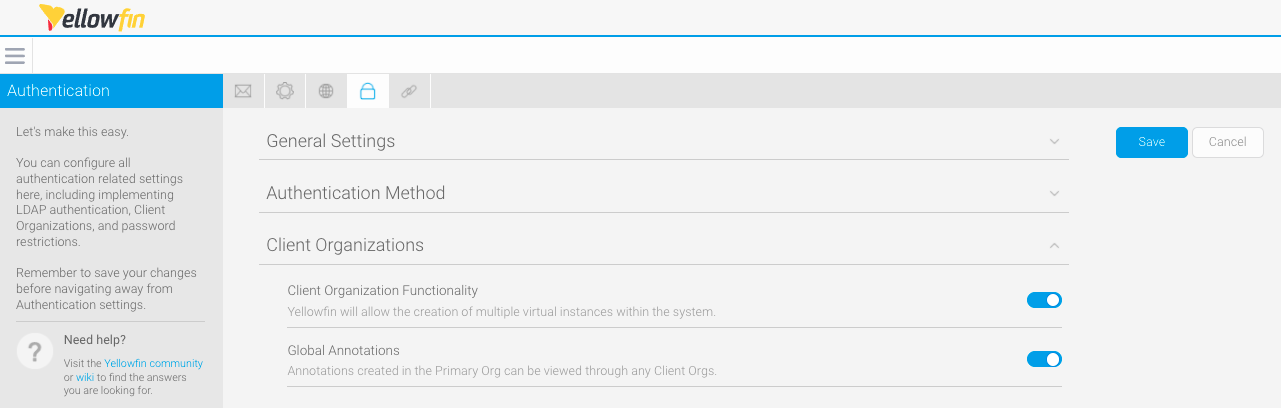
- Click the Save button to save the settings
| Tip |
|---|
When Global Annotations are enabled, the |
...
annotations at the Primary Org level will be set to |
...
public. |
...
...
| Styleclass | ||
|---|---|---|
| ||
...