Page History
...
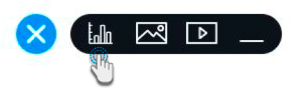
- Click on the plus button at the start of a new line. (Note if you do not see this button, simply click on a new line. The button will appear if no text gets entered.)

- Then select the report icon from the reanimated menu.

- A popup will appear displaying all the reports that you have access to.
- You can filter out relevant reports, snapshots or bookmarks in this popup by typing the name in the Search bar. Then click on the search icon at the end of the search bar.

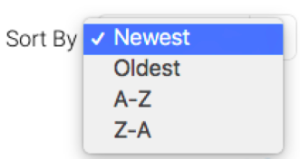
- You also have the option of sorting the reports. Click on the Sort By button and select how you want the items to be sorted in this popup.
- You can choose to view the reports as thumbnails or in a list.

- Click on the expand icon over a report's thumbnail, to maximize its image.
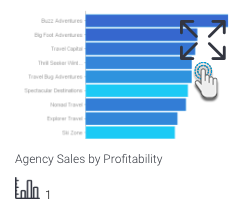
- Click on a report thumbnail to select it. (You can select multiple reports to include them to the Story.)
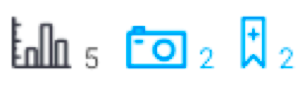
- Note that each report will display summarized information, such as the total number of its existing charts, bookmarks and/or snapshots. (You can click on the snapshot or bookmark icons to view those items for the specific report.)
- To include a snapshot to the story, click on the Snapshot tab at the top-left and then on the thumbnail of a snapshot.

- Similarly, follow the same steps to include one or more bookmark(s).
- Note: You can select multiple items to include them into the story at the same time. The order in which they are added to the story will depend on their order of selection.
- Once you've made all the selections, click on the Insert to Story button. The selected items will be included to your story.
- Each item will include a caption that can also be edited.
Simultaneously, you can click on the Create new report button if you want to create a report from scratch. On doing so, you will be asked to select your view and navigated to the Report Builder. See the note below.
- The default formatting of the snapshot and bookmark captions indicate the artifact type, followed by the report name and ending with the name of the snapshot/bookmark.
- You can use the edit menu to change the display of the report artifact. Refer to the section below to learn more.
- Note that live reports and bookmarks will be automatically refreshed every time you access the story as their data may be changed. This may affect your story. (Snapshots will not be updated even if the data has changed, since they always remain static.)
- You can interact with report artifacts embedded in Stories. Interactions that are supported, include tooltips, drilling, keep/exclude filtering, brushing, annotation.


...
Adding an image to a Story
Use the Image Manager to locate, manage and add images to your story. See the table at the end of this section for a full description.
- Click on the plus button at the start of a new line. (Note if you do not see this If you can't see the button, simply click on a new line. The : the button will only appear if there is no text gets already entered.)

- From the pop-up menu that appears, click on the Add an image button.
 Select the image icon from the menu.
- The image manager popup Image Manager dialog box will appear. Use it to choose From here, you can select an existing image by selecting its thumbnail, or add , upload a new image by using the Add button.
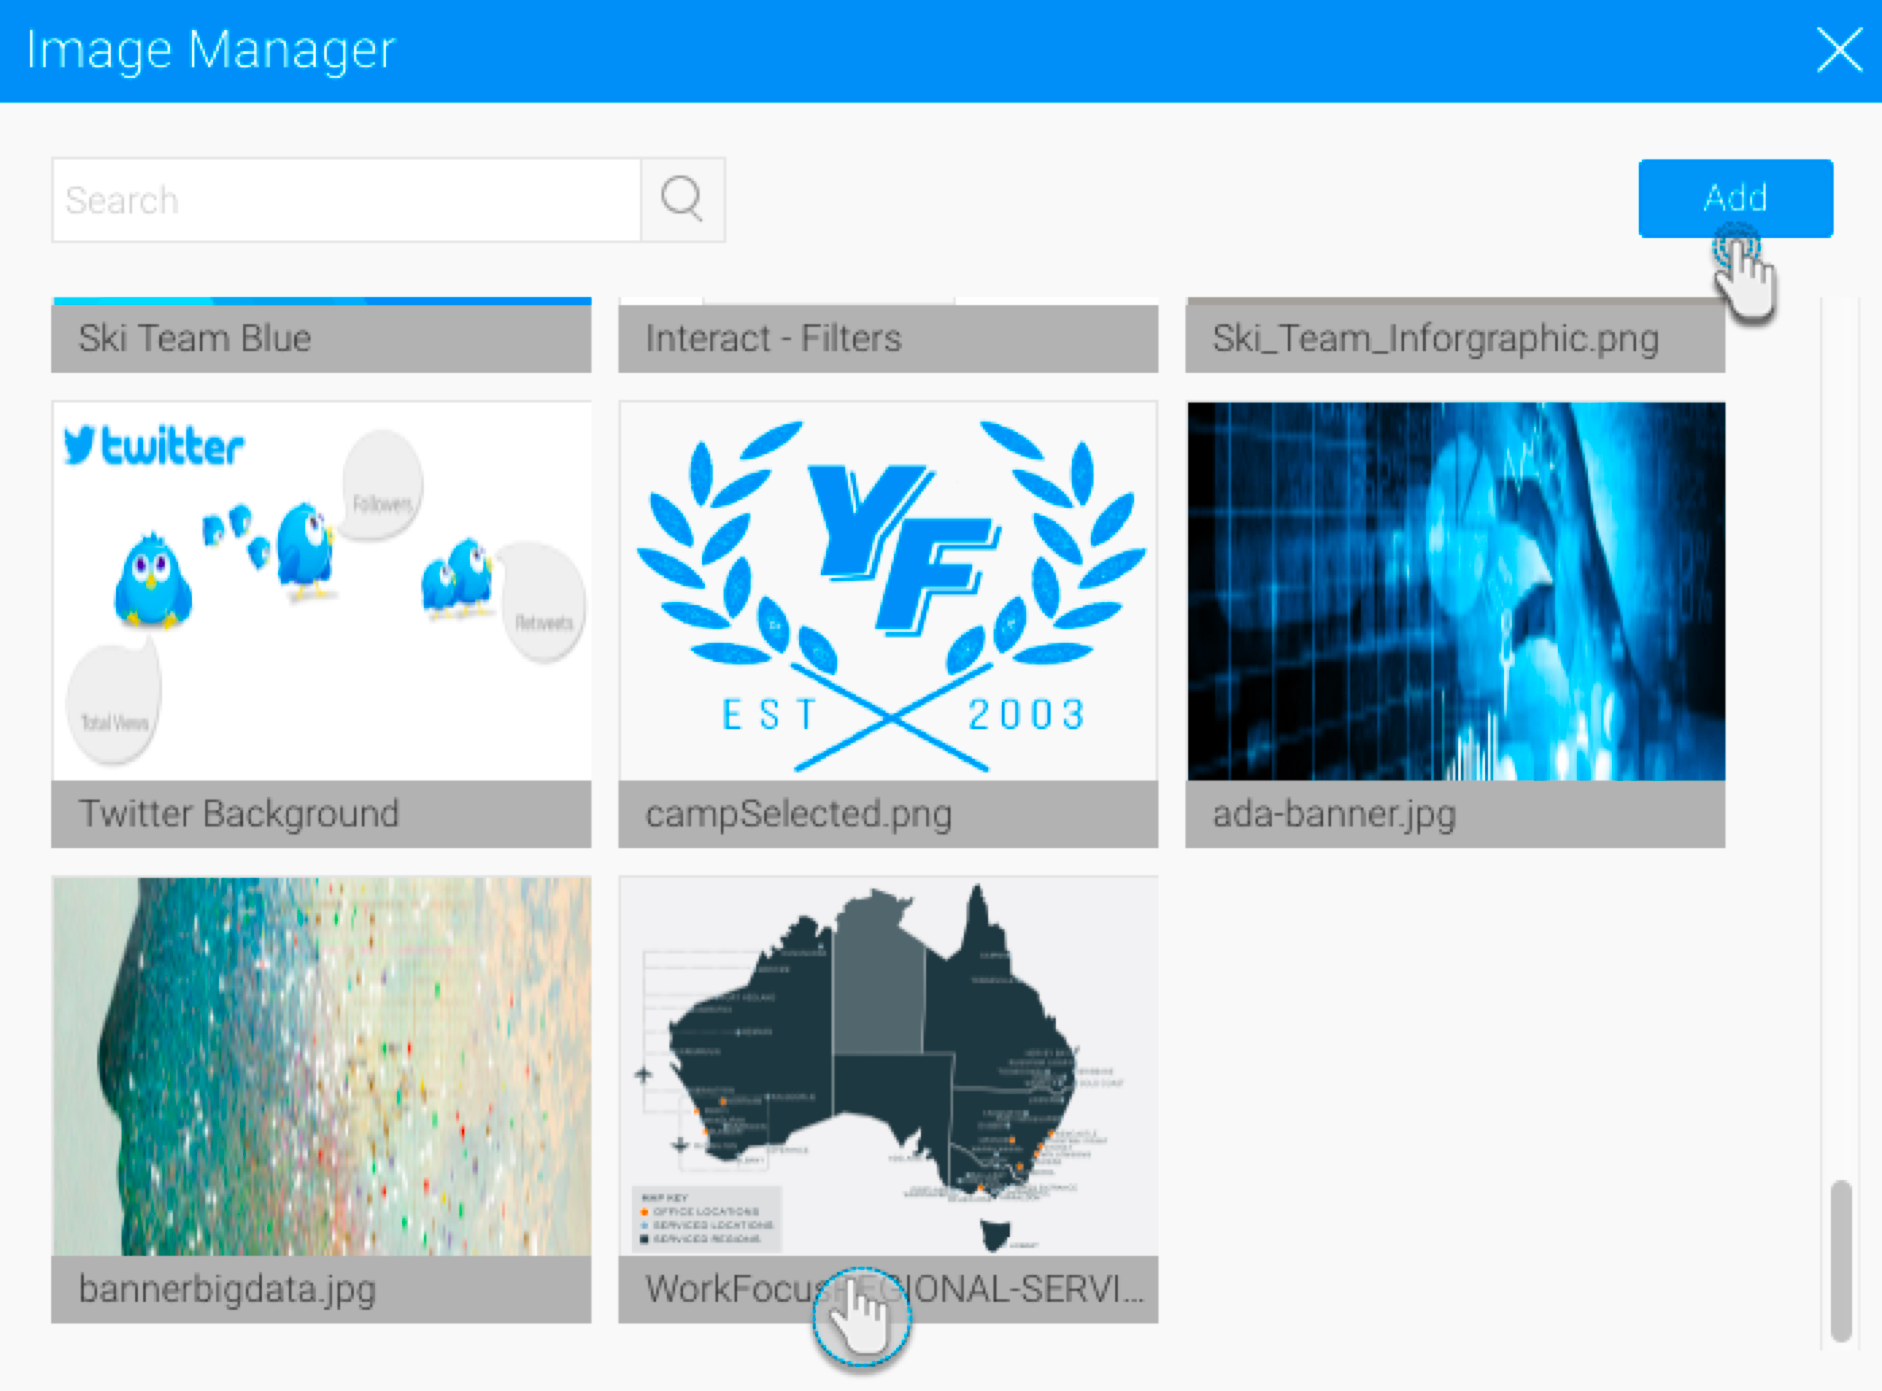
, manage corporate images and your own images, sort and search for images and much more.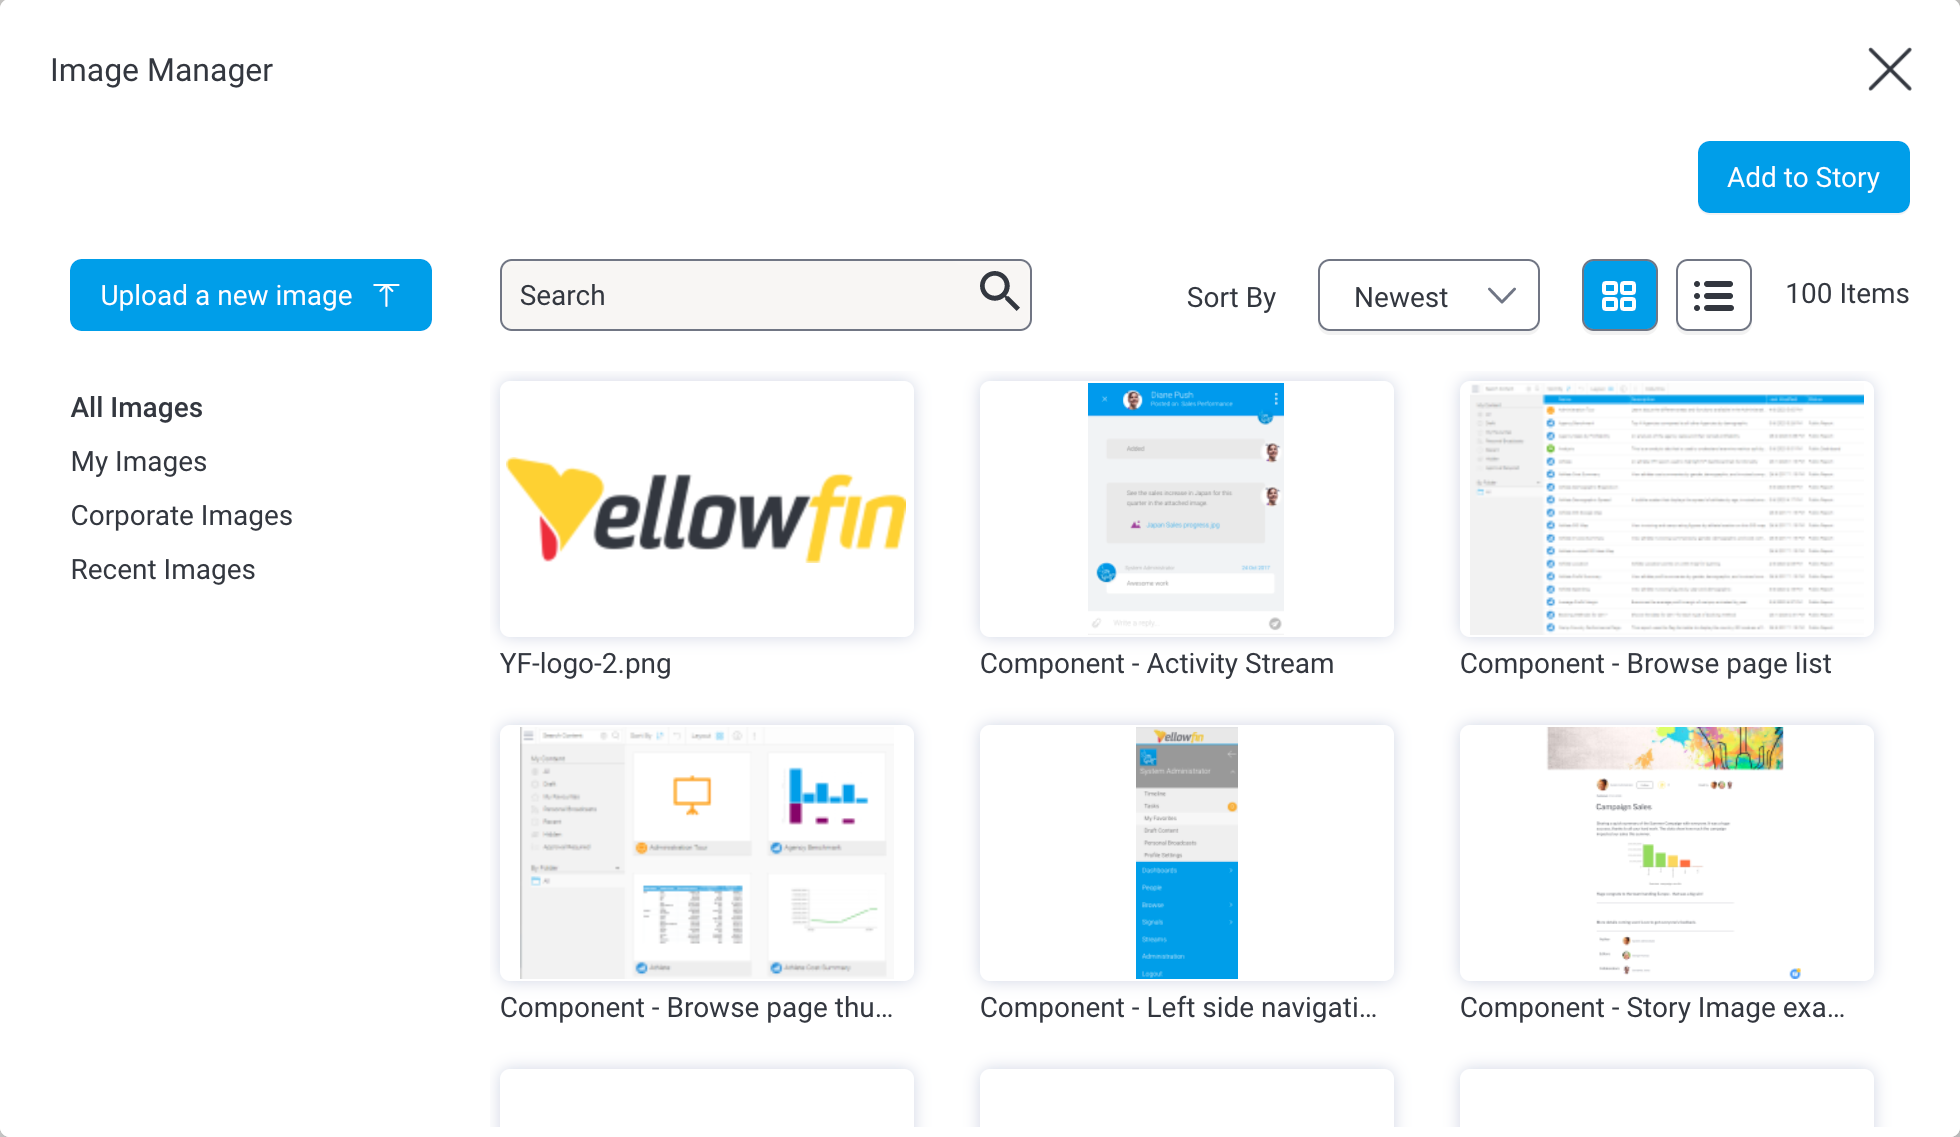
- Locate the image you wish to add and click on it, then click on the Add to Story button.
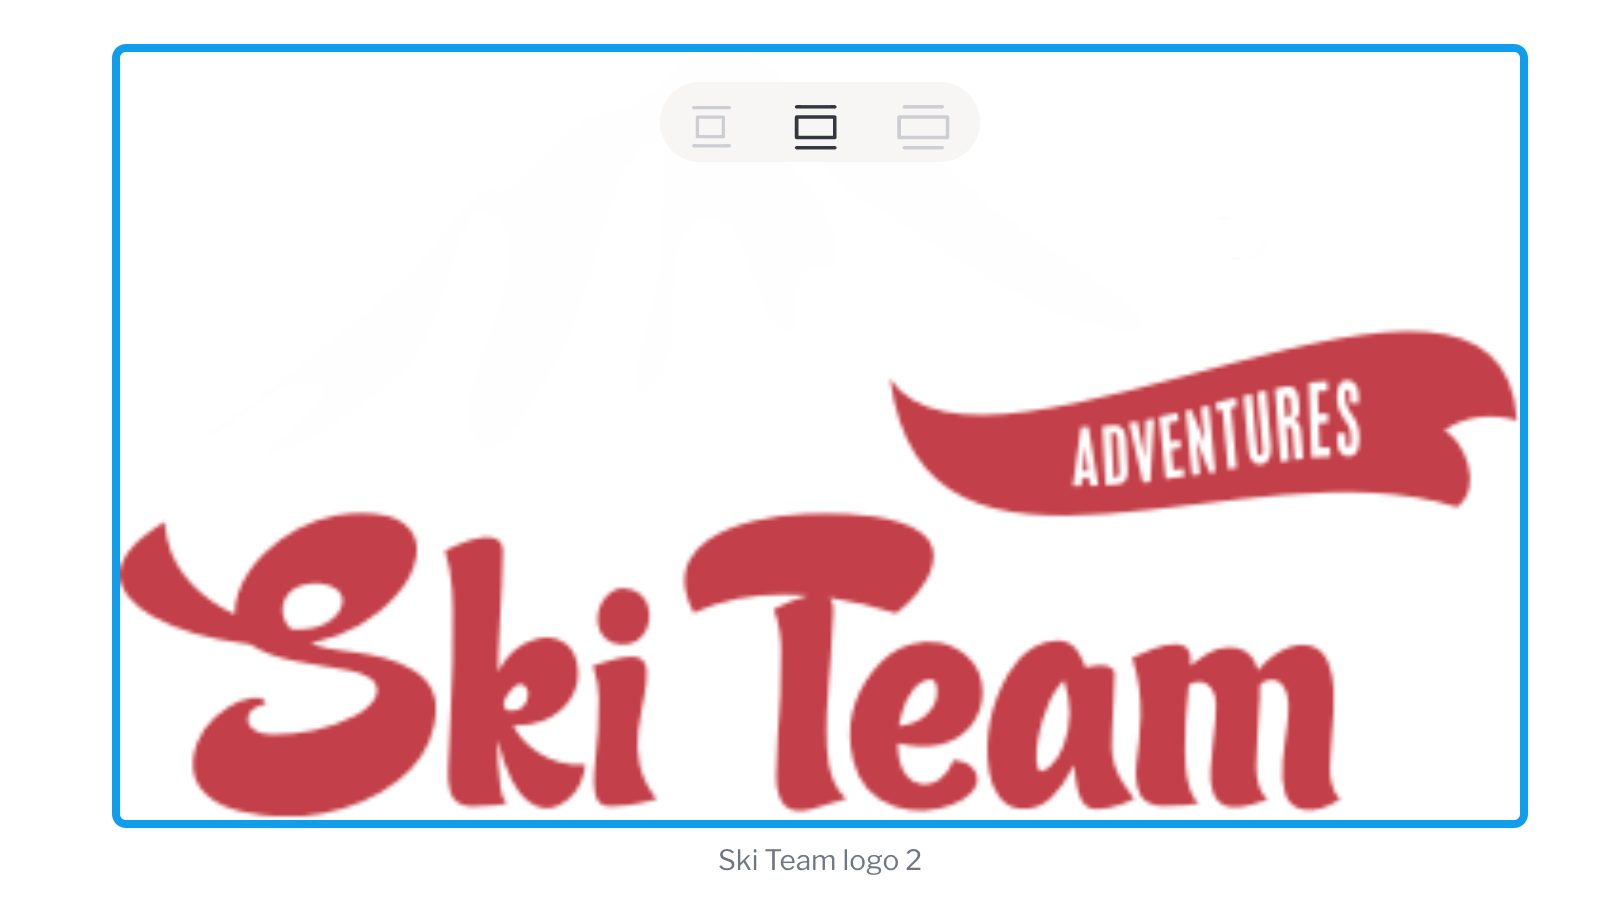
- Once added, resize the image using the options displayed at the top of the imageOnce added, you can resize the image. See the chart below for a description of the options available.The image will be captioned with its name, which can also be edited or removed
- If you wish to edit or remove the caption that appears below the image, click on the text to edit it.
Image resizing options
Icon | Size option | Description | |||
| Original | Displays the image in its actual size. This option is only available if the original image width is less than 700 pixels. | |||
| Fit | Displays the image to fit the Story size, which is 700 pixels (that is, the image width will be stretched to 700 px while maintaining the aspect ratio). The image is displayed in this size by default. |
| Wide | The maximum size an image can be displayed in. (This option will stretch the width to 900 pixels, while maintaining the aspect ratio.)The image is displayed in this size by default. |
| Wide | The maximum size an image can be displayed in. (This option will stretch the width to 900 pixels, while maintaining the aspect ratio.) |
Image Manager options
The Image Manager provides a range of tools for fast and easy management of image files within Yellowfin. See the table below for more details of each of its features.
| Feature | Description |
|---|---|
| Click on the Upload a new image button to upload a new image. Only valid image formats such as JPEG, PNG and GIF can be uploaded. |
| Click on All Images to see all images, and Recent Images to see the most recently used images. Click on My Images to see images you have uploaded. Other users cannot see your images listed in their Image Manager. Click on Corporate Images to see the current pool of corporate images. By default, the Corporate Images folder is read-only for all user roles. To make it accessible to users, system administrators need to edit the relevant user role, expand the Administration section and click on the checkbox for Save Corporate Images. |
| Use the search bar to refine the list of images — useful for anyone who has built a substantial library of images and knows what they're looking for. Type some text and use your Enter key to see the results of your search. |
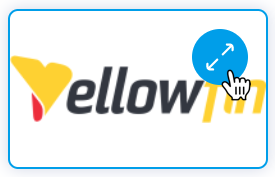
| Hover over the top right corner of any existing image and click on the blue circle to see an enlarged version of the image. |
| Change the sort order between alphabetic and newest/oldest by clicking on this dropdown. |
| Change the display of images between thumbnail view and list view. |


...
| Anchor | ||||
|---|---|---|---|---|
|
Embedding a video
...
within a Story
You can embed Youtube or Vimeo videos into your story. Here's a simple procedure that explains how to do this:
- Click on the plus button at the start of a new line. (Note if you do not see this button, simply click on a new line. The button will only appear if no text gets entered.)
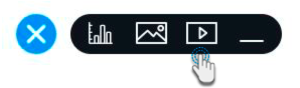
- Select the video icon.

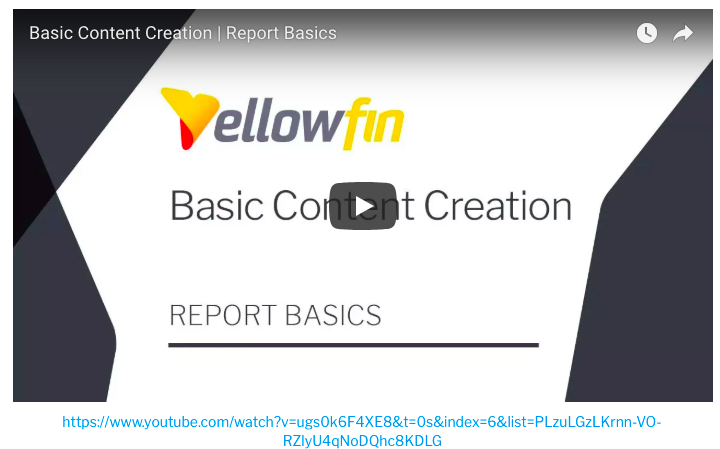
- Copy the link from either video platform, and paste it in the area specified. Press the Enter key.
- The video will be displayed, and captioned with the link. You can edit or remove the caption.
- To delete the video, simply select it and press the Delete key.
...
- Click on the plus button at the start of a new line. (Note if you do not see this button, simply click on a new line. The button will only appear if no text gets entered.)
- Then select the divider icon.


- A horizontal line will appear.
...