Page History
...
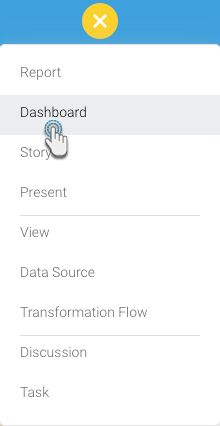
- Click on the Create + button, and select Dashboard.
- When the following popup appears, select either one of the dashboard layouts or the dashboard canvas (pointed out in the screenshot below).
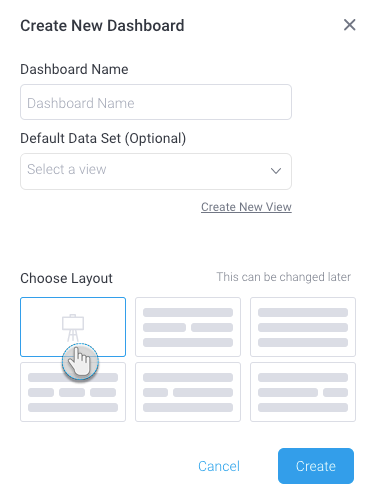
- You may provide a name for the dashboard tab now, or do it later.
- Similarly, you may also select the default view or data set for your dashboard. Or click on the Create New View option to create a new view; this leads to the View builder.
- Click on the Create button to continue.
- The tab layout of your selection will appear in edit mode on dashboard. In our example, we have shown the dashboard canvas.
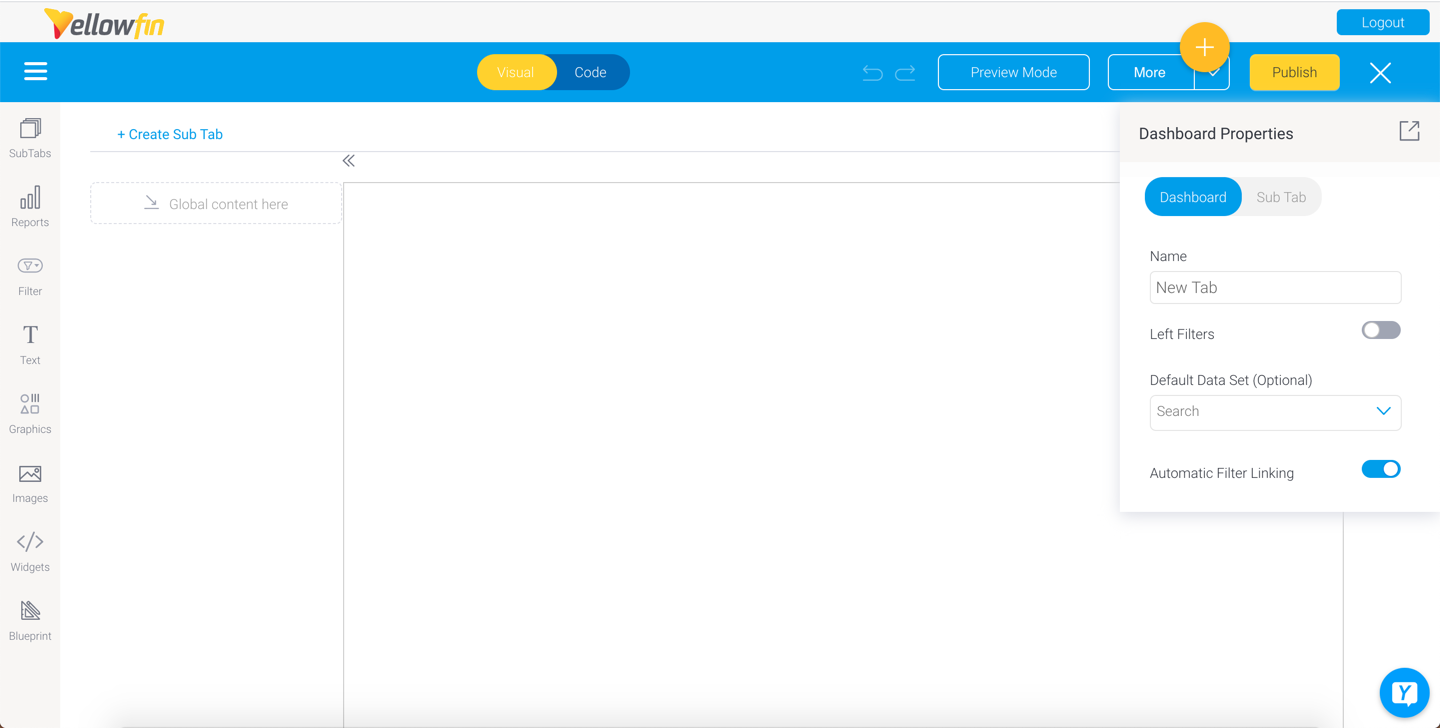
You can now create more sub tabs, and add other dashboard objects to any of the sub tabs via left side widget navigation.
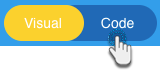
- If you used a canvas template, you can also extend the code of the dashboard, and its objects by going into Code Mode. (Note: you will need the correct role permission for access to this mode.) To do so, click on the Code button in the top header.
- The dashboard builder autosaves the dashboard as a draft, as you continue to edit it.
- View and test your dashboard in preview mode before publishing and sharing it. Click on the Preview Mode button on the top-right corner.
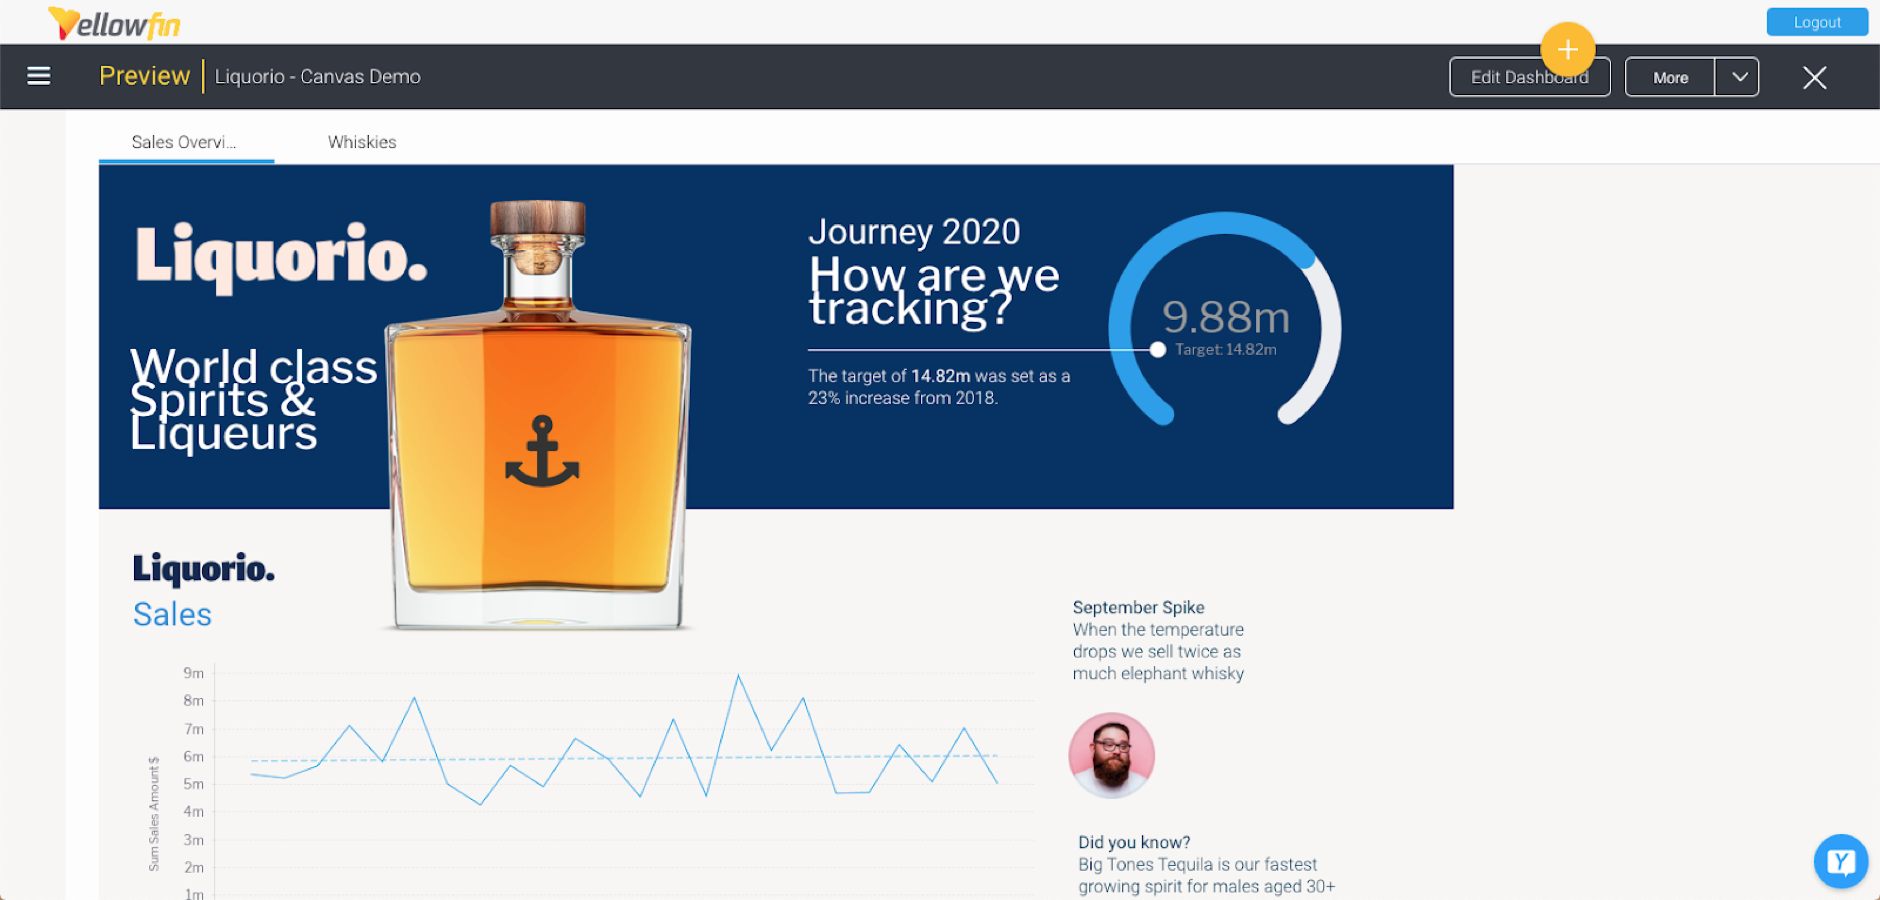
- You will be able to view your dashboard in preview, as shown in the example below.
- You can go back to edit mode to make further changes, by clicking on the Edit Dashboard button on the top-right corner.
- Once the dashboard is ready, click on the Publish button to publish and share it with other users.


...