Page History
...
- Click on the Create
 button in the top right corner, and select Present
The Create New Presentation pop-up will appear
- Enter a name in the Presentation Name field
If you intend to add charts or reports, click on the dropdown for Default Data Set and choose the appropriate view (or click on the Create New View option to create a new view; this will take you away from your presentation and into the View builder)
If you wish to use an existing theme to your presentation, click on the theme's thumbnail (otherwise, the Blank theme is used by default)

- Click on the Create button
- A new presentation will be created, ready to be edited in visual mode for easy editing
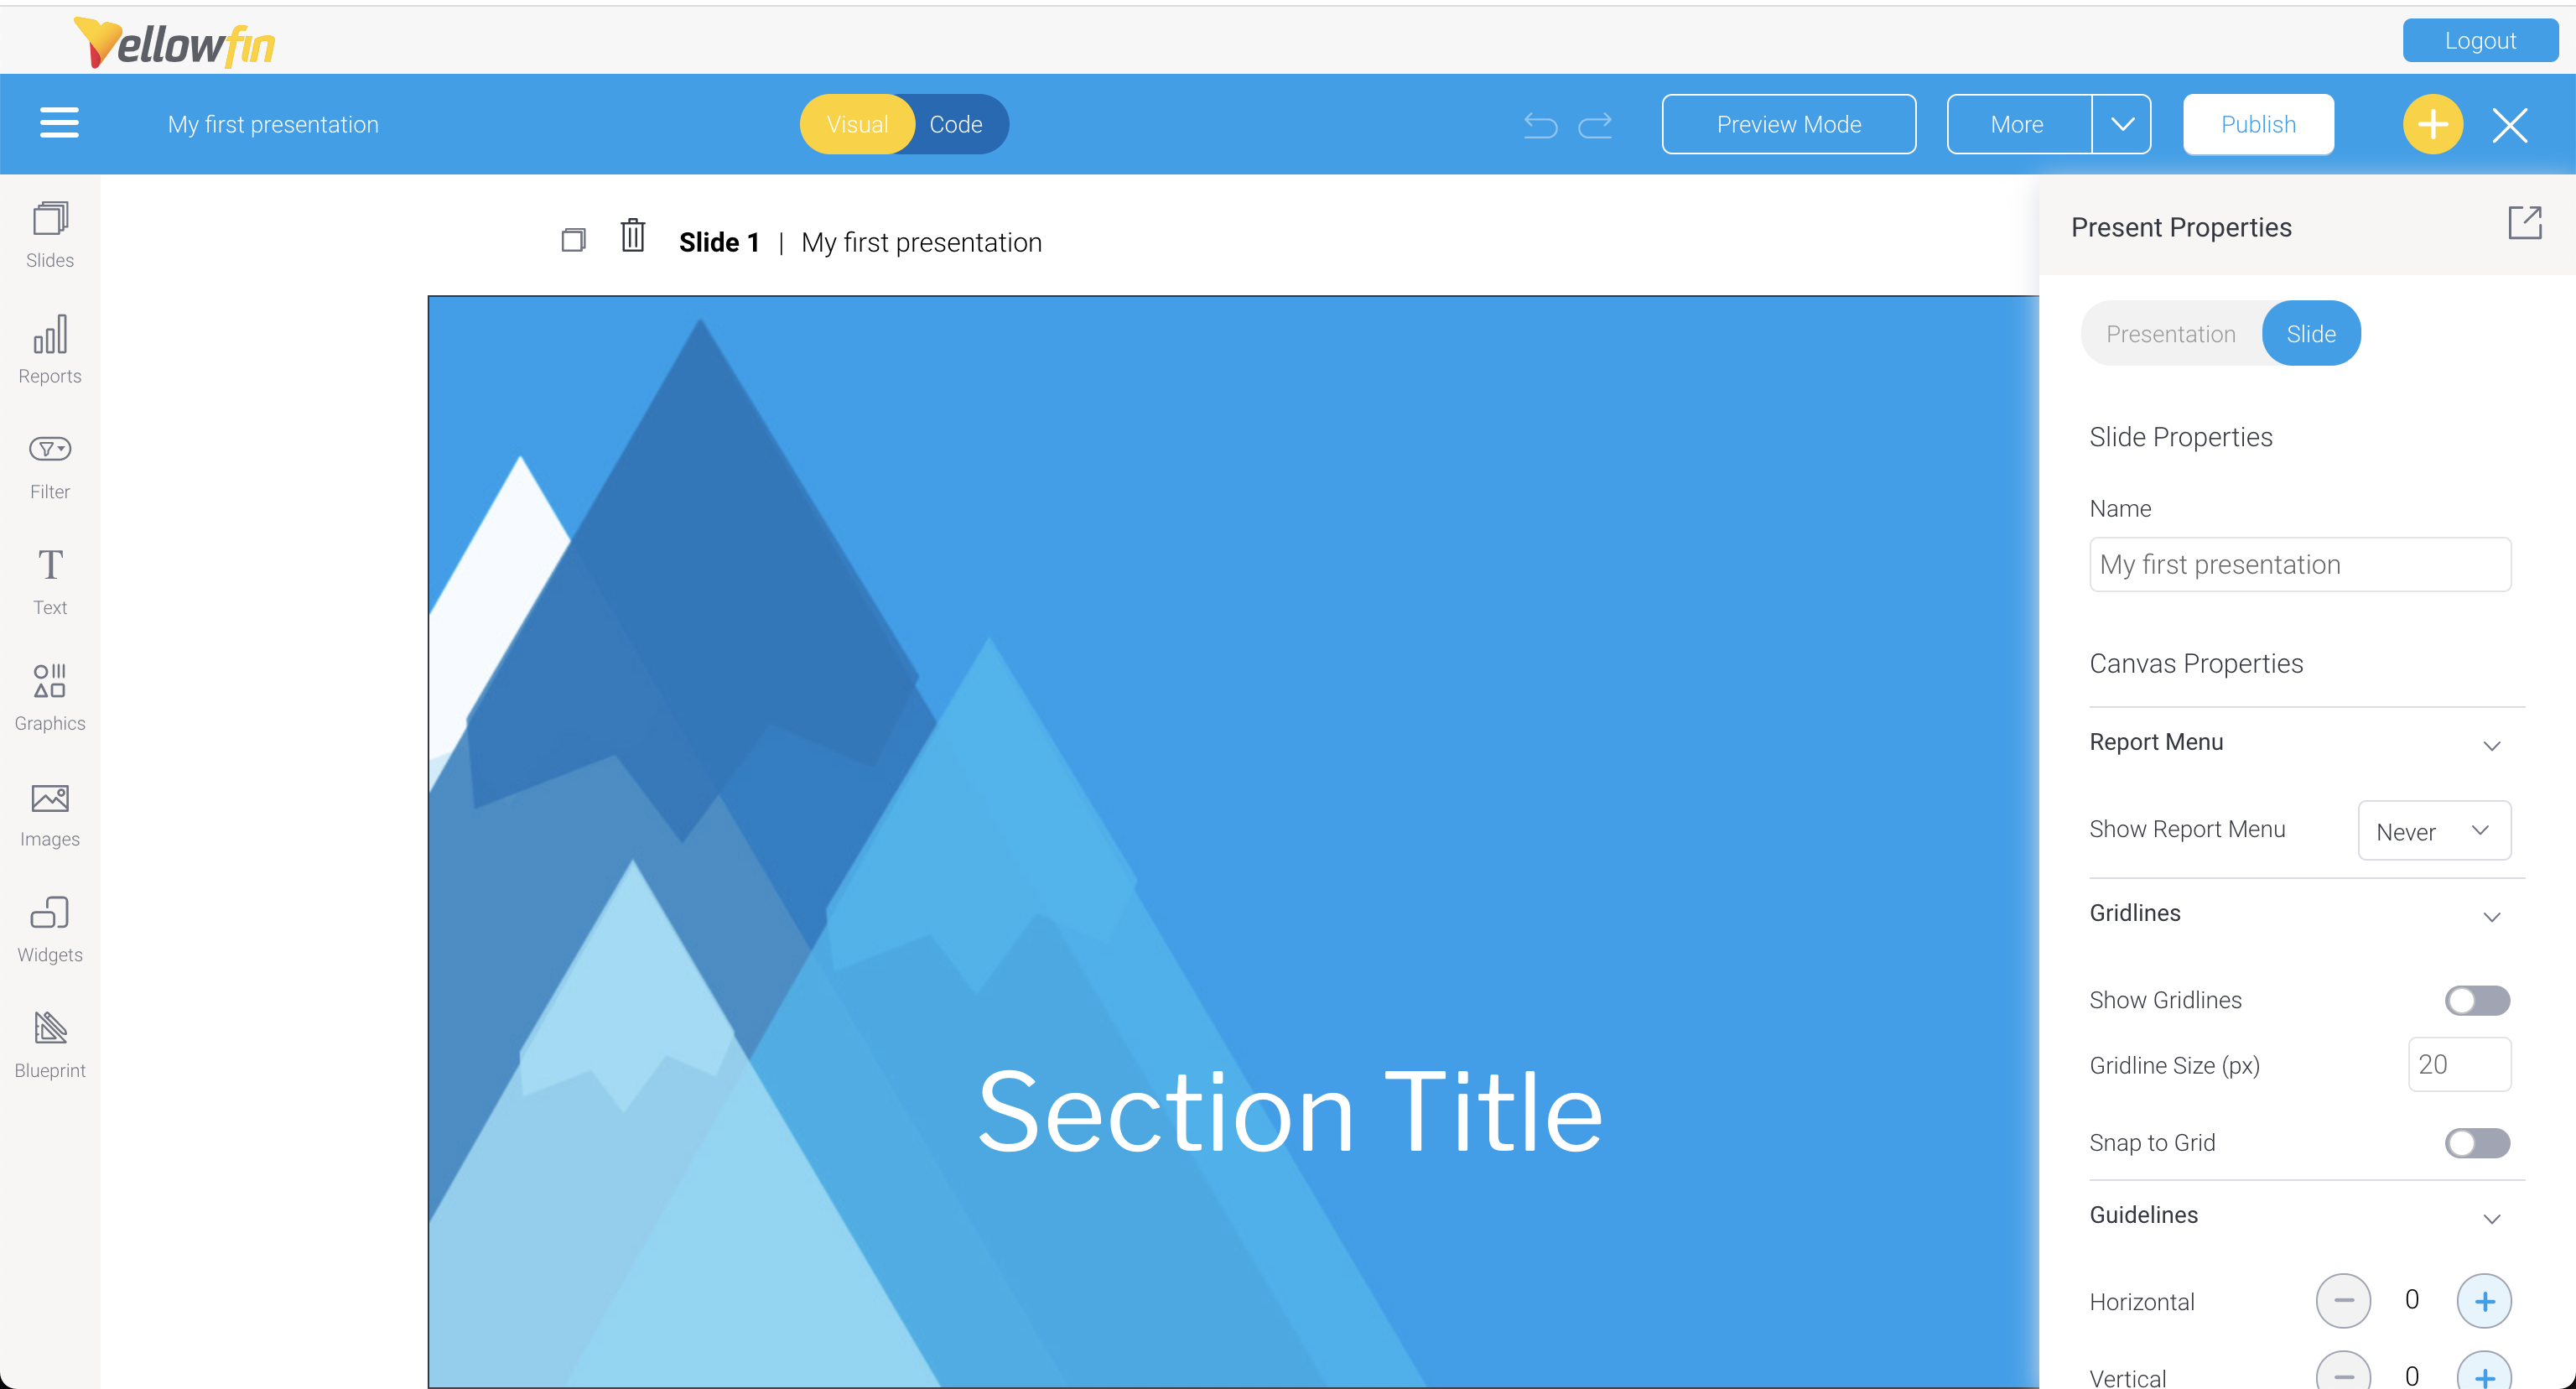
- Take a look at the Present Properties panel on the right-hand side of the screen to see how each slide and your entire presentation can be customized
- Using your mouse, double click on the slide name in the slide header to change it
You can also change the name of the slide from the Present Properties panel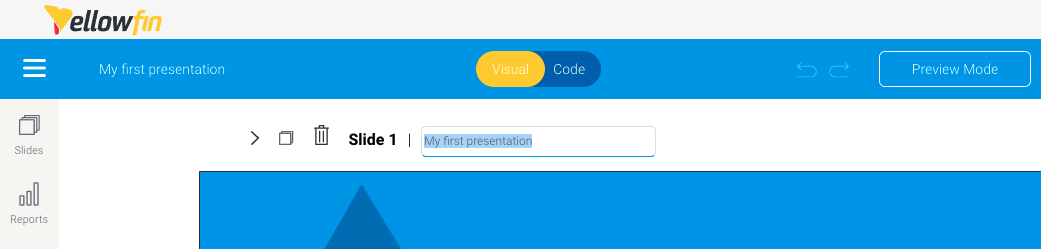
- Use the toolbar on the left to add content to your slides (for more information on these tools, see our Present Objects page)
As you work on your slides, your presentation is automatically saved as a draft - When're ready to publish and share your presentation, click on the Publish button in the top right corner
| Tip |
|---|
If you'd like to save your presentation as a theme, see our page about Creating a Present themeTheme for further information. |
| Styleclass | ||
|---|---|---|
| ||
...