How to create a dashboard
A dashboard may consist of one or more tabs. When creating a new dashboard, you will need to start with a new tab.
- Click on the Create + button, and select Dashboard.

- When the following popup appears, select either one of the dashboard layouts or the dashboard canvas (pointed out in the screenshot below).

- You may provide a name for the dashboard tab now, or do it later.
- Click on the Done button to continue.
- The tab layout of your selection will appear in edit mode on dashboard. In our example, we have shown the dashboard canvas.

- You can now create more sub tabs, and add other dashboard objects to any of the sub tabs via left side widget navigation.
- The dashboard builder autosaves the dashboard as a draft, as you continue to edit it.
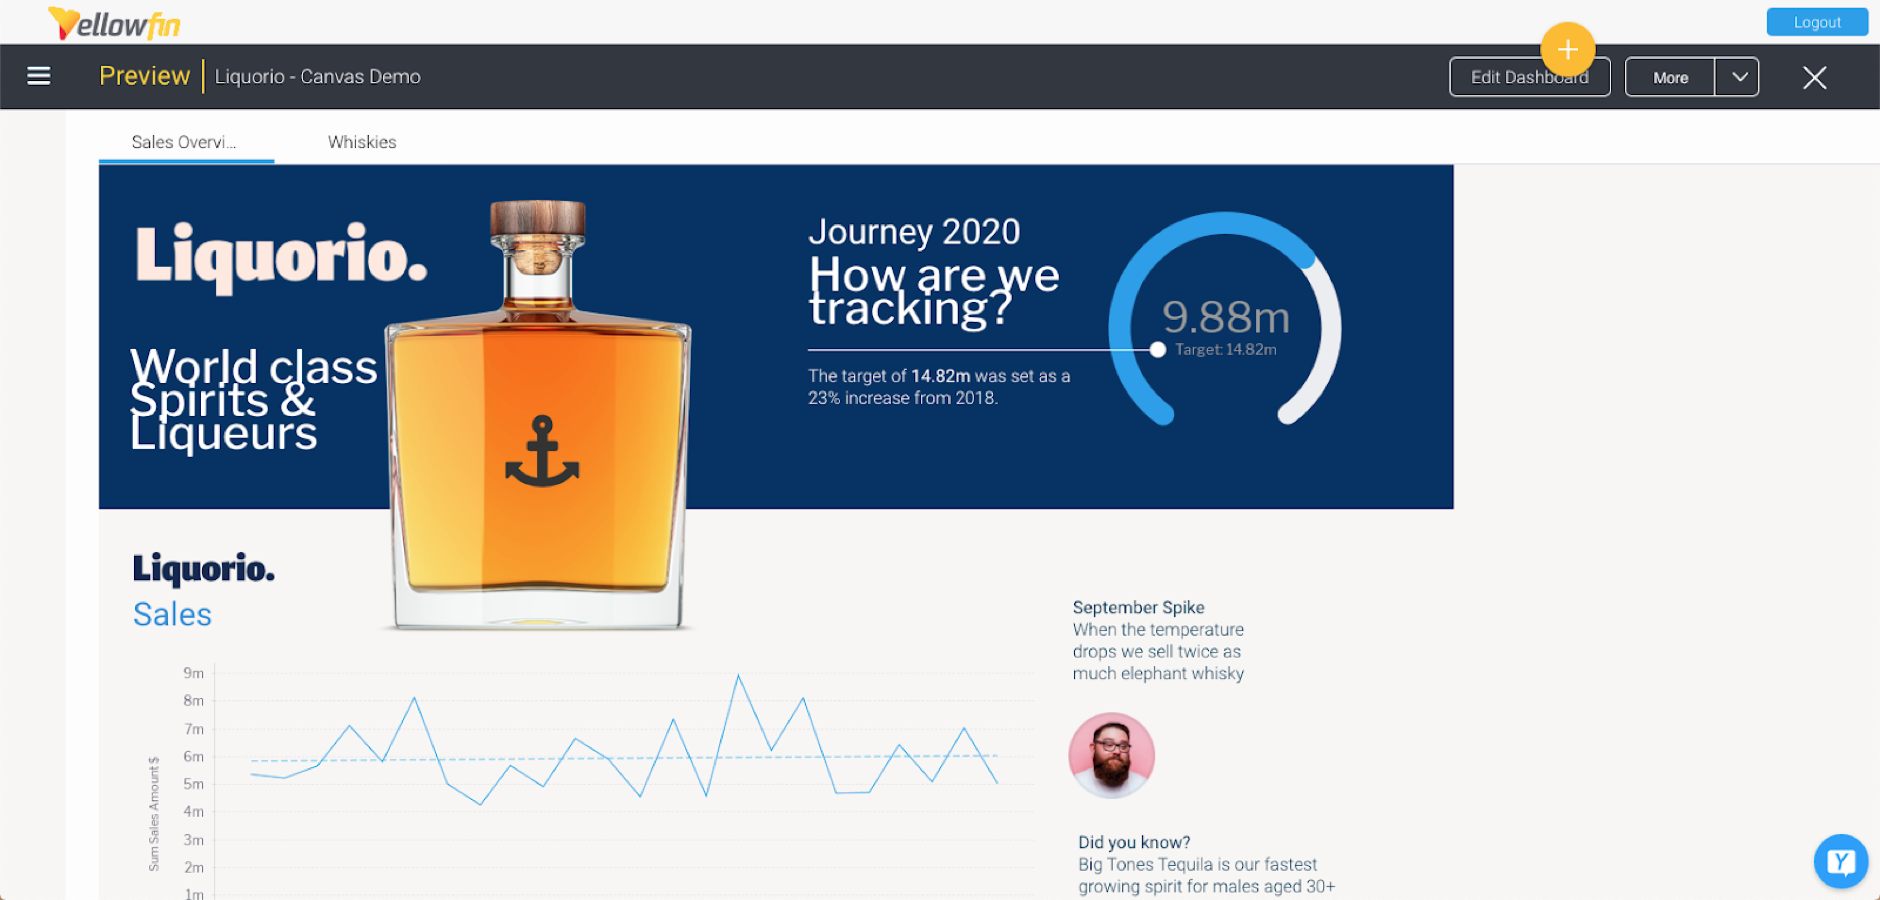
- View and test your dashboard in preview mode before publishing and sharing it. Click on the More button on the top-right corner, and select Enter Preview Mode.

- You will be able to view your dashboard in preview, as shown in the example below.
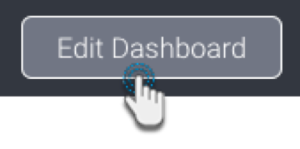
- You can even go back to edit mode and make further changes to your dashboard. To do so, click on the Edit Dashboard button on the top-right corner.
- Once the dashboard is ready, click on the Publish button to publish and share it with other users.
Dashboard properties

Note: these property options will differ based on the selected dashboard template; the dashboard layouts will have limited properties options, whereas the canvas will have all.
Property name | Description |
|---|---|
Name | View or update the name of the dashboard |
Left filters | Allows you to hide or display the button for left side navigation filters on your dashboard. |
Automatic filter linking | Allows you to automatically link your dashboard filters when is enabled. Learn more here. |