Overview
This page is designed to allow you to install and manage a range of plugins within your Yellowfin instance. The types of plugin available through this page include;- Third Party Connectors
- JDBC Drivers
- Advanced Functions
- Converters
- Custom Formatters
Add
In order to add a plugin you will first need to create or obtain one - you can find a selection on the Yellowfin Marketplace. Once you have a plugin to install, follow these steps:
1. Access the Plugin Management page within the Admin Console.
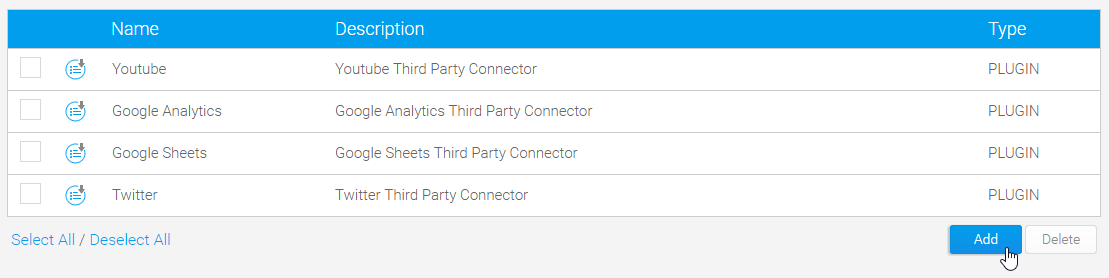
2. From here, click on the Add button at the bottom of the existing plugins list.
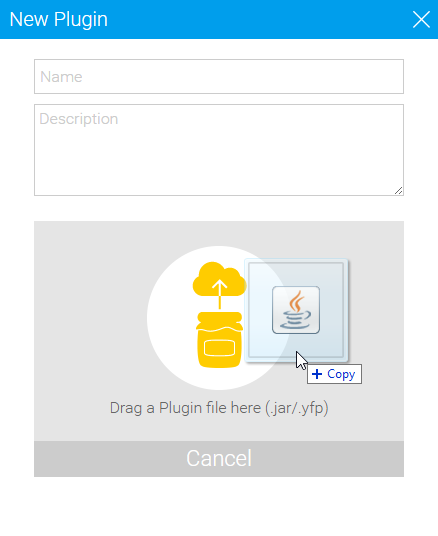
3. On the New Plugin lightbox, drag and drop your plugin file. This should either be a .jar or .yfp type.
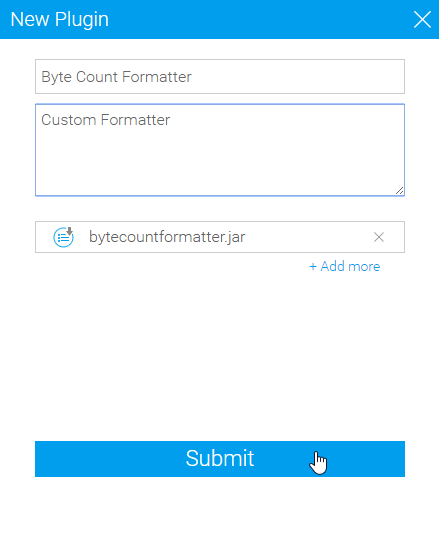
4. Provide a Name and Description for the plugin, which will help users understand what its intended purpose is. This will not be the label of the plugin outside of the Plugin Management page.
5. Once Yellowfin has finished processing your file, click Submit.
6. You will now see your newest plugin in the list.
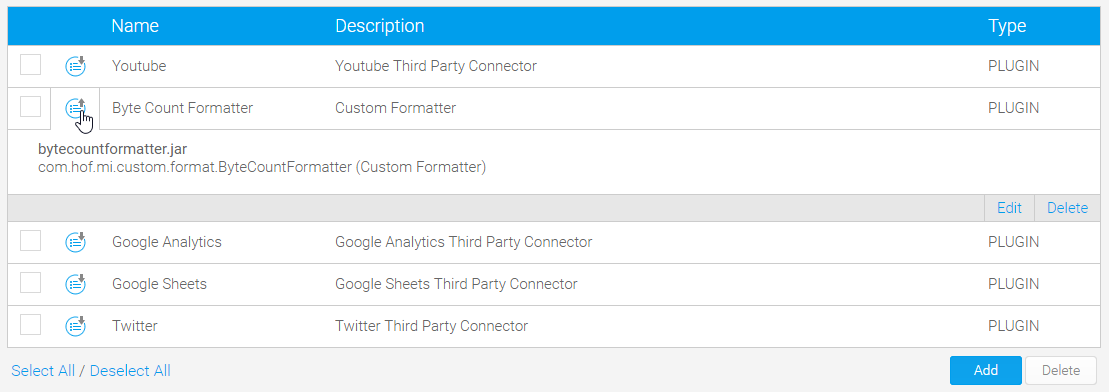
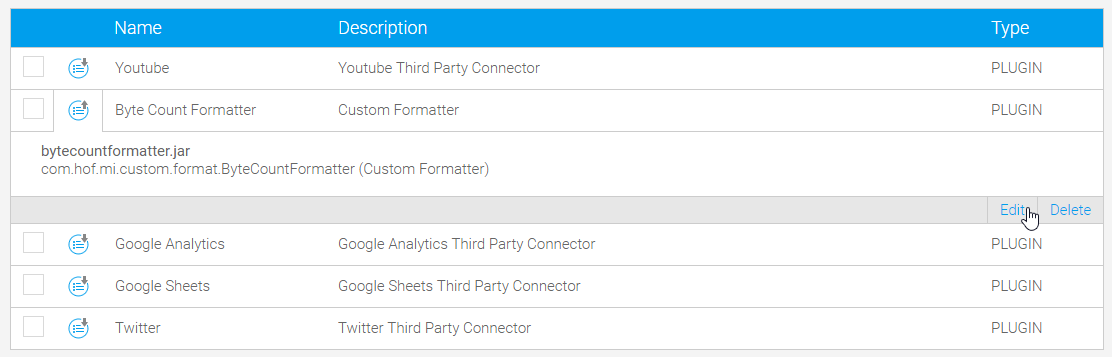
Edit
Editing a plugin can mean either adjusting the name and description, or updating the plugin file(s).1. Click on the plugin in the list and select the Edit link.
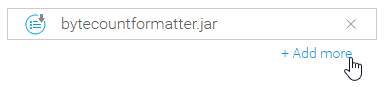
2. Click on the  Remove button next to a component of the plugin in order to remove it.

3. Click on the  link in order to load new files as part of the plugin.
4. Click Submit to complete the edit.
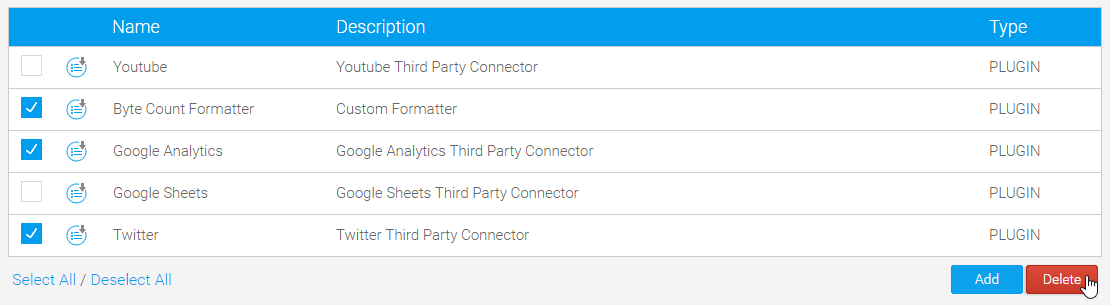
1. Click on the name of a single plugin and select the Delete link.
OR
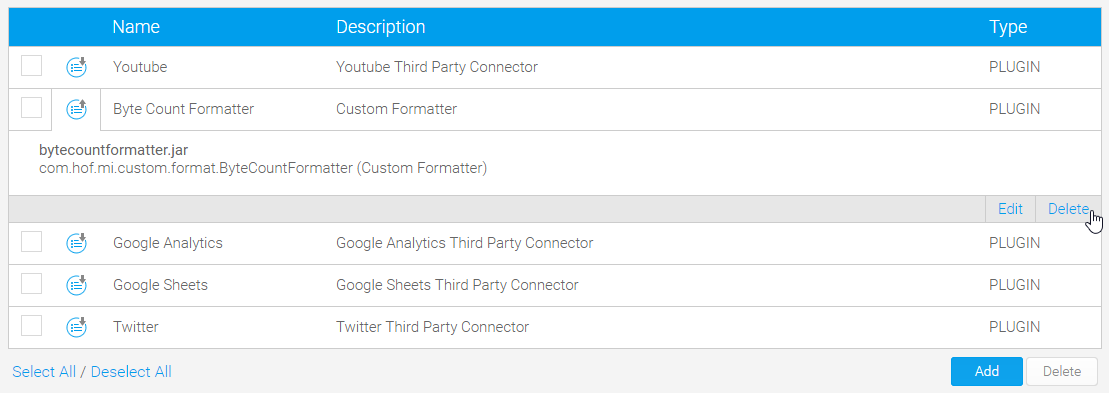
2. Check the box next to one or more plugins to remove and click the Delete button.