Overview
This section will help you navigate through the next steps after you've installed Yellowfin.
Yellowfin Directory Structure
A Yellowfin directory will be created at the specified location after a successful installation. Click here to learn about the folders and files present in the directory structure. This includes the Root directory, programs to start Yellowfin, and even the uninstaller.
Starting Yellowfin
Before you log into Yellowfin, you must start the Yellowfin application.
- To start, locate the folder in the Yellowfin directory where the startup files are present. (This will be specified on the Installation Complete page. If you missed it, this will be your installation path > appserver folder > bin folder)
- For Windows, start the startup.bak file by double-clicking on it.
- For Mac OS X/Linux, you can start either the Startup (background).command or Startup (terminal).command files.

- Upon starting, a terminal command window should open. The Yellowfin application takes about 60-90 seconds to complete the startup process the first time it is run, and about 30-60 seconds to start up after that.
Note: You can get the exact time Yellowfin took to start on this window.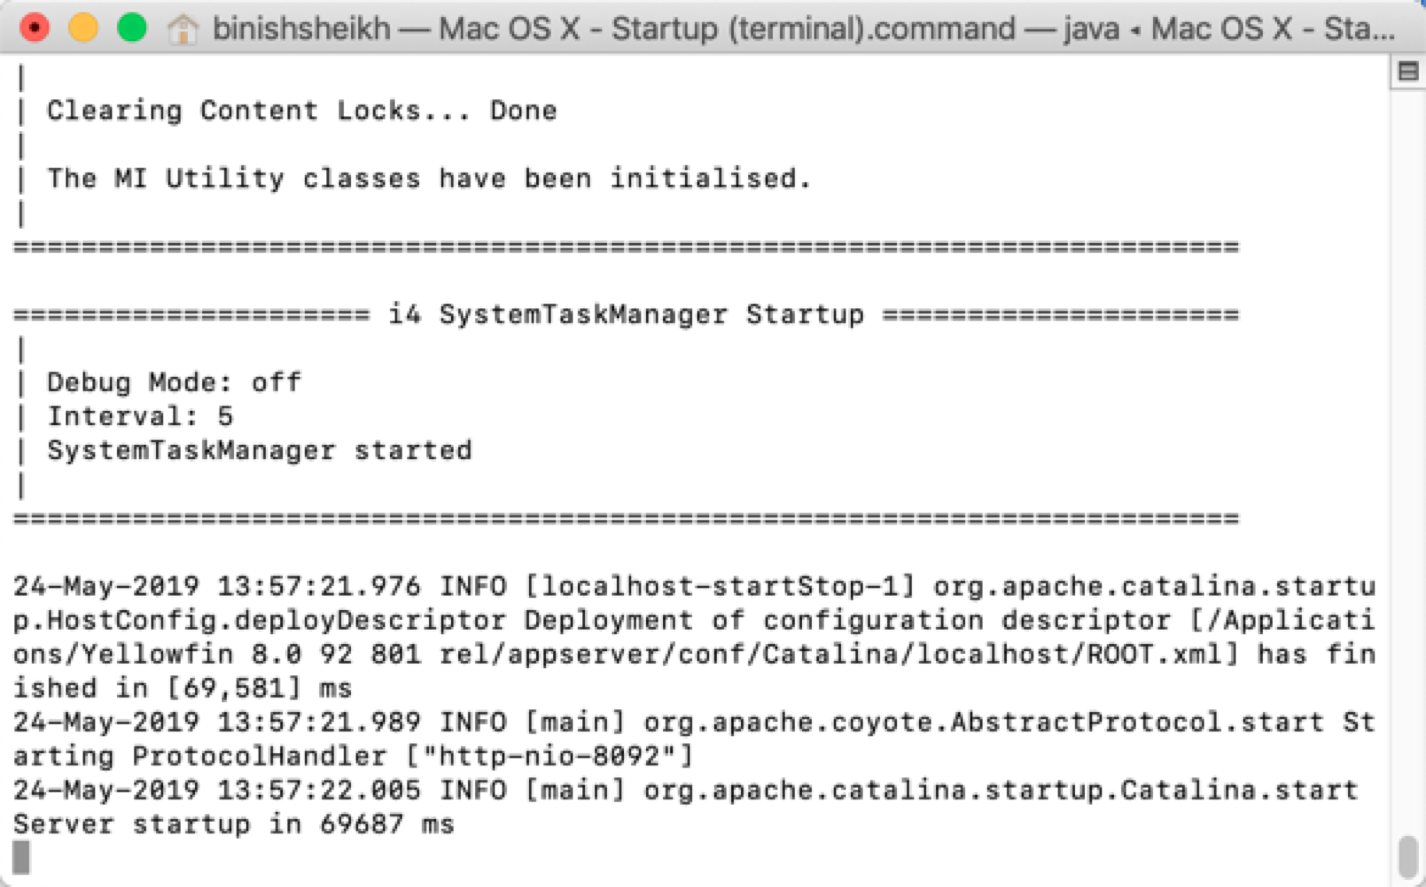
- To stop the Yellowfin application, locate and double-click the file titled shutdown.bat (for Windows) or Shutdown.command (for others).
- Tip: It is recommended that you create shortcuts to the startup and shutdown files and place the shortcuts in an easy to access location (e.g. on your Desktop) to that is easy to start and stop the Yellowfin application.
- Now you can log into Yellowfin.
Starting the Yellowfin server
On Windows, you have an additional option of starting Yellowfin as a service. Starting the Yellowfin application using the Yellowfin Service is the best option for a Shared Evaluation and/or Training environment or a Production environment.
- Open the Services management application by pressing Windows+R keys to open the Run dialogue box, type services.msc and press Enter.
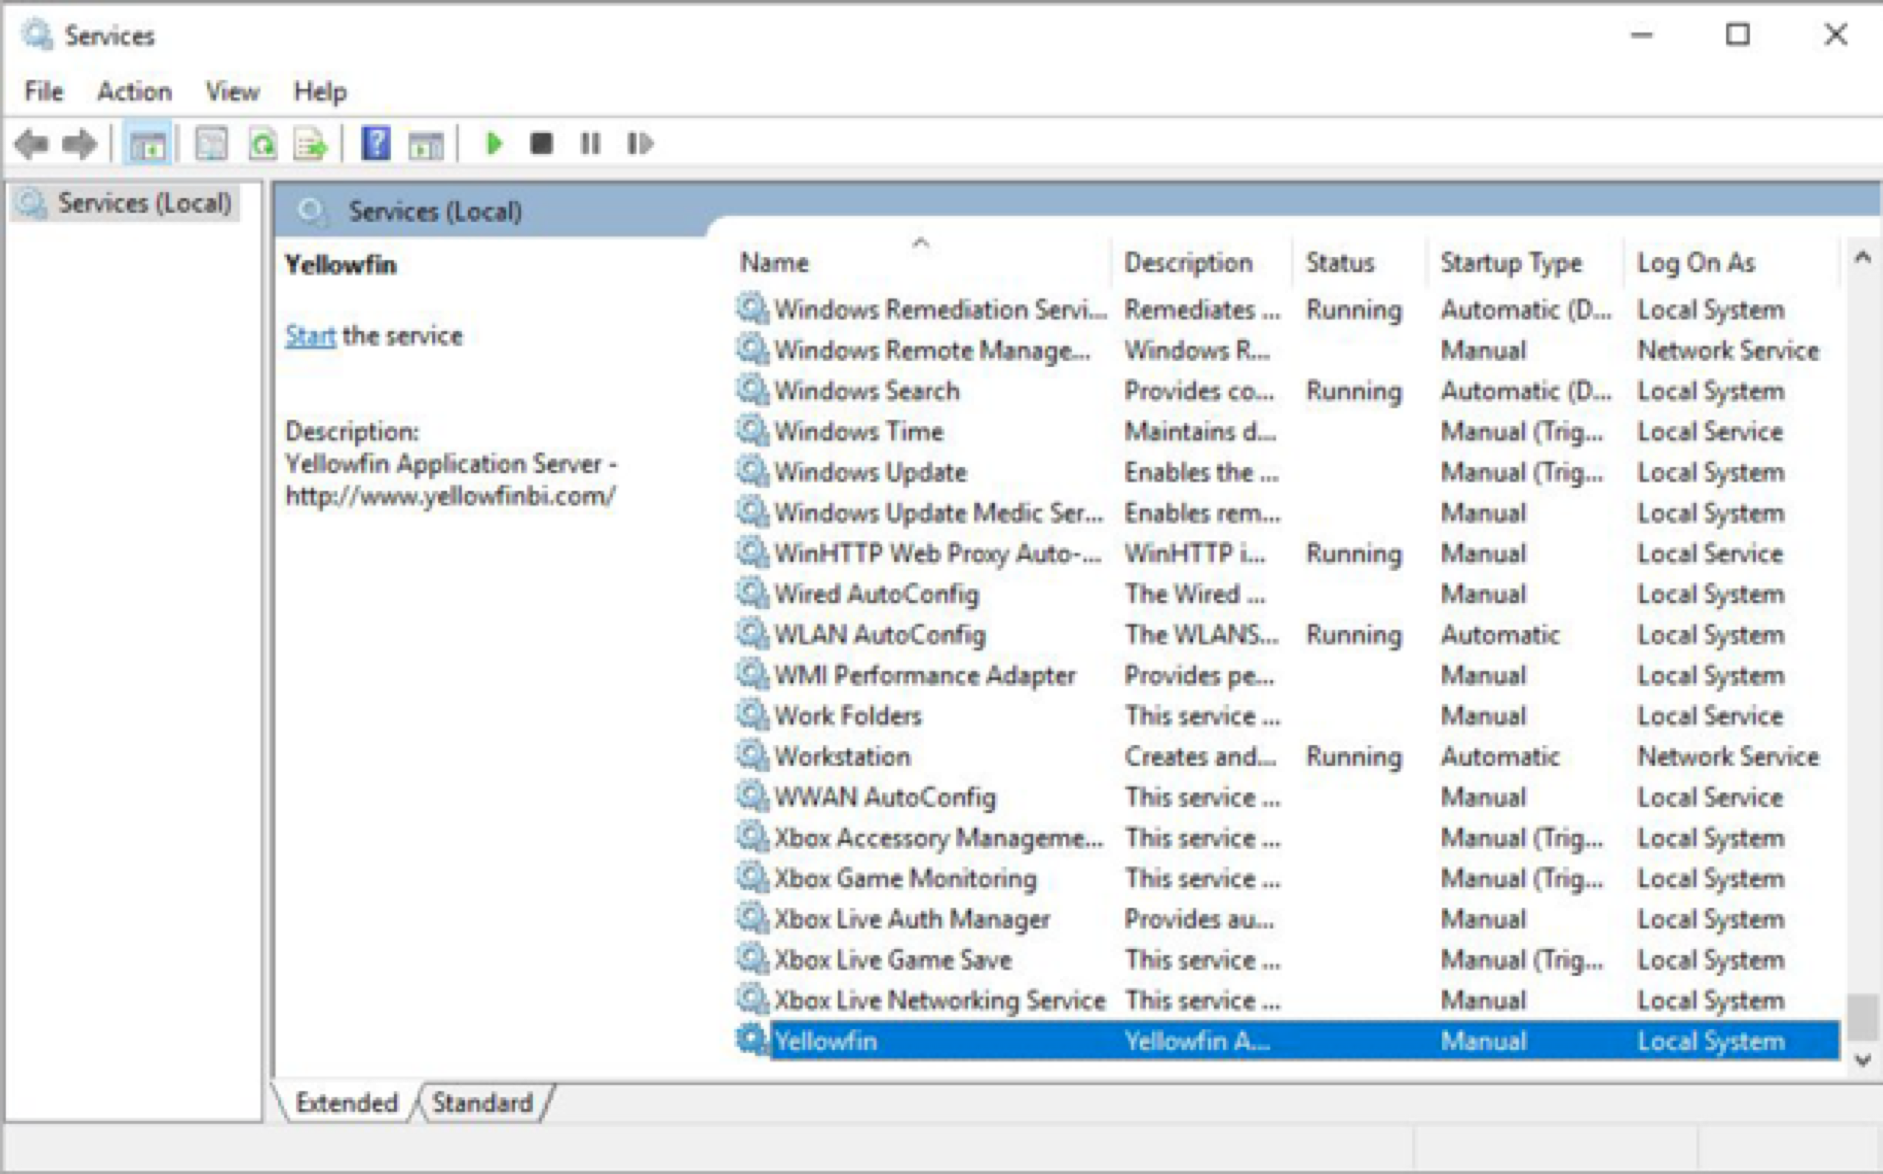
- Find the Yellowfin service in the list, right-click on the Yellowfin service and click Start.
- If you want the Yellowfin service to start automatically when the computer starts, double-click on the Yellowfin service to open the service properties dialogue. Select the Startup Type of Automatic and click OK to close the Service Properties pop up.

- To stop the Yellowfin service right-click on the Yellowfin service and click Stop.
Logging Into Yellowfin
When the Yellowfin application has started, you can use a web browser to go to the Yellowfin login page.
- Open Yellowfin from a browser on the computer you installed the Yellowfin application on, and enter the address with the port number in your web browser. For example, http://localhost:8080.
The specific address and port number is mentioned on the Installation Complete screen (the last page of the installation process).
Note: If you installed Yellowfin on a shared server and you are attempting to log in to Yellowfin using a web browser that is not running on the Yellowfin server, then you will need to use the name of the server (e.g. http://some-server.local:8080, http://server-name.yourcompany.com, etc.) - If the Yellowfin application started correctly you will see this login page in your web browser.

- Enter the default login details of, and click Login.
Username: admin@yellowfin.com.au
Password: test - First time users will be directed to change their password.
Next steps
Now that you have logged into Yellowfin, here are our recommendations on what to do to plug in your data and start using Yellowfin.
- Connect to data sources: Begin your Yellowfin journey by connecting to your preferred data source. Yellowfin supports numerous data sources for you report off of. See here for more information.
- Prepare View: Once you have connected to your data source, prepare your raw data into consistent formats suitable for analysis and report building. This meta data preparation step is vital. Yellowfin’s View Builder is equipped to make this as easy as possible for your analysts. All relevant documentation is covered in this section.
- Create content: Next, see our guides on creating your first reports and dashboards.
Creating a report
Creating a dashboard
You may also create other Yellowfin content such as a Storyboard or write data stories. - Adding Users: Your system administrator may add other users to Yellowfin. Refer to our section that covers all administrative actions.
Previous topic: Installation Steps