
Section Overview
This section covers how report artifacts can be added to Stories via the Report Builder. This is done through the report 'output' page.
Add Live Report to Story
Here's how you can quickly add a report to a Story:
- Open the report that you want to add to a Story.
- Click on the Story icon in the active report's menu. (Ensure that you are viewing the report in the report output page, and not another item such as a snapshot or bookmark, as using this option would add the item currently displayed.)

- When the Story popup appears, you can change the report caption and description that is to be included in the Story. The report description will appear as a separate line of text in the Story.
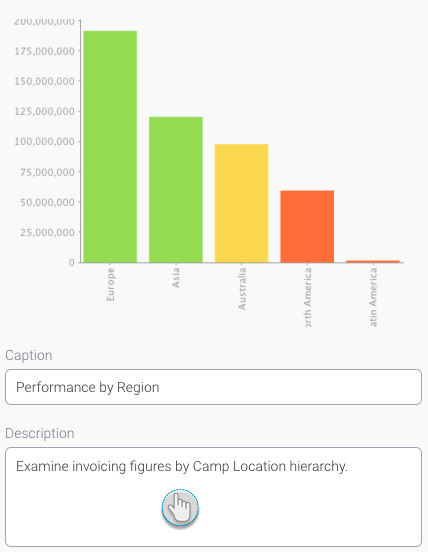
- You can add the report to an existing draft Story, or create a new Story to add to directly from here.
- To add the report to a new Story, enter a title, if you prefer, and then click on Create New Story. If you don't specify a title, this new Story will be labelled as 'Untitled Story'.

- A brief popup message will alert you that the report has been added to the new Story. You can directly go to edit that Story.

- Or if you wish to add to an existing unpublished Story, search for the Story by providing its name in the search bar and clicking on the search icon.
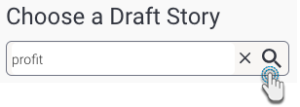
- Then hover over the name of the Story in the list, and click the Add to Story button. Note: you can only view draft stories in this area if you have access to contribute to them.

- The following alert will appear as confirmation when the item is added to the Story. Click on the Edit Story button to exit the Report Builder, and view the content in the Story Builder. (This alert only appears for a brief amount of time.)


Adding Snapshots to Story
You can add snapshots of your report to a Story. If the original report is deleted or republished after its snapshot has already been included in a Story, then it will be reflected in the Story - the snapshot will be replaced with a placeholder to signify the invalid or inaccessible content. This is because a snapshot is a static version of a report, and changes applied to a report would result in the snapshot being no longer valid.
Follow the steps below to add a snapshot to your Story of choice.
- Click on the snapshot icon on the left side menu to expand it.

- You can include an existing snapshot or instantly create a new one to add to a Story.
- If creating a new one, simply click on the Create Snapshot button. Click here to learn more about this process.
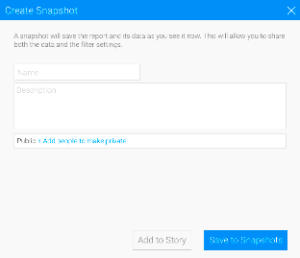
- Alternatively, you can simply add a pre-existing snapshot. All existing snapshots will be displayed in the list. Hover over one that you wish to include; additional options will appear next to it.
- Click the + Story button.
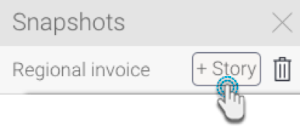
- When the Story popup appears, you can edit the snapshot caption and description. This description will appear as a separate text in the Story, below the snapshot. Note: The caption specifies the type of artifact it is.
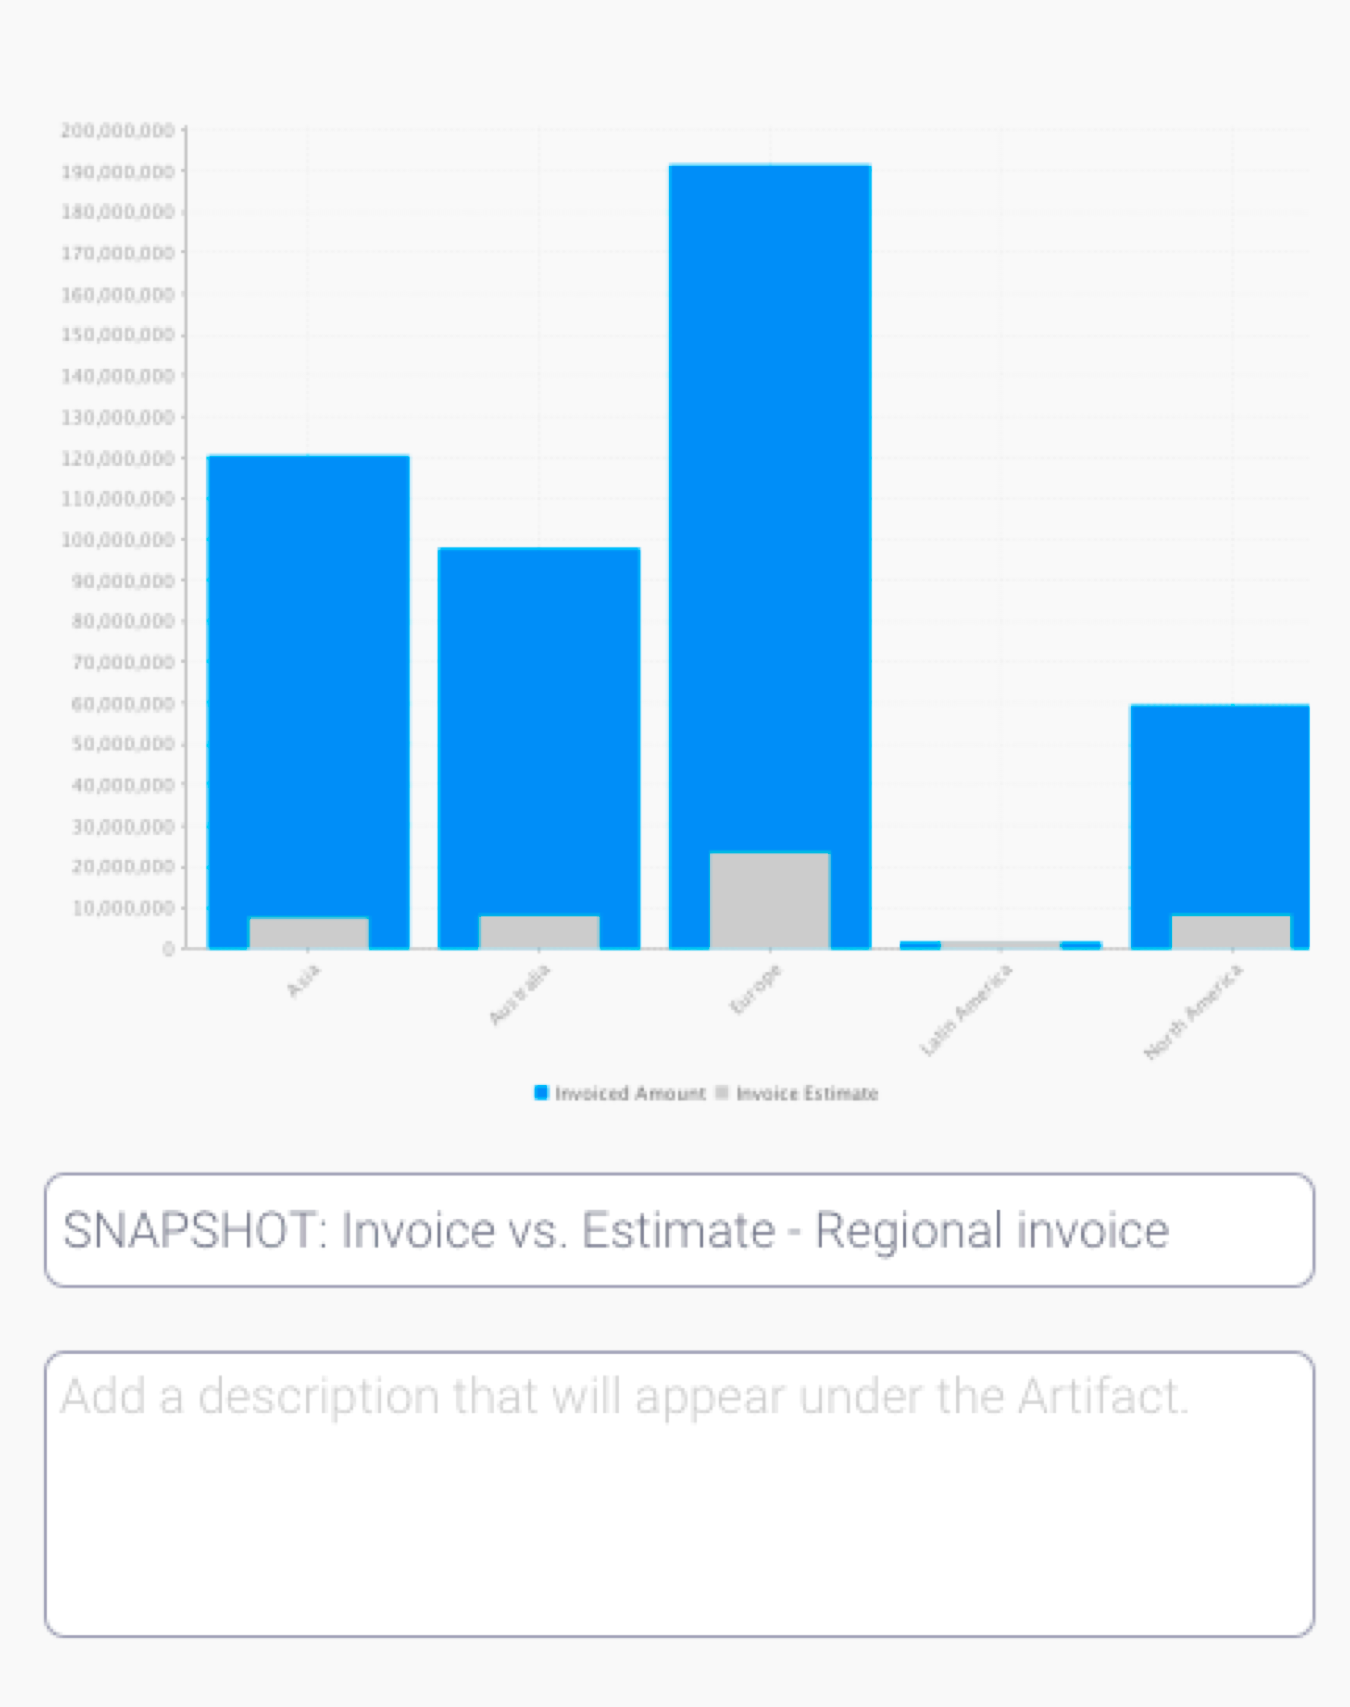
- You can add the snapshot to an existing Story, or create a new Story to add to, directly from here.
- If adding to a new Story, give the Story a title, if preferred, and click on Create New Story.

- Or if you wish to add to an existing draft Story, search for the Story by providing its name in the search bar and clicking on the search icon. Note: you can only view draft stories in this area if you have access to contribute to them.
- Then hover over a Story name in the list, and then click on Add to this Story.
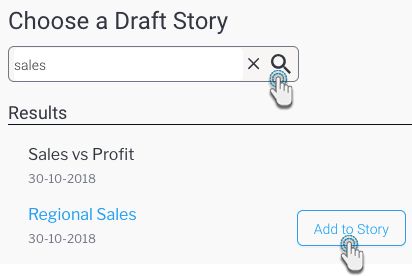
- Once the snapshot is added to the Story, an alert will briefly appear indicating that the process was successful.

- Clicking on the Edit Story button will navigate the user to the Story where the snapshot was added.

Adding Bookmarks to Story
This section details the process of adding bookmarks to your Story via the Report Builder.
- Click on the bookmark icon on the left side menu to expand it.
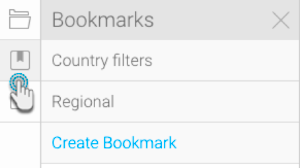
- You can include an existing bookmark or instantly create a new one to add to a Story.
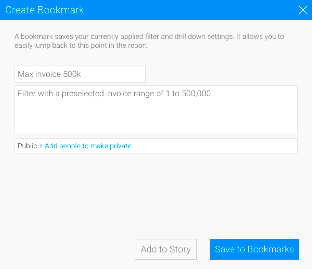
- If creating a new one, simply click on the Create Bookmark button. Provide details and click Save to Bookmarks to save the bookmark. If you click the Add to Story button instead, then the bookmark will also be added to the Story, along with being saved in the report's bookmark list.
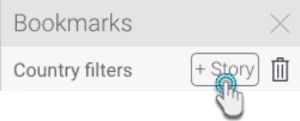
- Alternatively, you can simply add a pre-existing bookmark. You will also see all existing bookmarks in the list. Hover over one that you wish to include; additional options will appear next to it.
- Click the + Story button.
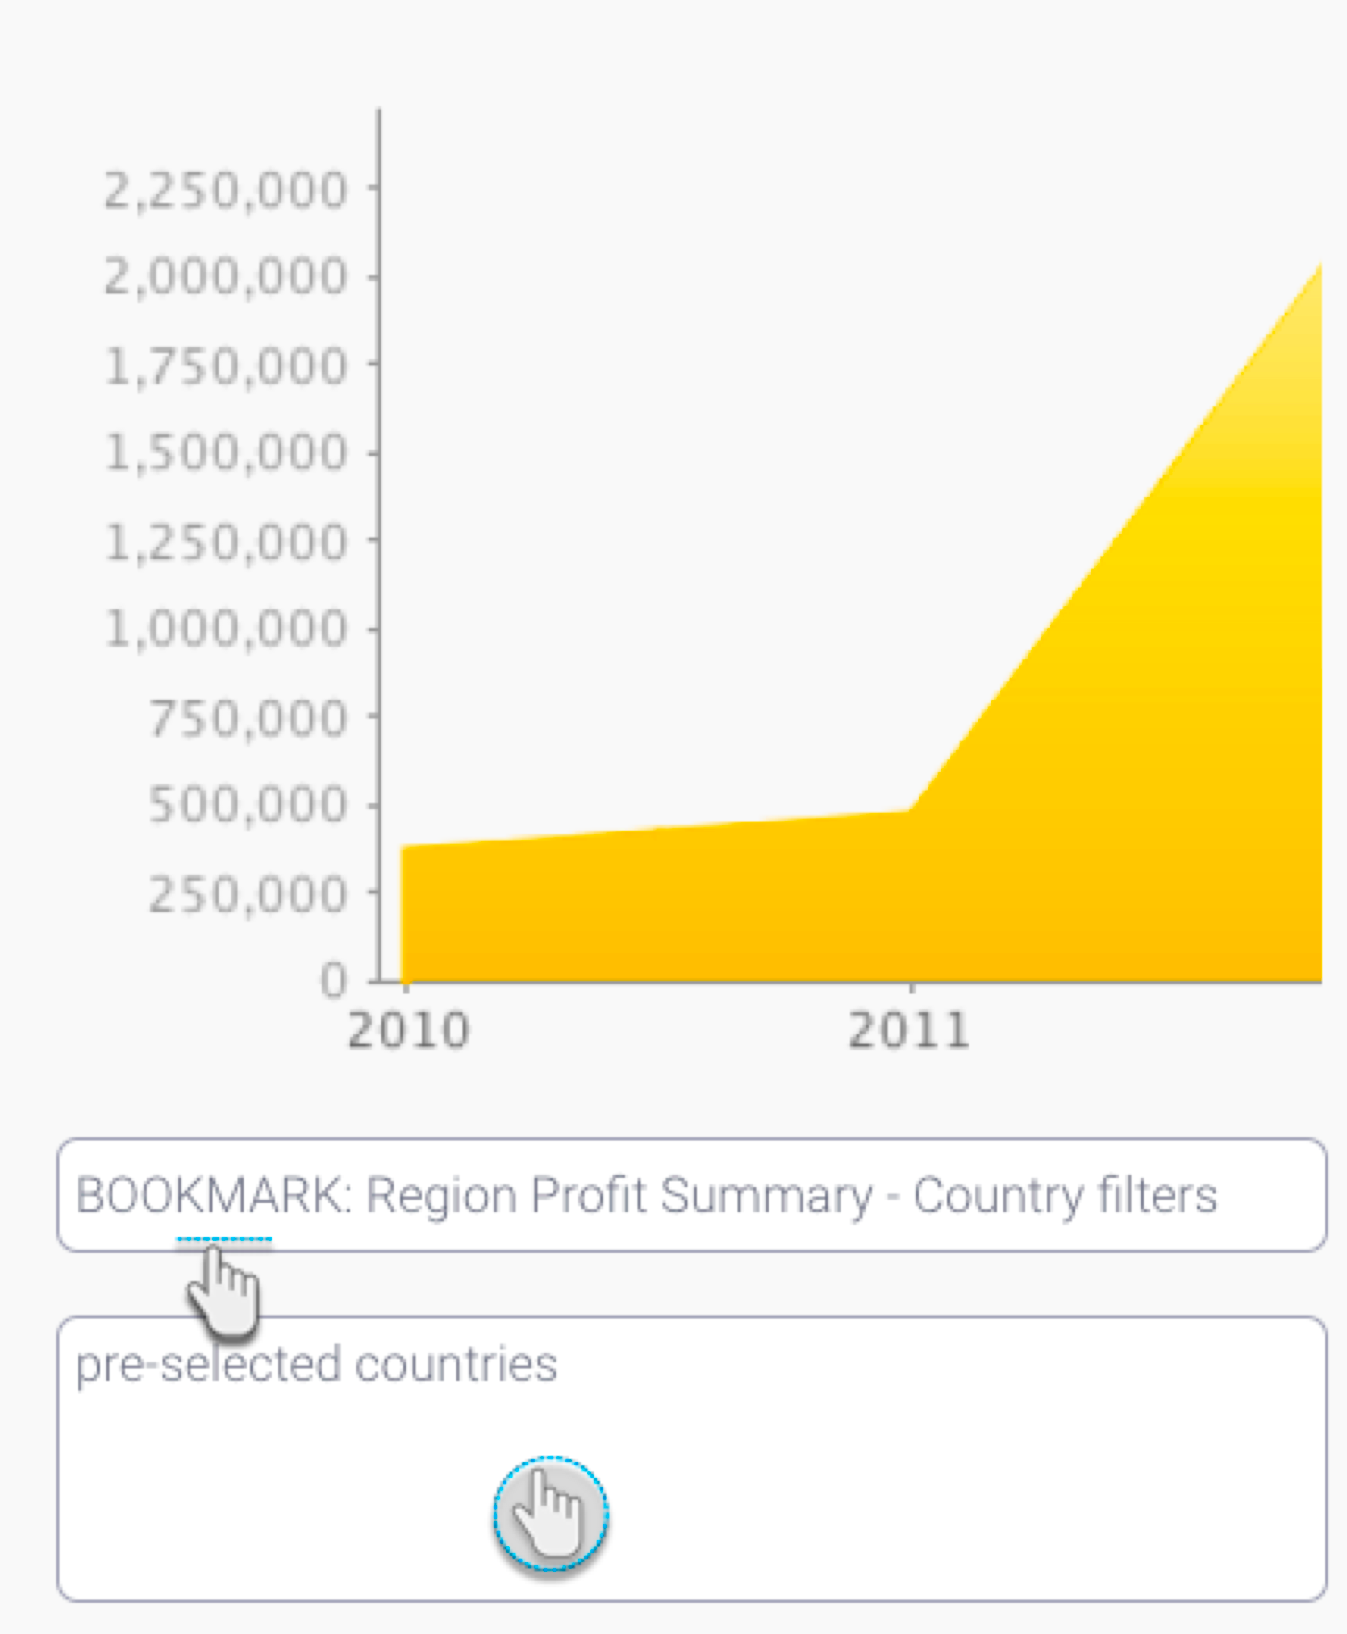
- When the Story popup appears, you can change the bookmark caption and description. This description will appear as a separate text in the Story.
Note: The caption specifies the type of artifact it is.
- You can add the bookmark to an existing Story, or create a new Story to add to, directly from here.
- If adding to a new Story, you may give your Story a title, then click on Create New Story.

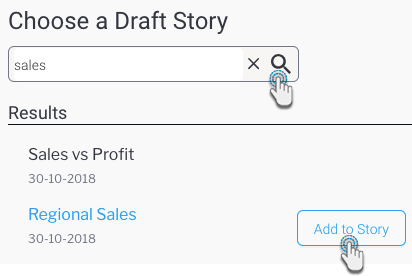
- Or if you wish to add to an existing story, search for the story by providing its name in the search bar and clicking on the search icon.
Then hover over a story name in the list, and then click on Add to this Story.
Users can only view draft stories in this area, if they have access to contribute to them. |
- Once the bookmark is added to the Story, an alert will briefly appear indicating that the process was successful.

- Clicking on the Edit Story button will navigate the user to the Story where the bookmark was added.


