Yellowfin 9.5 introduced the option to use JWT tokens when initiating a single sign-on (SSO) session.
Yellowfin will accept a JWT token and use the contents to provision a new session. The contents, or global configuration, of the JWT token can be used to specify:
The JWT entry point can also be used to provision a user if the user does not exist.
JWT SSO is activated in the same place where it’s used within the Config area of Yellowfin.
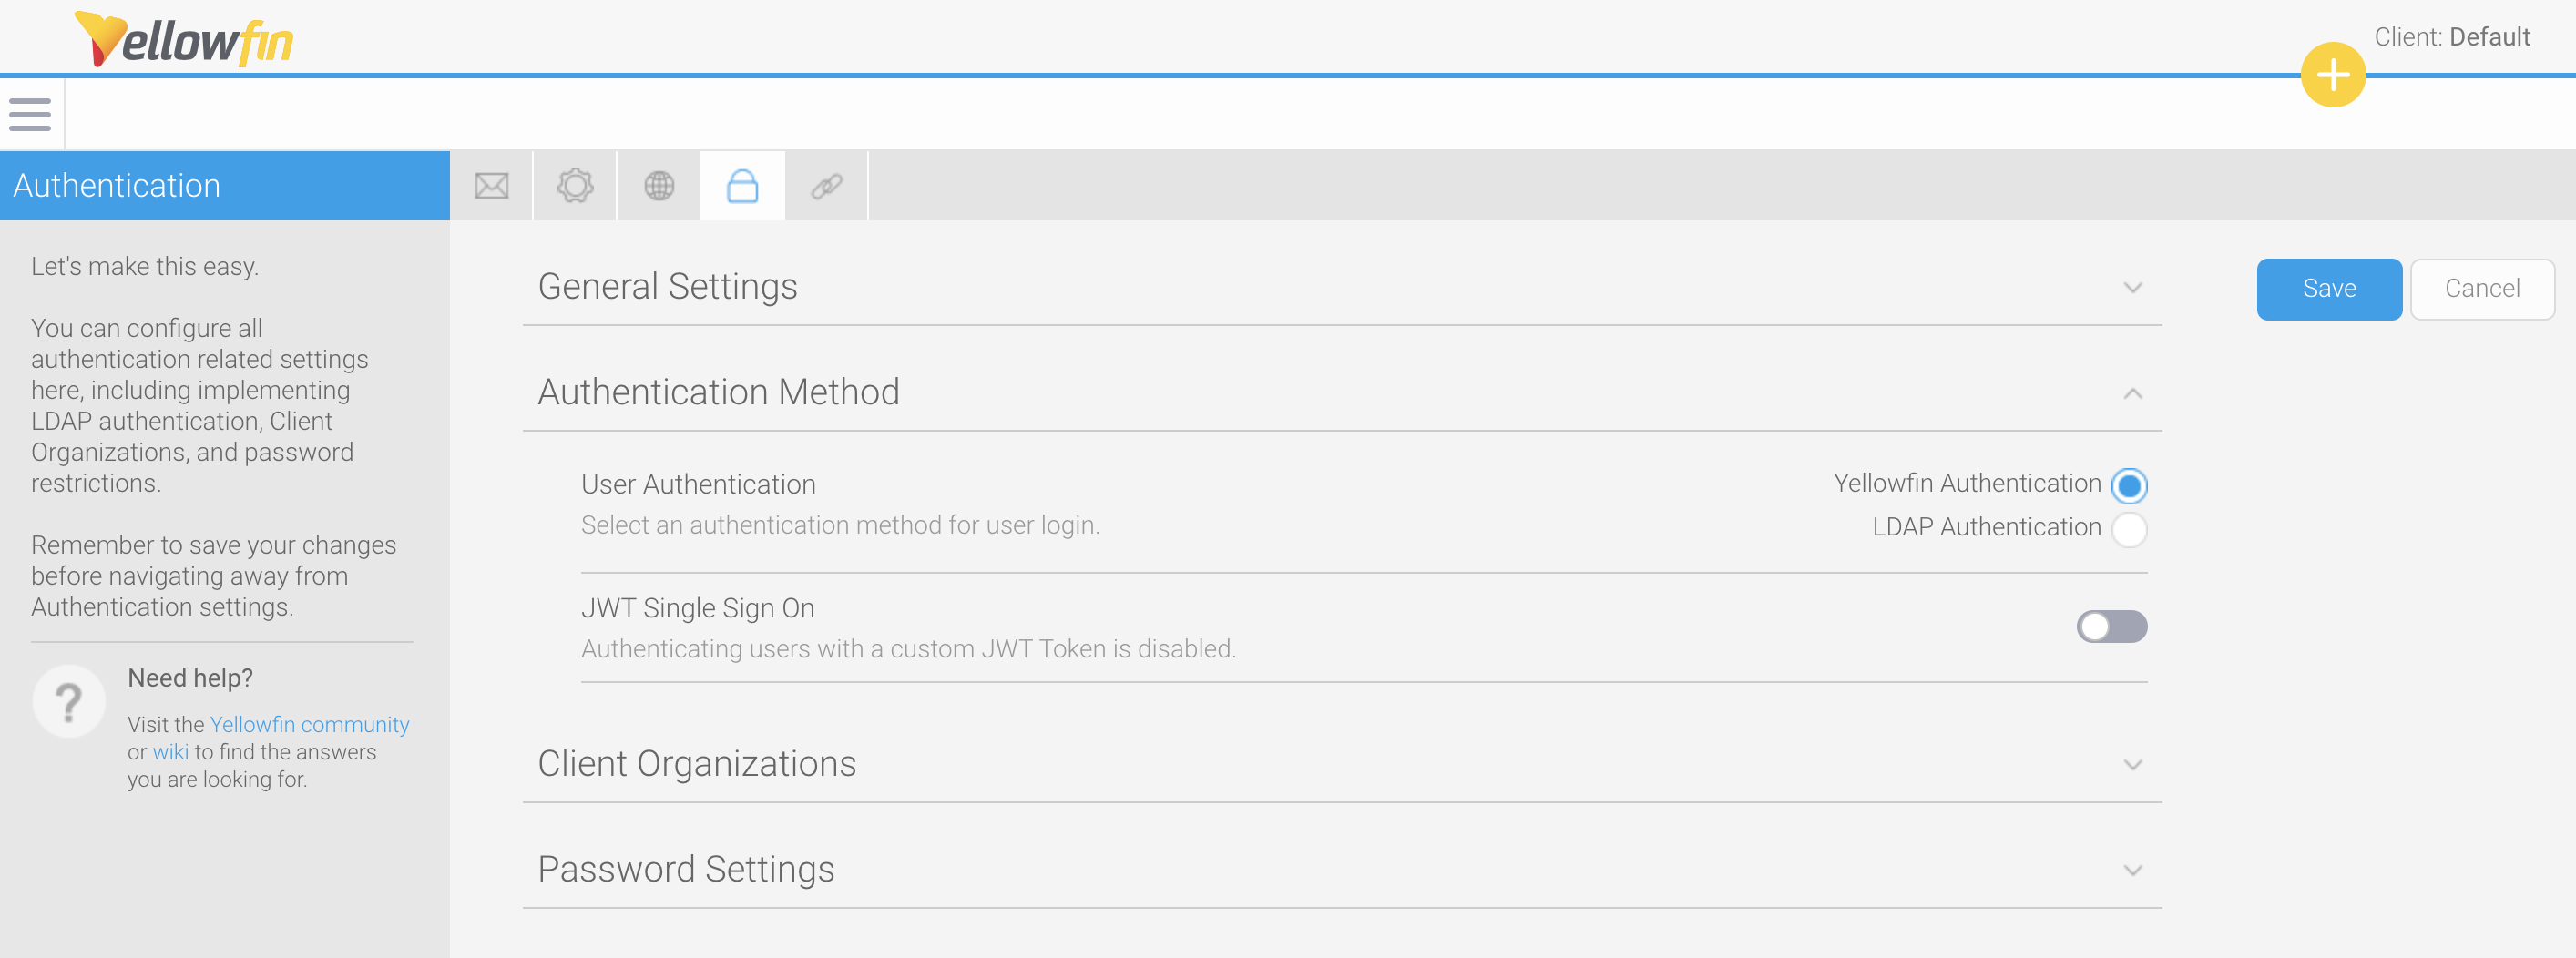
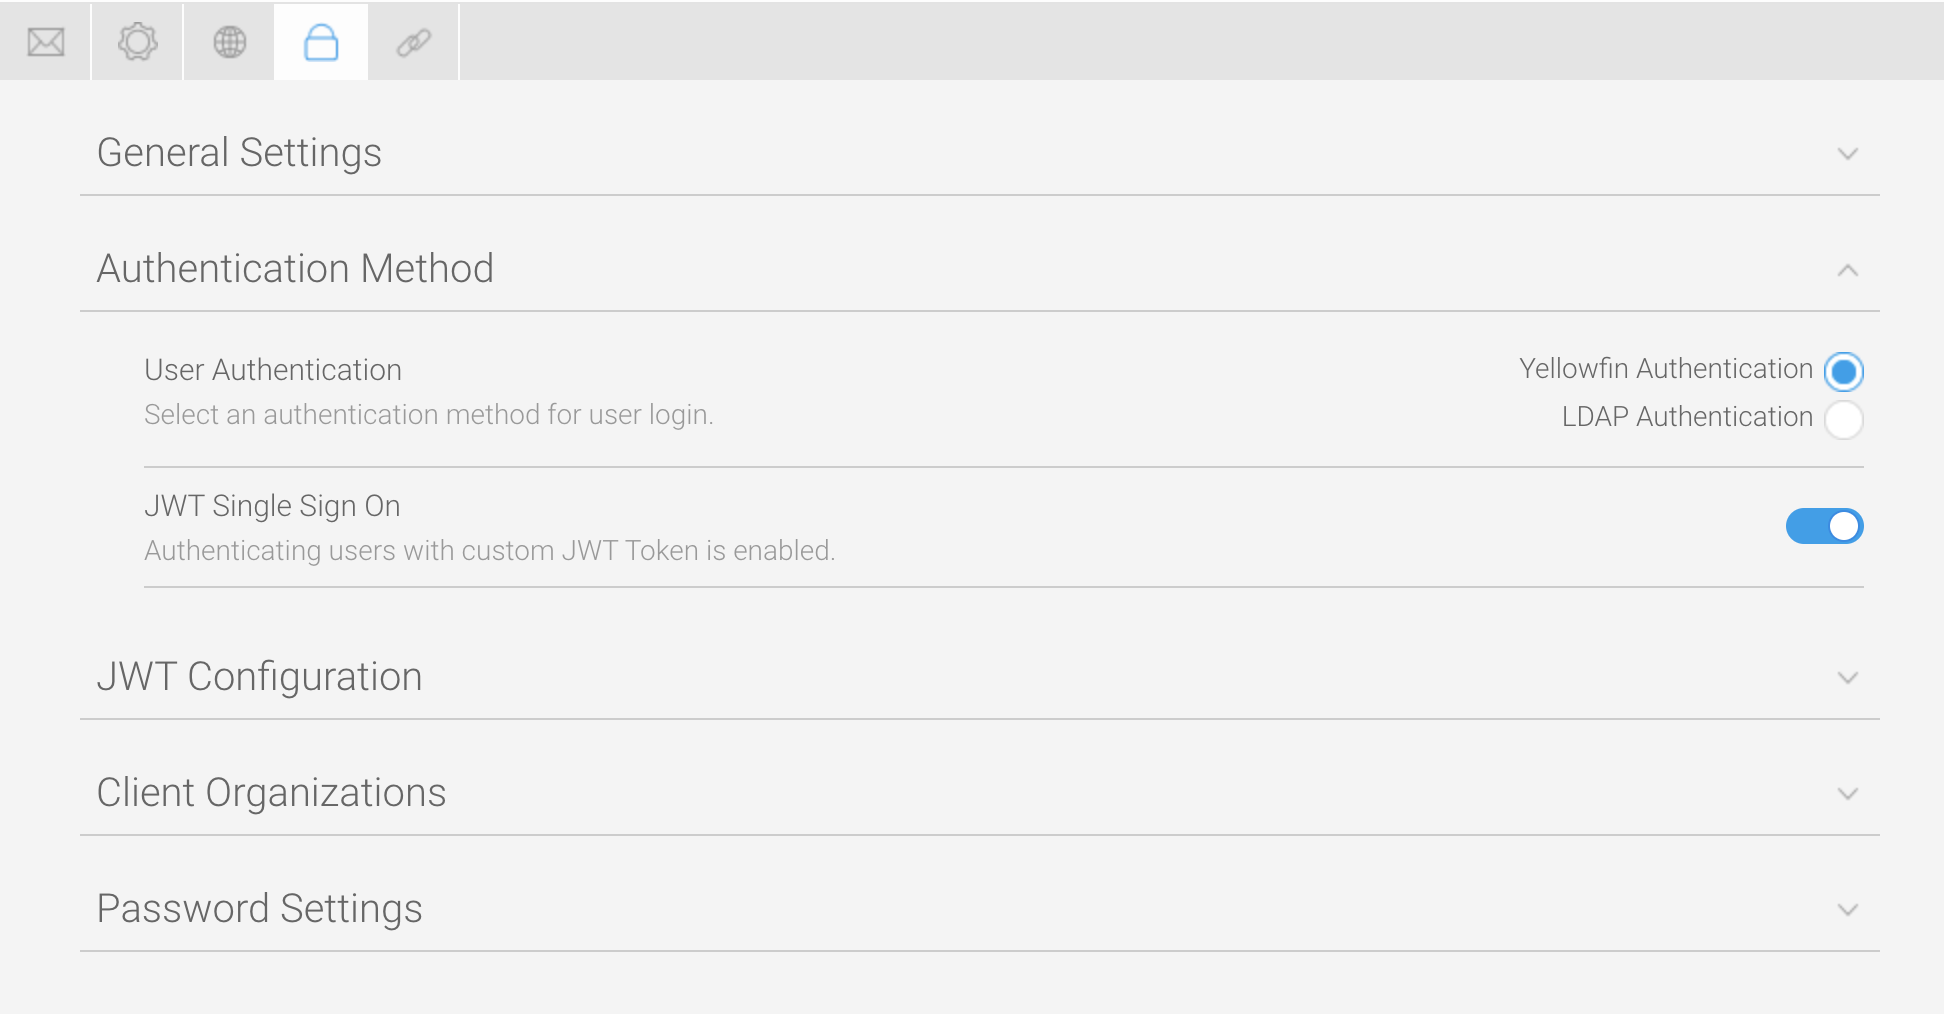
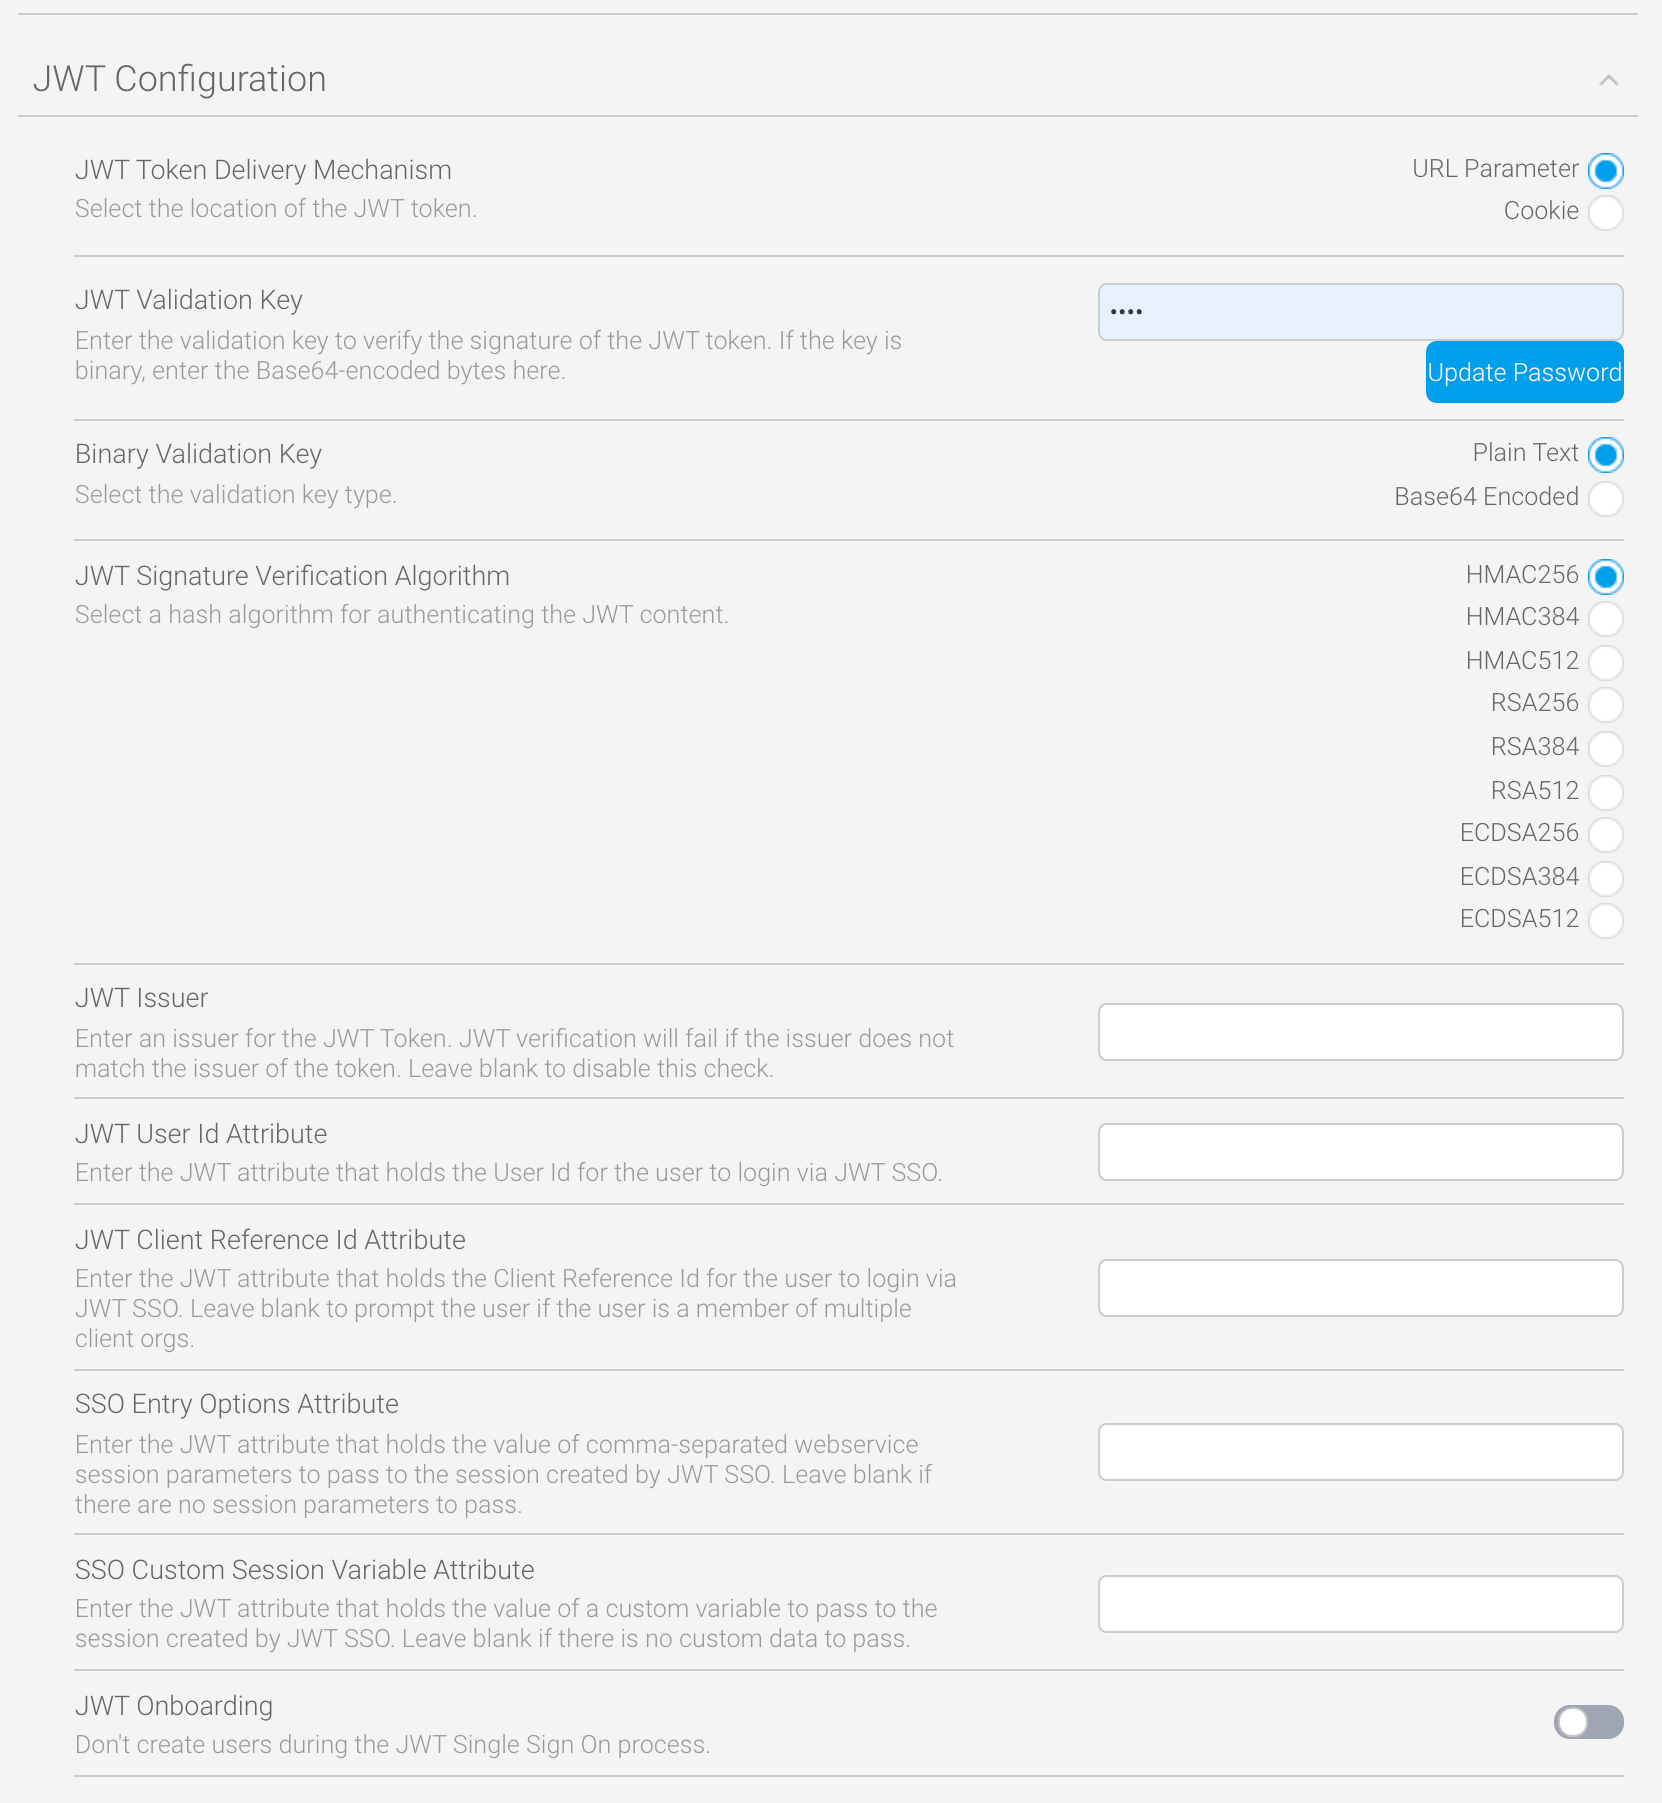
The JWT Configuration section of Yellowfin contains a variety of settings for implementing JWT SSO to provide you with as much flexibility as possible. You can choose to include the bare minimum, as indicated in the table and instructions below, or customize the token to include additional details according to your needs.
Click on JWT Configuration to expand the section. Each of the options is described in the tables below.

Parameter name | Parameter description | Required? | Default |
|---|---|---|---|
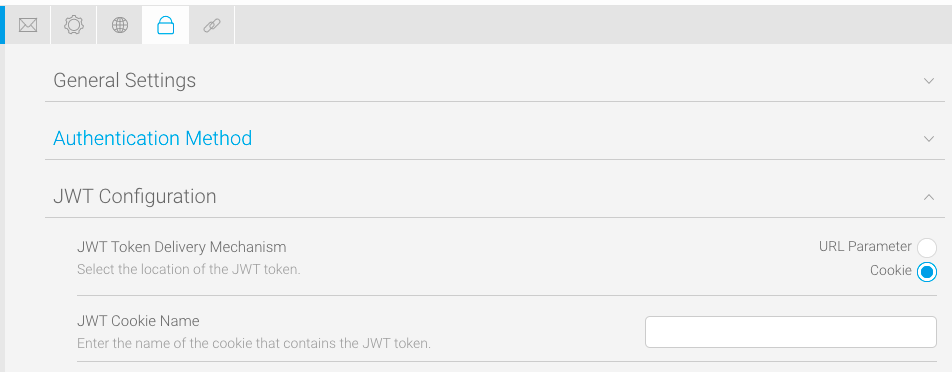
JWT Token Delivery Mechanism | This radio button defines how the JWT token is retrieved — Cookie or URL Parameter. If Cookie is chosen, the JWT token will be fetched from the cookie named in the JWT Cookie Name field.
| No | URL Parameter |
JWT Cookie Name | This field only appears when the JWT Token Delivery Mechanism field is set to Cookie. This parameter defines the name of the cookie used. | No | None |
JWT Validation Key | This is the secret key for verifying the signature of the JWT token. This is a plain text secret. A binary key can be passed by encoding the secret in Base64. In this case, the Binary Validation Key field should be set to Plain Text. If you choose to use this, make sure you click the Update Password button after you’ve typed your secret key. Type the same secret key when creating your JWT token. | Yes | None |
Binary Validation Key | By default, this parameter is set to Plain Text. For added security, select the Base64 Encoded option. | No | Plain Text |
JWT Signature Verification Algorithm | By default, this setting is set to use the HMAC256 algorithm. Other options include: HMAC384, HMAC512 , RSA256, RSA384, RSA512, ECD256, ECD384 and ECD512. | No | HMAC256 |
JWT Issuer | This parameter validates the Issuer attribute in the JWT token, if one exists. If set, the value of this field will be compared to the Issuer field in the JWT token, and token verification will fail if they don’t match. | No | None |
JWT User Id Attribute | This parameter provides the Yellowfin UserId. | Yes | None |
JWT Client Reference Id Attribute | This parameter provides the location of the Client Reference Id of the client org that the user belongs to. Normally, this is set to ‘1’ for Yellowfin instances that have no related client orgs. | No | None |
SSO Entry Options | This parameter takes the JWT attribute that holds comma-separated web service session parameter values to be passed to the session created by the JWT SSO process. See the Customize Data with CustomParameters and Parameters section for more details and an example. | No | None |
SSO Custom Session Variable Attribute | This parameter allows options that can be passed via the Parameters option on an SSO web service call to be passed to the session created by the JWT SSO process. This is attribute-based and can apply to individual users. See the Customize Data with CustomParameters and Parameters section for more details and an example. | No | None |
JWT Onboarding | This toggle enables a new user to be provisioned at their first login attempt if they don’t already exist. | No | Off |
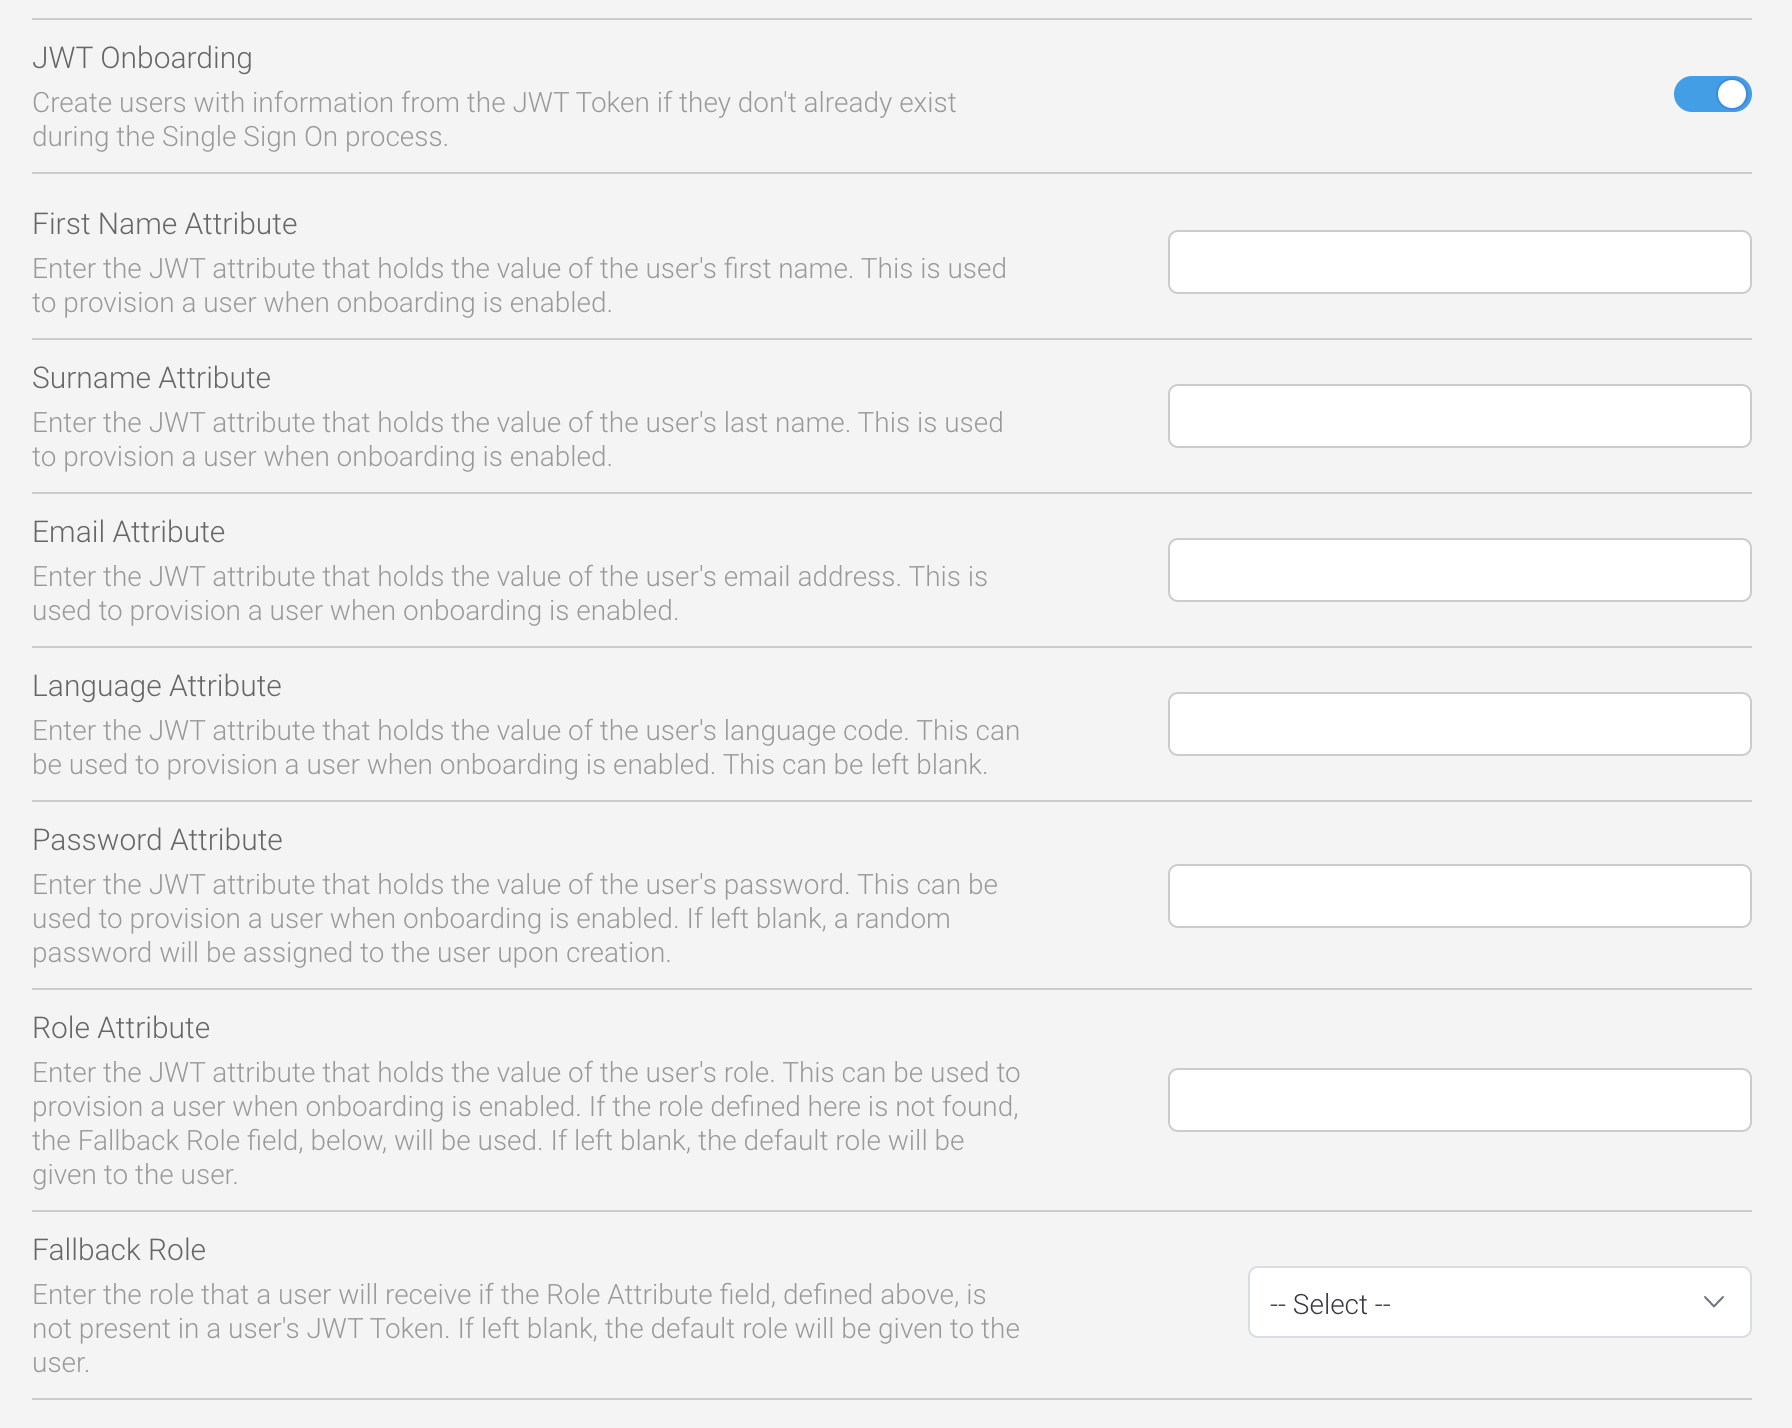
When the JWT Onboarding toggle is enabled, new users can be provisioned automatically when they first try to login.
Parameter name | Parameter description | Required? | Default |
|---|---|---|---|
First Name Attribute | The parameter defines the name of the JWT attribute for fetching the first name for a new user. Set this to First to automatically provision new users when they first try to login. | Yes | None |
Surname Attribute | The parameter defines the name of the JWT attribute for fetching the last name for a new user. Set this to Last to automatically provision new users when they first try to login. | Yes | None |
Email Attribute | The parameter defines the name of the JWT attribute for fetching the email address for a new user. This is used as a user’s username when logging in to Yellowfin. Set this to UserId to automatically provision new users when they first try to login. | Yes | None |
Language Attribute | The parameter defines the name of the JWT attribute for fetching the language code for a new user. | No | System default |
Password Attribute | The parameter defines the name of the JWT attribute for fetching the password for a new user. | No | Random password (32 alphanumeric string) |
Role Attribute | This parameter defines the name of the JWT attribute for fetching the role for a new user. If omitted, the default role will be given to the new user. | No | Whatever has been set as the default role (see https://wiki.yellowfinbi.com/display/yfcurrent/Roles) |
Fallback Role | This dropdown list provides the means of selecting a fallback role if the role entered in the Role Attribute field is not available at the time of provisioning a new user. | No | Whatever has been set as the default role (see https://wiki.yellowfinbi.com/display/yfcurrent/Roles) |
JWT token creation is undertaken through third-party software, so the instructions provided below are included solely to illustrate how to integrate the options above into your own JWT token. These instructions should be used as a basic guide only.

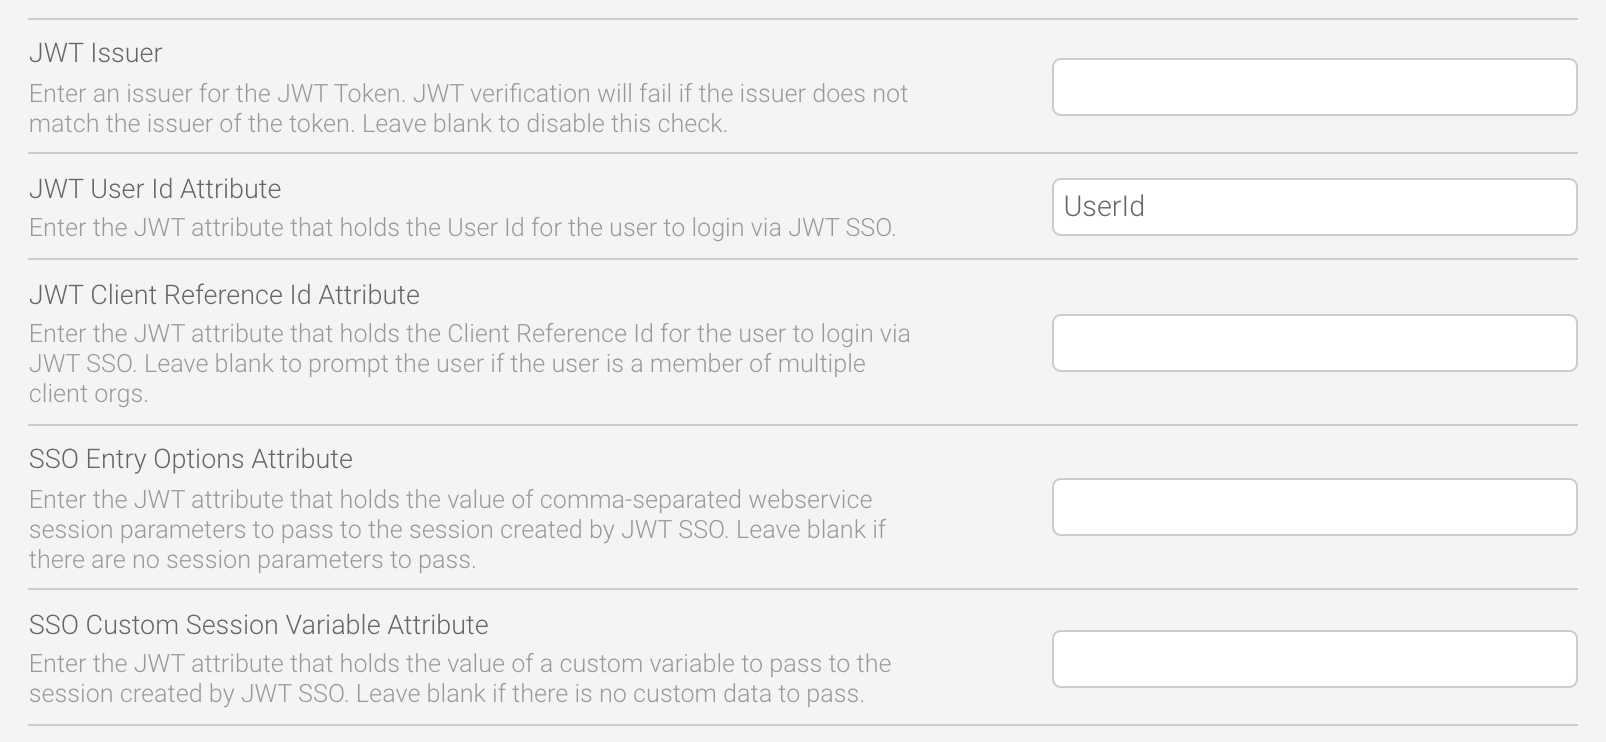
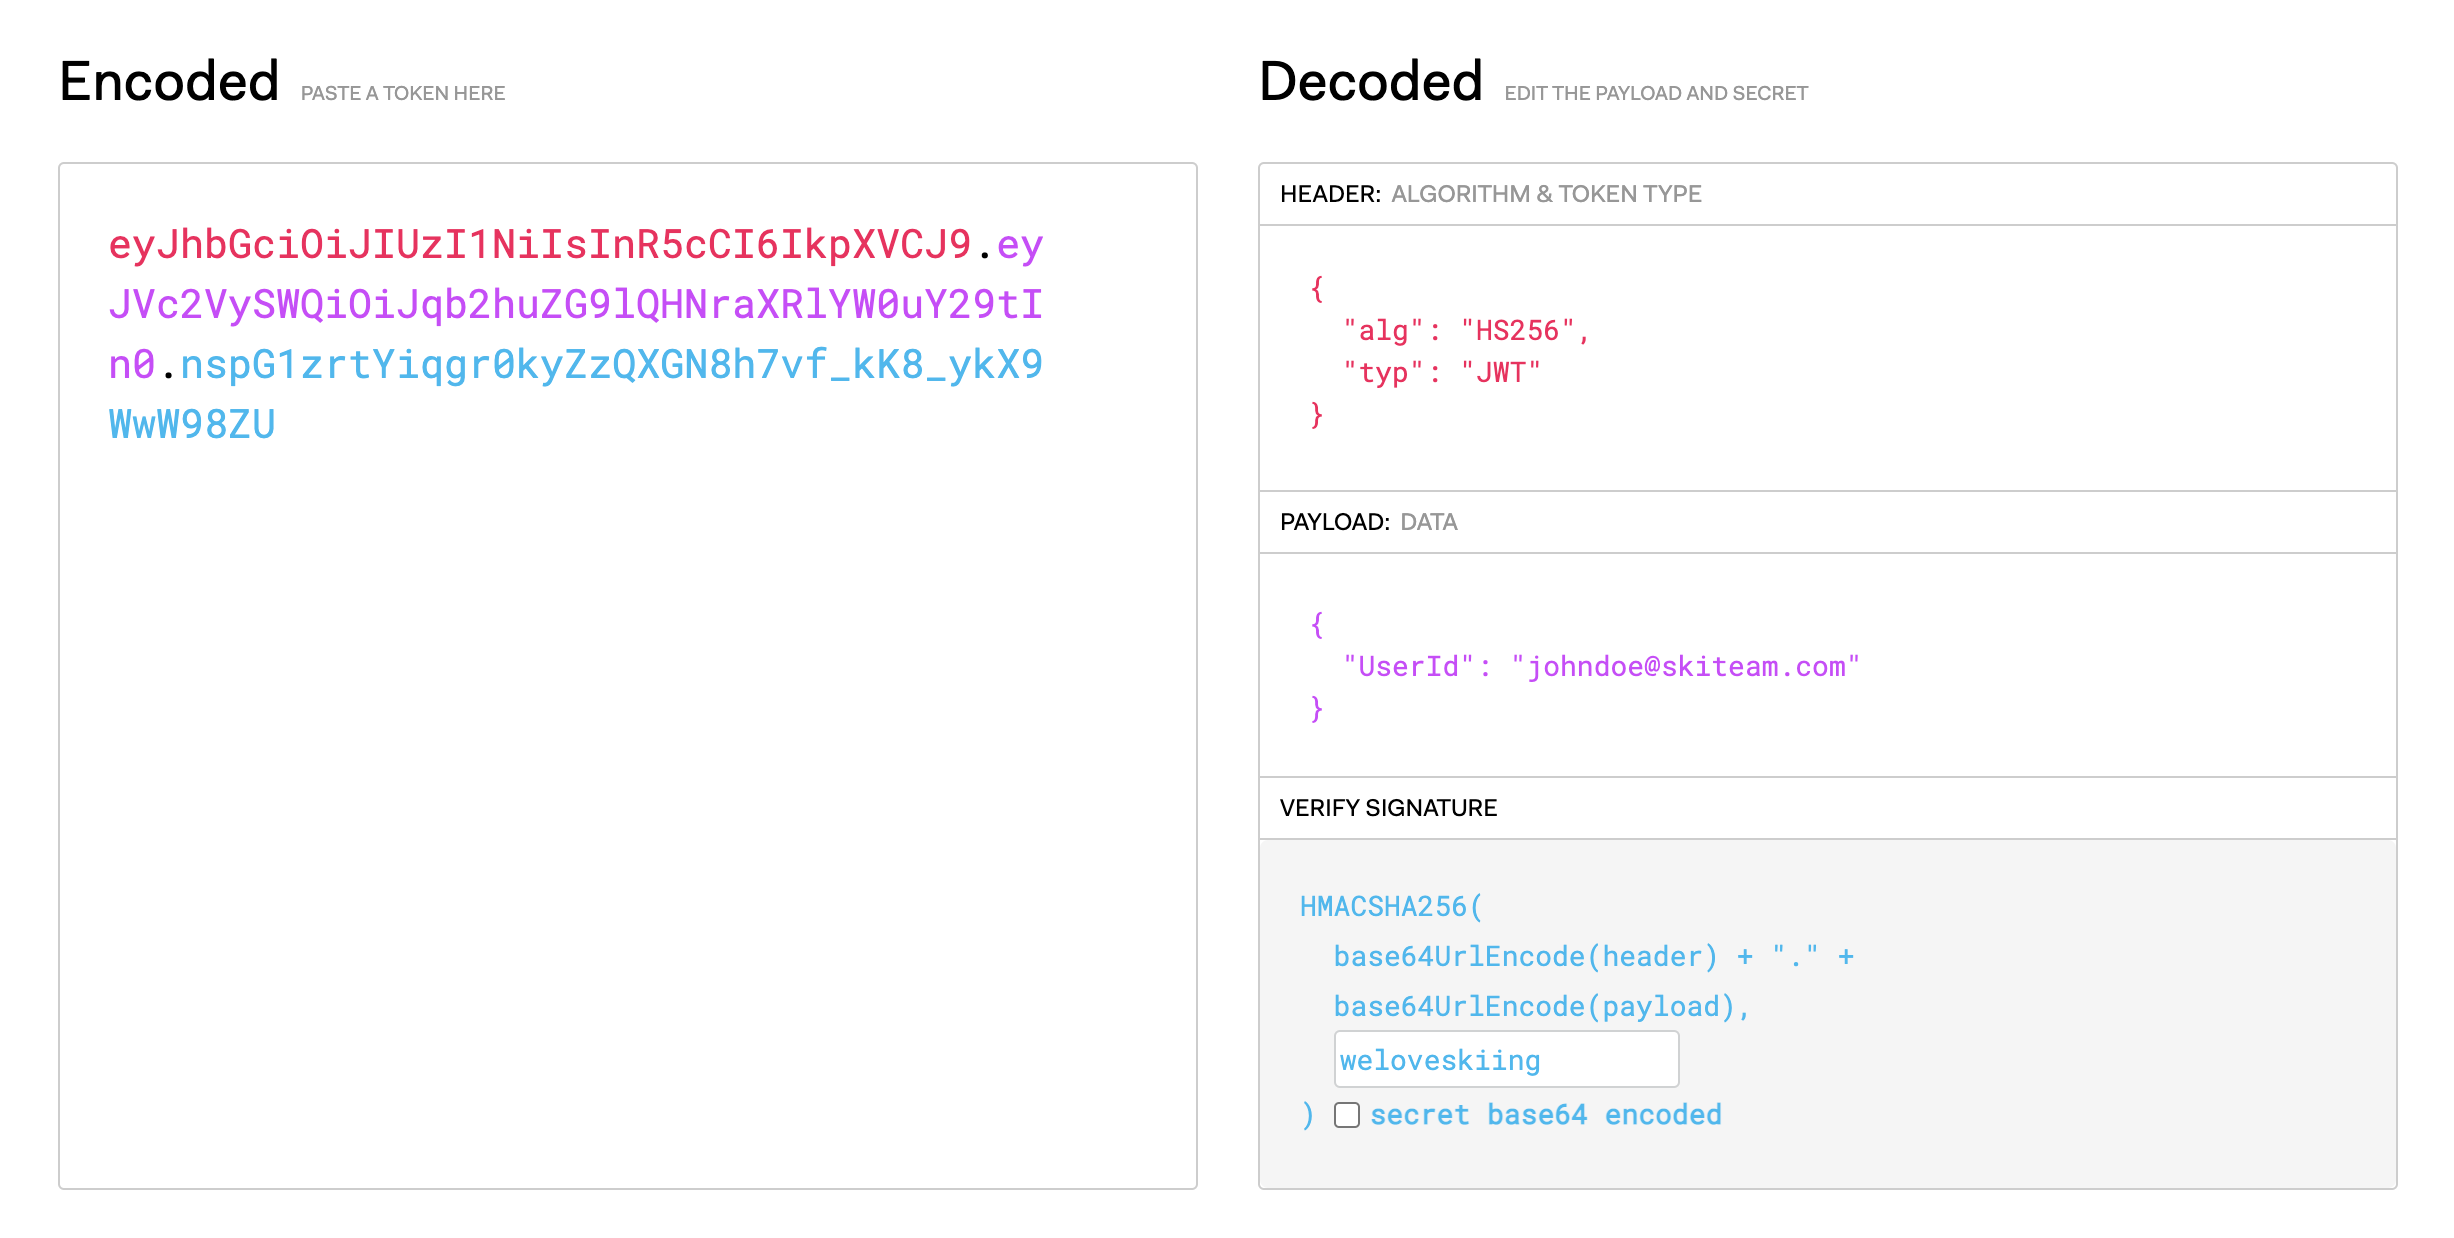

The user you specified in the JWT payload will now be automatically logged in.
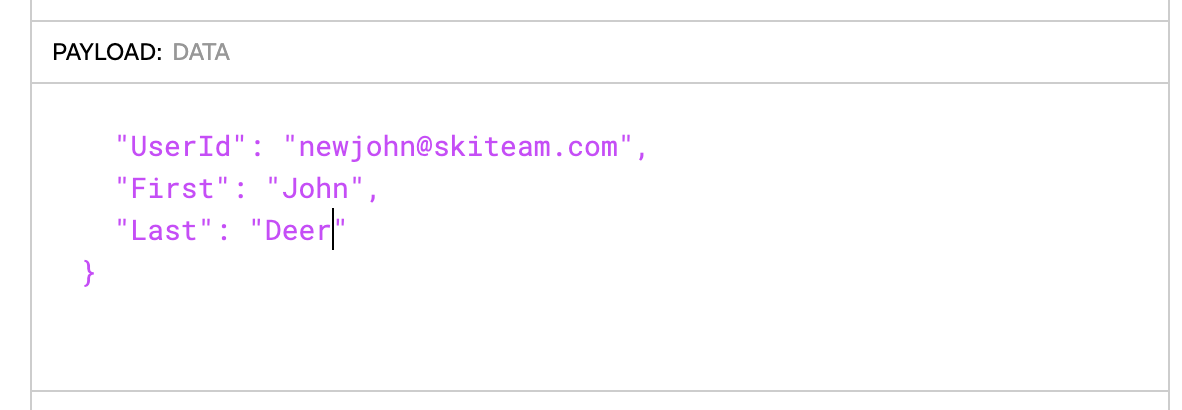
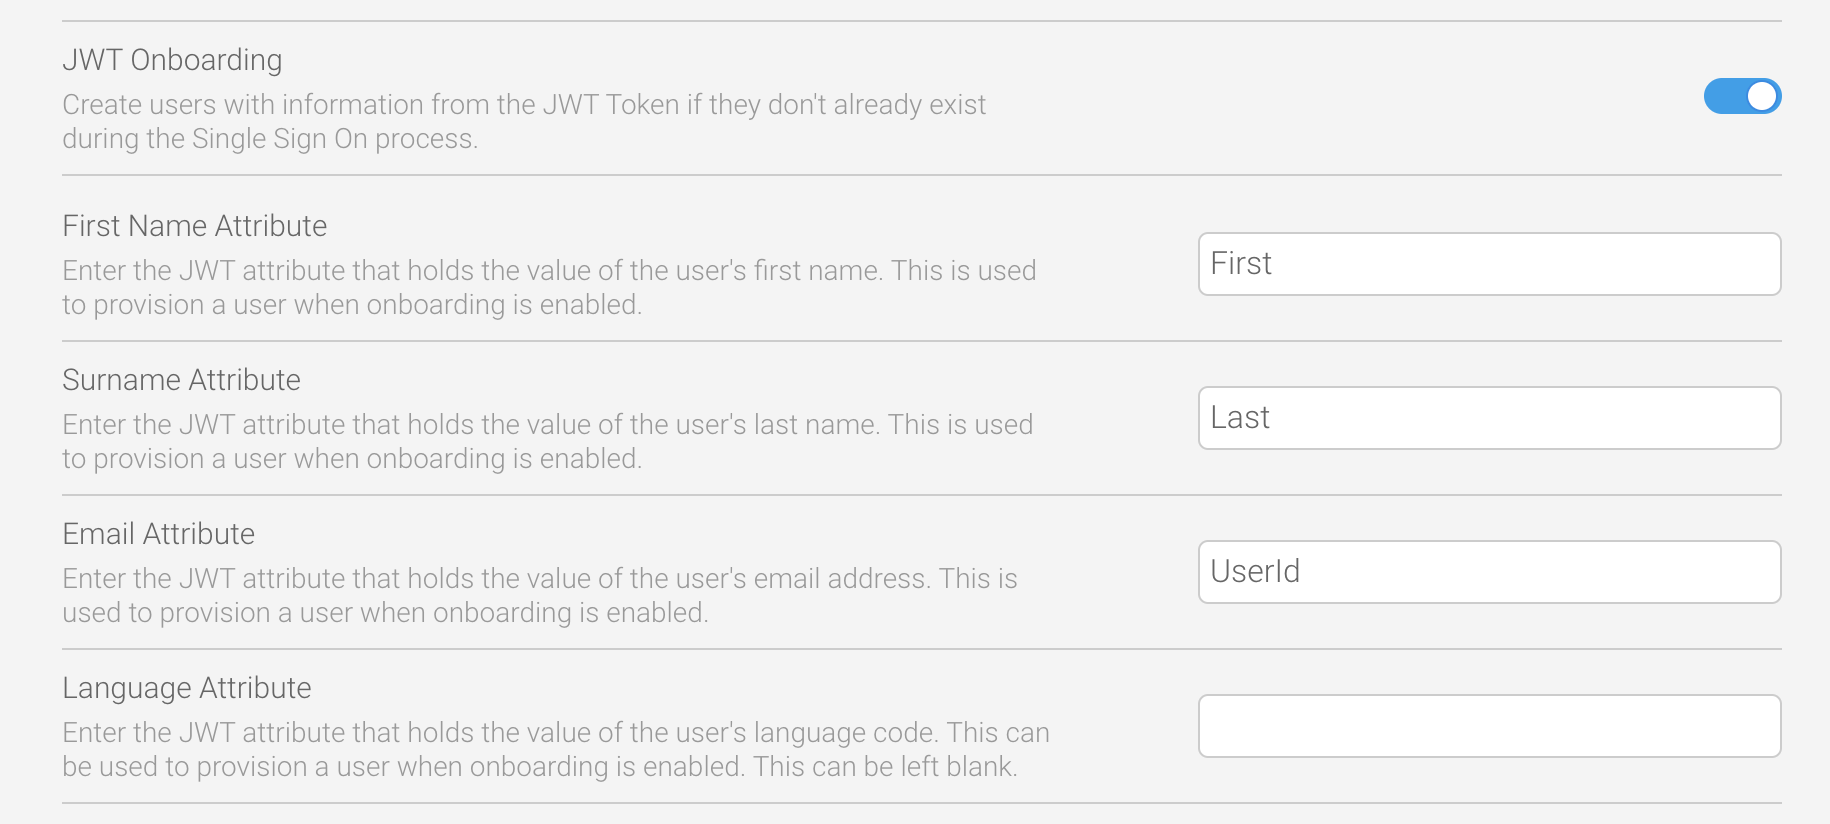
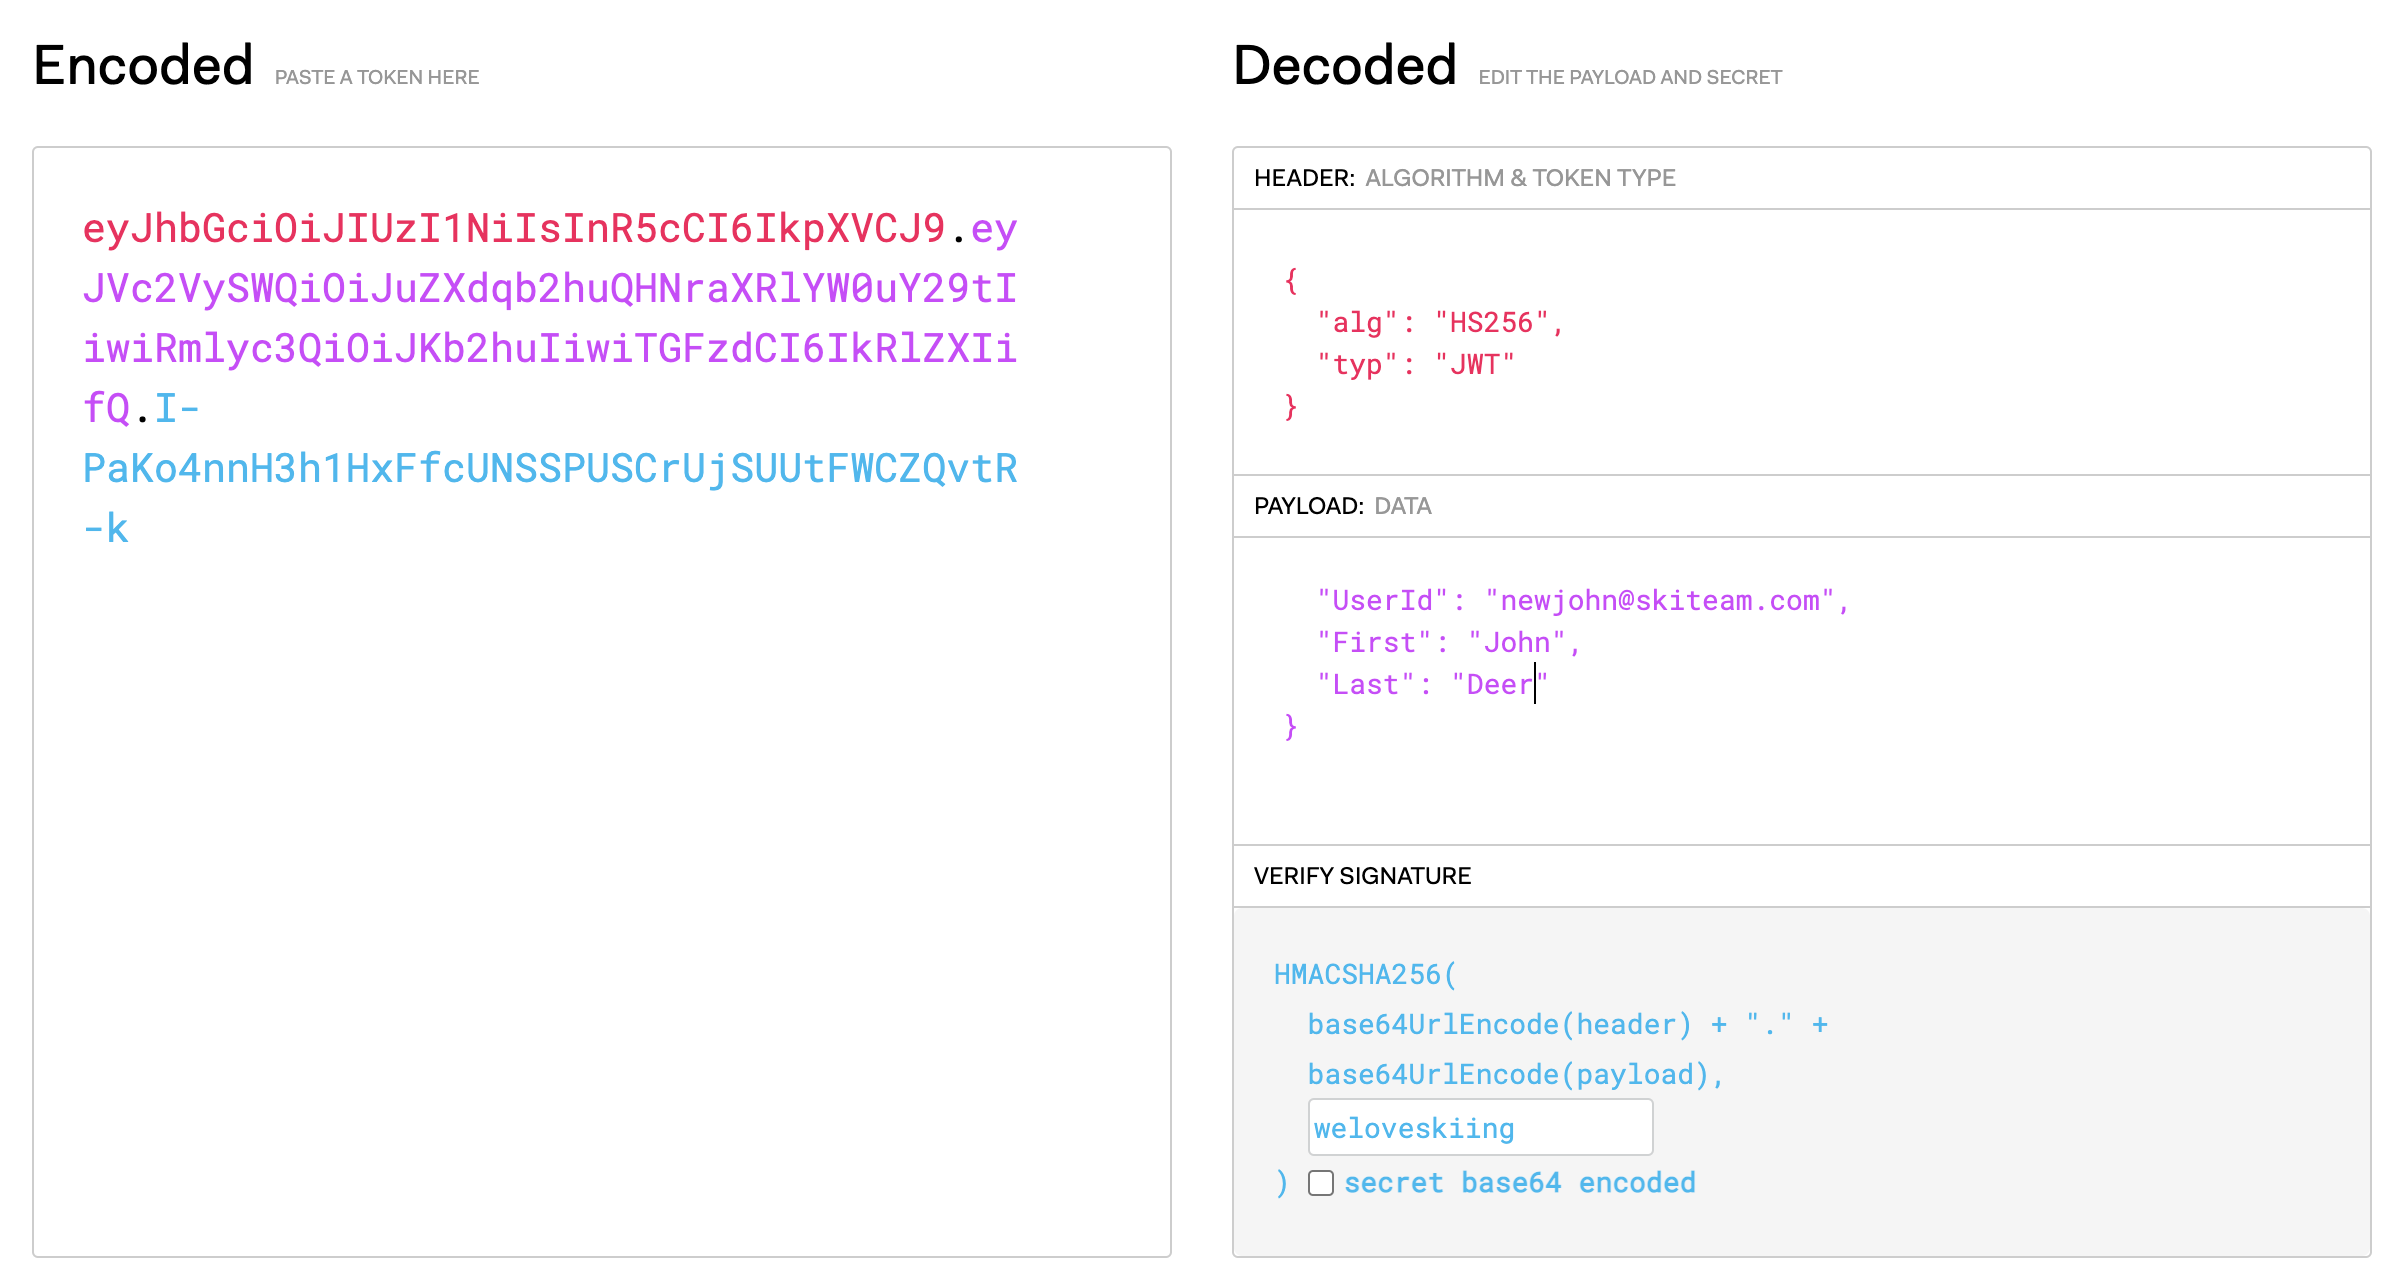

The new user you specified in the JWT payload will now be automatically logged in. If there’s more than one client org, they will first be prompted to select which org(s) they belong to.
For additional security, you also have the option to store your JWT token in a cookie. This further reduces the risk of cross-site request forgery.


If you already take advantage of the CustomParameters and Parameters options on an SSO web services call, these can also be added to your JWT token by using the fields SSO Entry Options Attribute and SSO Custom Session Variable Attribute.
The SSO Entry Options Attribute field allows custom data per user that can be passed via the CustomParameters option on an SSO web service to be passed to a session created by the JWT SSO process. This is attribute based, so it can be applied to individual users.
The SSO Entry Options Attribute field allows custom session variables to be set on a per-session basis when using JWT Single Sign On. The attribute can contain webservice SSO Session Options that will be applied to the session created by the JWT SSO process.
For example, if you want a user to see their favourite reports, dashboards, stories and so on when they login, you could create a JWT attribute called SsoOptions with the TIMELINE and DISABLEHEADER parameters (or any others listed on the Defining Login Session Options wiki page). When you place the JWT attribute name in the SSO Entry Options Attribute field, the parameters within are applied to that specific user.

You can test that your changes worked by logging in using your JWT token and checking that the login options you’ve specified are displayed.
The SSO Custom Session Variable Attribute field allows options that can be passed via the Parameters option on an SSO web service call to be passed to the session created by the JWT SSO process. This is attribute based, so it can be applied to individual users.
To use this field, you will need to write your own Java plugin. Any number of variables can be passed to the Yellowfin session, so this can provide additional flexibility for custom requirements.
For example, if you wish to implement a custom header to replace the generic Yellowfin header, you could put a JSON array in this field that the header could extract information from to display at the top of the page. This could include user-specific details, such as their role, their photo or even links to the three most recent reports they’ve worked on.
In Yellowfin, the only requirement is to add those details to the SSO Custom Session Variable Attribute field.