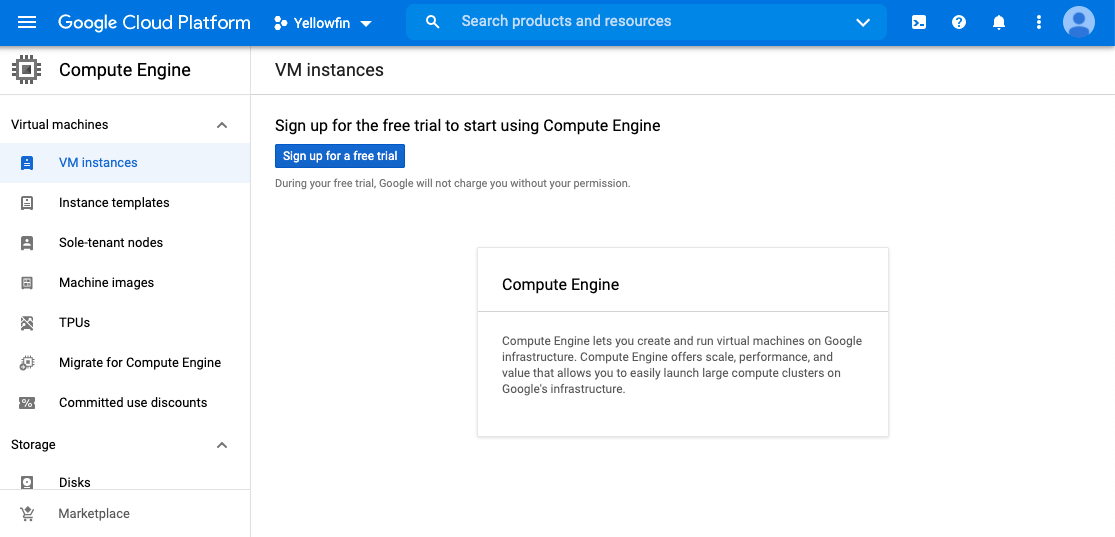
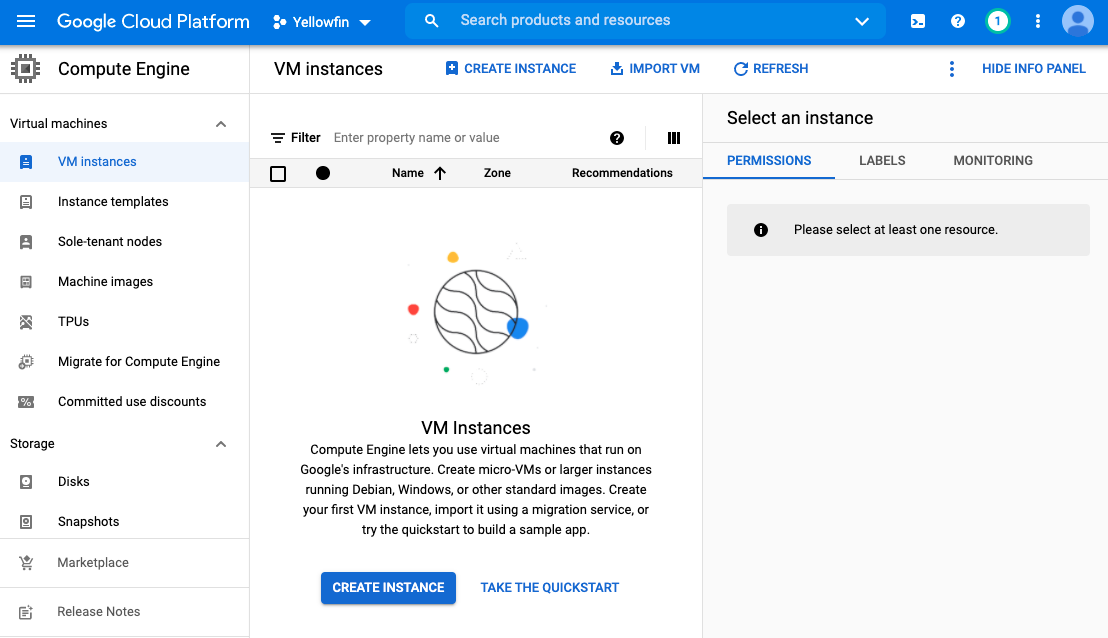
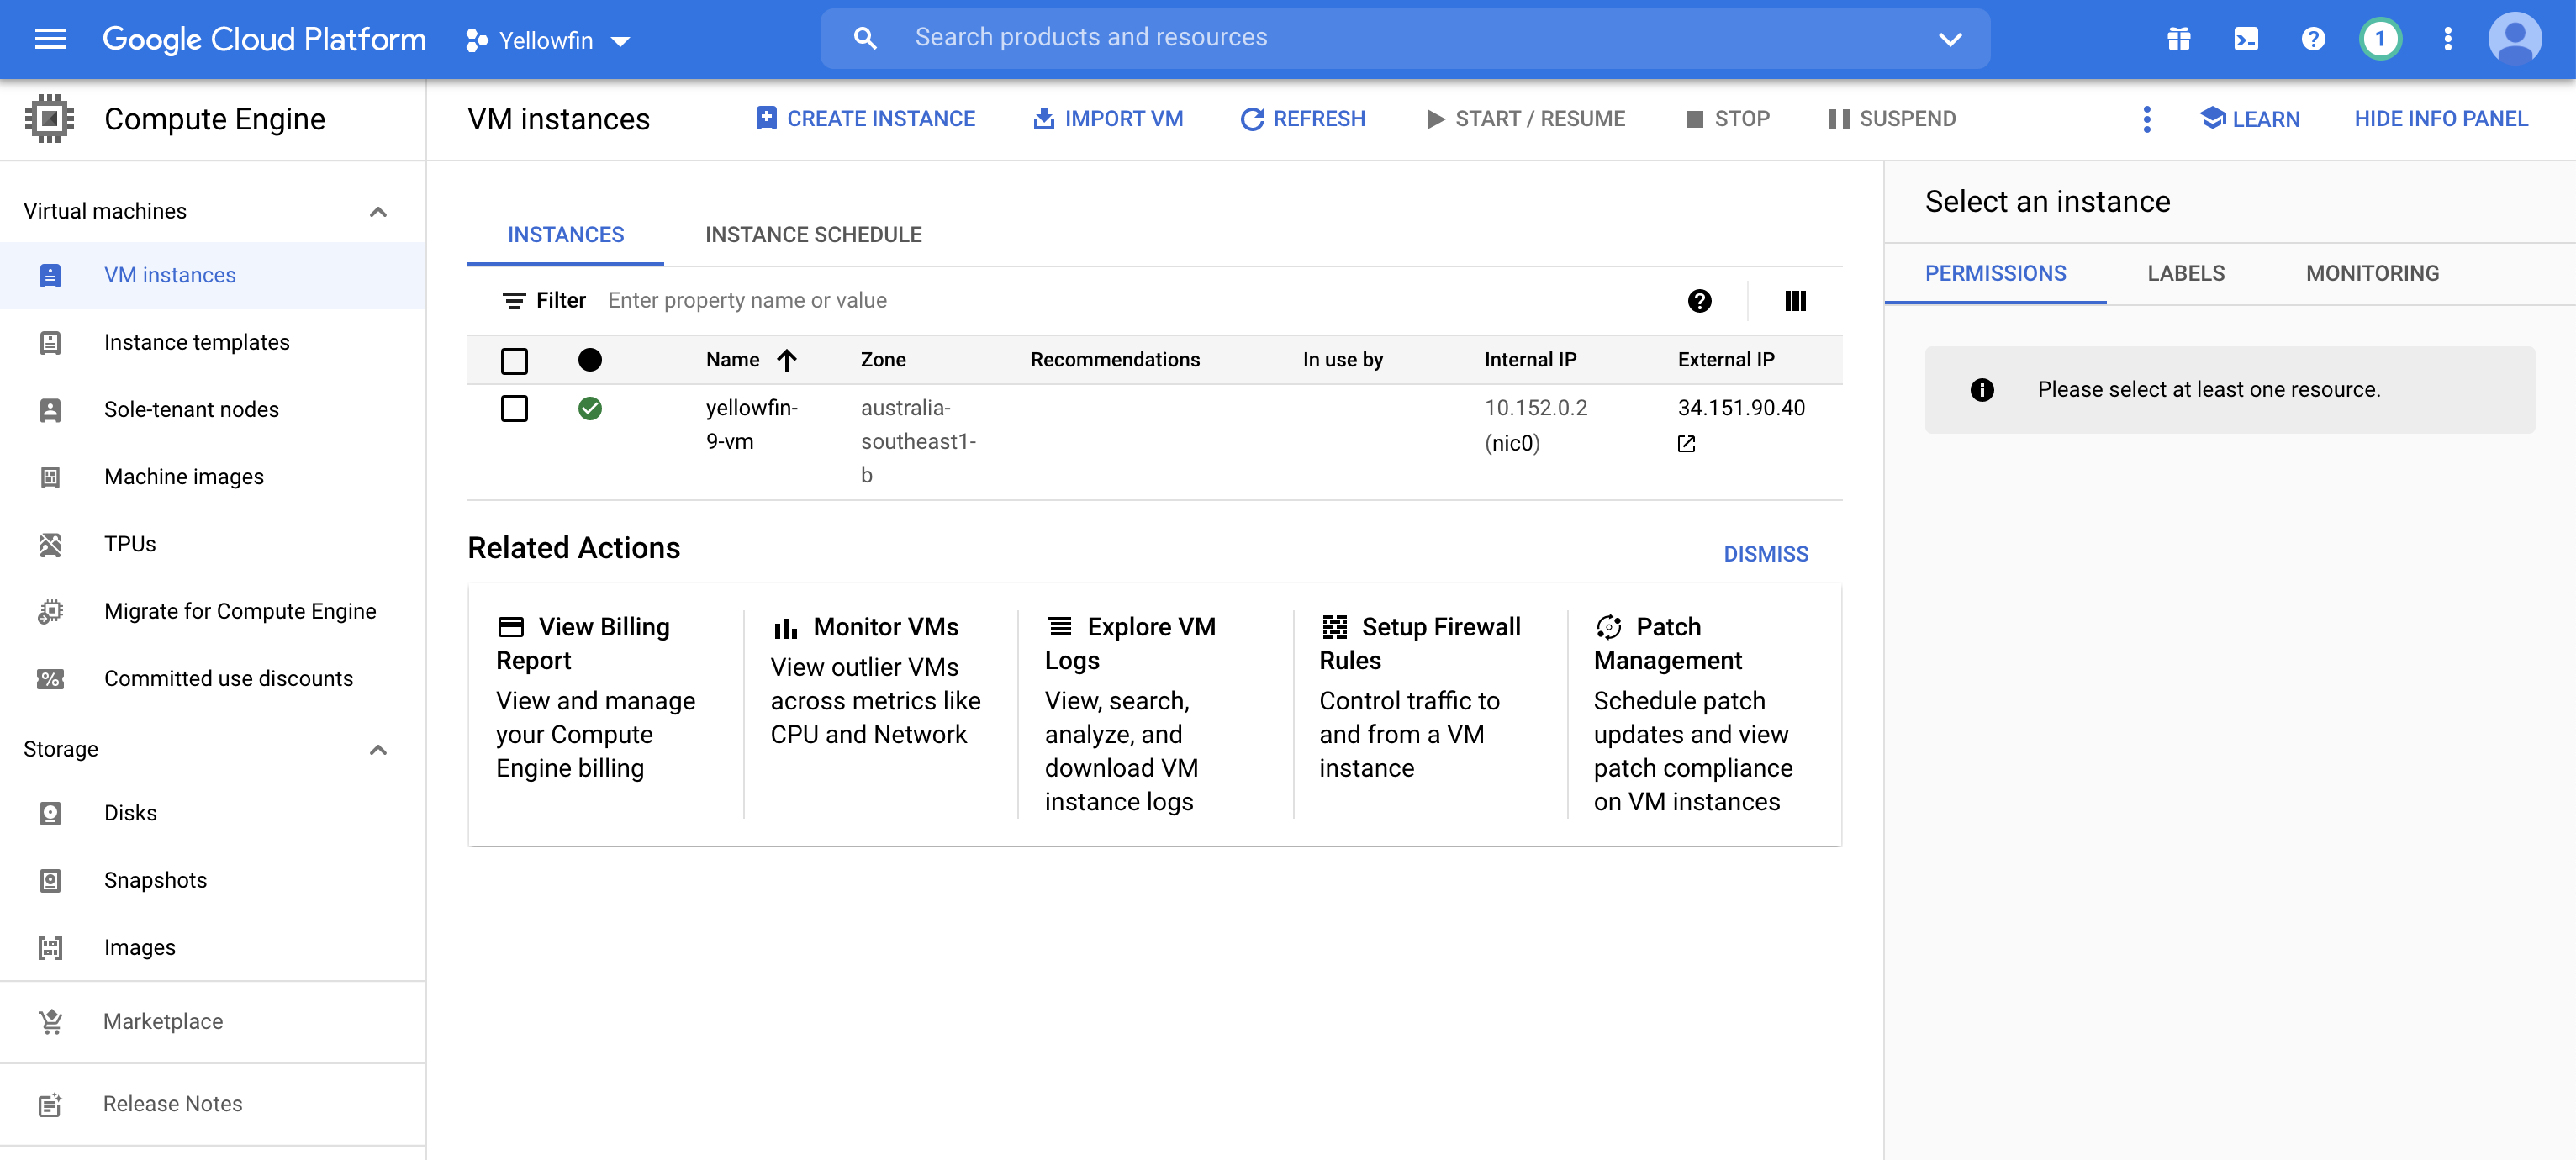
Like most environments, Google Cloud Platform (GCP) can be set up to run according to your needs. Yellowfin can run directly on a Google Compute Engine virtual machine (VM), or using a containerized approach.
In this section, we'll explain how to set up Yellowfin to run on a VM. If your GCP runs with containers, please take a look at our Install in a Container section for specific details. The information below may also be of use.
To install and run Yellowfin on a Google Compute Engine virtual machine, you’ll need to:
When you set up a virtual machine on the Google Compute Engine, you’ll be prompted to configure some mandatory items. Your configuration is entirely dependent on your environment. For example, a five-user instance of Yellowfin running a daily report is not going to need the same configuration as a Yellowfin cluster with 10,000 users. We’ve provided basic information in the table below to help you choose the best configuration on these mandatory items. Google provides additional information from the configuration page.
Option | Description | Recommendation |
|---|---|---|
Name | Your virtual machine name. This cannot be changed, so choose wisely. | - |
Region and Zone | Pick the region and a zone closest to your point of service. This helps to reduce latency. | Region closest to your point of service. |
Machine configuration | Google provides clear information for each machine configuration. Yellowfin can run on as little as 4GB of memory, but you may wish to optimize your configuration based on your expected usage of Yellowfin. | Minimum 4GB on a general purpose machine. |
Container | We highly recommend not running a container directly from your VM. It’s likely to be slower and less cost effective. If you wish to run Yellowfin as a container, we recommend you install a container platform, such as Kubernetes. | Keep this checkbox unchecked. |
Boot disk | Yellowfin runs on all major systems including Linux (various flavors), Windows and MacOS, so your choice here is not limited. | Choose your favorite. Check our Estimating Capacity Requirements page for disk size and further information. |
Identity and API access | Use this to set any specific permissions for your VM. You don’t need to alter these permissions to run Yellowfin securely. | Use the defaults. |
Firewall | Yellowfin communicates over HTTP and HTTPS. If you choose to enable HTTPS, remember to configure Yellowfin to use SSL. | Check at least one of these options, depending on your security requirements. |
We’ve created the steps below to get you started with creating a virtual machine (VM). These steps are for third-party software and are provided as a general guide. As they may become out of date, you may prefer to visit Google’s quick-start guide instead — https://cloud.google.com/compute/docs/instances/create-start-instance.
If you need further information on Yellowfin capacity requirements, please visit our Estimating Capacity Requirements page.


Installing Yellowfin on a virtual machine on the Google Compute Engine requires the same set of steps as installing it on an on-premises server. These steps are:
These four steps are outlined in full detail on the following two pages:
Place the .jar or .exe installation file in the folder where you’d like to install Yellowfin (see the Google documentation for transferring files to instances for further information).
These steps on this wiki cover a typical Yellowfin installation using PostgreSQL as its database within the same VM as your Yellowfin instance. Yellowfin connects to many other databases (listed on the Install And Deploy Yellowfin wiki page). If you would prefer to use a different database from the list, use the general installation steps and amend the database steps to suit your own database setup. If you need further help, get in touch with our support team. |
Yellowfin can be set up as a cluster within the Google Cloud Platform. Yellowfin can also be deployed from containers, so please take a look at our Install in a Container section for some example environments, complete with step-by-step instructions.
Current topic - Install in the CloudThis page is part of the Install And Deploy Yellowfin section of the wiki, which has these topics:
|