Using Google Sheets is a productive and simple way for teams to collaborate via spreadsheet data. With a Yellowfin connector, you can connect your Google Sheets data to extend its usefulness using the Yellowfin range of data analytics tools.
While Yellowfin is connected to your Google Sheets data, it automatically updates at regular intervals to keep your source data and your Yellowfin data synchronized. It’s visible in Yellowfin as a data source. From the data source, you can create views, then reports, charts, dashboards and more.
To connect Yellowfin to Google Sheets:
Note: This connector required a change to the Yellowfin user interface. It is compatible with Yellowfin versions 9 and 8.0.10. Due to a change in Google’s authentication methods, the previous connector will not work with any versions of Yellowfin. |
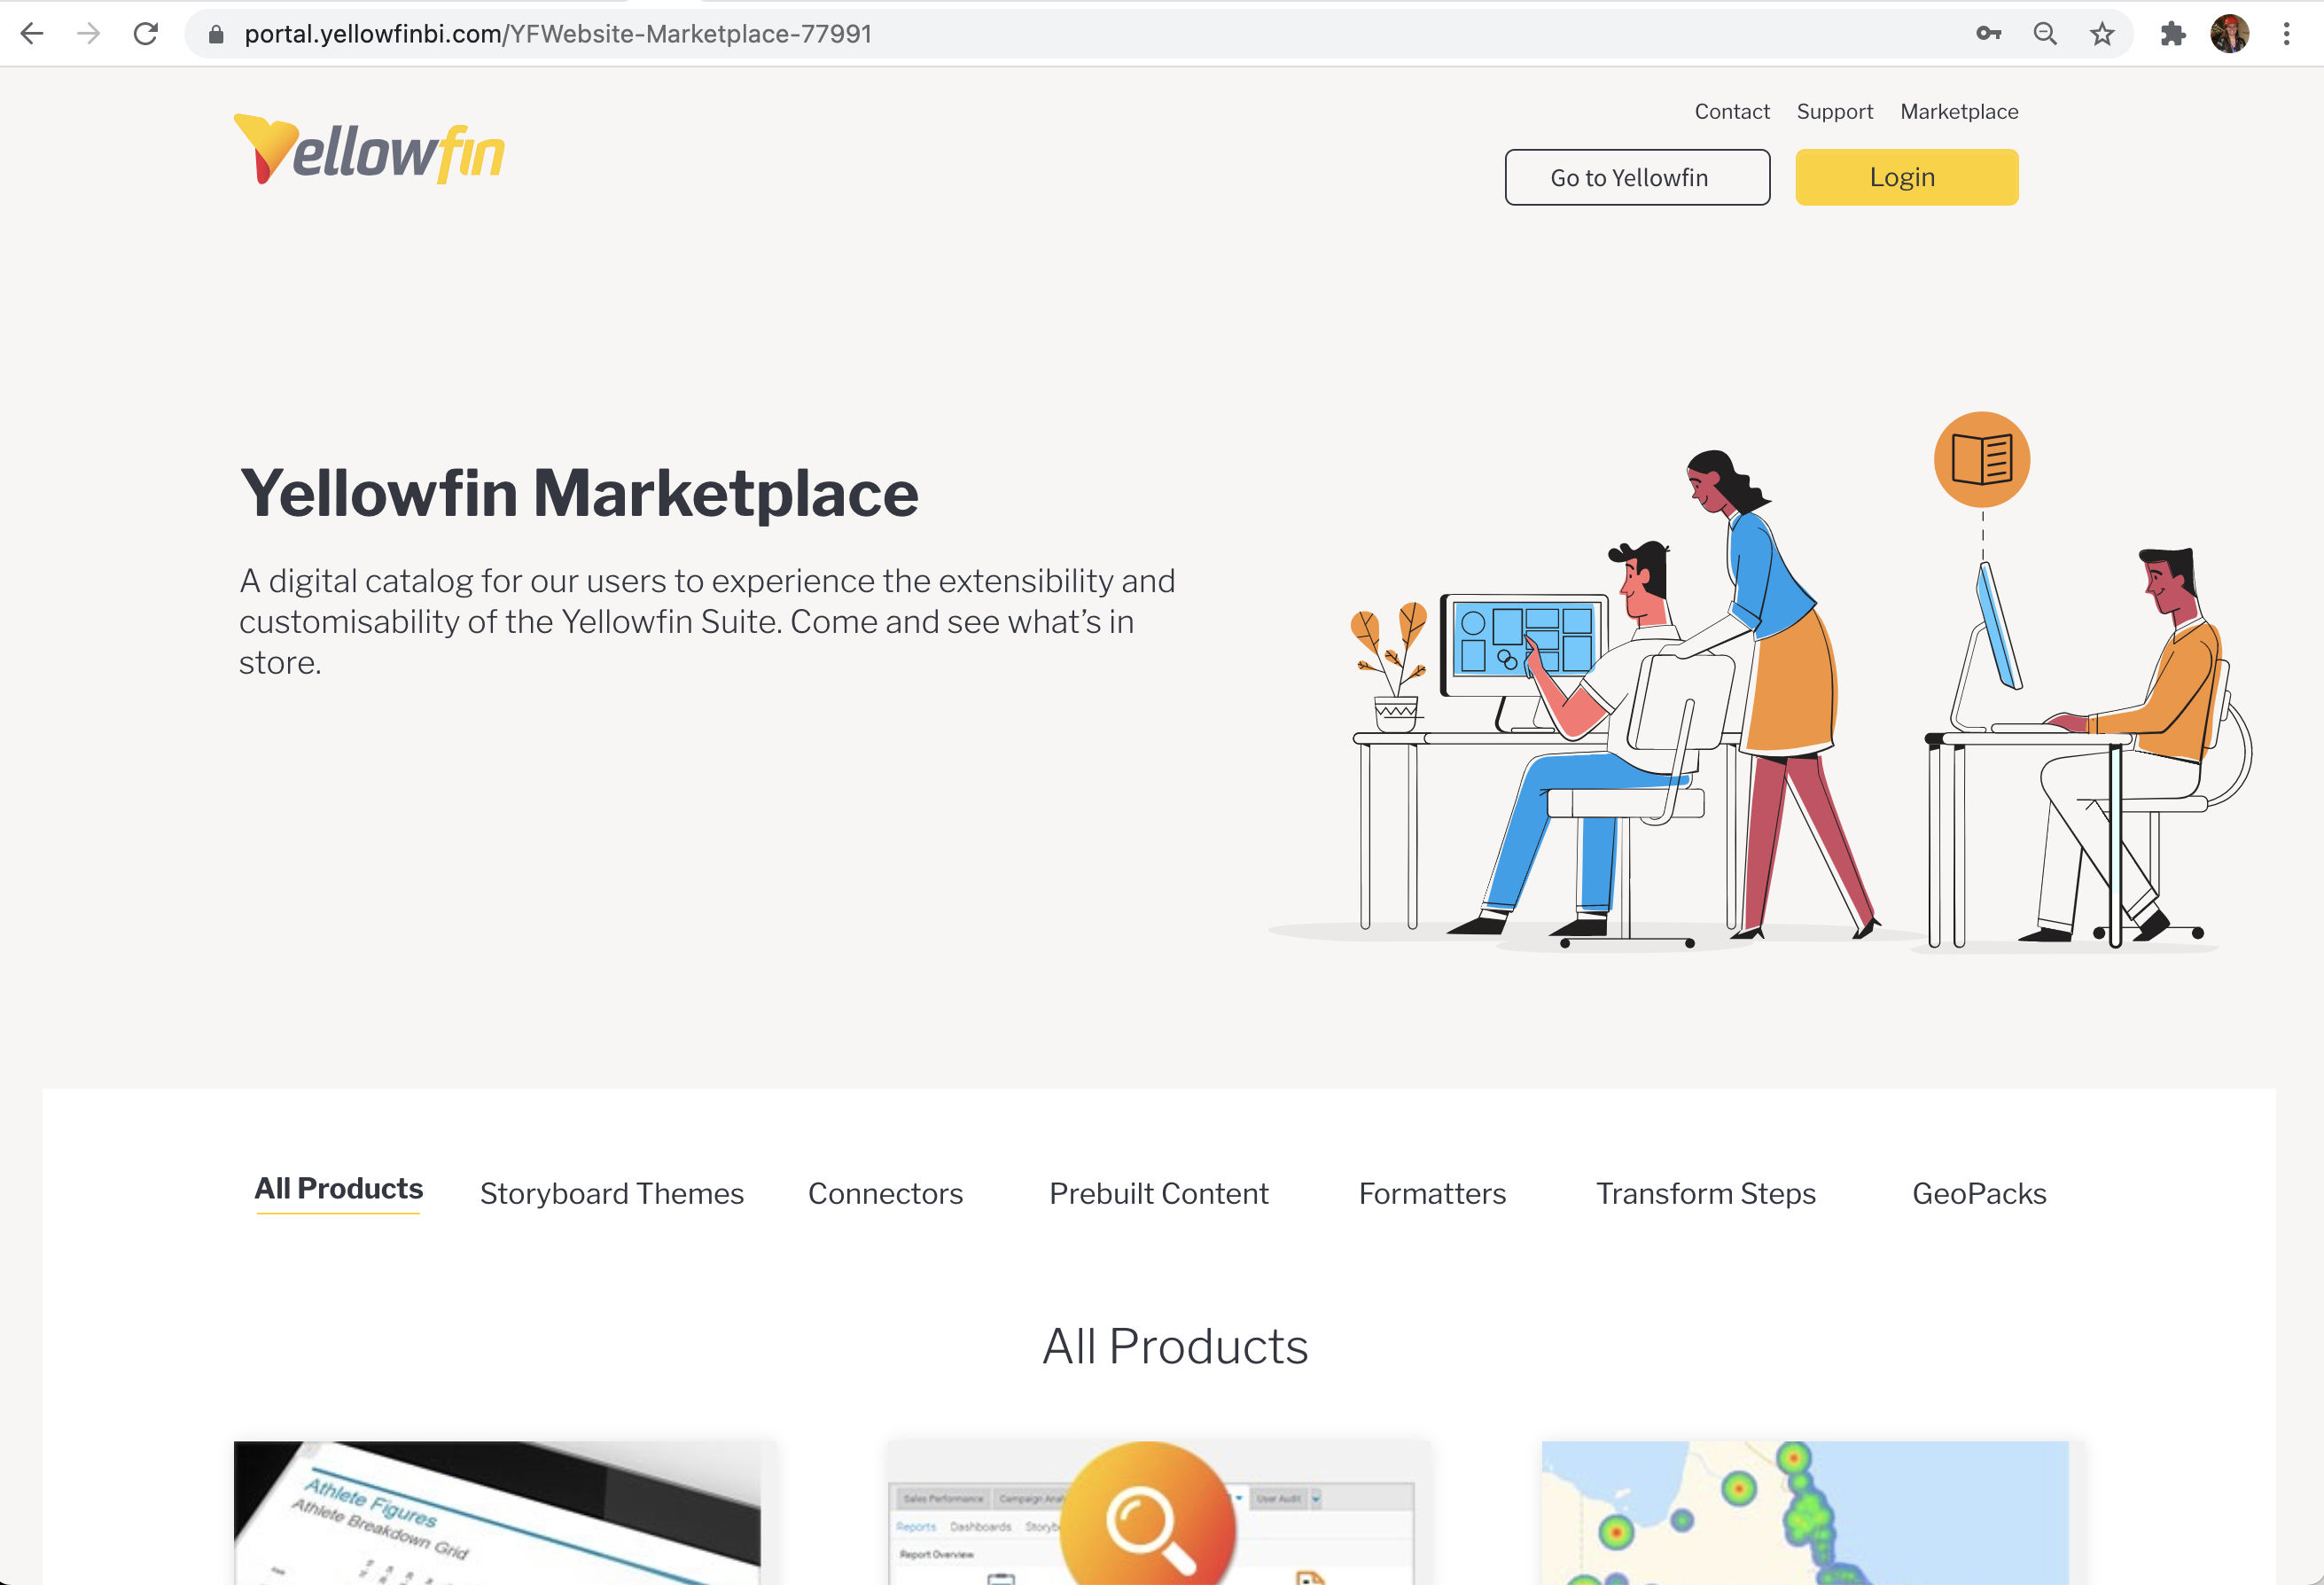
Installing a connector to use with Yellowfin requires access to Yellowfin and to Yellowfin Marketplace. To install a connector:
Each of these steps are described in the sections below.
When adding a new connector to Yellowfin, ensure that your Yellowfin user has enough access to complete the steps below. Their role will need some of the checkboxes checked under the Data Sources & Views role in the Yellowfin admin console. The steps below presume the user is logged in to Yellowfin with the correct access level.

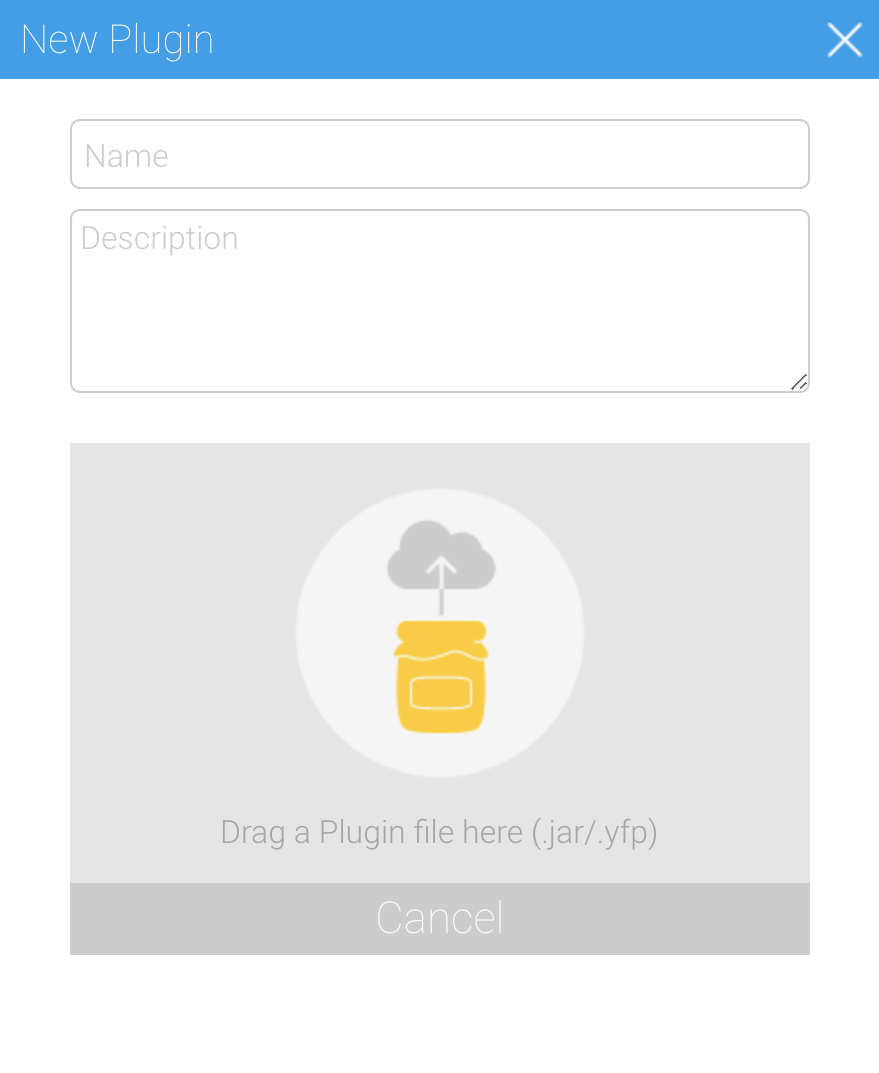
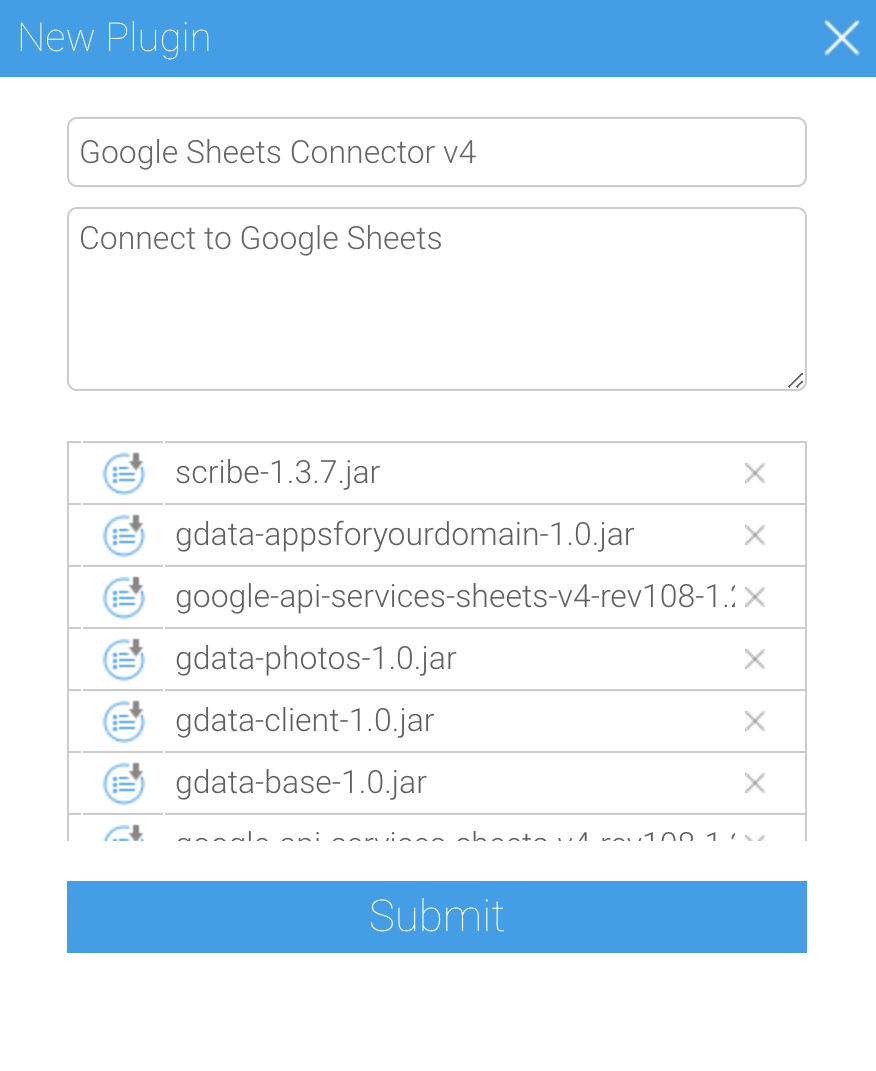

Now that you’ve installed the Google Sheets connector, you’re ready to configure your Google credentials to securely connect with Yellowfin.
Yellowfin can only display Google Sheets data via the connector after some strict security checks are made. You will therefore need a Google client ID that has the Google Sheets API enabled. The process is covered in the steps below. Once complete, you will use these credentials to set up a new data source in Yellowfin via the connector.
The instructions below are not related to Yellowfin software. They are provided here only to cover the basics of the configuration you’ll need to use Google Sheets in Yellowfin. If you need further help, please refer to any instructions provided by the third-party software provider.
| If you have problems with access, check that under OAuth consent screen, your publishing status is set to In production. |
Enable Google Sheets API
Now that your Google APIs console has been configured and your Google Sheets connector is installed within Yellowfin, you can connect the two. To complete these steps, you will:
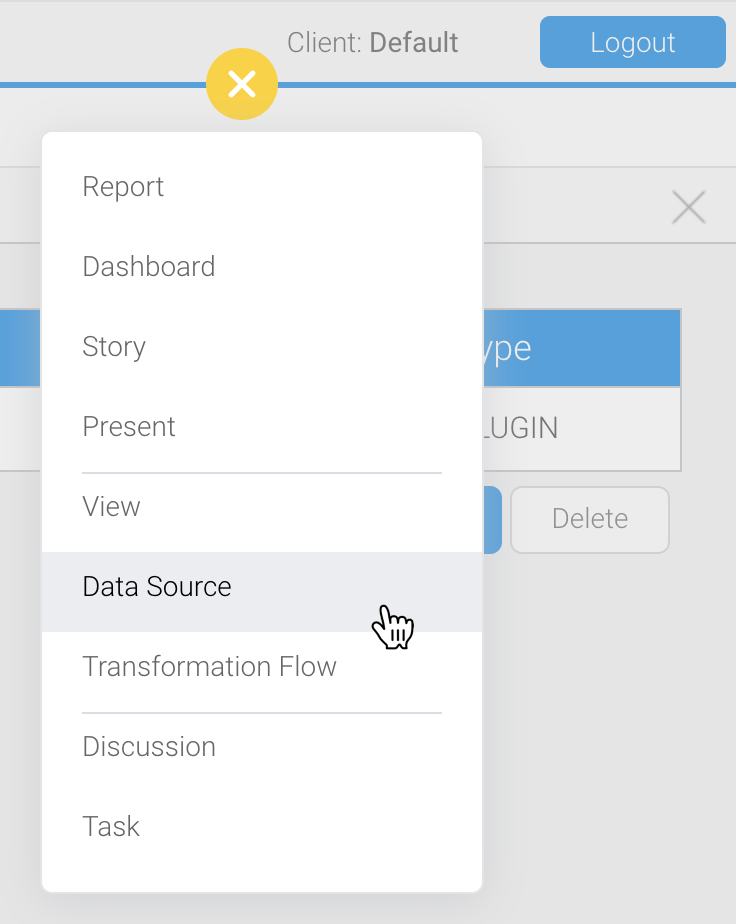
Now, you will see the Google Sheets connecter listed under Or choose a platform
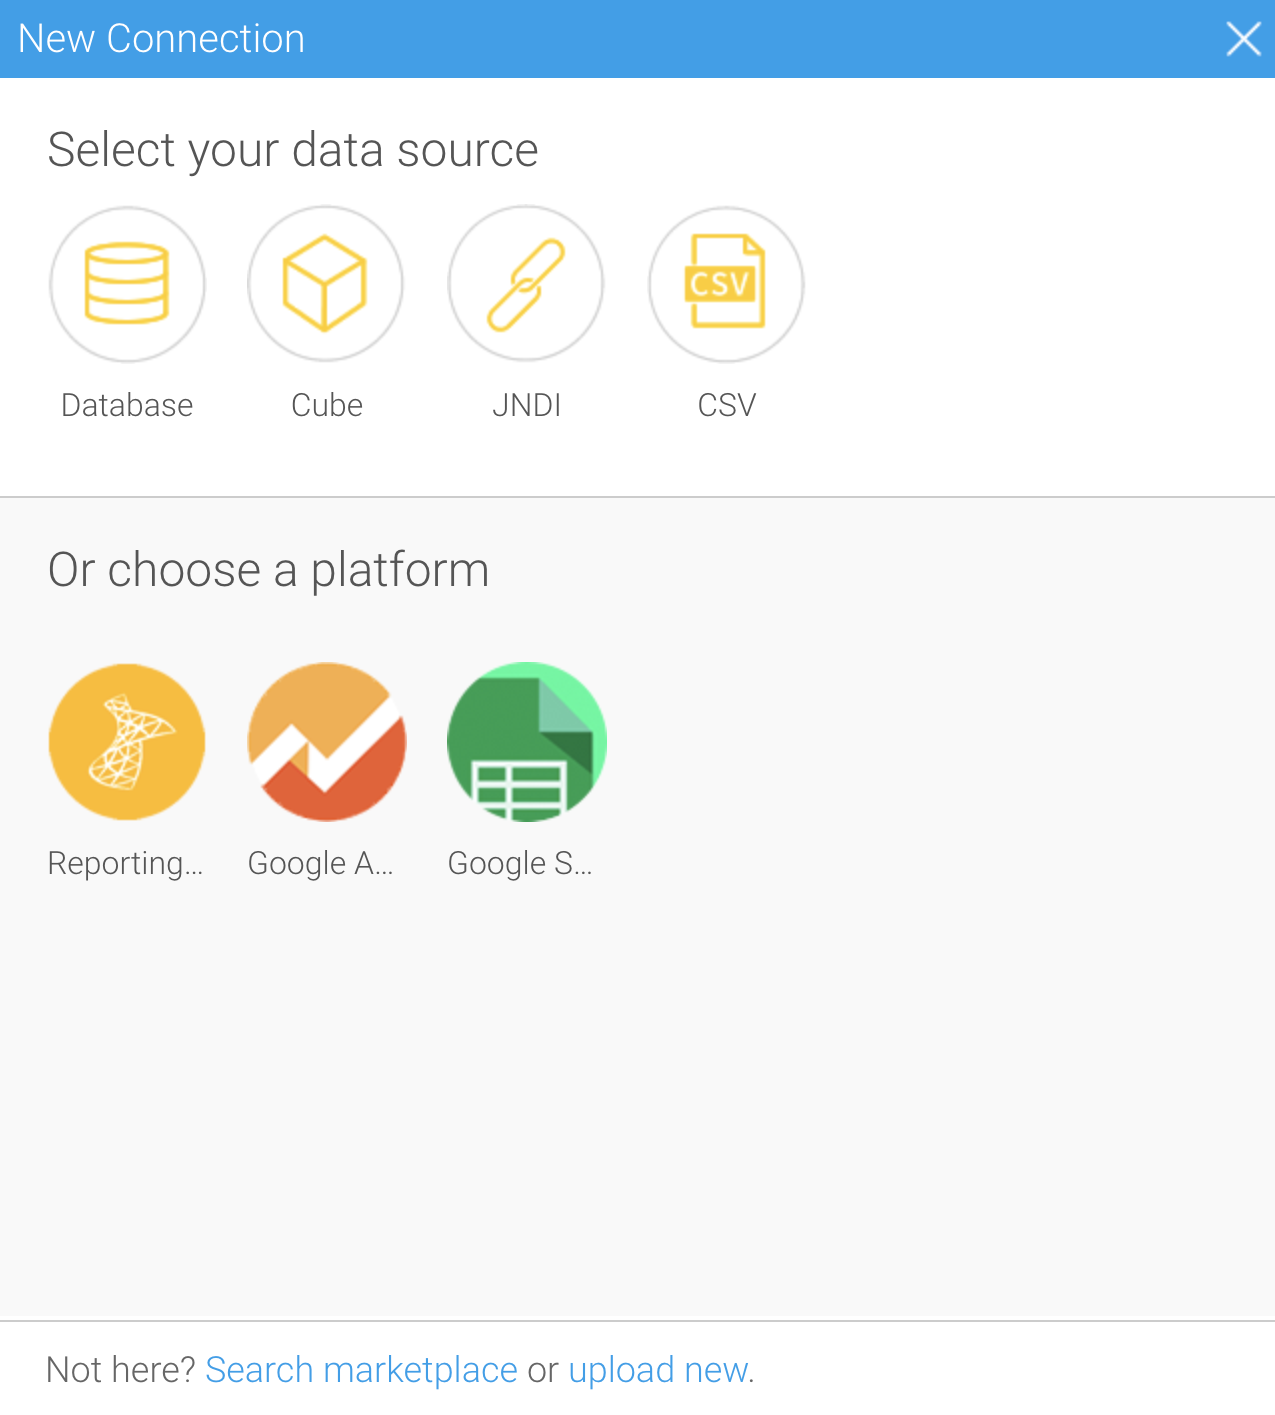
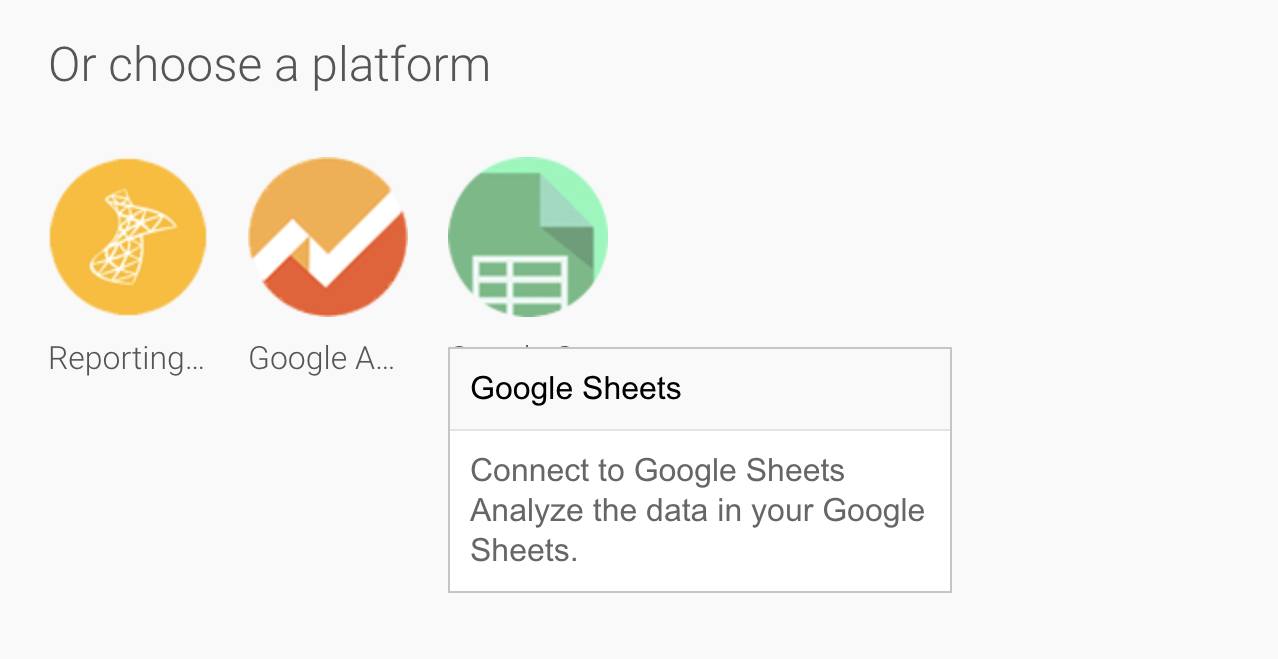
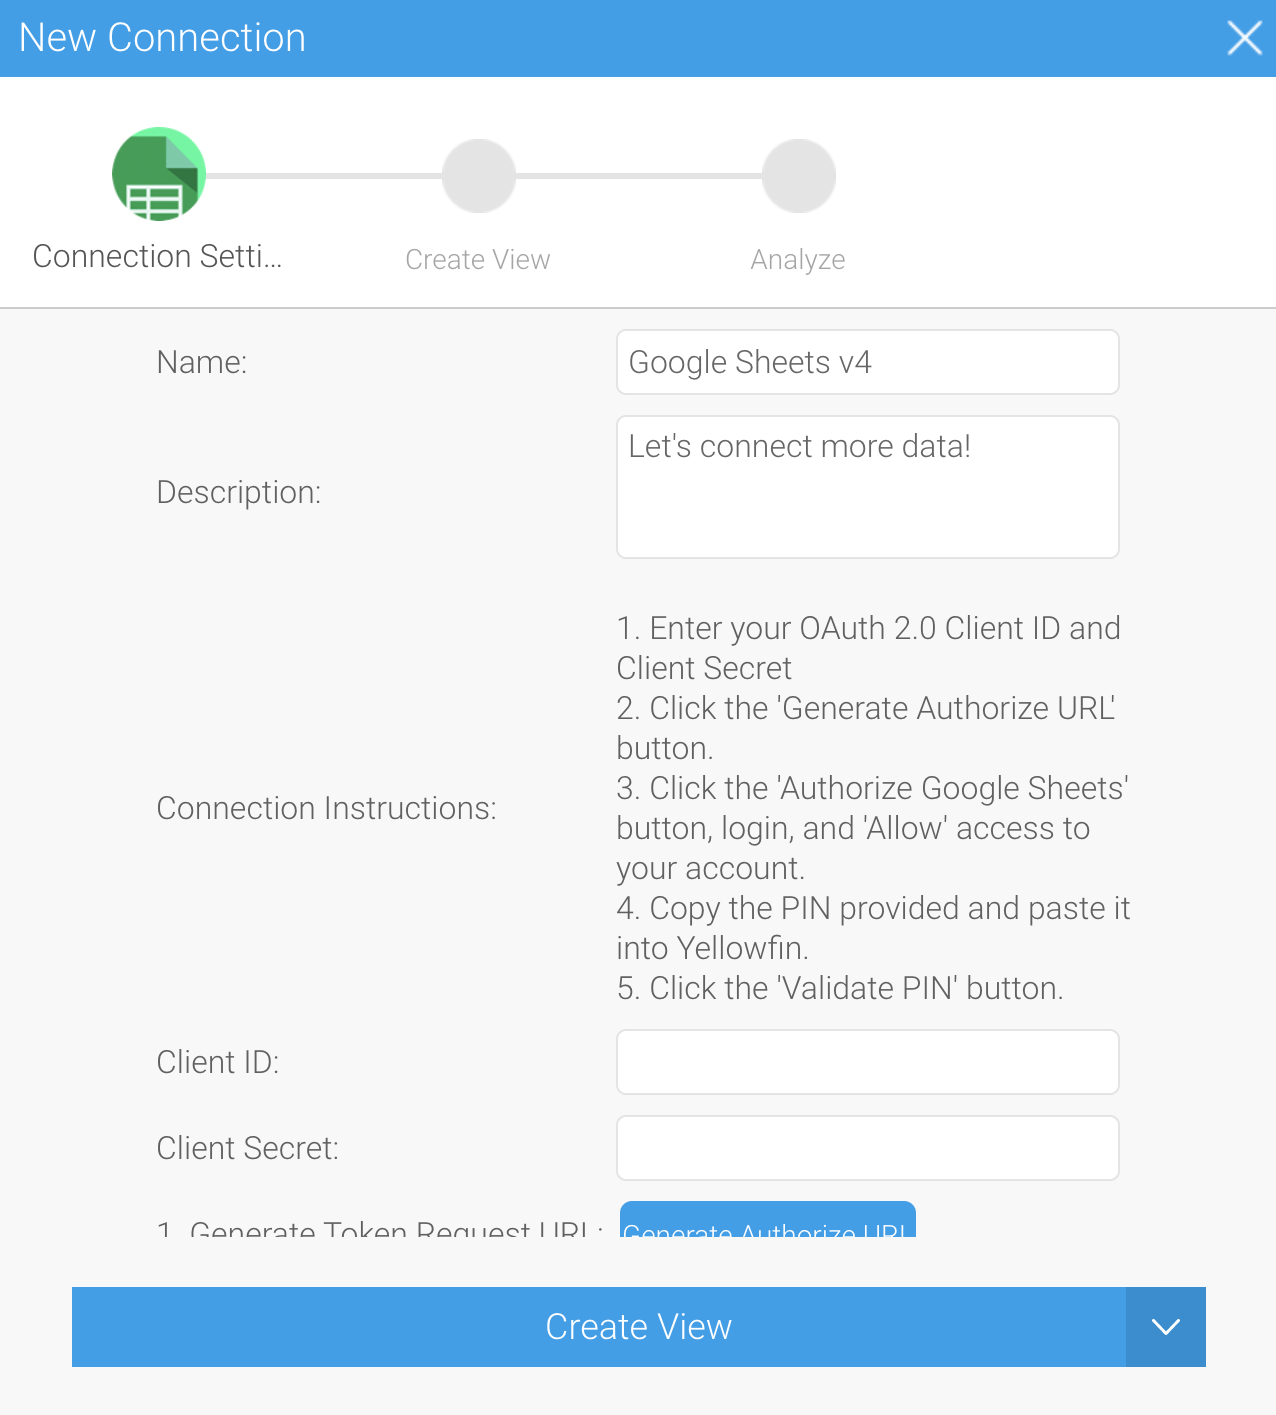
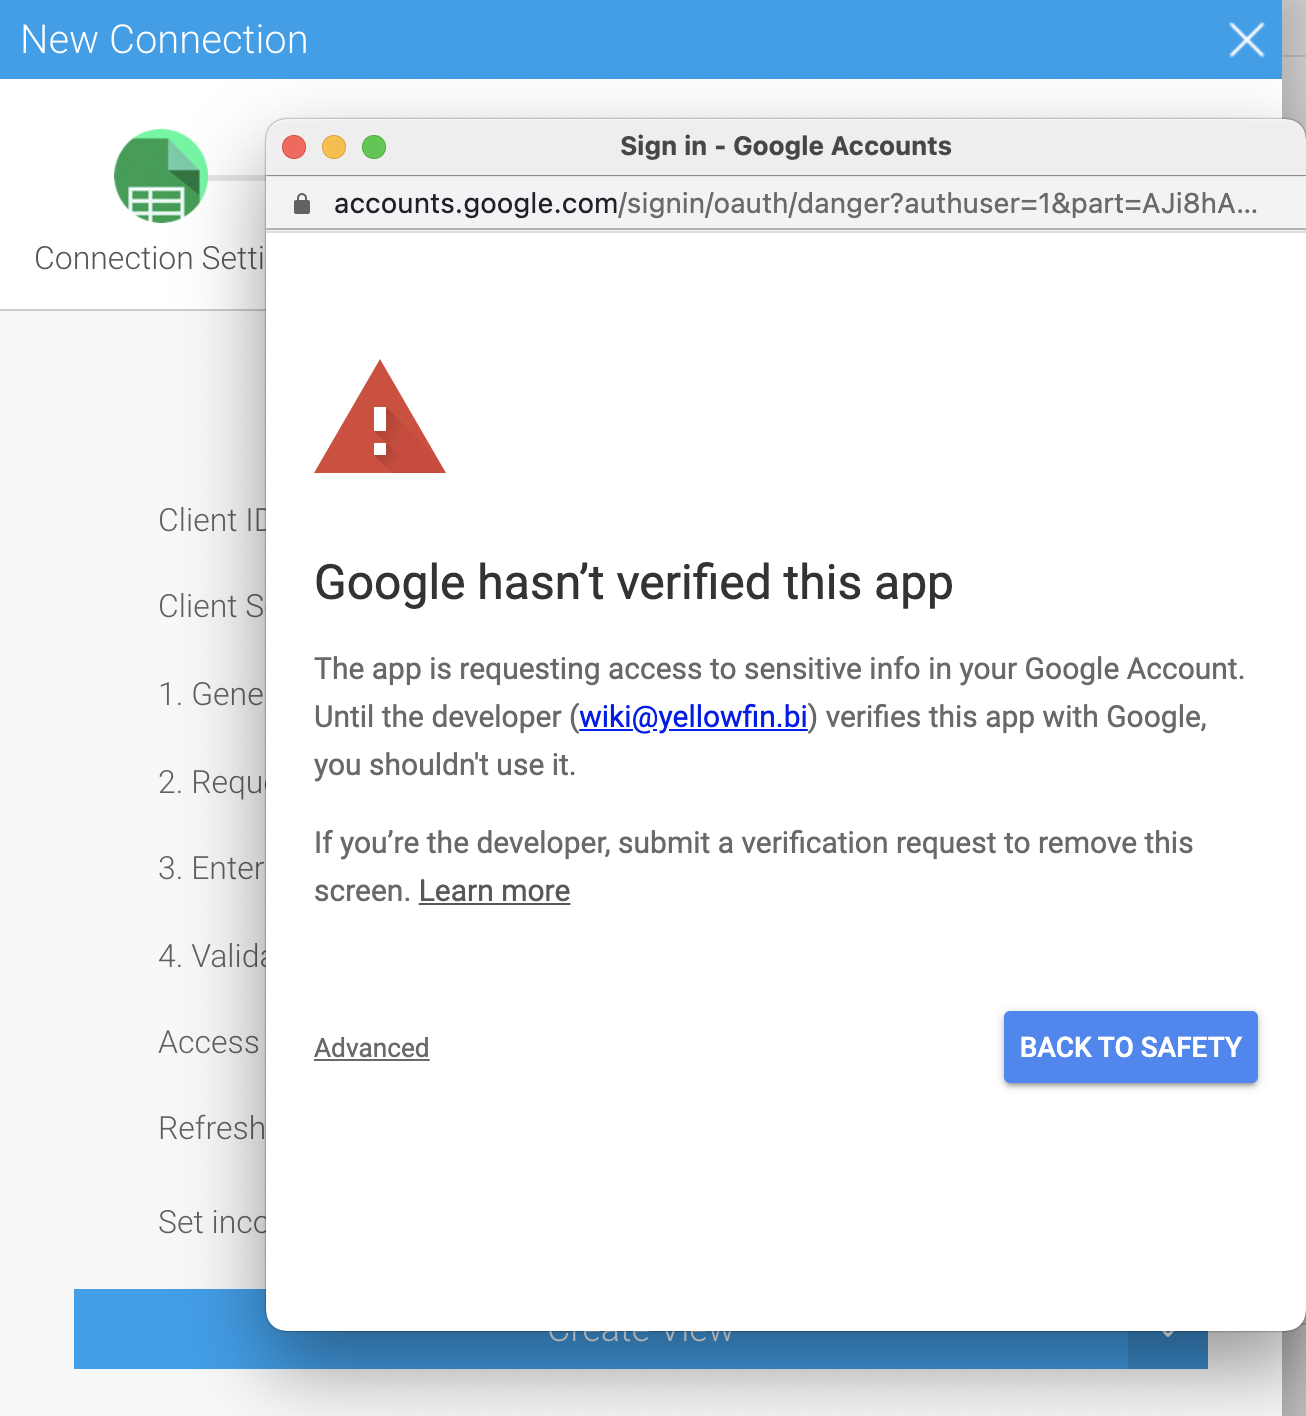
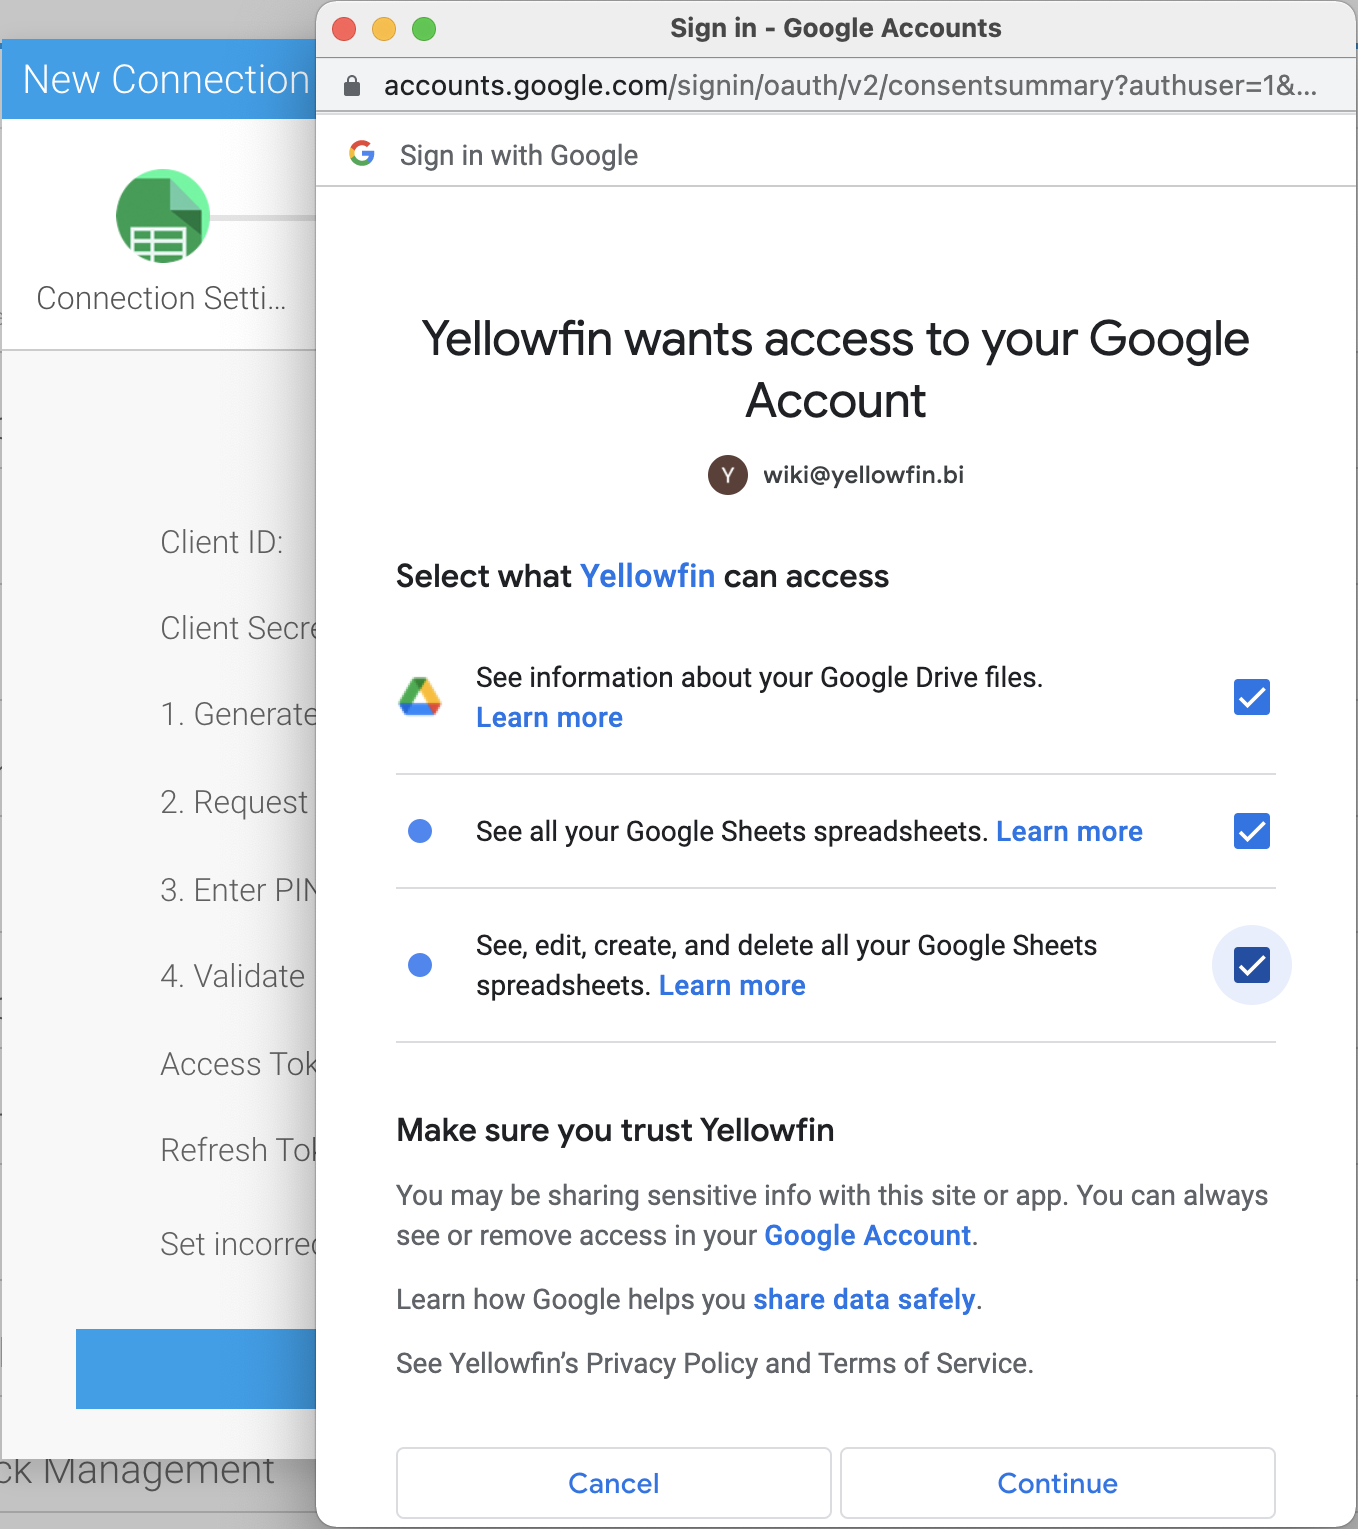
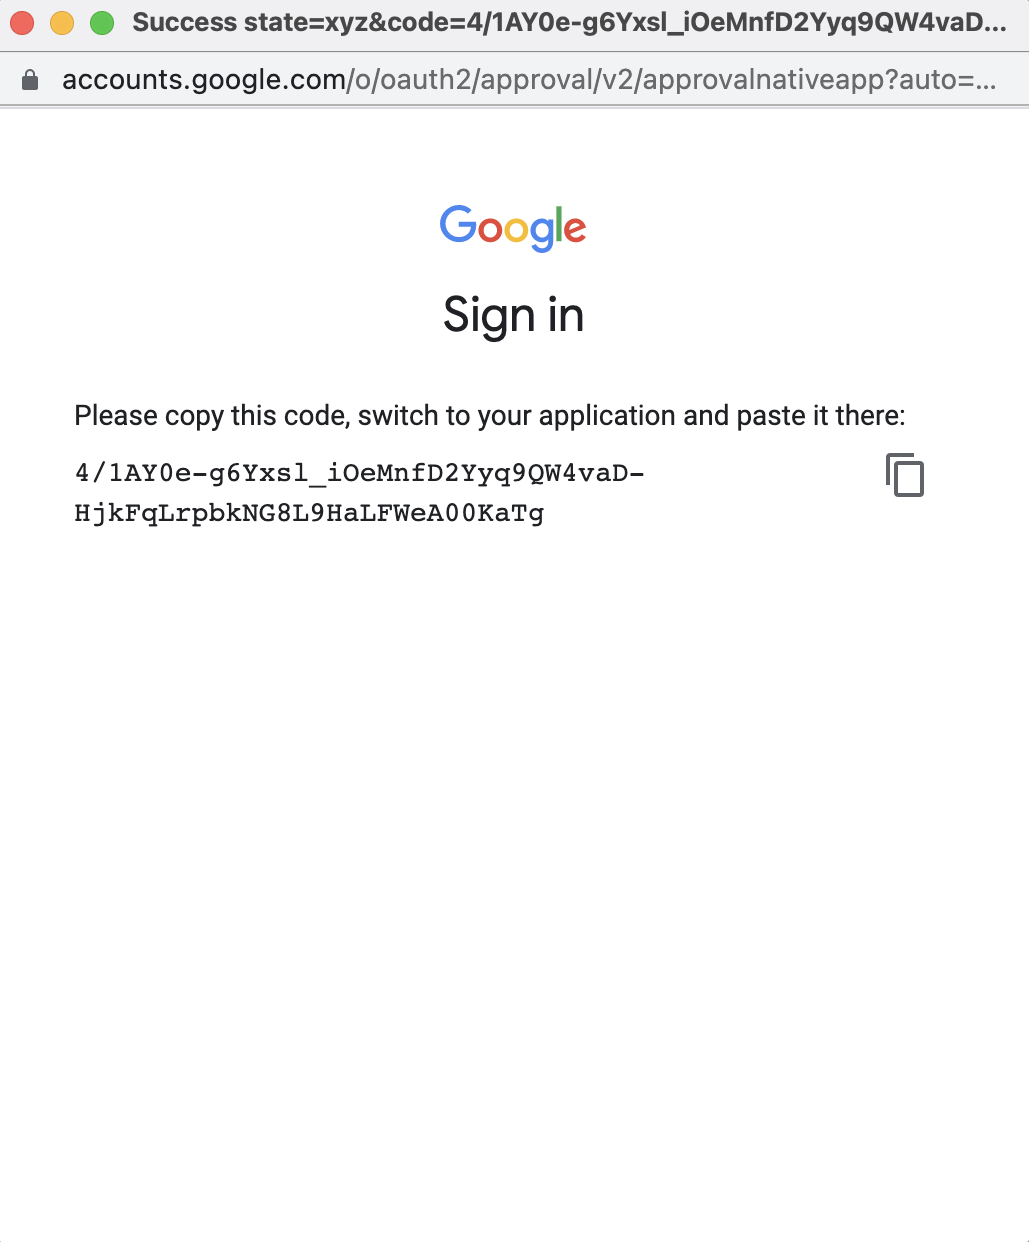
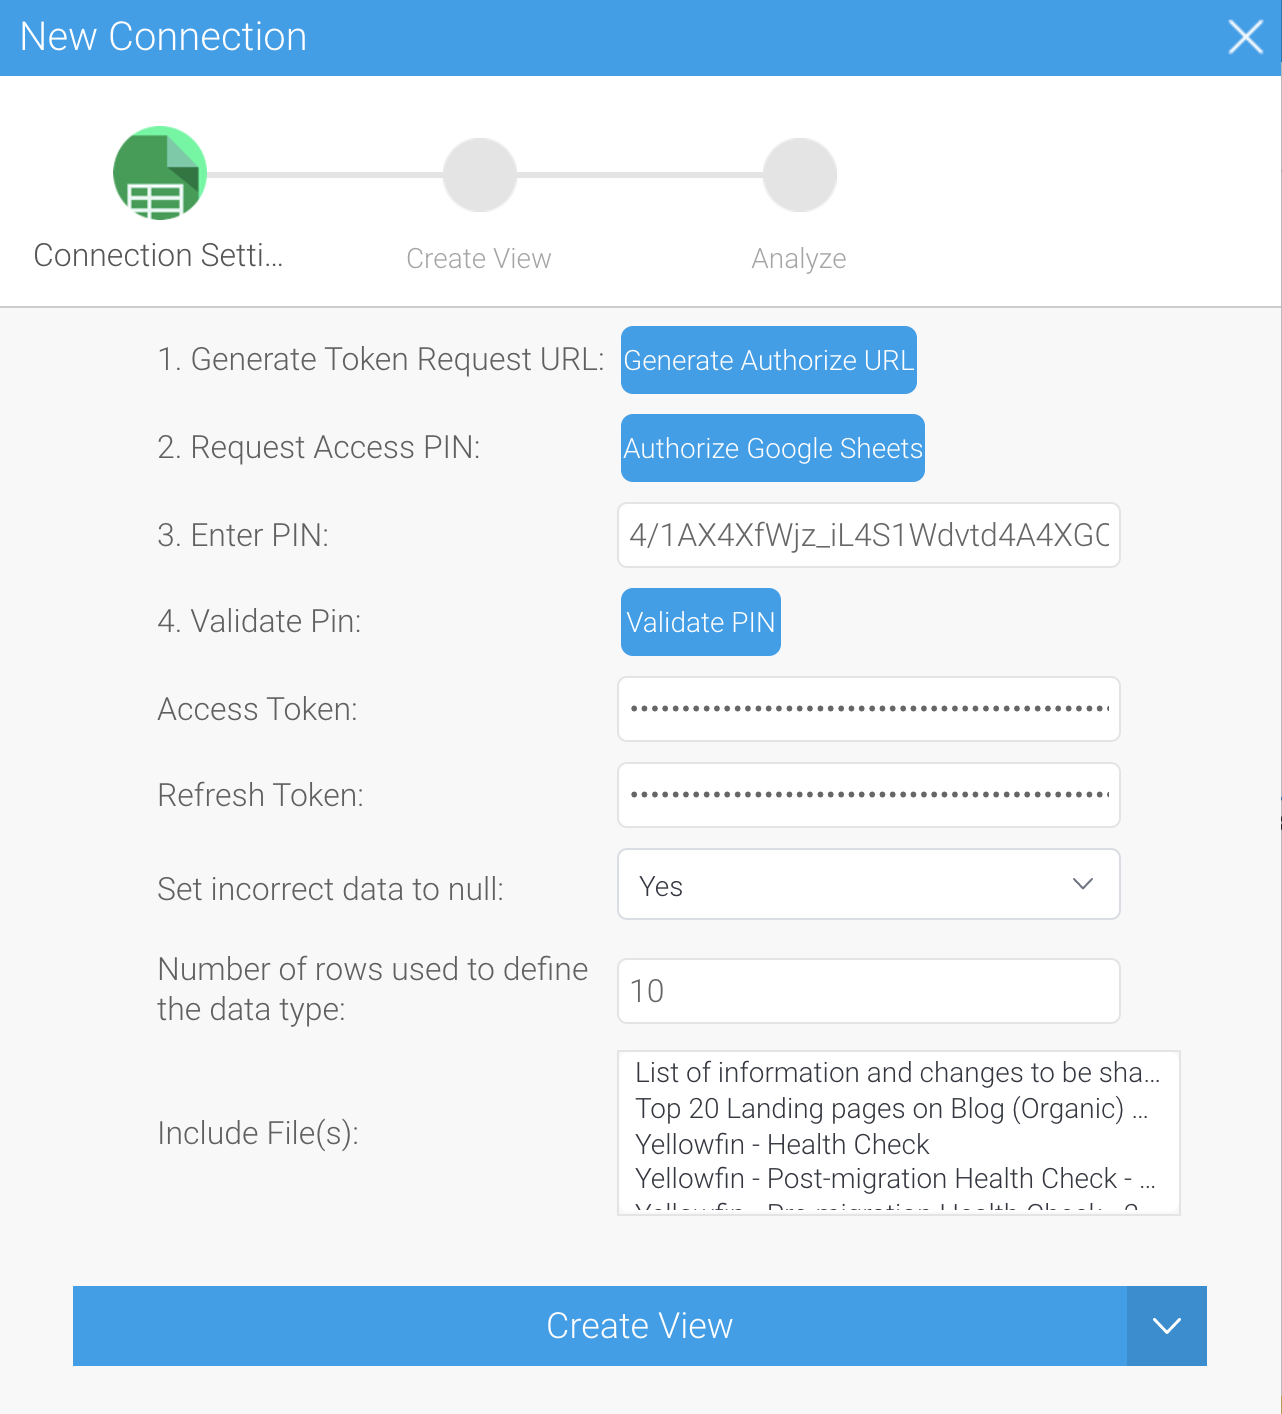
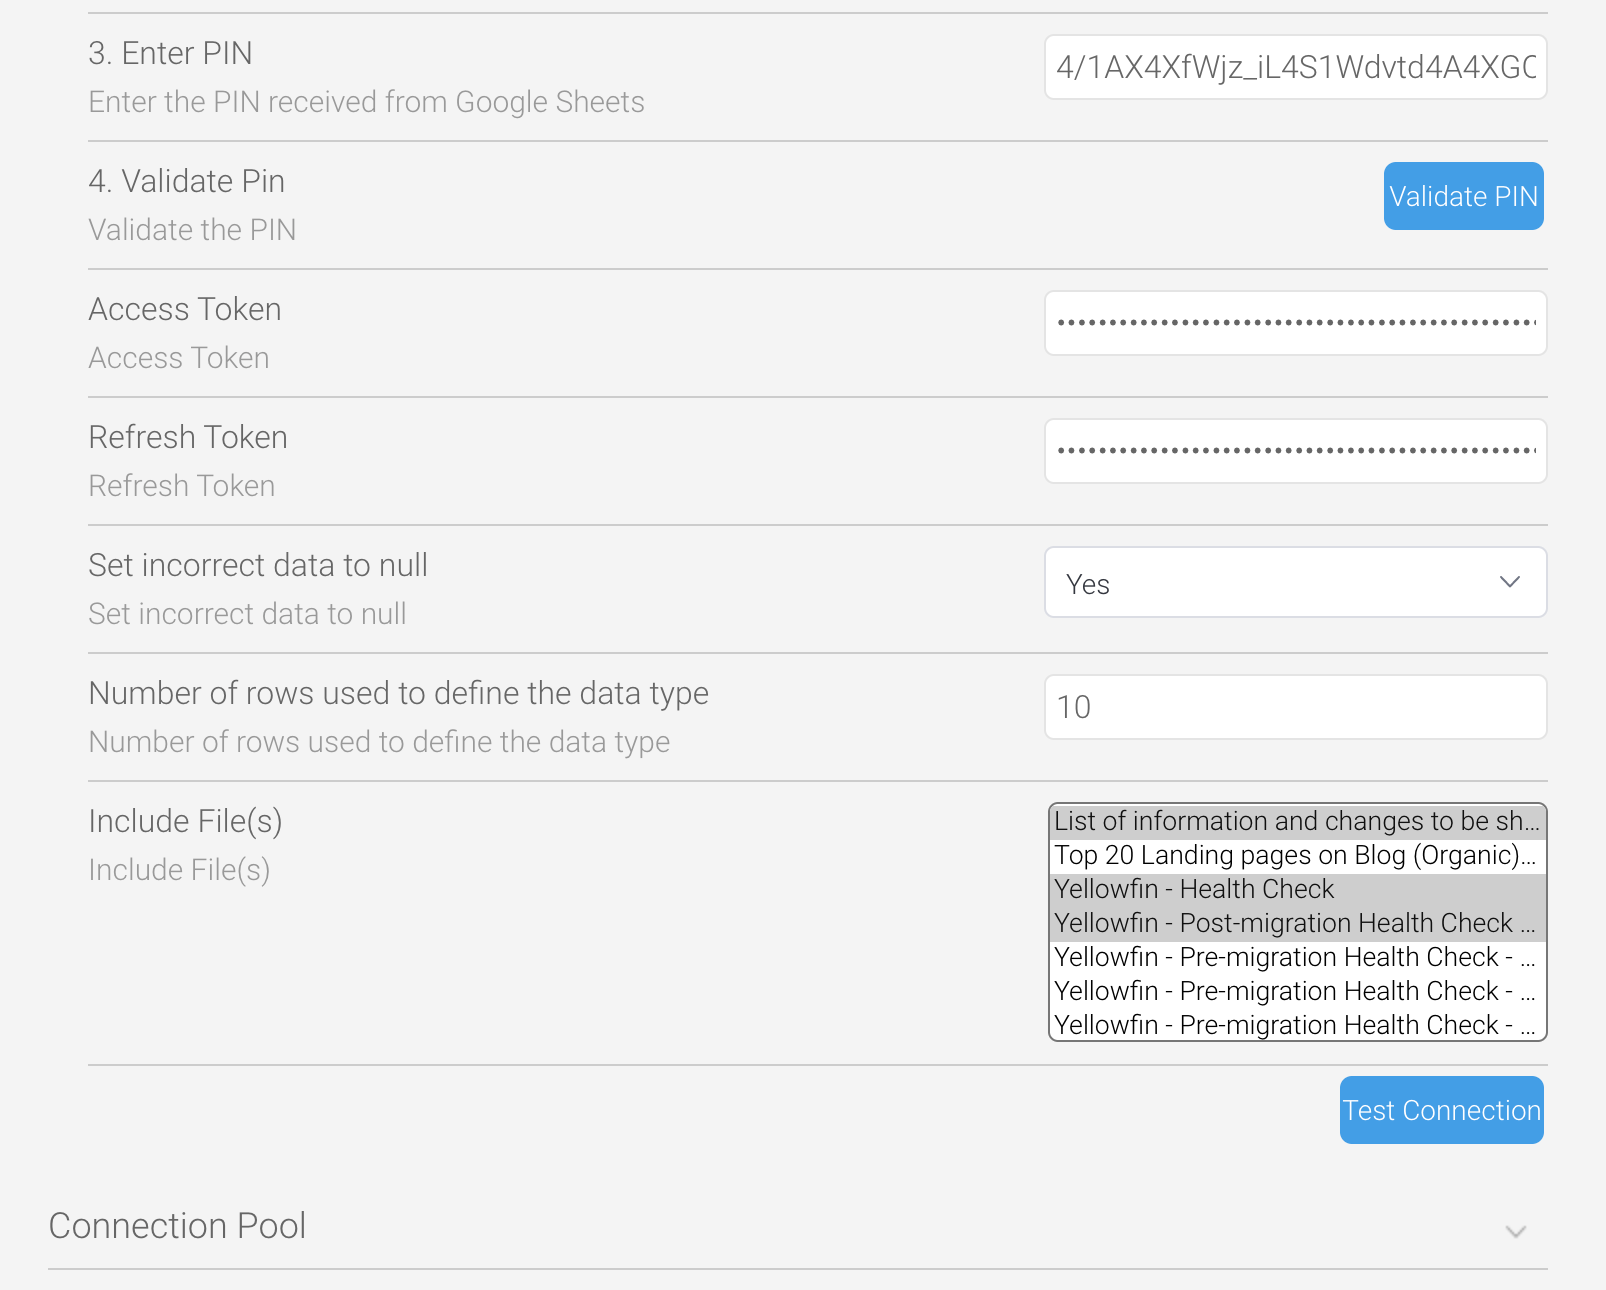
The fields in the New Connection dialog box should be set to match your requirements. The table below describes how they work. The first set of fields relate to authenticating with Google. Once that’s complete, you’ll need to make some decisions for the following fields.
Field name | Description |
|---|---|
Set incorrect data to null | Yes — Any data that’s inconsistent with the defined data type will appear as null. No — Yellowfin will display the data. |
Number of rows used to define the data type | Set the number of rows for Yellowfin to scan to define the column data type. Yellowfin determines this based on the majority of records (for example, if there are six metrics and four dimensions, Yellowfin would define the data type as a metric). By default, this is set to 10. |
Include File(s) | Select any Google Sheets files that you expect to use within Yellowfin. To create a view from a Google Sheet tab source, it must be selected in this field. This selection can be edited at any time through the Admin Data Sources. If you’re upgrading from a previous Google Sheets connector, select any files that it used. If a Google Sheet is removed from this data source or from the drive that the data source connects to, any reports and views associated with the Google Sheet will stop displaying data entirely. Yellowfin periodically checks for updates to any Google Sheets selected and updates any related data within Yellowfin accordingly. The maximum number of Google Sheets that can be connected is the quota of request per minute Google assigns to your account by default is 40. This number can be increased by submitting an application to Google. Alternatively, you can create additional connectors, but be aware of the overhead of polling a large number of files. |
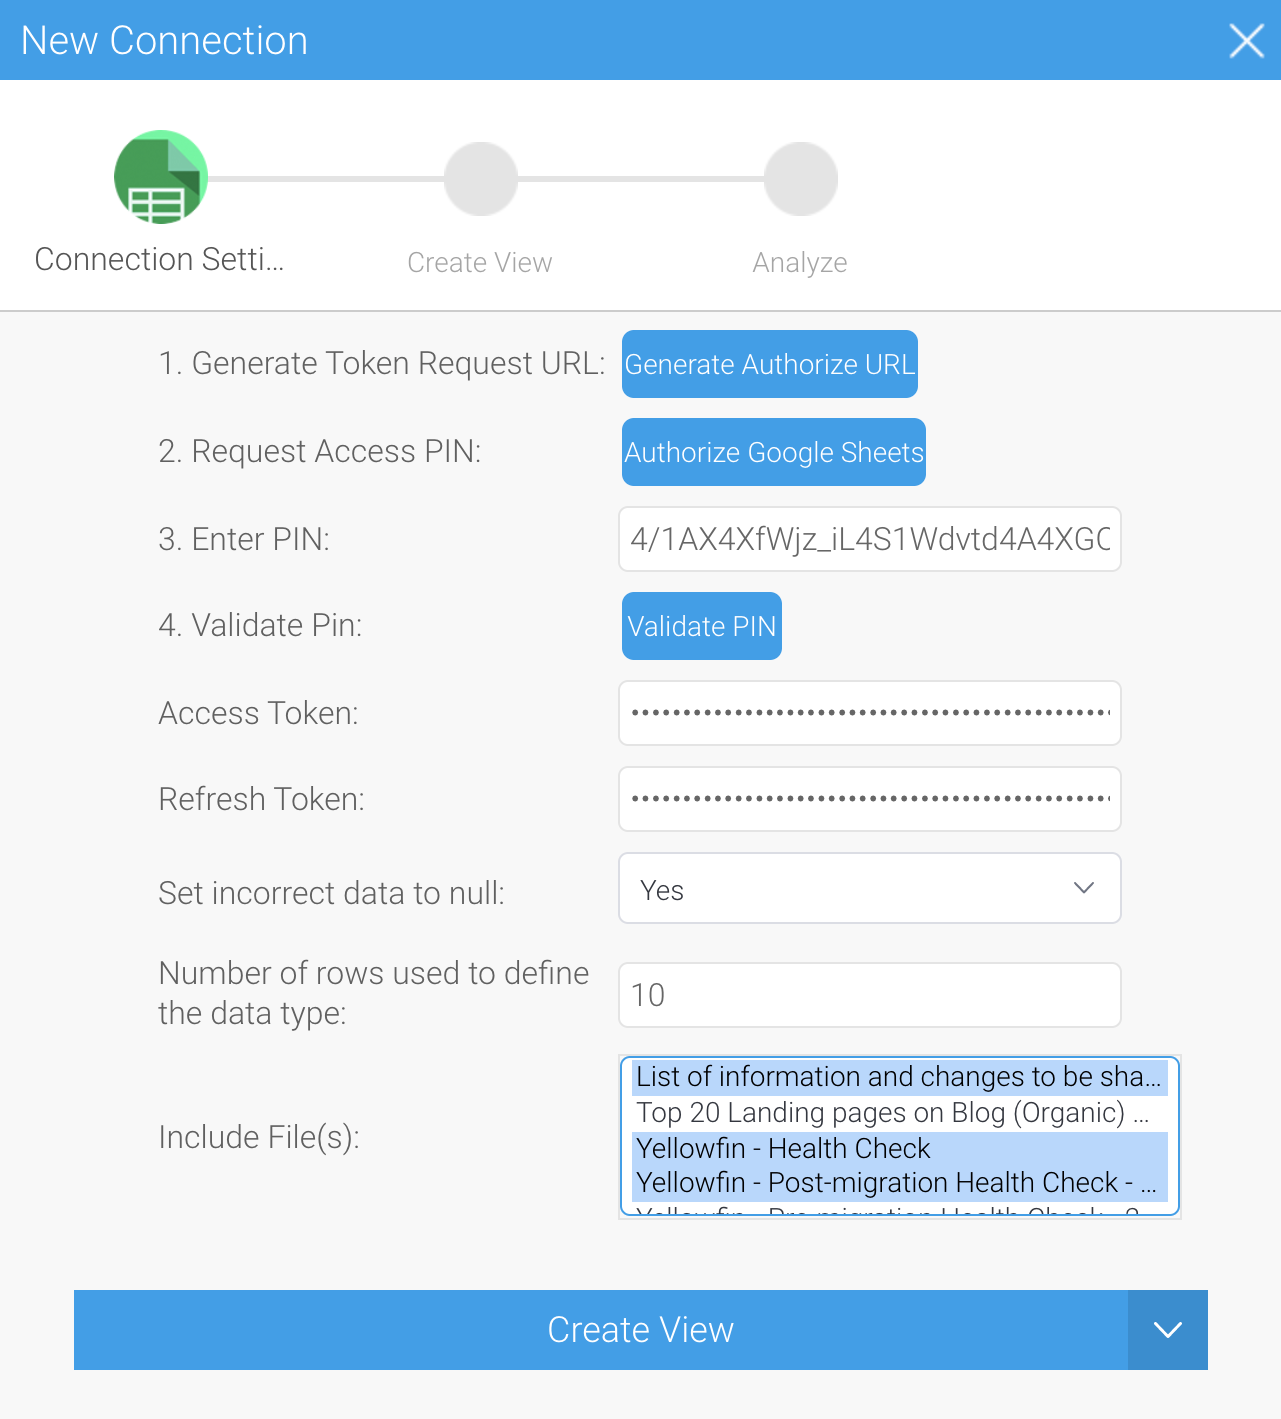
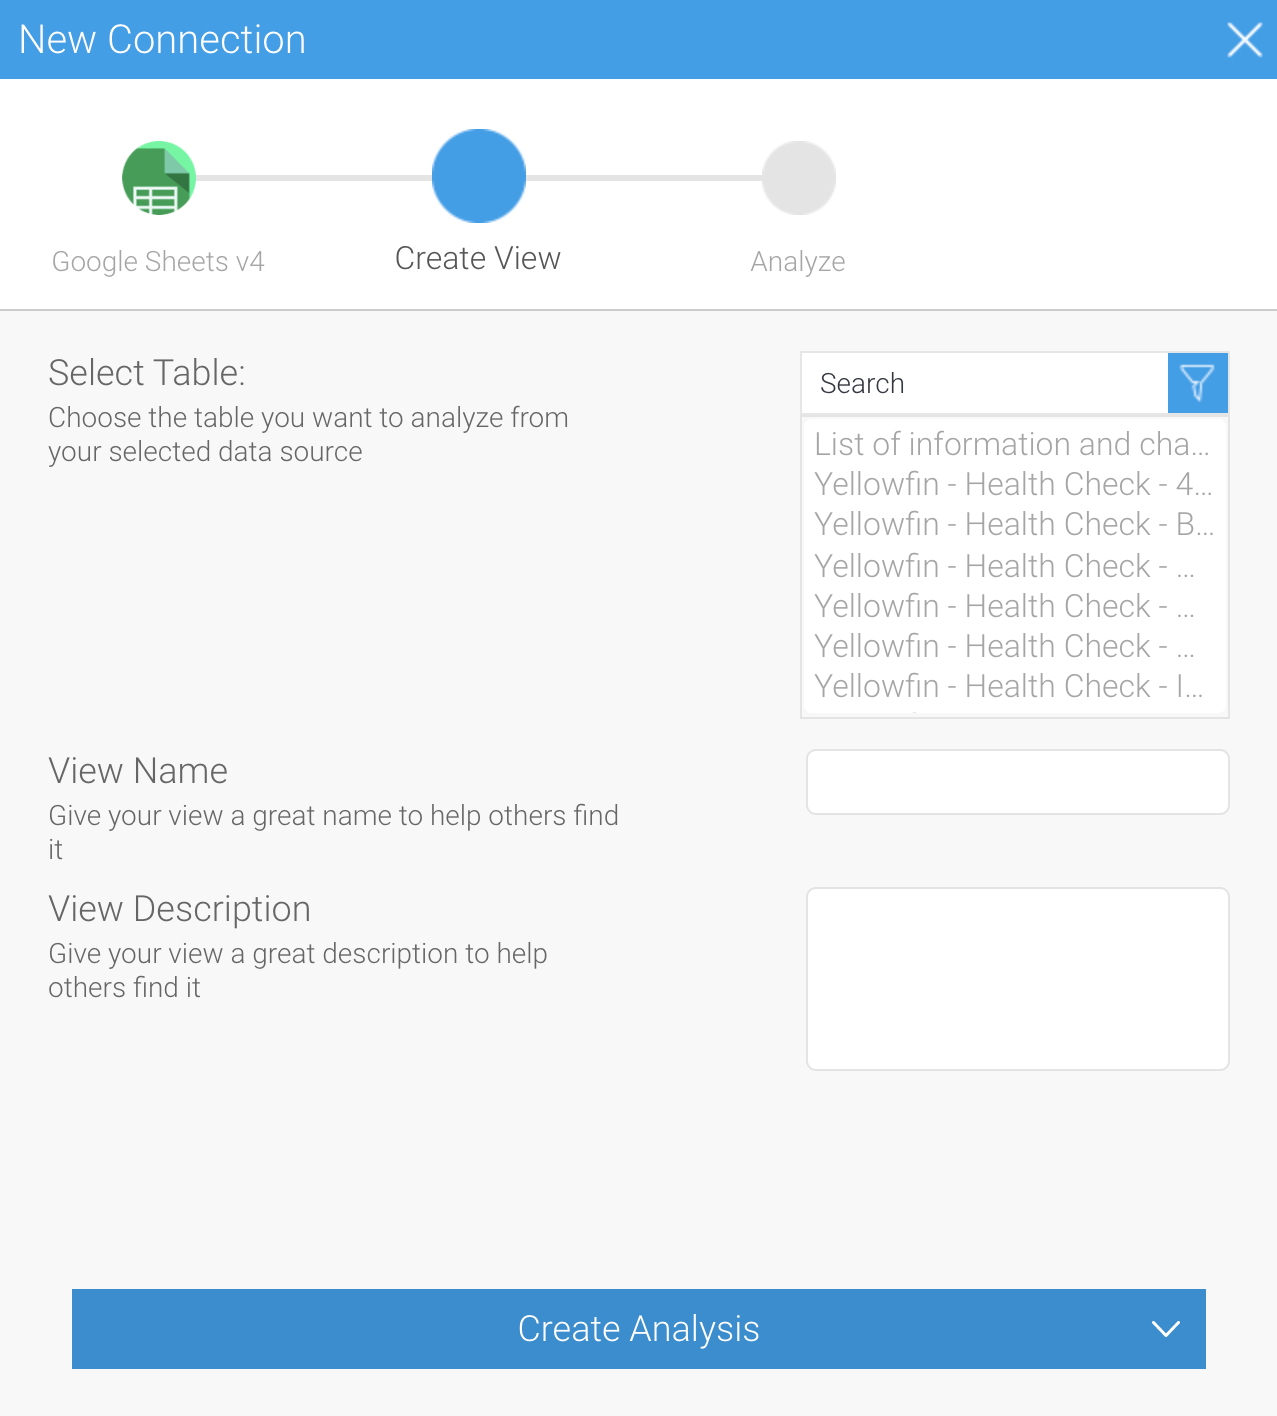
Once you’ve successfully connected Yellowfin to any Google Sheets in your Google account and selected the files to be used as a data source, you’re ready to create a view. The spreadsheets you selected in the previous screen will be used to populate a list that contains each tab from each spreadsheet (in the format of ‘sheet name – tab name’). A tab effectively works as a table within a view, presuming your content is prepared accordingly.
Due to the nature of third-party connectors, a view created from a third-party connector data source can hold a single table only. In this step, you can create your first single-table view. If you need additional views from this data source, you can use the yellow Create button ![]() to create additional single-tables views. If you wish to use data from more than one Google Sheet tab, you can use a sub query to pull the data into a single report.
to create additional single-tables views. If you wish to use data from more than one Google Sheet tab, you can use a sub query to pull the data into a single report.
Once you’ve chosen which Google Sheets tab to use as a table in your view and provided the view with a name, Yellowfin will process the view and display the Report Builder.
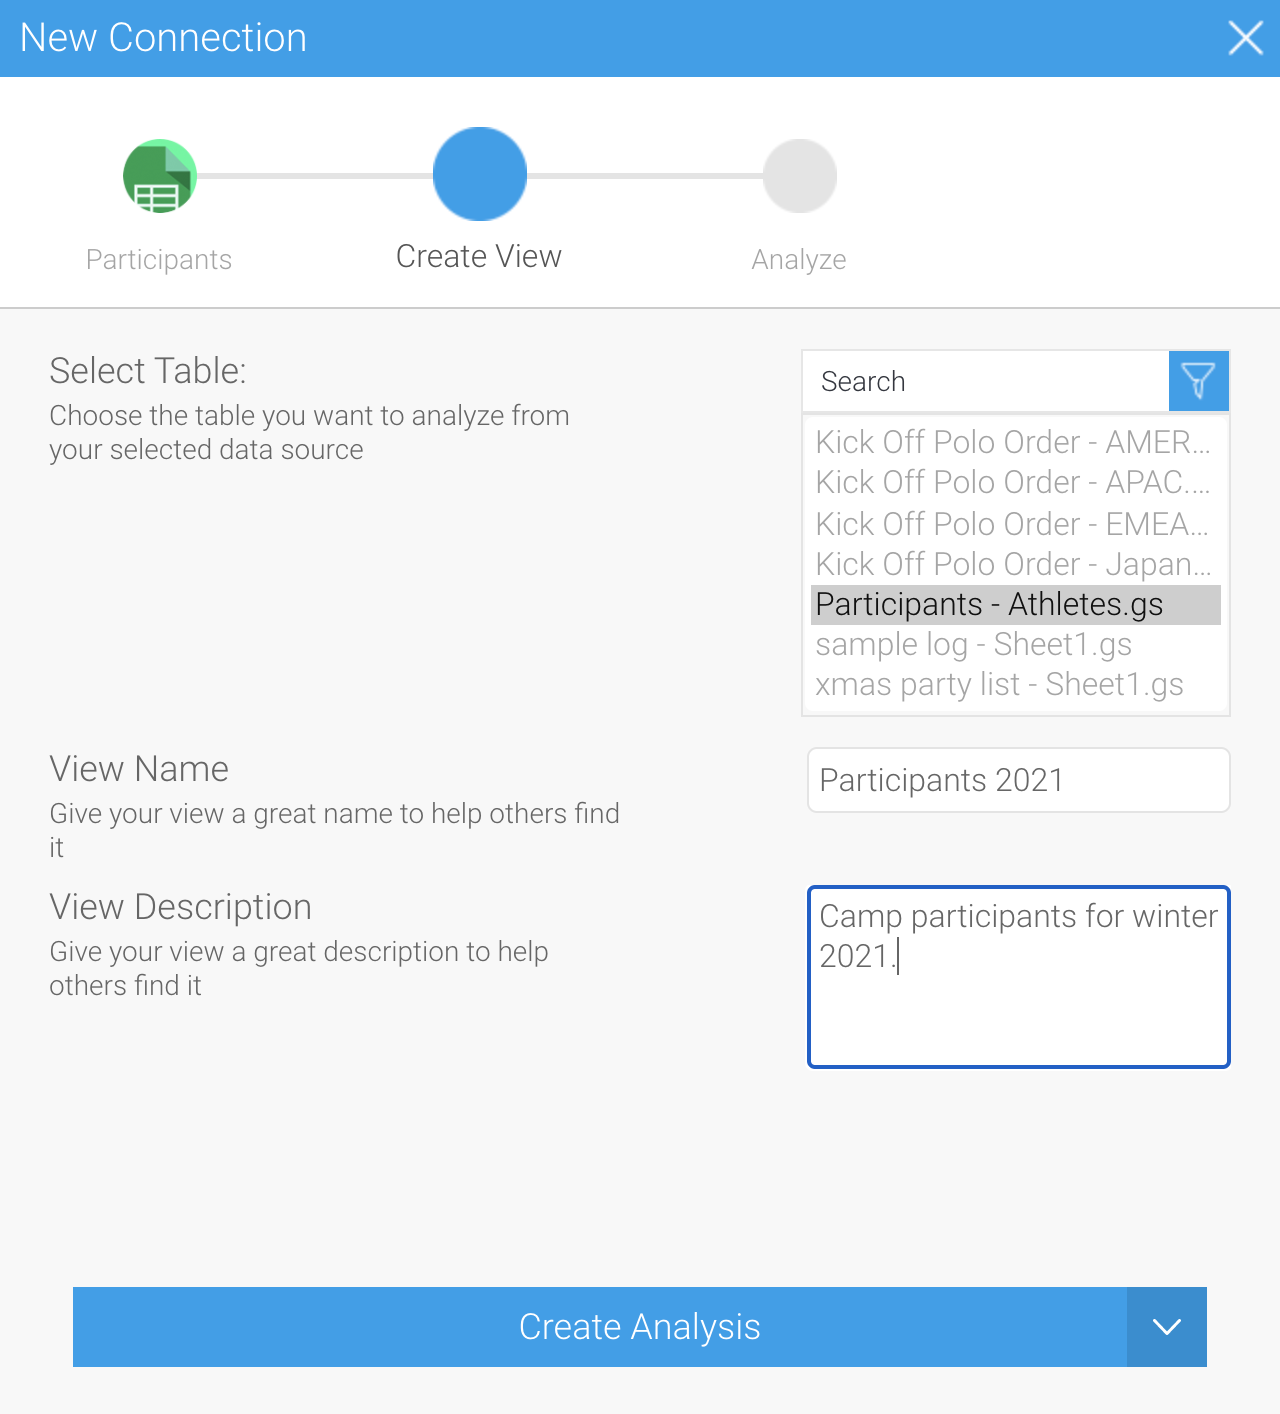
Yellowfin will process the view and display the Report Builder, where you can build reports, charts and more. See the wiki page on building reports for more information.
In a perfect world, you'll be able to see all the Google sheets you need to access. Alas, a perfect world doesn't consider new data in new Google sheets, or accidentally omitted sheets during the initial setup of a new data source. You can add more Google sheets at any time via the Data Sources section of the Admin Console.
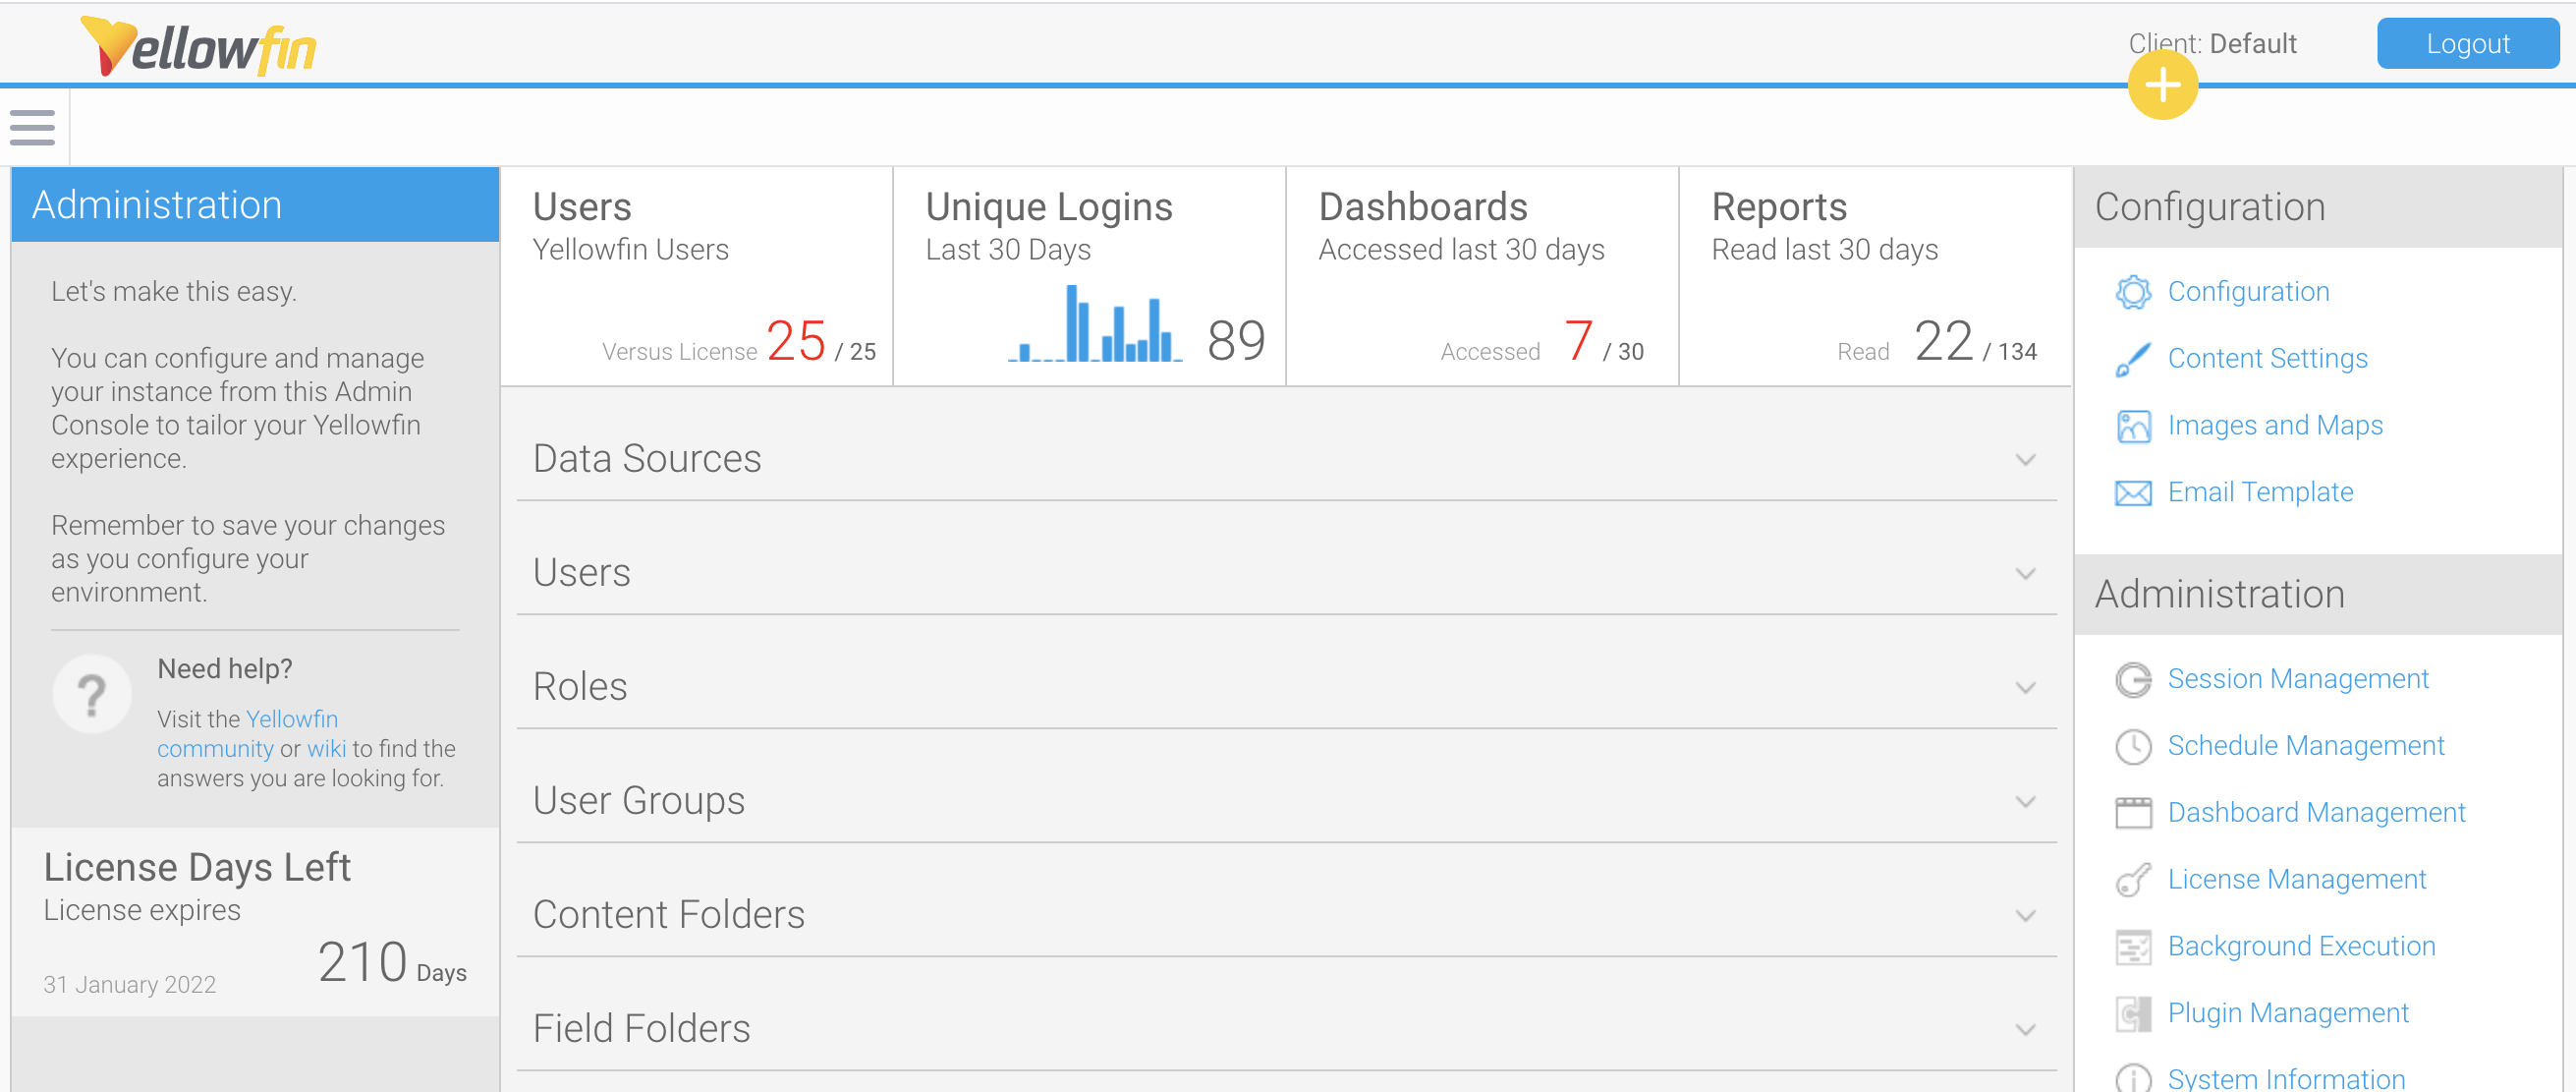
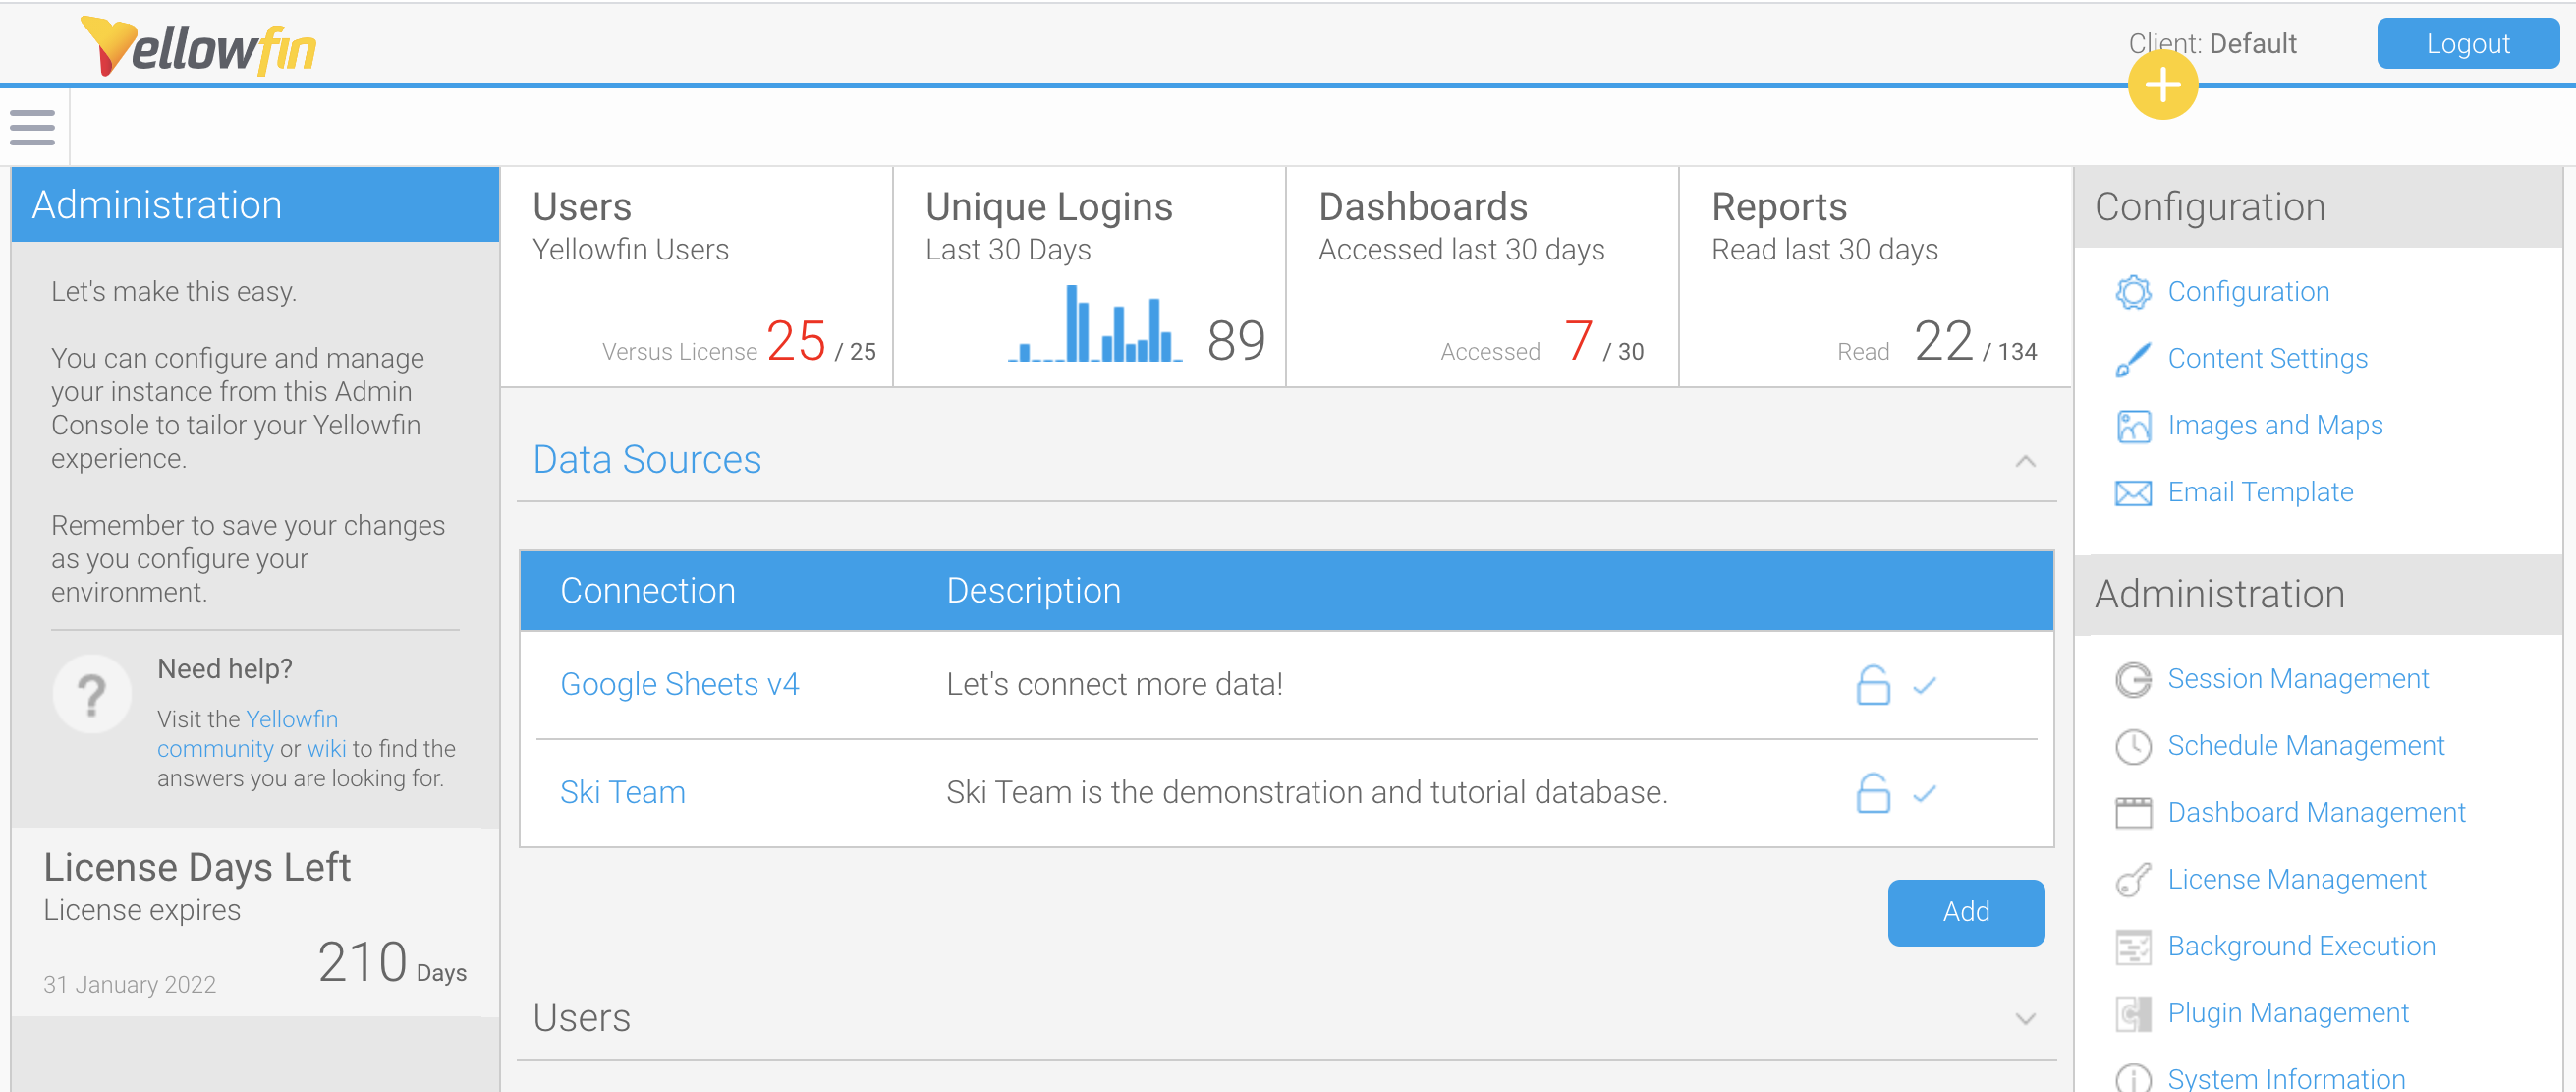
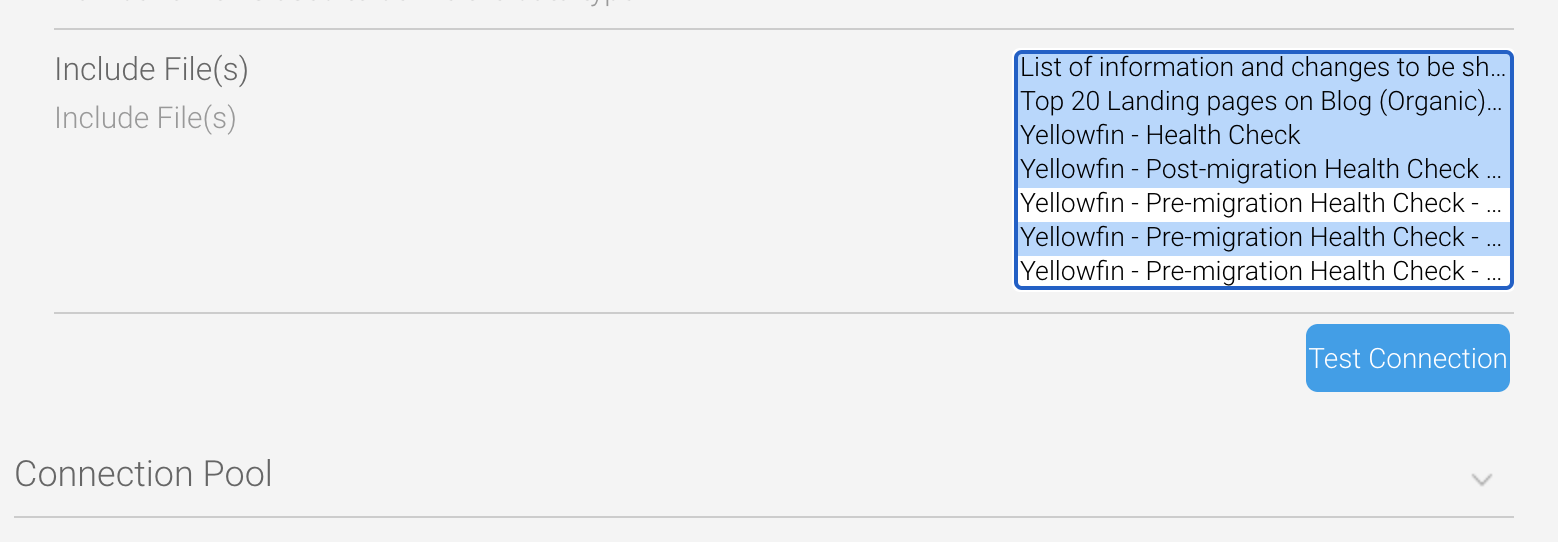
The Google sheets you selected from the file list will now be available within Yellowfin. If you wish to check, reopen the connection and check the file list.
The Google Sheets connector is dependent on the Google Sheets API which is controlled by Google. Google may at any time change how their API works which may cause the Connector to stop working.
For the latest information on limitations, visit the Google Sheets developer site. https://developers.google.com/sheets
Limitation | Description |
|---|---|
Clean headers | Column names are decided from the first row of data in Google Sheets. You can rename columns later in Yellowfin; however, the first line in a Google Sheets sheet cannot be blank. Columns without data in the header row are not exposed to the API. |
No hierarchies | Yellowfin hierarchies have been disabled for the Google Sheets connector. |
Limited filters | Filter Entry Style options are limited for Google Sheets connectors, with filter values manually entered. |
New columns in connected sheets | A Yellowfin view contains a list of all columns from a Google Sheet. New columns will appear in the list, but you must add new columns manually for it to appear at report level. |
Google Sheets tab names | Avoid using symbols (-,.*\$%) in the names of your Google Sheets tabs, as this causes issues with the API. |
Google Sheets connection parameters include the Access Token and Refresh Token. This is because Google Sheets access tokens are only valid for a one-hour period, and subsequently need to be refreshed periodically to maintain a connection. Yellowfin automatically refreshes the tokens as a background task, every 50 minutes, ensuring that the connection is always valid.