Overview
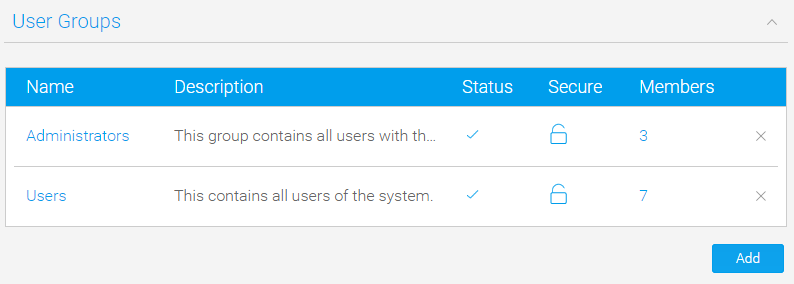
This section describes how user groups are used within Yellowfin. User groups are a vital element of Yellowfin security and broadcast processes. Groups assist users by allowing common sets of people to be added to general groups which can then be attached as a single entity to various elements within the application. Groups can be created and managed through the Admin Console. Once a group has been defined there are processes within Yellowfin that will automatically maintain members of a group on a regular basis.
Creating User Groups
To create a new group, click on the Add button at the bottom of the groups list in the Admin Console.
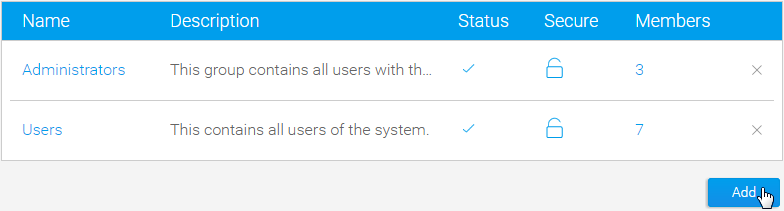
This will take open a new page with a number of sections.
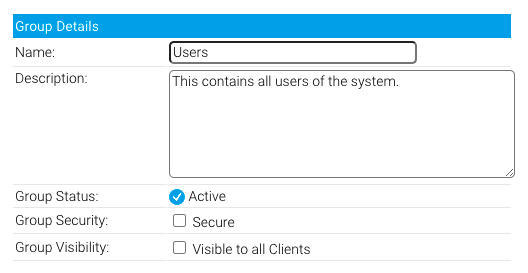
Group Details section
The Group Details section contains the general management tools for user groups. See the table below for more information about each option.
| Field | Description |
|---|---|
| Name | Enter a name to easily identify your user group. This is also the name that Yellowfin will use to identify the group throughout the system (including any client orgs). |
| Description | This field provides additional space to describe your group, should you need it. |
Group Status | New groups can be saved as drafts while you're working on them. Once active, groups remain active unless they're deleted. |
| Group Security | If you check this checkbox, make sure you've added a member to the group who has a role that will enable them to manage the group. Enabling group security means only group. members are able to make adjustments to the group. |
| Group Visibility | From Yellowfin 9.4, groups can be set to be visible at both the primary organization and all of its client organizations. If your instance of Yellowfin has no client orgs, you can safely ignore this checkbox entirely. If you do have client orgs, use this checkbox to make user groups visible all all your client orgs. This can be useful for organizations with standardized user group names across instances. See the Multi-client User Groups wiki page for detailed information. |
Default Dashboards
If you wish to automatically add dashboard tabs to a user’s dashboard when they are created you can assign the default tabs for a user group. Choose the tab and click ‘add’ to add them to the list of tabs. The order you add tabs to a user group will be the order they are sorted on the dashboard (see the numbered list pictured below). All these tabs will be created for a new user when they first login to Yellowfin.
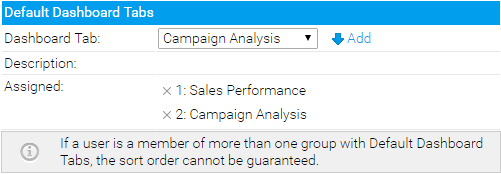
Note: this only adds tabs to new users when they are created, once added users can then remove these tabs if they desire.
Group Members
To assign users to a group you will have to create member records. This is done by deciding how members should be assigned. To assign members you can either add in specific users or specific types of users. For example you could create a group that includes all users with the role of ‘Public Writer’. The following member types are available from within Yellowfin:
Person | Individual users of Yellowfin. |
|---|---|
Role | If you wish to select all users from a selected Yellowfin role – such as administrators then select role. |
Group | Pre-existing groups that have been created in the group management list. |
LDAP Group | If you have configured your assess to use LDAP directories then you will be able to select an LDAP group. Yellowfin will synchronise with this group on a daily basis. |
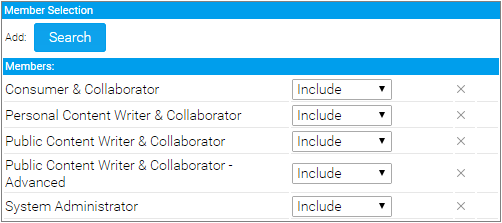
The member control allows you to determine if the user should be included or excluded from the group. For Example you might want to include all Public Writers in a group but exclude John Smith.
If a user is excluded from a group then this overrides any record from which they might be included. The exclusion process is the last step of building the group members.
- Select the type of member you want to add to a group
- Determine if you wish to include or exclude them from the group
- Click add to add them into the members list
Once complete, click Save to add the group.
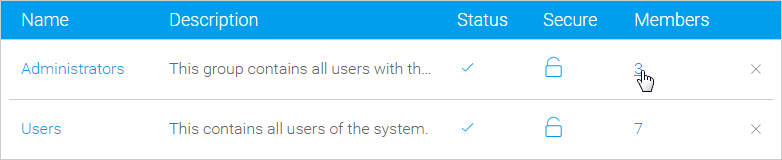
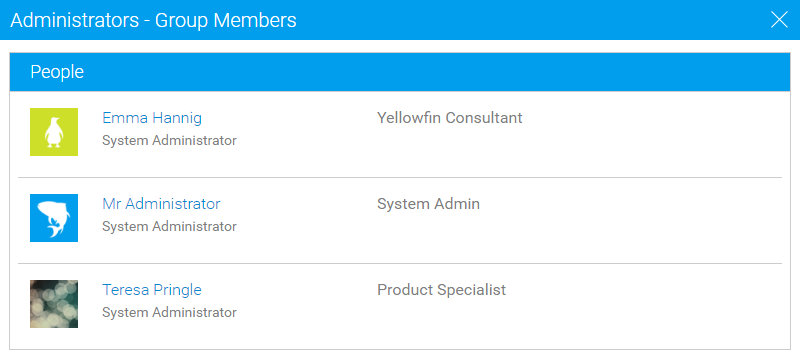
View Members
When viewing the Group List on the Admin Console, you can click on the number of members to view a list of users currently assigned to a group.
Edit Group
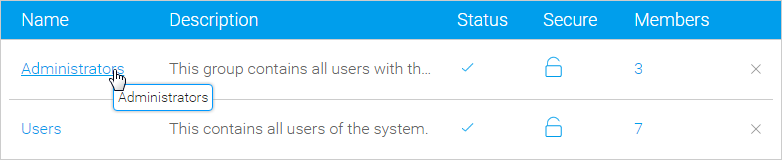
In order to make changes to a group definition, simply locate the group in the Admin Console and click on its name to access the Group Details page.
Delete Group
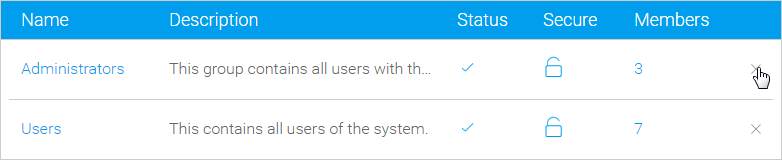
In order to delete a group definition, simply locate the group in the Admin Console and click on the x to the right of it. This will only remove the group, not the users assigned to it.
Content Approvers
Upon selecting a user group for content approval, all the group members will receive notification emails. Any of them may then approve or reject the content by following the approval process.