Overview
Fields are categorised to assist your end users to better understand the context of the field that they are adding to a report. The categorisation allows you to group columns into particular subject areas.Apply Category
To categorise a field select a category from the category drop down on the Definition tab. This will place the field into a folder with that category as title.Edit / Add Categories
The categories are related to the type of view you are creating – for example if the view has been categorised as a Finance view then the categories available should be those relating to the finance function.By editing categories you can either add existing categories into the Finance subject area or create brand new categories for the finance area.
- To add or edit categories click the ‘Edit Categories’ link on the view definition page. This will open the add category popup. Existing categories for the view subject area will be displayed on the right hand side whilst all other available categories will be displayed in the left hand list.
- Either select a category from the left hand column and click the add button to add into the view subject area; or
- Click the ‘New Category’ Link to display a text box for a new category. Click ‘Add’ when to save.
- Once your View Subject area has all the categories required click ‘save & close’ to close the popup and return to the field edit page.

Defining Attribute Display Order
The order in which fields are displayed in the report builder for the end user can be modified by the view administrator.By clicking on a field and dragging it above or below fields or to different folders you can change the order of the field as it will be displayed to the user when creating a report.
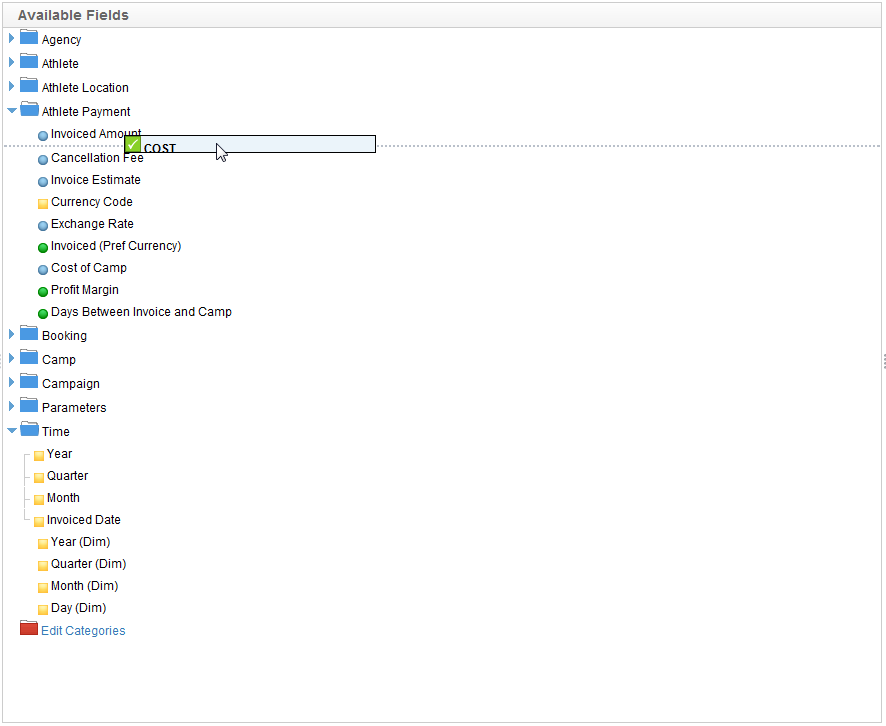
Note: If you are moving a field below a hierarchy of fields then a single move up or down will move the field past the entire hierarchy not just a single field.