Overview
- Ensure your report is Active (not in Draft Mode)
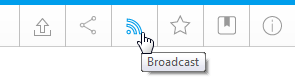
- Click on the Broadcast button in the main navigation menu
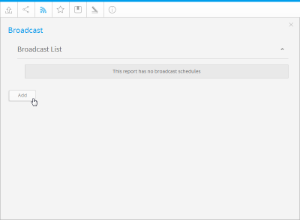
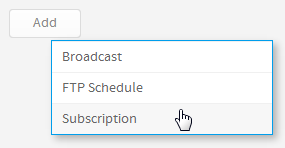
- In the Broadcast menu, click the Add button
- Select the Subscription option
- The Subscription window will open, providing you with the following options:
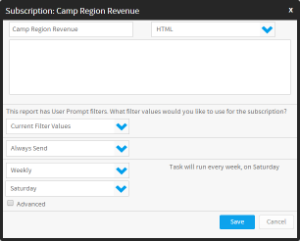
Subject
Enter the text you wish to use for the Subject line in your email
Body
Enter the text you wish to use for the Body of your email
File Type
Select the format you wish the report to be sent as, from the list of; HTML, PDF, CSV, DOC, XLS, RTF, TXT, and List To Report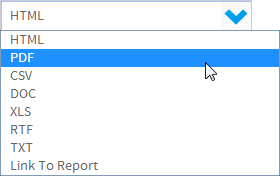
Filters
If your report contains filters you will have the option to select which of these are applied to the Subscription Report. The options include:- Current Filter Values
- Default Filter Values
- Saved Filter Set Values (there will be a list of available sets displayed)

Delivery Rule
A Delivery Rule is used for exception reporting. If you wish to send a report only if it meets certain criteria (for example: Revenue is less than 100,000) then you will need to add a rule.- Change the Always Send drop down list to Only if Delivery Rule met
- Click on the Click here to add rule link
- You will now have the choice of building a rule based on:
- If one or more rows match the rule (e.g. is there a transaction less than $1000) OR
- If the totals for the report match the rule (e.g. are the total sales less than $100000)
- Select the field you wish to apply the condition on, click Add, and apply your condition. Click Update to save it. You can add multiple conditions here if required.
- Click Save & Close to apply your condition(s)
- Your rule will now be displayed on the Subscription window

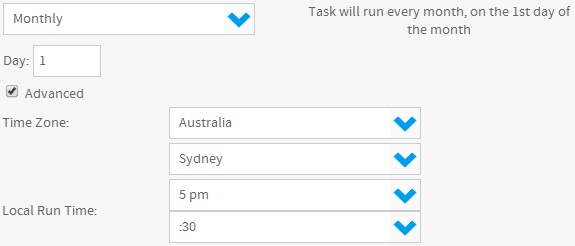
Schedule
The last step is to define the schedule for your Subscription- Select the frequency.
Depending on the option selected here, you may be required to provide further details. For example, if Fortnightly is selected, you will be prompted to select either the first or second week of the fortnight to send in, as well as the day of the week. - Apply Advanced Settings (if required)
Sometimes you may find you need to set the Time Zone, and local time for delivery. This can be accomplished by selecting the Advanced check box and defining the time.
Save
Click on the Save button to complete the Subscription set up.
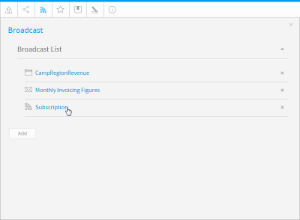
You will now be able to view your subscription through the main menu.