Overview
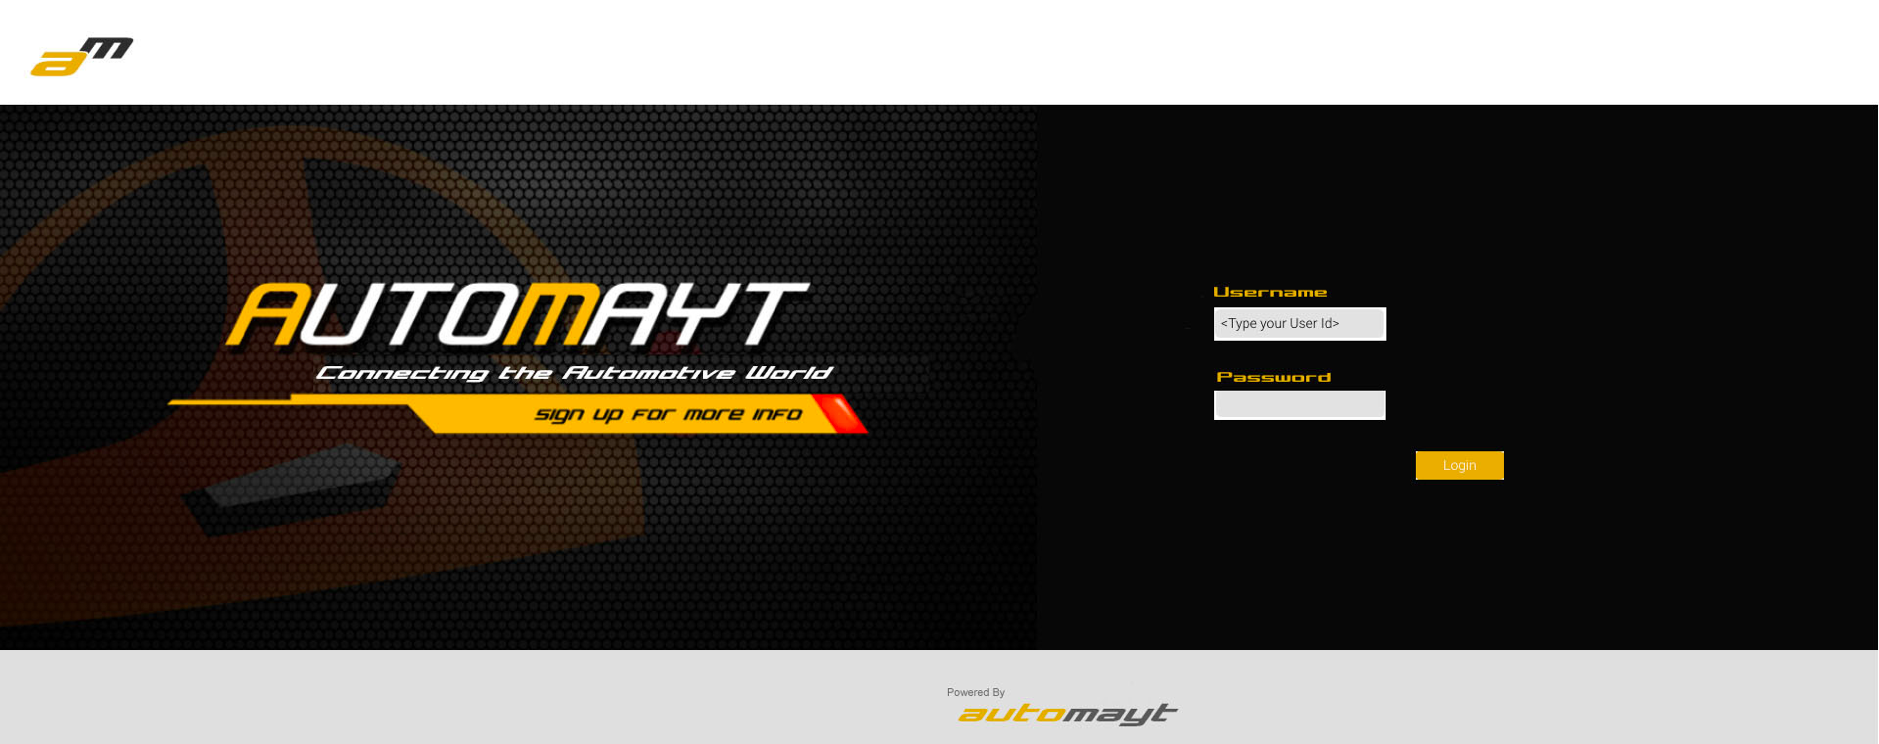
Customisation of the standard Yellowfin Login Page can be performed two ways:- Simple - this involves the replacement of images, and changes to the CSS files used by the standard login page, without having to write a custom page. Generally this option is used for quick 'mock ups' but not the final restyled product.
- Complete - this involves writing a custom .jsp file to replace the standard page. This method requires more technical knowledge, and more time.
Simple
If you wish to create a quick, temporary custom login page, simply replace the following images, by placing new versions with the same file name in the Yellowfin ROOT customimages directory(Yellowfin\appserver\webapps\ROOT\customimages) with your customised versions:- logo.svg
- yellowfin_welcome.jpg
- logoFooter.svg
- nav_bkg.png
You will need to clear your browser cache once replacing these images in order for them to appear.
Important: The images you wish to use as replacements will need to have the same name and extension as the files listed above in order for the page to pick them up. You no longer have to overwrite the originals, simply place your new images in the custom directory. This will mean that they will not be overwritten during the upgrade process.
Example
Component | Standard Login | Custom Login |
|---|---|---|
Full Page | ||
logo.svg | ||
yellowfin_welcome.jpg | ||
logoFooter.svg | ||
nav_bkg.png |
Complete
Instead of starting completely from scratch, a copy of the current login page jsp can be found in the development examples directory of your Yellowfin installation (Yellowfin\development\examples\index_mi.jsp). This will give you a starting point, providing the JavaScript required for the login itself, and allowing you to change the layout however required.Instructions
Firstly, you will need to rename the login file to something other than index_mi.jsp, for example login_companyName.jsp. You will then need to place your login file in the Yellowfin ROOT directory (Yellowfin\appserver\webapps\ROOT).
In order to ensure Yellowfin uses this file instead of the standard option, you will need to complete the following while Yellowfin is not running:
- Stop Yellowfin
Locate the
web.xmlfile found inYellowfin\appserver\webapps\ROOT\WEB-INFand locate the following:<!-- The Welcome File List --> <welcome-file-list> <welcome-file>index_mi.jsp</welcome-file> </welcome-file-list>Update the
welcome-filenode to reference your new login page's name. For example:<!-- The Welcome File List --> <welcome-file-list> <welcome-file>login_companyName.jsp</welcome-file> </welcome-file-list>- Save the changes to the
web.xml.
- Edit your new login page, locating any references to
index_mi.jspand update to your login page name. For example:This
<input type="hidden" name="<%=Const.INDEX_PAGE%>" value="/index_mi.jsp" />
Will become
<input type="hidden" name="<%=Const.INDEX_PAGE%>" value="/login_companyName.jsp" />
And this
Const.INDEX_PAGE +"=/index_mi.jsp"
Will become
Const.INDEX_PAGE +"=/login_companyName.jsp"
- Save the changes to your login page.
- In order to ensure your page is used once a user logs out, as well as the initial log in, a change needs to be made in the Yellowfin Configuration DB. In the DB:
In the
Configurationtable, locate the record whereConfigCode = 'LOGONPAGE'and update theConfigData = 'login_companyName.jsp'using:UPDATE dbo.Configuration SET ConfigData = 'login_companyName.jsp' WHERE ConfigCode = 'LOGONPAGE'
- Restart Yellowfin
Example
Component | Standard Login | Custom Login |
|---|---|---|
Full Page |


