Overview
You can update or view the properties of any table in your view by clicking on the properties link on the table. When you click on the link the View Options property section is updated with the selected table information.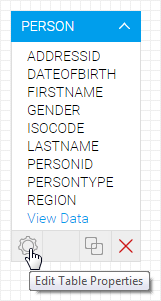
Create Alias
When adding more than one of the same table to a view Yellowfin automatically creates table aliases, since two tables cannot have the same name. An alias is created by updating the table name.To change the table name you can update the display name in the options menu.

Note: that the source name continues to be displayed in the original format.
View Sample Data
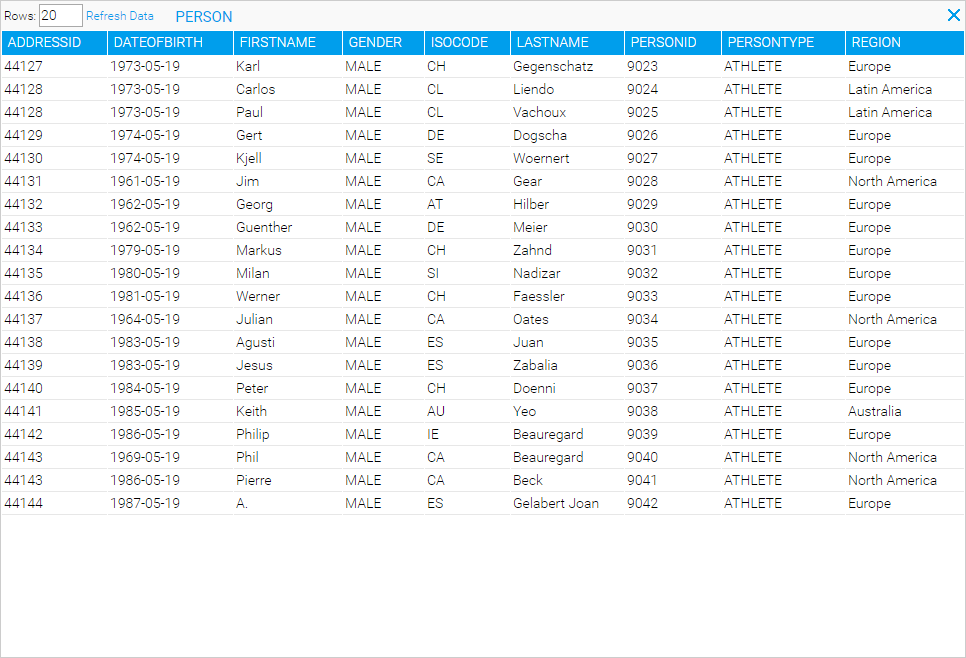
If you wish to see example data from the table that is currently being updated you can click the view data link located in the main table properties section or on the table within the table on the entity builder.
Any conditions that have been applied to the table will be applied to the select statement for the example data. However, if the joins to the table have implied conditions these will not be included in the example select data.
Select Table Columns
When tables are selected and joined together you have the option to add as many or as few of the columns from each of the tables into your view.- To add a field into your view click the table properties link to display the properties in the View Options pane.
- Click the expand icon on the column section
- Select the columns you wish to add (Use the Select All link to select all columns)
- Columns selected will be displayed in bold within the table on the canvas – as depicted below.
- You can also add columns from the table data view – see above. Simply click on the column to highlight the column – these will then be added to your column list.
