Page History
...
| Table of Contents | ||
|---|---|---|
|
Installing Yellowfin
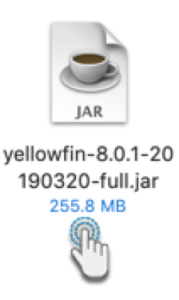
Once you have all the required software and files components ready, initiate the installation process.
| Note |
|---|
See here for a list of prerequisites required to begin installation. |
Step 1: Run Installer
| Section | ||||||||||
|---|---|---|---|---|---|---|---|---|---|---|
|
...
| Section | ||||||||||
|---|---|---|---|---|---|---|---|---|---|---|
|
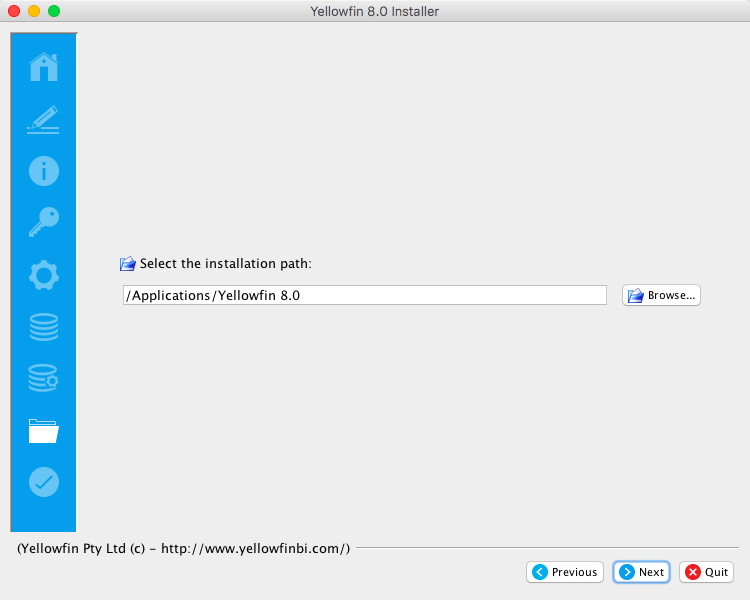
Step 10: Installation Path
| Section | ||||||||||
|---|---|---|---|---|---|---|---|---|---|---|
|
...
| Section | ||||||||||||
|---|---|---|---|---|---|---|---|---|---|---|---|---|
|
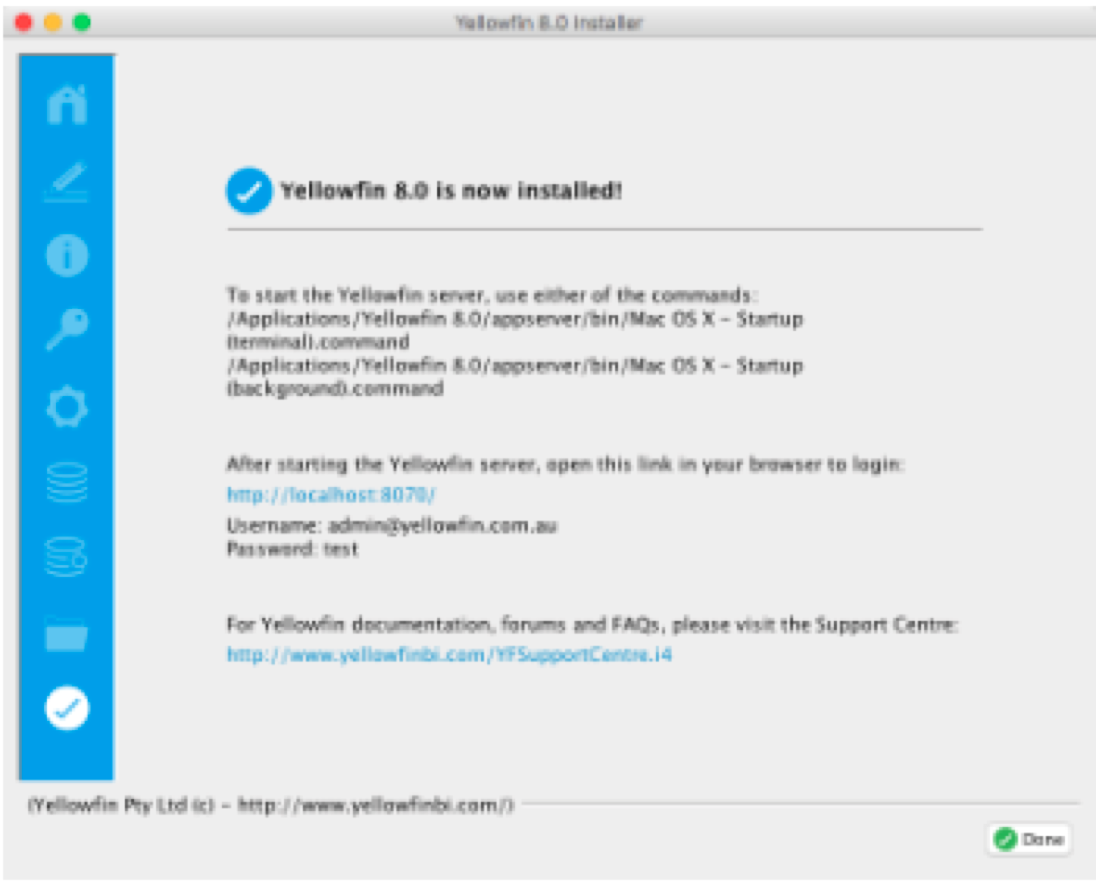
Directory Structure
The Yellowfin directory structure will be created at the specified location after a successful installation. Click here to learn about the folders and files present in your Yellowfin the directory structure.
...
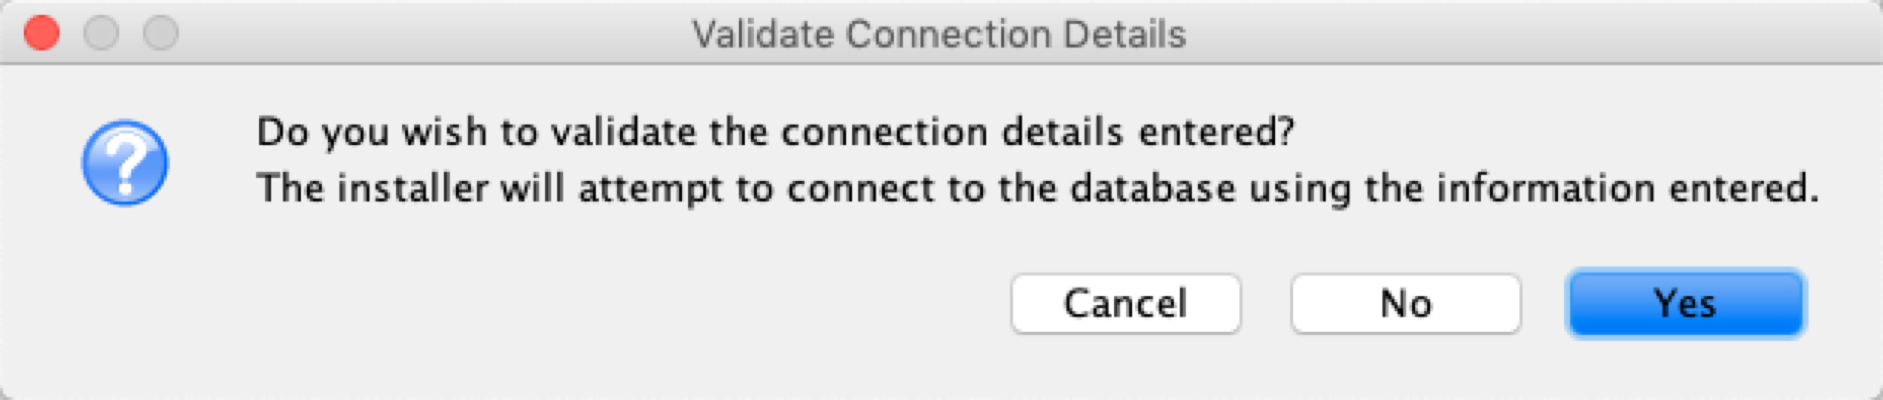
Troubleshooting
Most problems related to the Yellowfin application server installation relate to database connectivity and administration issues.
...
- Database Server Name: This will probably be the "localhost".
- Database Server Port: This should be 1433.
- Database Name: This is the name of the database you want Yellowfin to install to. This should be "yellowfin". This is used for Yellowfin configuration and operational data. It is not the database you wish to report off.
- Create Database: Click this to create the new Yellowfin database. We suggest removing the Yellowfin database if your installation failed previously.
- DBA User: This could be "sa".
- DBA Password: This could be "sa".
- Reports UserId: Set this to "yellowfin_user".
- Reports UserId password: Set this to "yellowfin_user" or whatever you prefer.
- Create user id: Check this checkbox.
Contact Support
If the above posts do not solve the issues you're experiencing, please send an email to support@yellowfin.bi with a clear description of the issue, along with the following:
...
| Section | |||||||
|---|---|---|---|---|---|---|---|
|
...