Page History
...
- installer language selection;
- welcome screen;
- terms & conditions confirmation;
- components to install (see table below);
- license file location;
- general configuration settings (see table below);
- database selection;
- database details (see table below); and,
- installation path (see section below).
Once you've provided the required information, the installer will indicate the progress of the installation until completion.
...
- If the installation path does not exist just enter the required installation path and the installer will create the directory.
- On Windows, if you select an installation directory in the path C:\Program Files, the Yellowfin application must always be run as an administrator.
- On Windows 64bit version, ensure you choose a path outside of the Program Files directory.
- Choosing an installation path without spaces or punctuation characters will make future advanced configuration easier.
| Styleclass | ||
|---|---|---|
| ||
Install Yellowfin
The steps below cover the full installation process.
- Open the application installer file (the .jar file for MacOS or Linux, or the .exe file for Windows: see Install And Deploy Yellowfin for further details)
The Language Selection prompt for the installation process will be displayed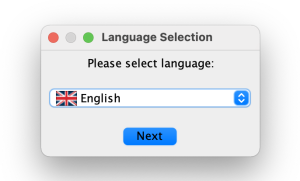
- Select your preferred installer language from the dropdown, then click on the Next button to display the Yellowfin Installer, with a list of environment tools required before installation
The icons on the left indicate where you are in the installation process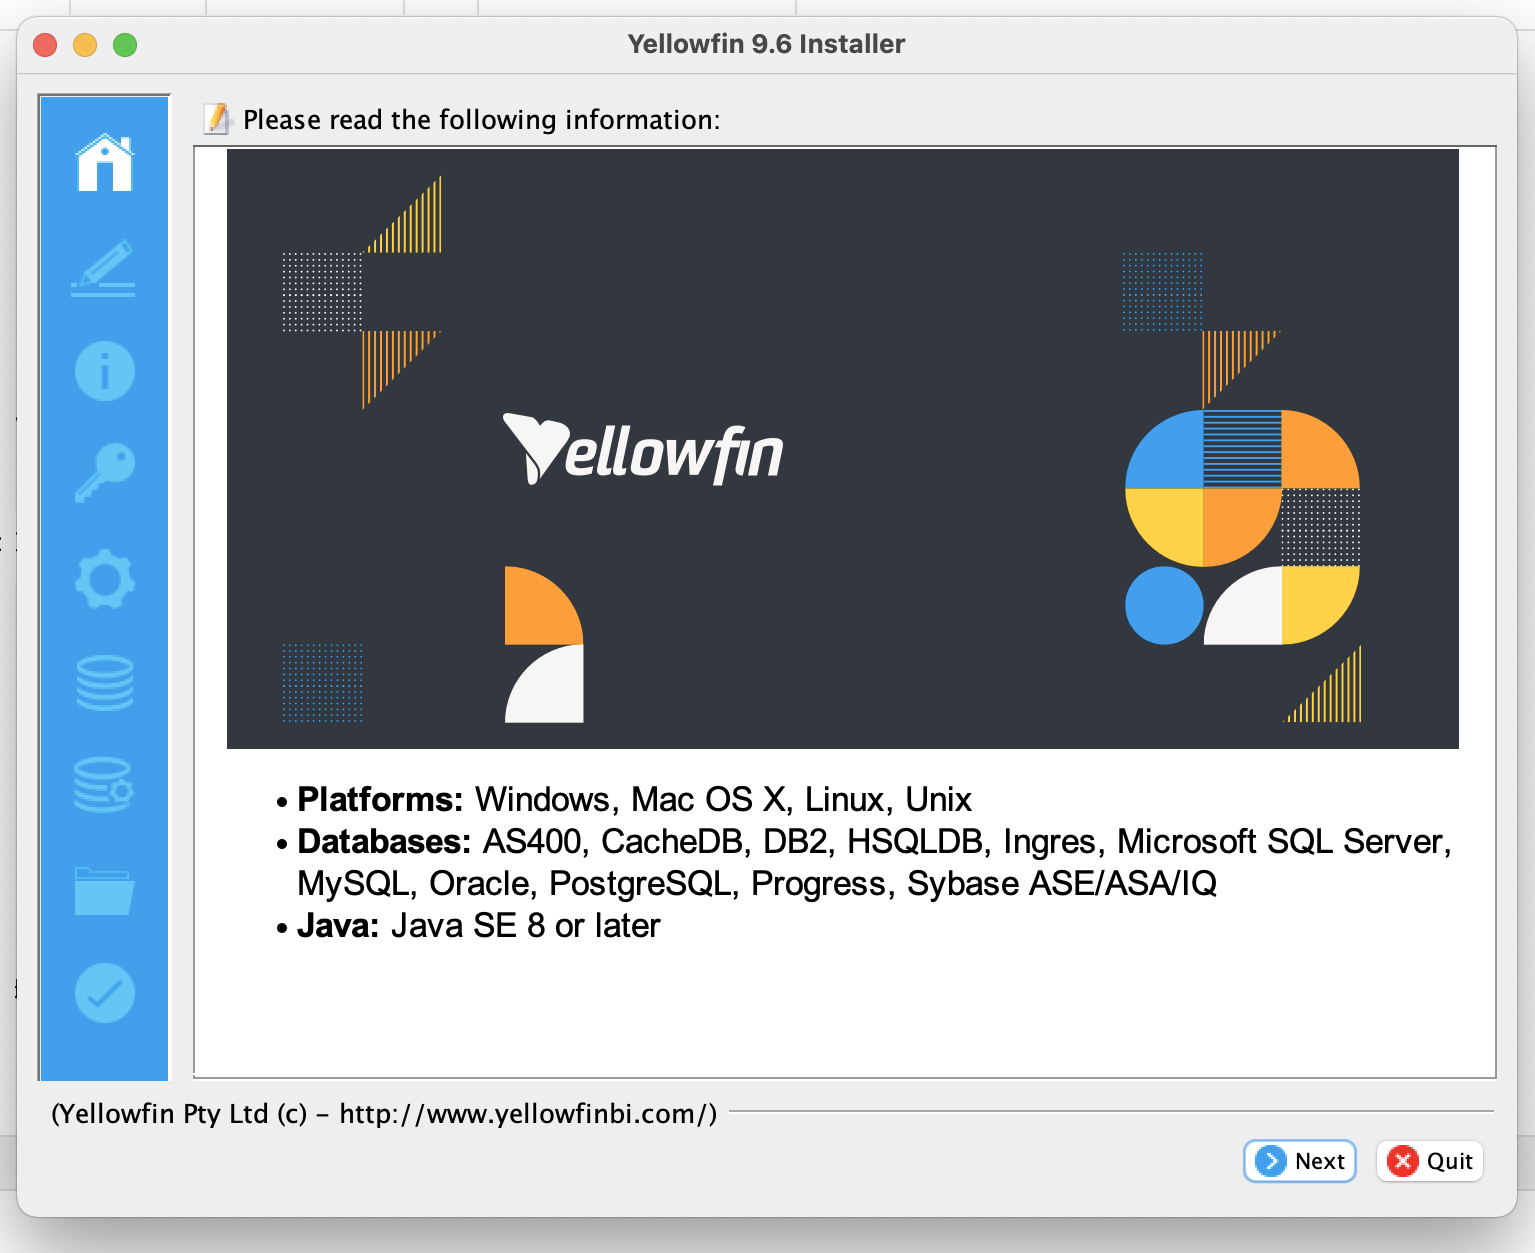
- Ensure you have installed the required supporting software listed, then click on the Next button to continue to the terms and conditions
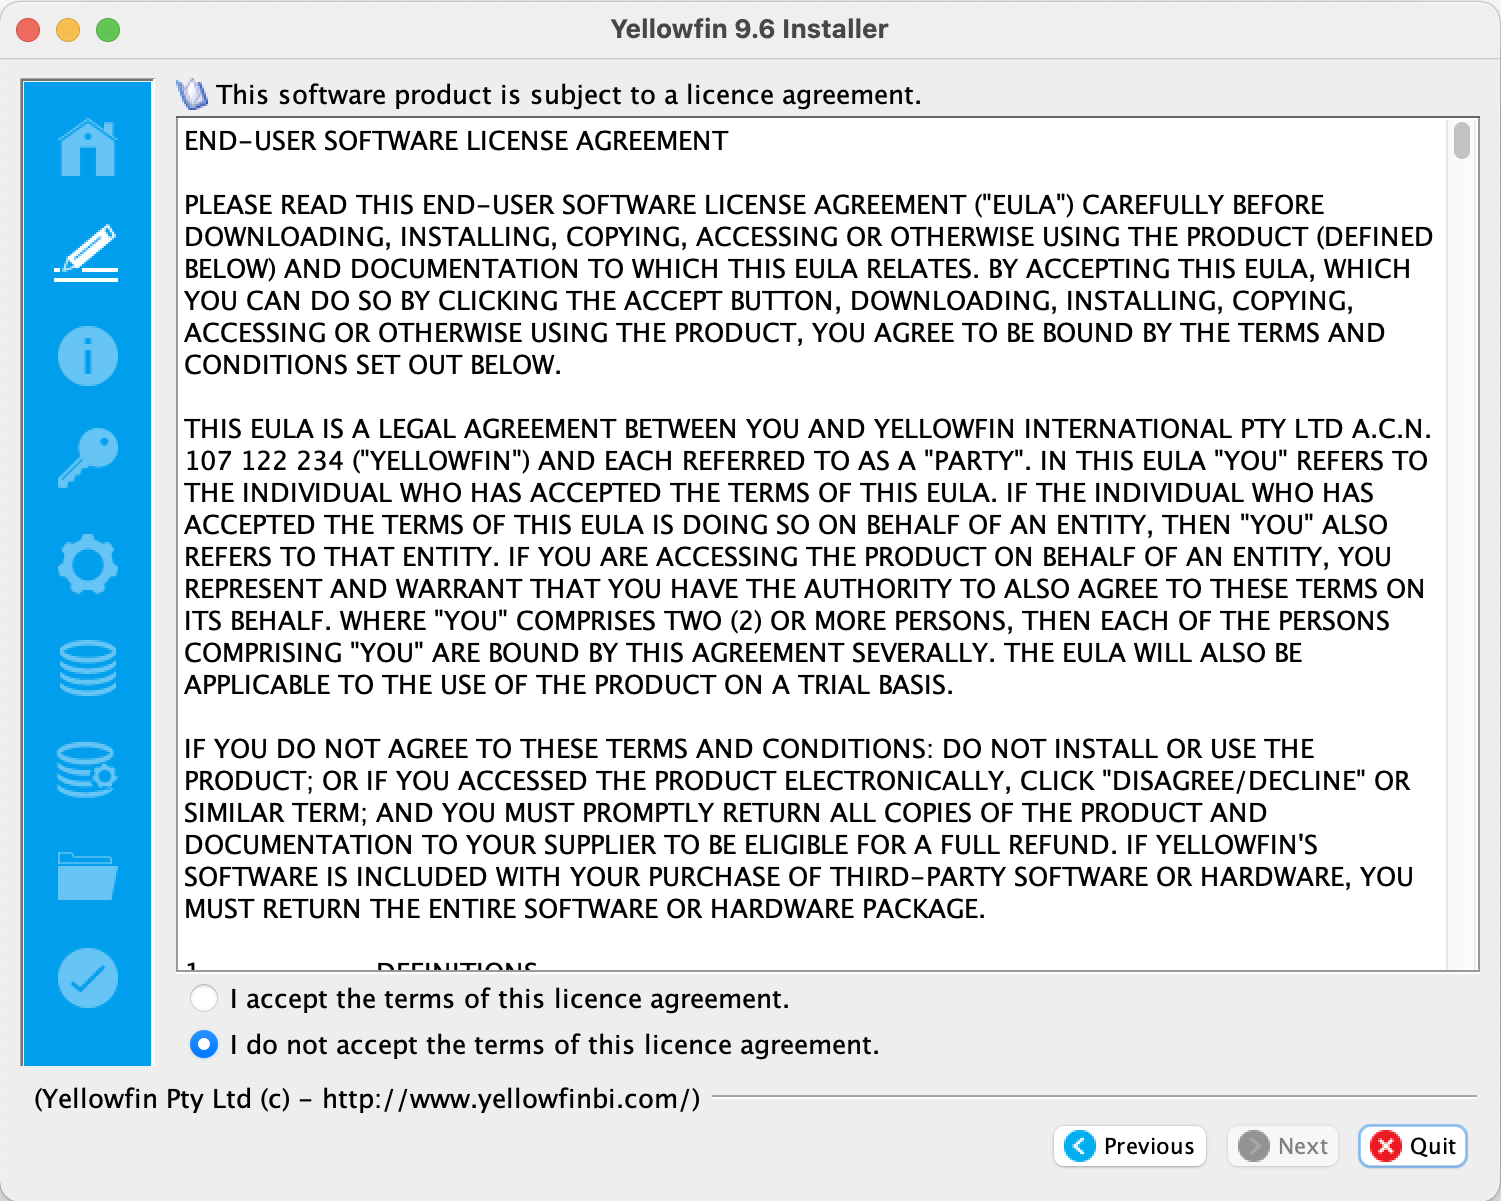
The Yellowfin end-user software agreement is also available as a PDF for download - When you have read and understood the terms, click on the I accept the terms of this licence agreement radio button, then click on the Next button
Apart from the core application, a number of content packages are available for installation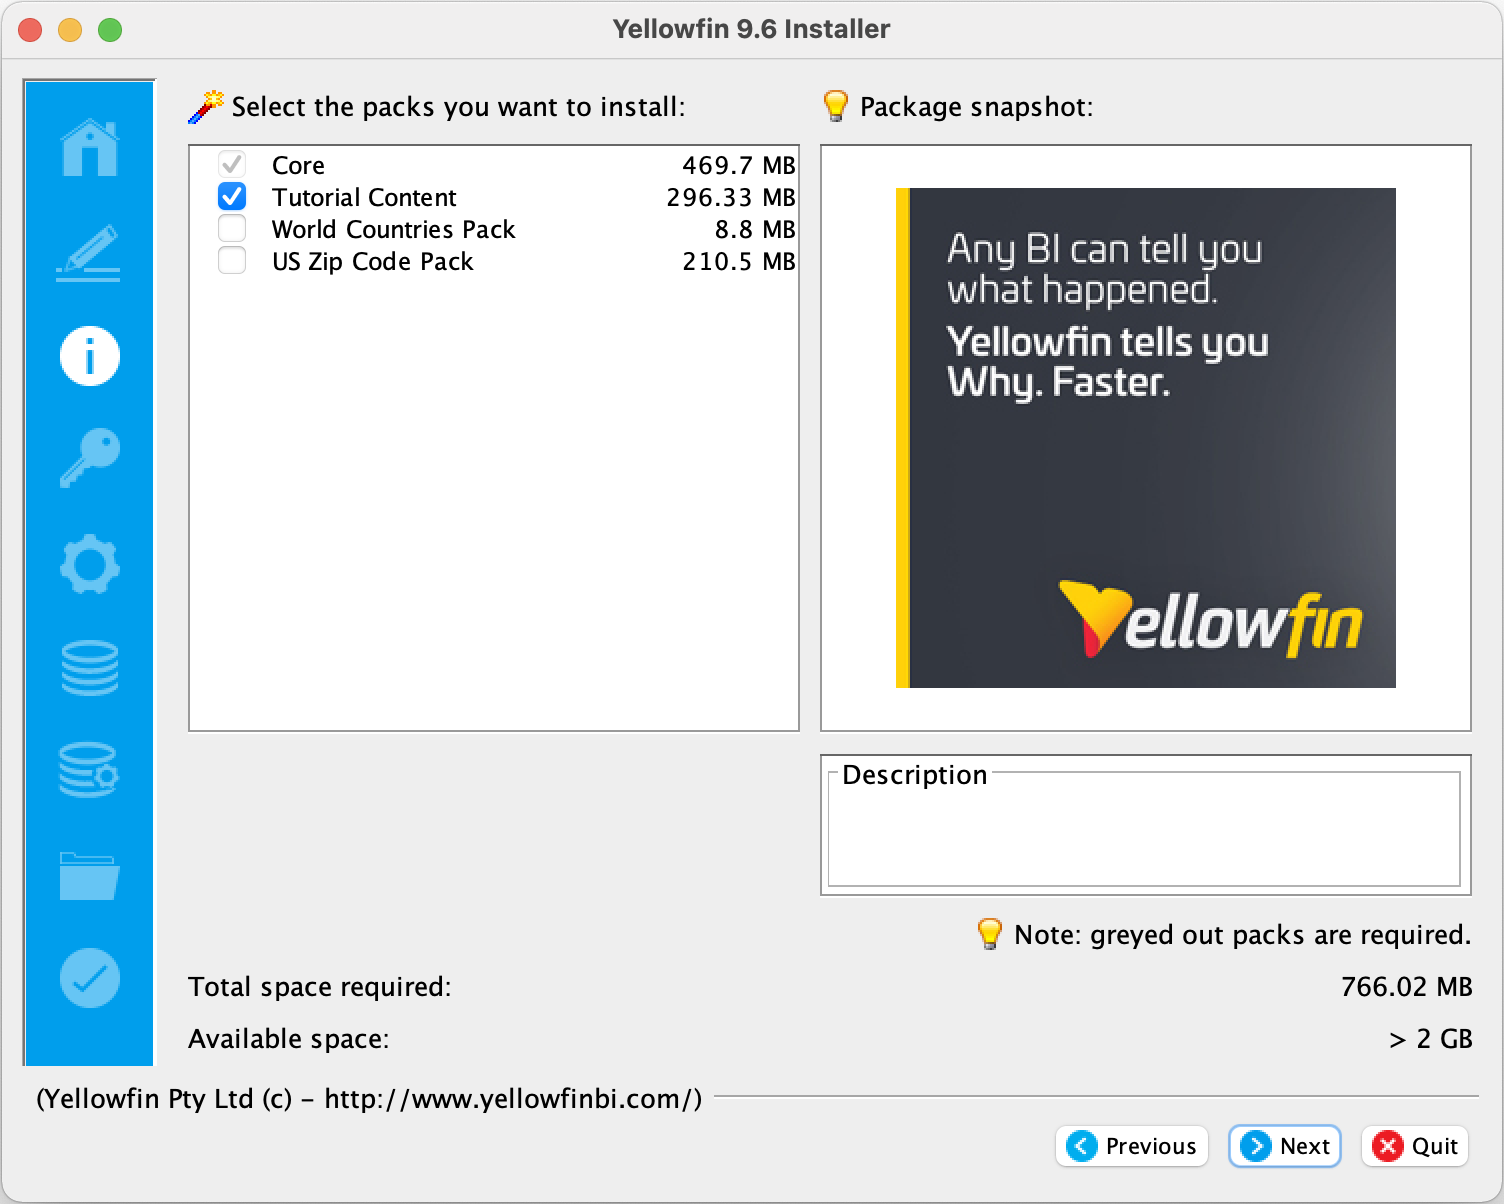
- Check any of the boxes for any content packages you wish to install, then click on the Next button
You will be prompted to locate your license file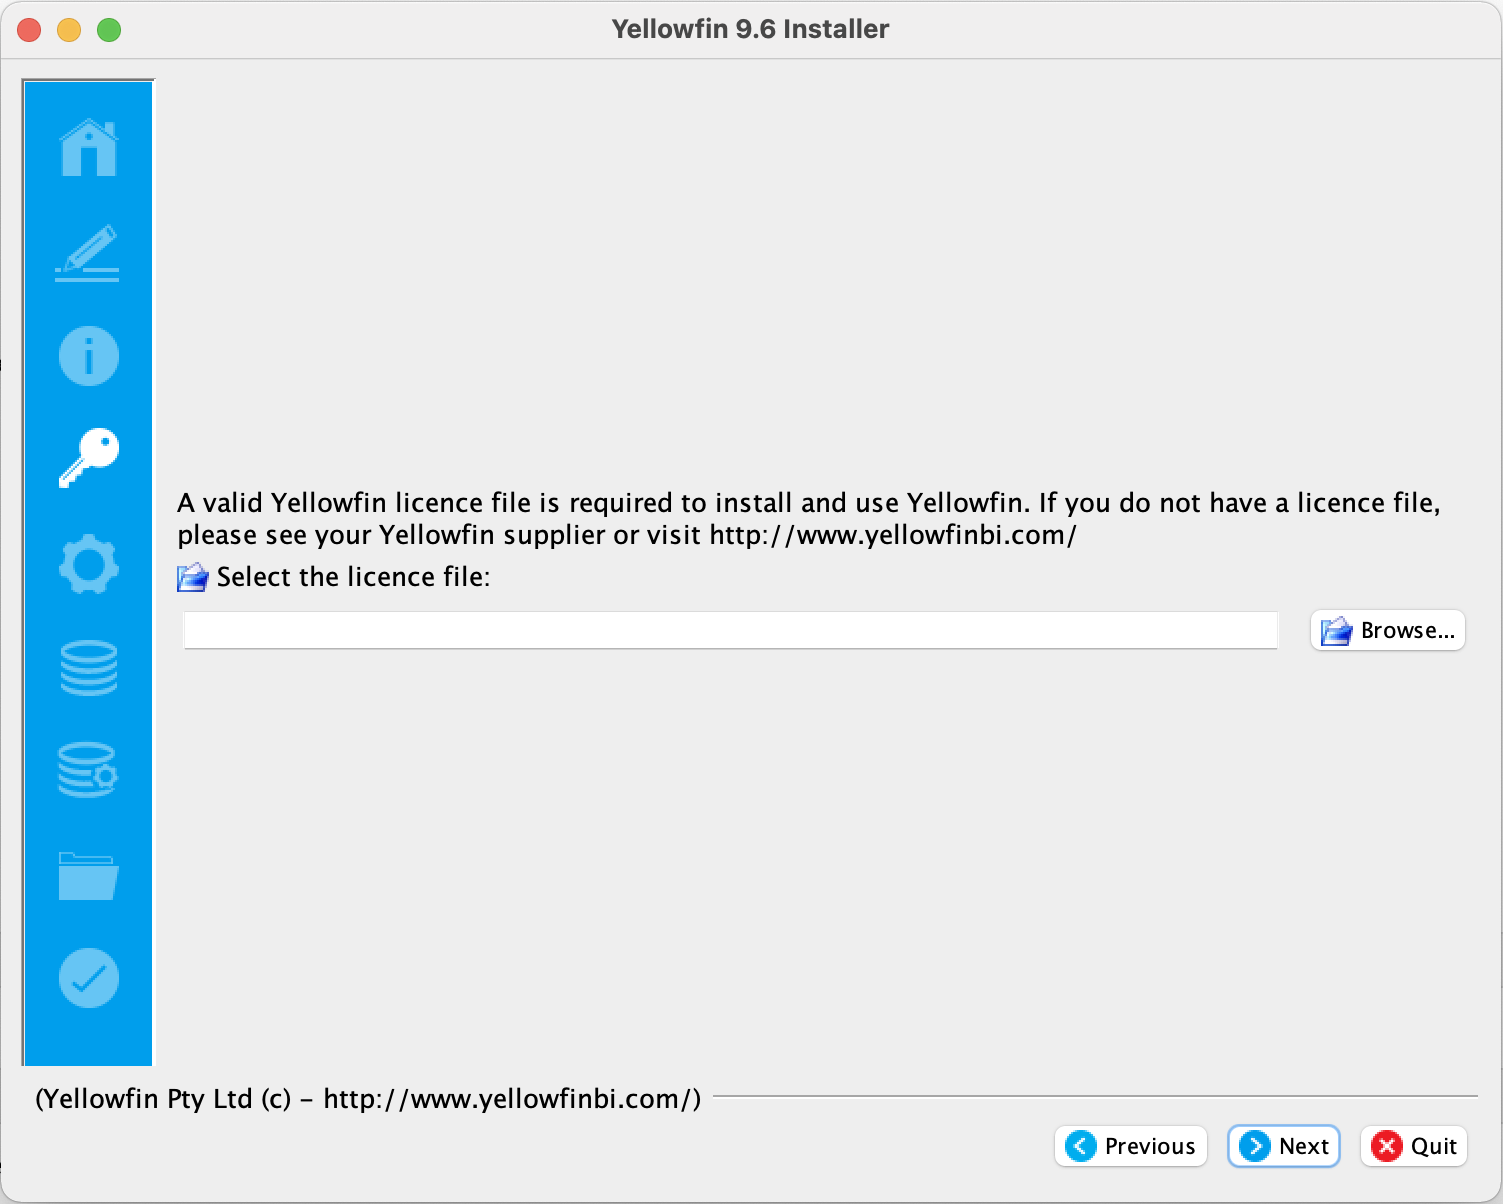
If you haven't already received a Yellowfin license, learn how to request a license here - If you're waiting on your Yellowfin license, leave the box blank and add it later (see the License Management page); otherwise, click on the Browse button to locate your downloaded license file
- Click on the Next button to continue to the General Options section of the installer
If you're installing onto Windows, the Windows Service option will be added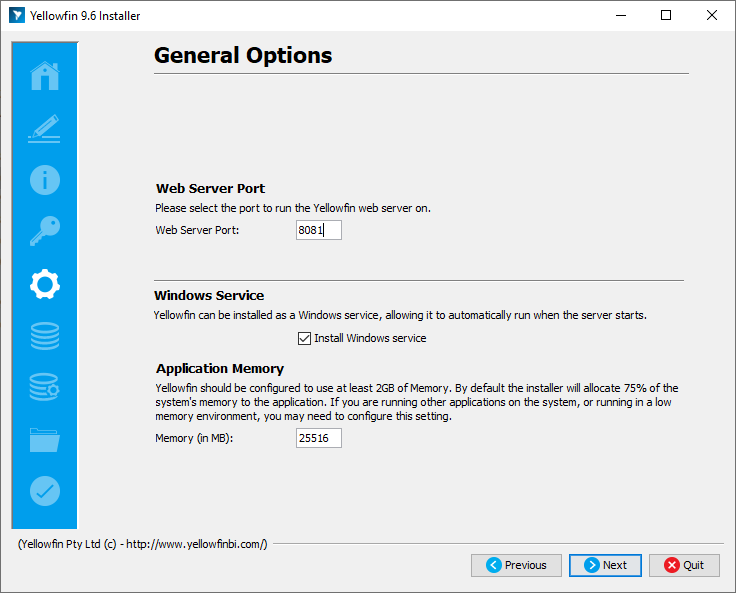
If you're installing onto Mac OS or Linux, the Windows Service option is not displayed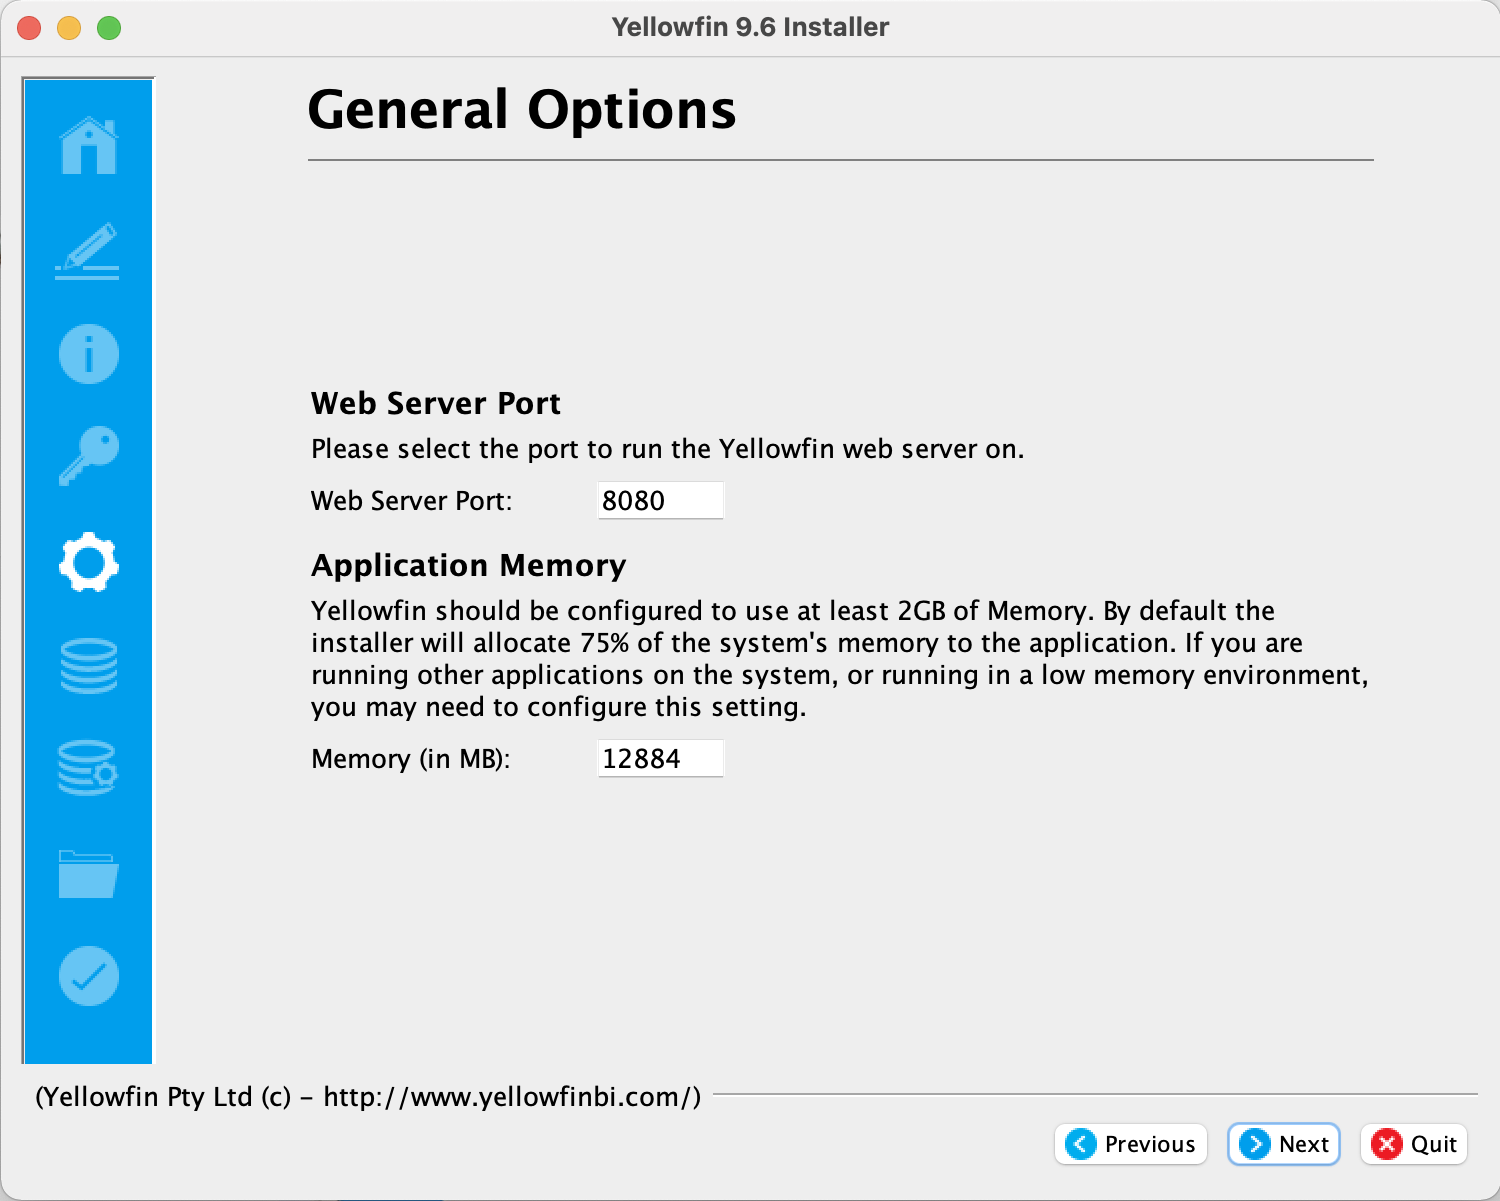
- Either accept the defaults, or refer to the table above for more information, then click on the Next button
The Yellowfin Database Details section will be displayed
- Click on the dropdown to select your database type: based on your choice, the installation steps from here may differ (some drivers are included with Yellowfin and some are not — see the Install And Deploy Yellowfin page for full details)
If you've chosen a database that Yellowfin doesn't include drivers for, you will be prompted to locate your driver files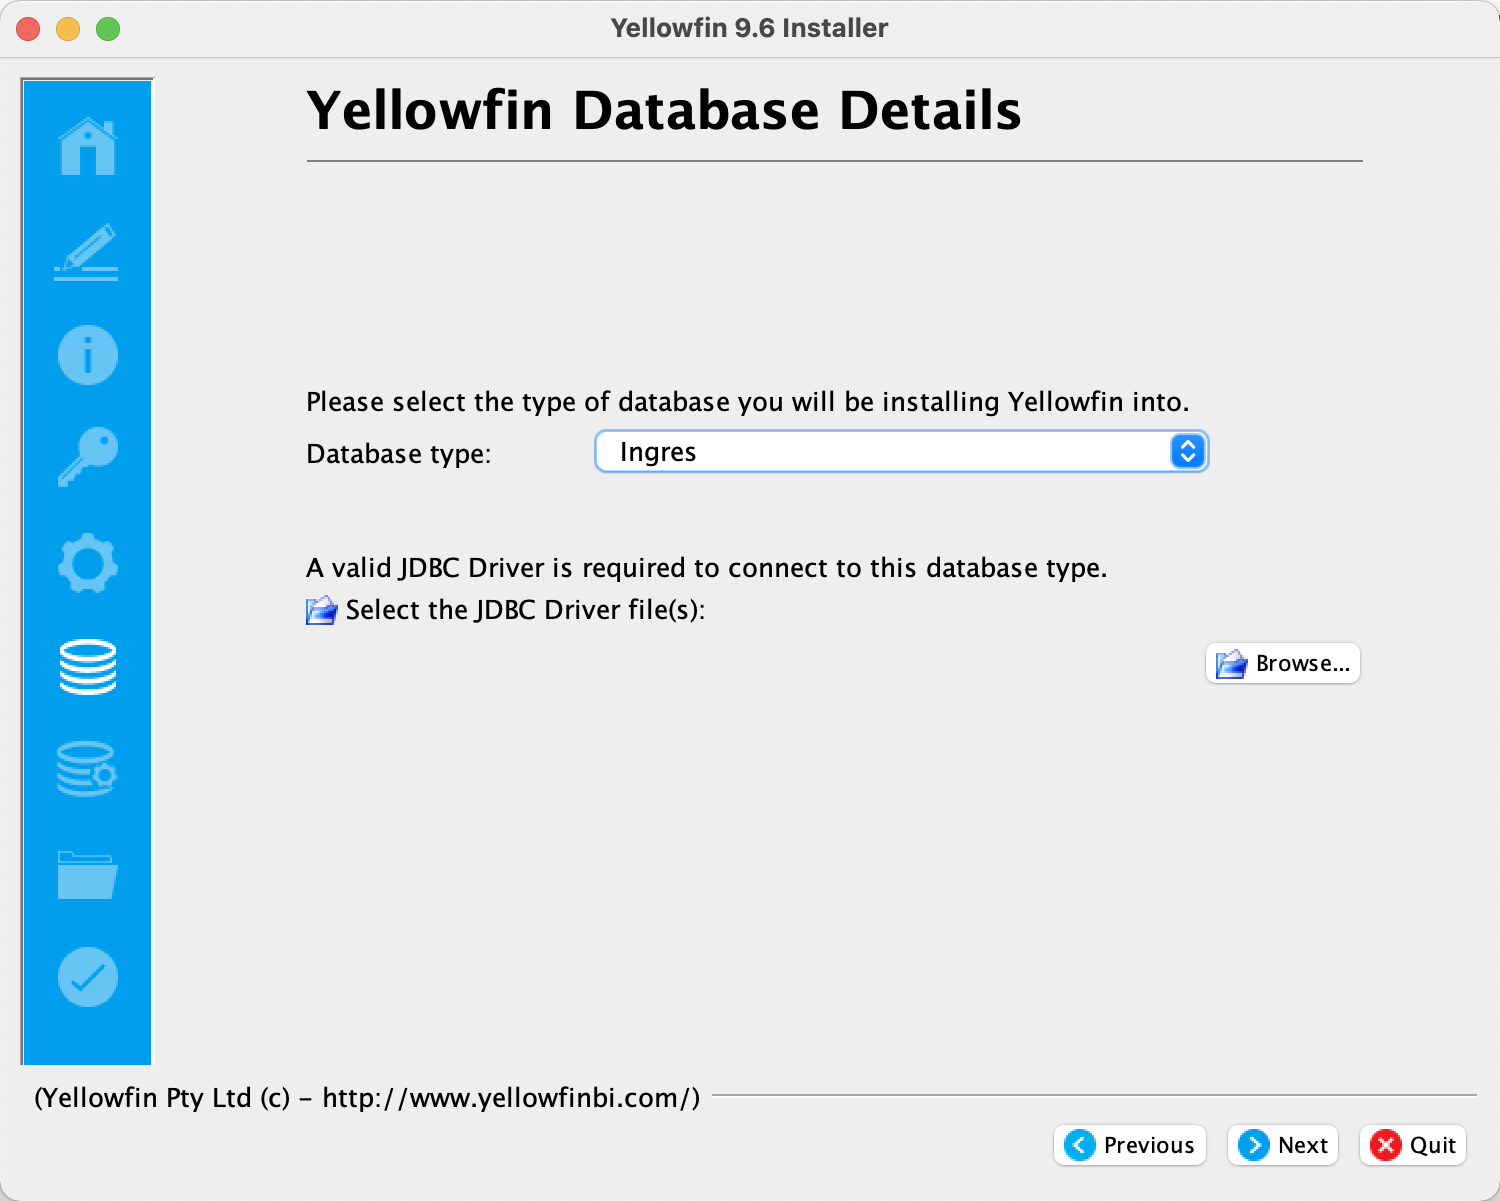
- Select any driver files using the Browse button, if prompted
- Click on the Next button to continue adding more database details
This screen won't appear if you chose the database type HSQLDB (Embedded - Not for Production) from the list, and might contain slighty different options for different database types: this screen shows the PostgreSQL options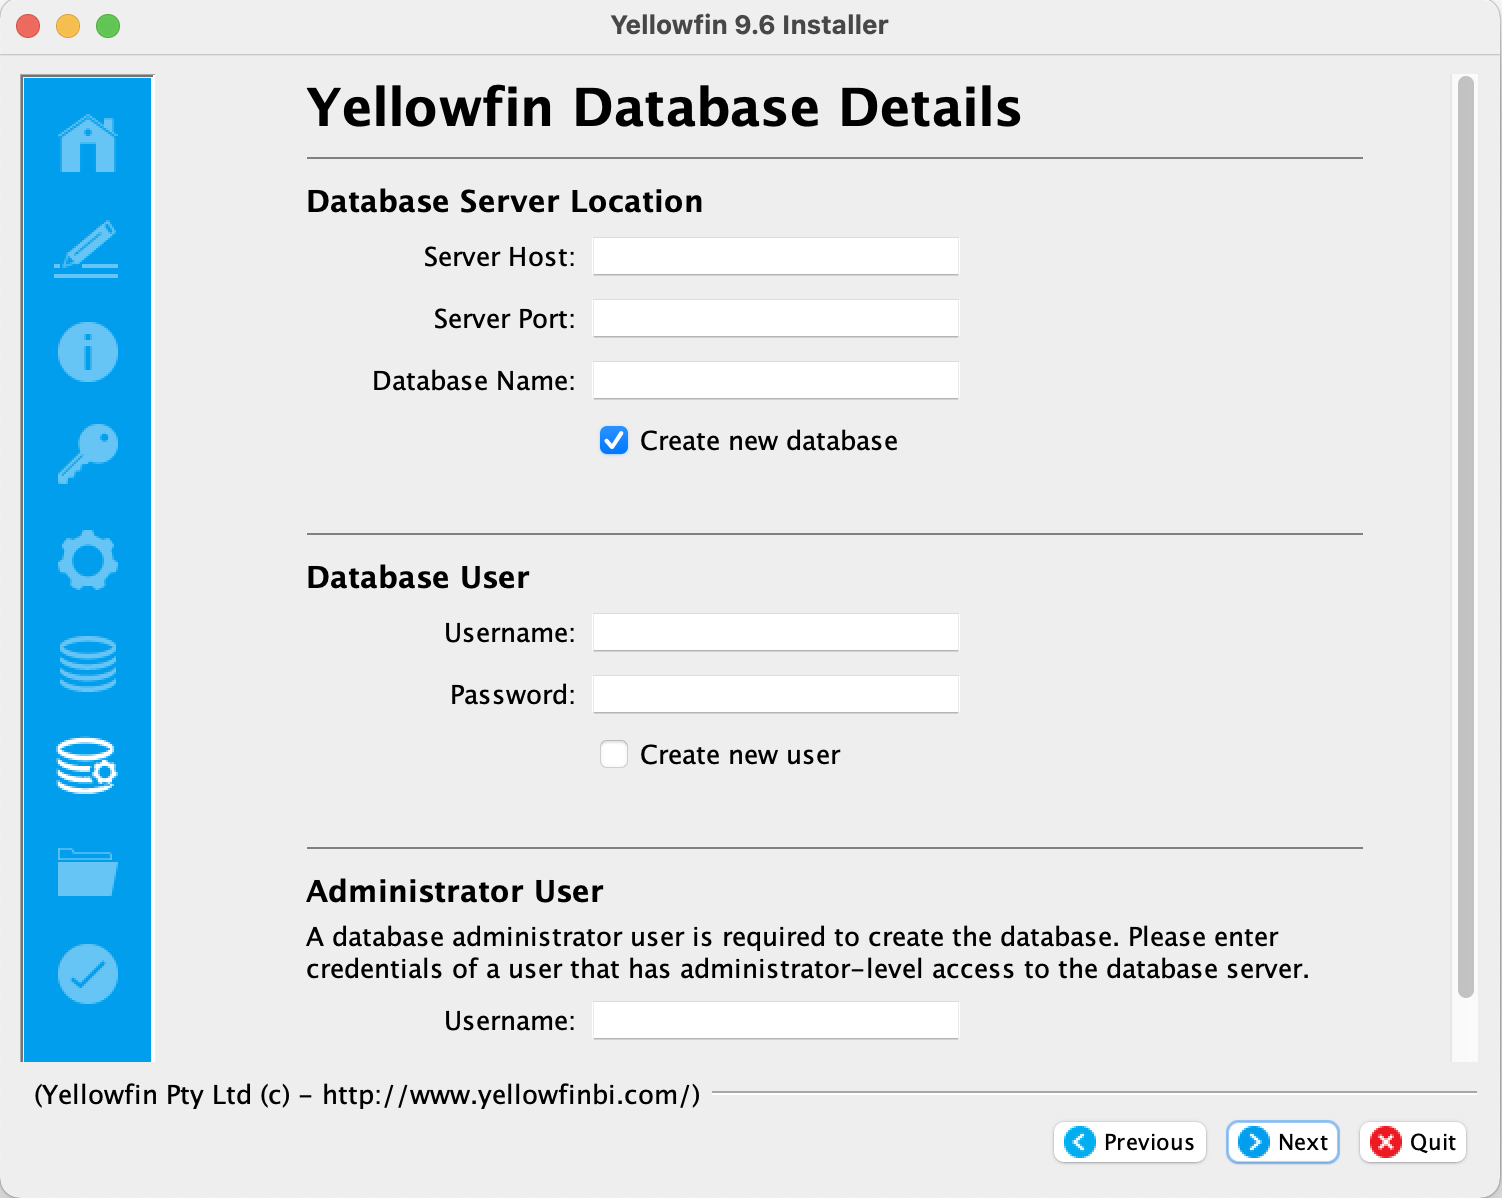
- Using the table at the top of this page for reference, fill in the fields (here's an example)

- Click on the Next button
The installer will ask you if you'd like to validate your credentials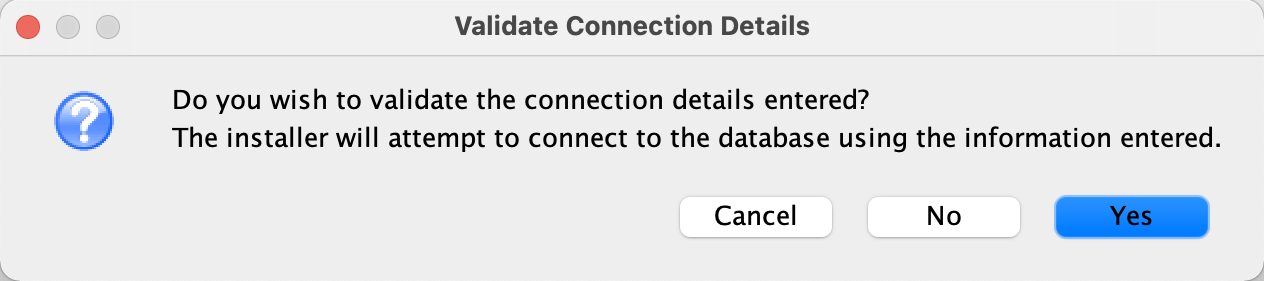
- Select Yes to validate or No if you're sure your credentials are correct (we recommend you select Yes)
If you chose to validate and it was successful, the installer will display a confirmation message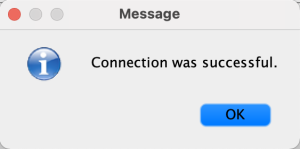
- If the confirmation message is displayed, click on the OK button to continue
The installer will ask where you'd like the Yellowfin application to be installed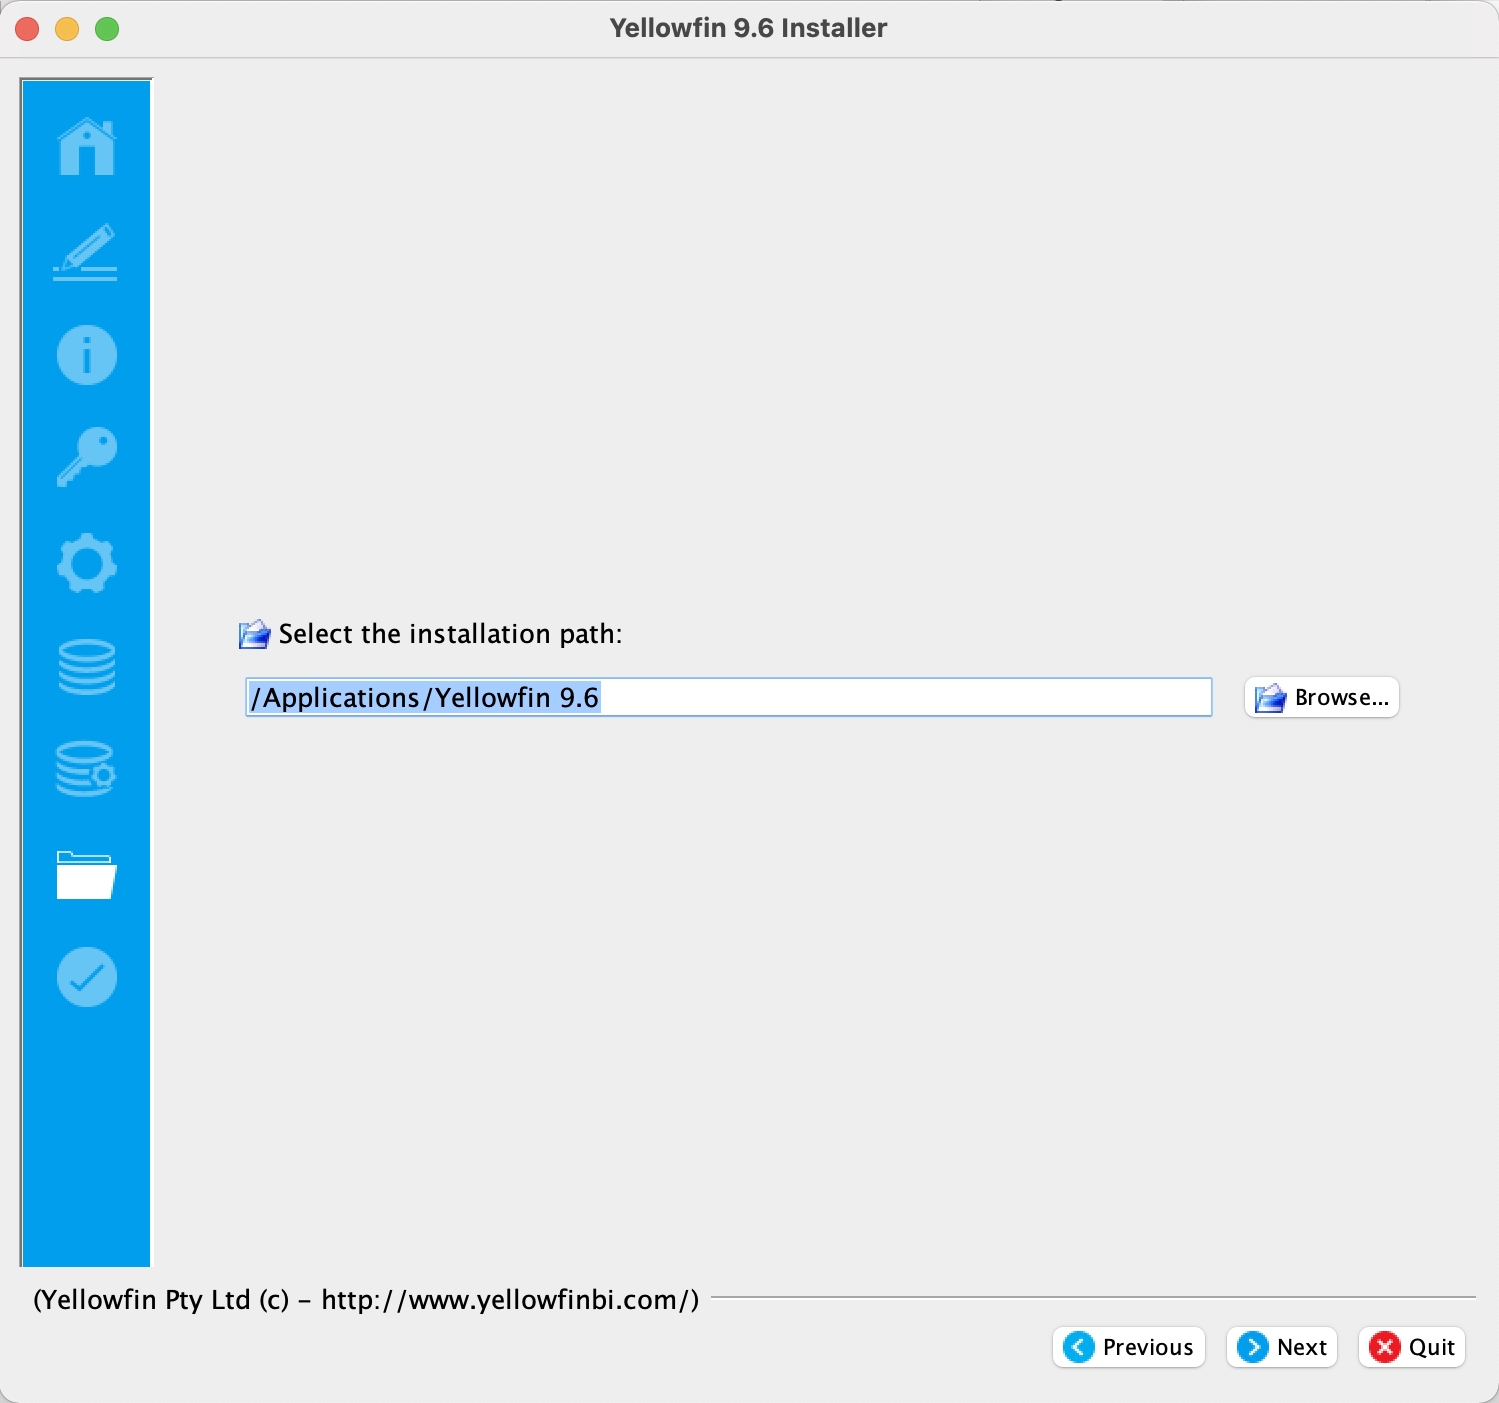
- If you don't wish to accept the default location (see the Installation path section for more info), use the Browse button. to select a different location
- Click on the Next button, which will display a prompt to confirm the directory location
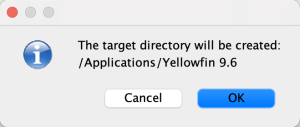
- Click on the OK button
The Yellowfin installer will begin the installation process (the time it takes depends on your hardware capacity and the packs you selected for installation)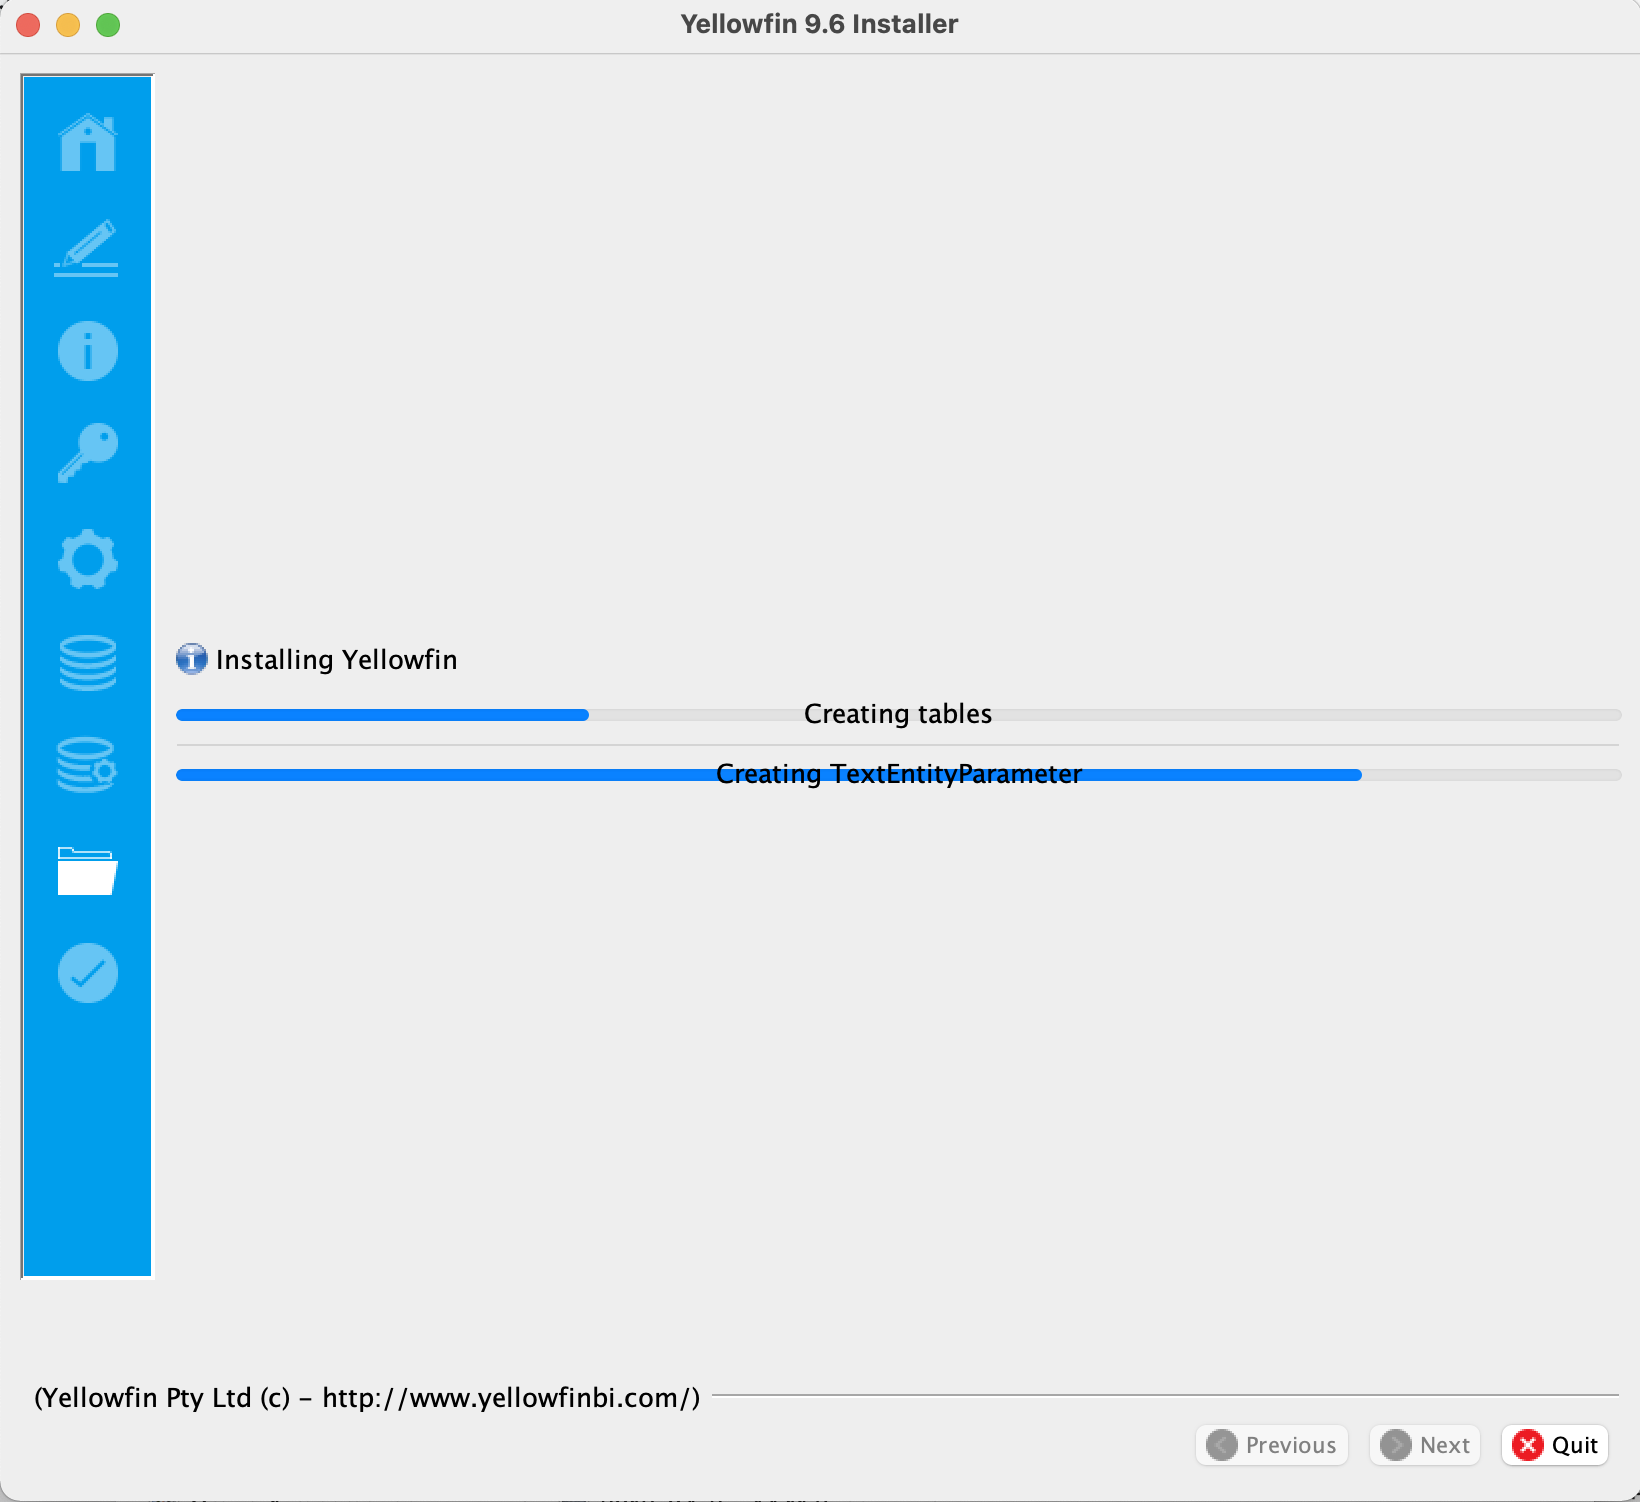
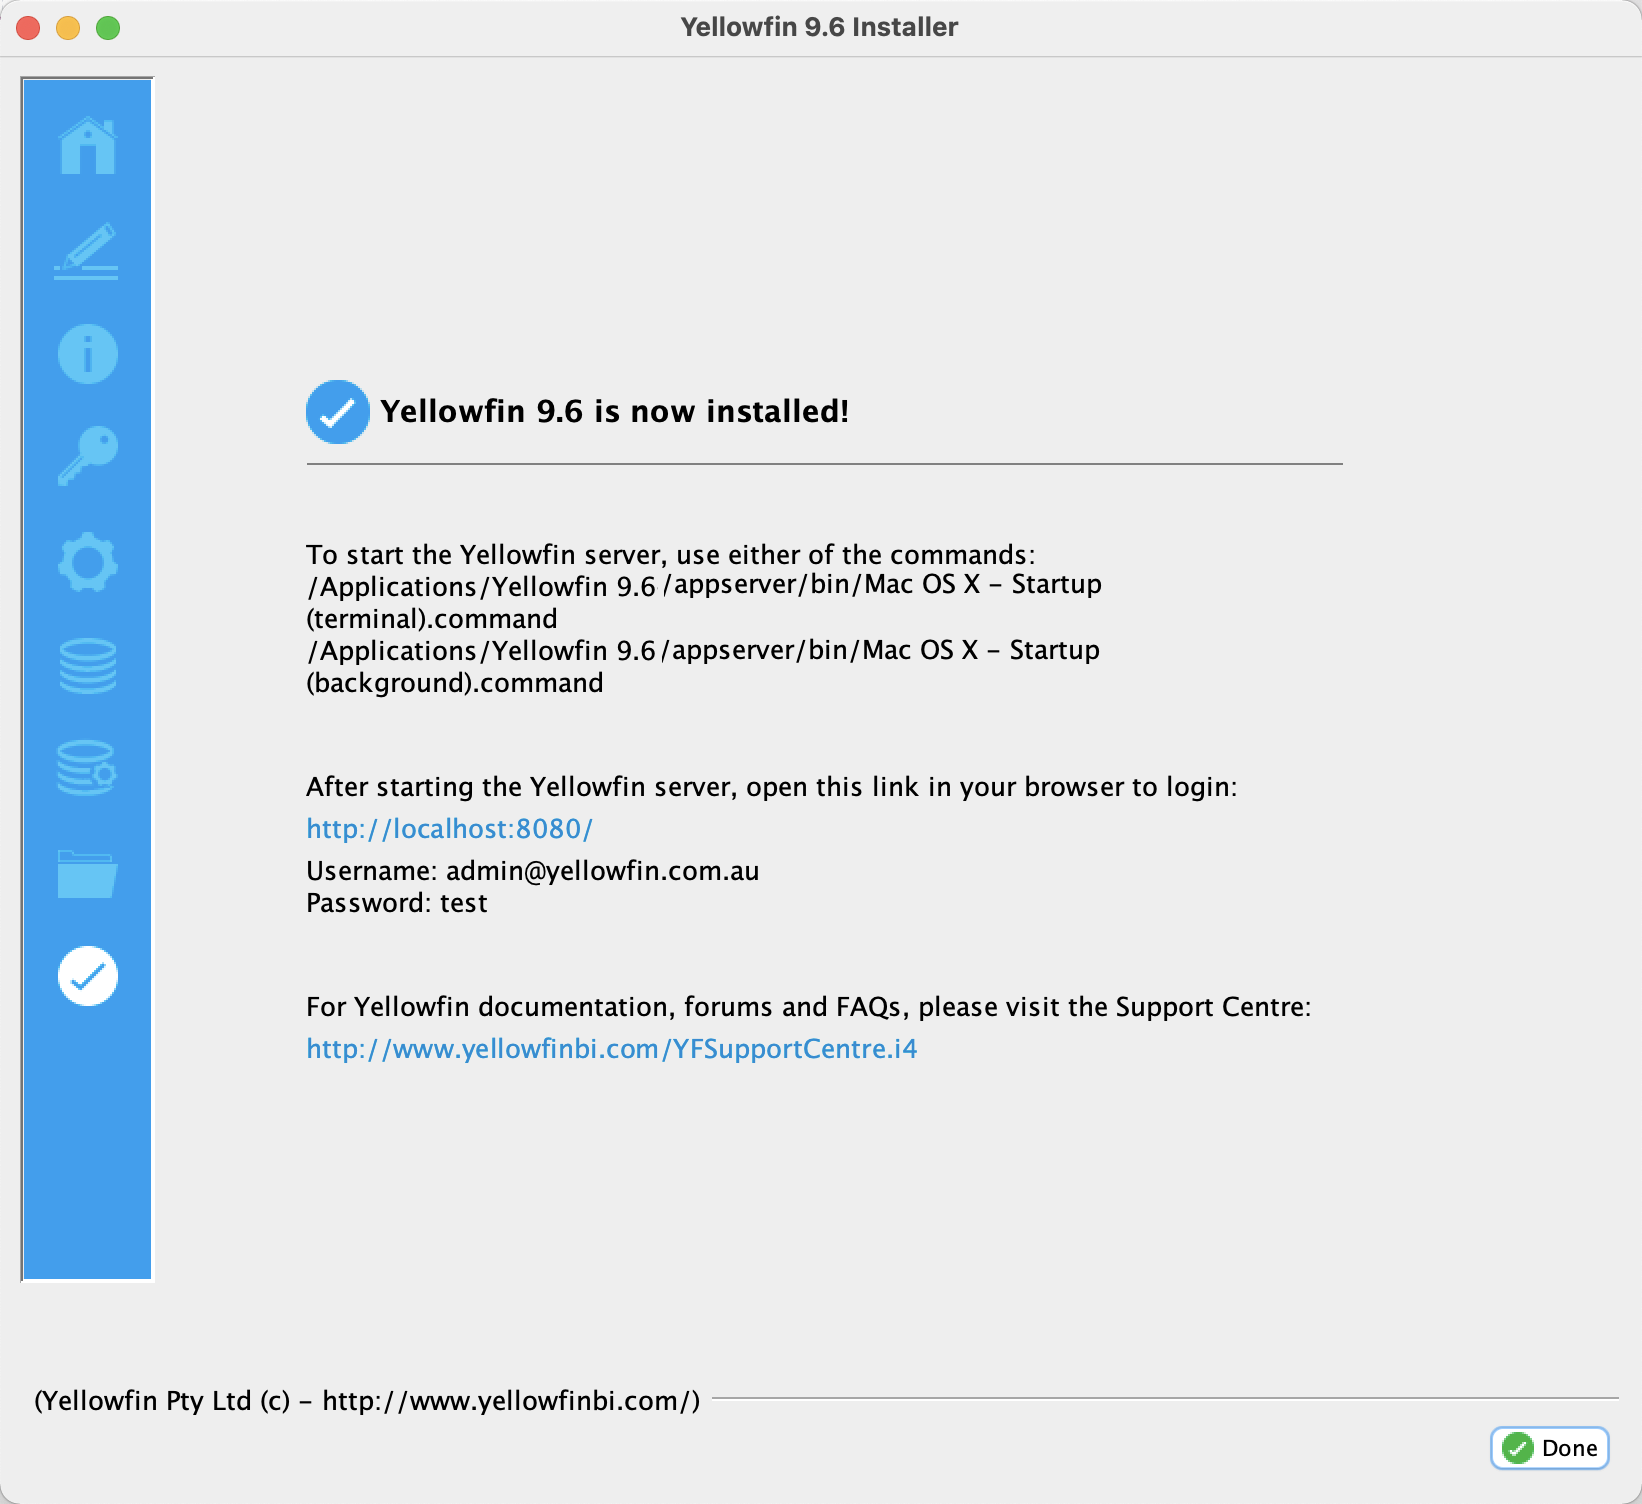
The Yellowfin installer will display the Installation Complete screen if the installation is successful: it contains some useful information
If you do not see this screen, contact your Yellowfin representative or contact Yellowfin Support, or see the Troubleshooting section below
- If you do see this screen, take note of the information provided on this scree that provides details of how to start the Yellowfin application, and the information you need to log in to Yellowfin from a web browser
- Click on the Done button to complete the installation process
...
| Note |
|---|
An uninstall function has been created for you under the directory nominated in the database selection step. |
| Styleclass | ||
|---|---|---|
| ||
What next?
Now that Yellowfin is successfully installed on your machine, it's time to deploy. Visit the Deploy Yellowfin page for full details and instructions for a first-time deployment of Yellowfin and the minimal configuration needed.
| Styleclass | ||
|---|---|---|
| ||
Troubleshooting
Most problems related to the Yellowfin application server installation relate to database connectivity and administration issues.
...
| Section | |||||||||||||||||||||||||||||||||||||||||||||
|---|---|---|---|---|---|---|---|---|---|---|---|---|---|---|---|---|---|---|---|---|---|---|---|---|---|---|---|---|---|---|---|---|---|---|---|---|---|---|---|---|---|---|---|---|---|
Current topic - Install on PremisesThis page is part of the Install And Deploy Yellowfin section of the wiki, which has these topics:
|
| Styleclass | ||
|---|---|---|
| ||