Page History
| Anchor | ||||
|---|---|---|---|---|
|
| Table of Contents | ||
|---|---|---|
|
Overview
| Styleclass | ||
|---|---|---|
| ||
...
- Drag in the appropriate Formula Builder field type (Metric or Dimension), assigning it to a Field Category.
- Navigate to the Formula tab
- The formula builder will allow you to generate a valid formula that will be returned by this column. Highlighted buttons will help guide you to create a valid formula.
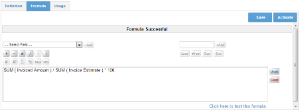
- Test your formula by clicking the test formula link.
- Save & Activate
Case Statements
| Styleclass | ||
|---|---|---|
| ||
...
If you are not familiar with Case Statements, the basic structure is as follows:
| Code Block | ||
|---|---|---|
| ||
CASE
	WHEN this is true THEN return this
	WHEN this is true THEN return this
	WHEN this is true THEN return this
	...
	ELSE return this
END
|
...
- To insert a Case statement, click the CASE button in the Formula Builder.
- Click on the WHEN button will open a popup and create your first WHEN condition and THEN instruction.
Note: it operates similar to the formula builder, only allowing formula objects to be inserted where they are valid.

- Click OK to complete your condition/instruction
- Continue adding WHEN conditions until you have covered all the possibilities required
- Add an ELSE condition if needed, this is optional, but recommended.
- Add your END component
- Save & Activate your calculation
Grouped Values
| Styleclass | ||
|---|---|---|
| ||
| Section | ||||||||||||||||||||||||||||||||||||
|---|---|---|---|---|---|---|---|---|---|---|---|---|---|---|---|---|---|---|---|---|---|---|---|---|---|---|---|---|---|---|---|---|---|---|---|---|
|
Creating a Grouped Values Field
...
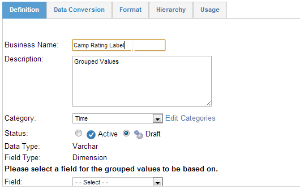
- Drag in Grouped Values field into a Category in the Available Fields panel
- Select a Field to base the grouping on
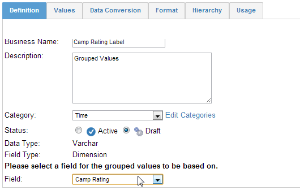
- Supply a Business Name
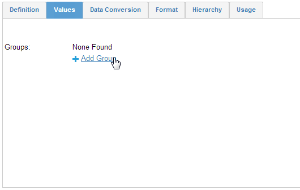
- Navigate to the Values tab
- Click on Add Group
- Poor Between 0 AND 3
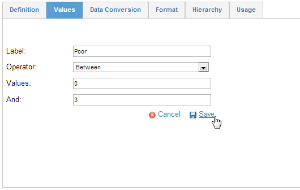
- Click Save
- Poor Between 0 AND 3
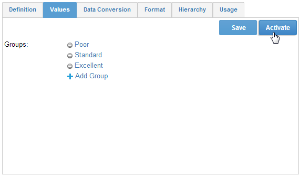
- Click on Add Group
- Standard Between 4 AND 7
- Click Save
- Click on Add Group
- Save & Activate your field
| horizontalrule |
|---|
| Styleclass | ||
|---|---|---|
| ||