Page History
| Table of Contents | ||
|---|---|---|
|
| Styleclass | ||
|---|---|---|
| ||
This documentation describes the Yellowfin 9 release. Details of what's new since the previous update can be found in the release notes.
Prerequisites
Before upgrading to this version, ensure that you have covered the following prior to upgrading:
...
| Tip |
|---|
You can see the release notes and download the latest Change Management document from here. |
...
Prerequisites
Before upgrading, we suggest that you review the release notes to ensure you understand what has changed. You can access the release notes here.
If you are upgrading to Version 9 for the first time, we encourage you to review the Version 9 Change Management document which you can find here.
You can download the latest patch installer for your platform from the Yellowfin Releases section on the Support Portal – note a login to the Support Portal is required to access patch installers.
Preparation
Before running the patch installer, please perform the following steps:
- Take a backup of
Preparation
To apply a patch to a Yellowfin installation, follow these steps:
- Backup the Yellowfin configuration database.
- Shutdown the Yellowfin serverServer.
- If you are running Yellowfin as a Windows service, stop the service.
- If you are running Yellowfin from the Windows Start Menu, please select "Stop Yellowfin Server" from the Start Menu.
- If you are running Yellowfin as a Linux command link, please run Yellowfin/appserver/bin/shutdown.sh
- .
...
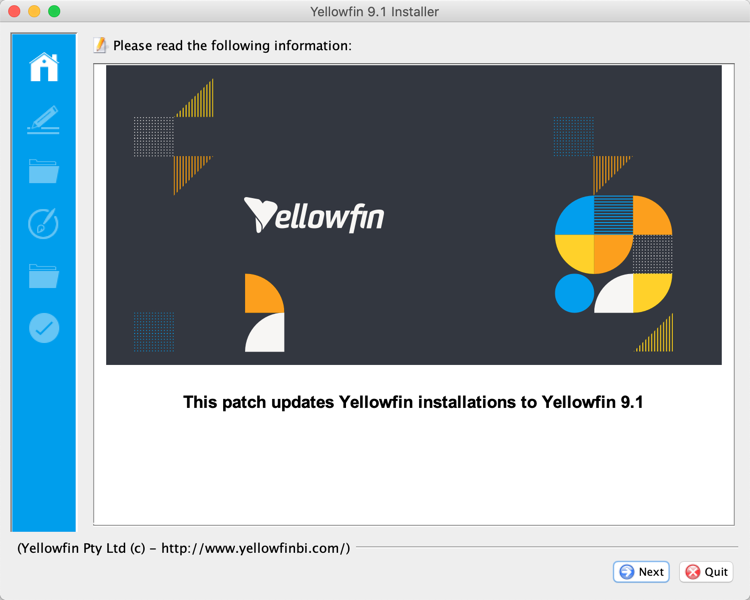
Run the patch installer
Welcome Screen
| Section | ||||||||||
|---|---|---|---|---|---|---|---|---|---|---|
|
...
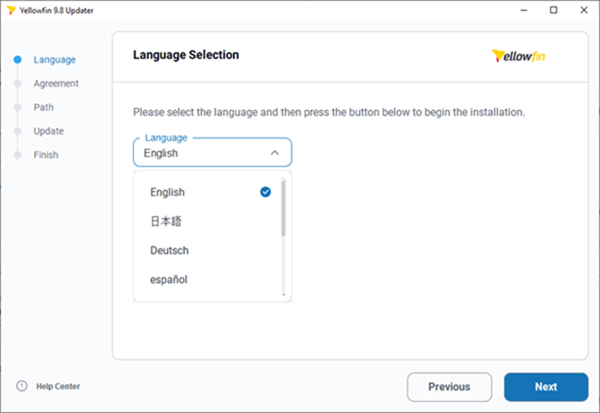
Language
| Section | ||||||||||
|---|---|---|---|---|---|---|---|---|---|---|
|

...
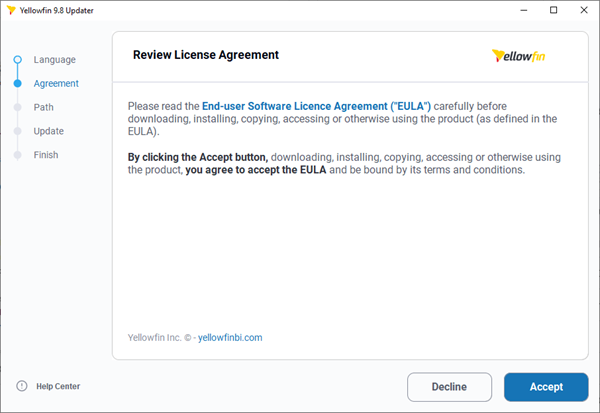
License Agreement
| Section | |||||||||||
|---|---|---|---|---|---|---|---|---|---|---|---|
|

Installation
...
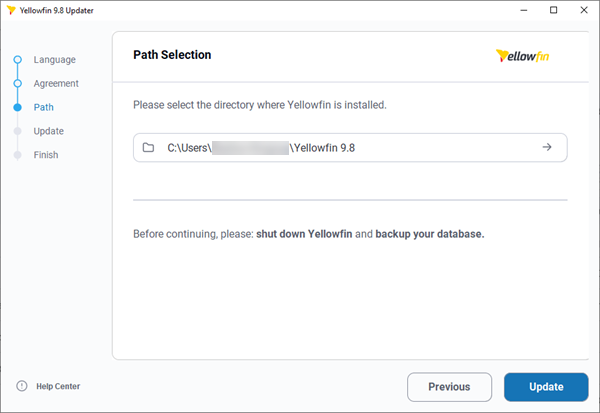
Path
| Section | ||||||||||
|---|---|---|---|---|---|---|---|---|---|---|
|
...
|
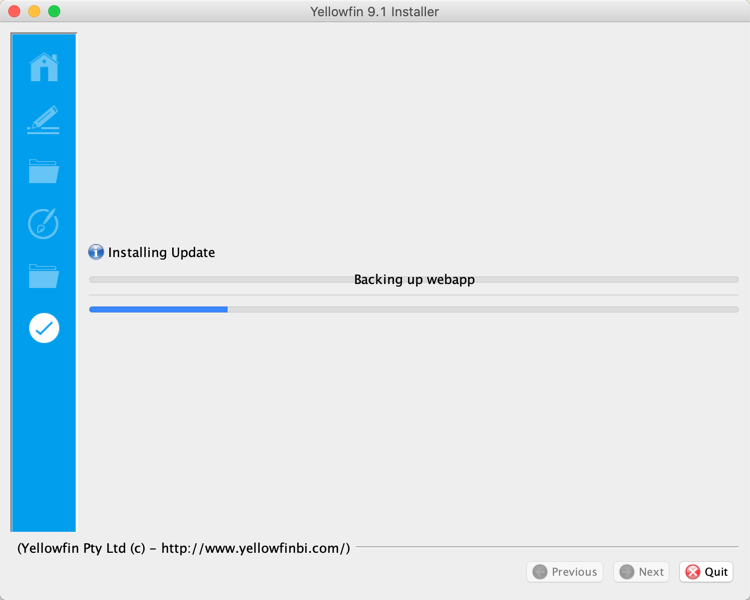
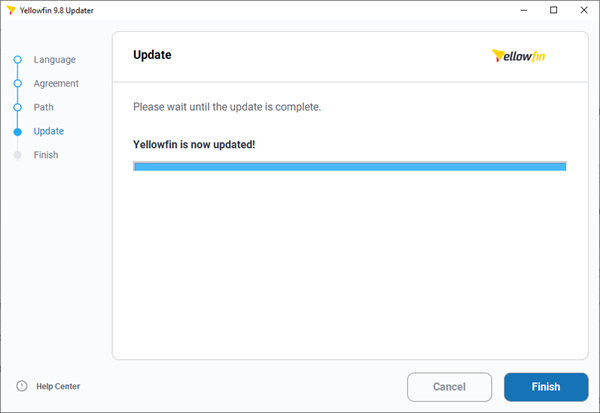
Update
| Section | ||||||||||
|---|---|---|---|---|---|---|---|---|---|---|
|

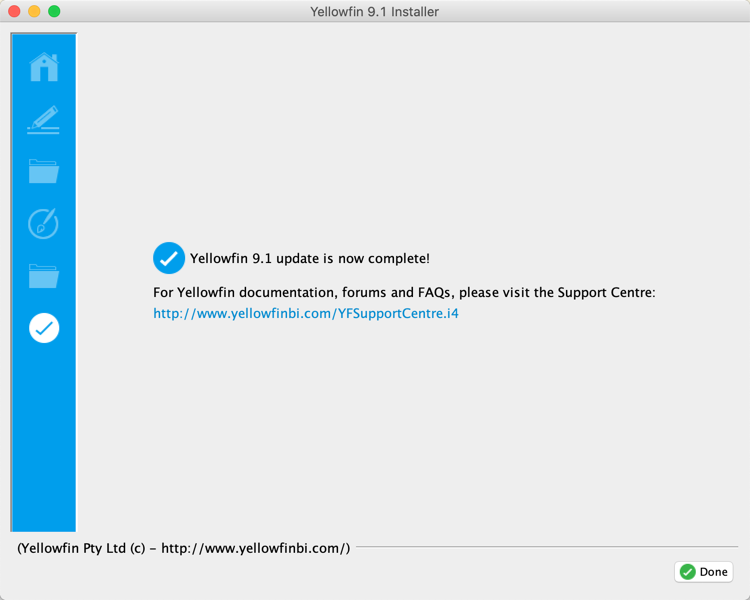
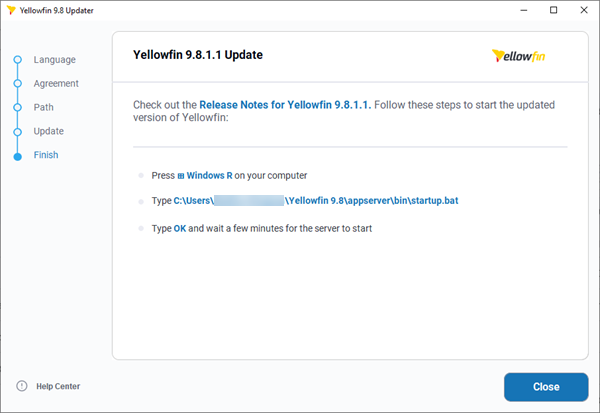
Installation Completion
| Section | ||||||||||
|---|---|---|---|---|---|---|---|---|---|---|
|
| Note |
|---|
If you use the Yellowfin web service client library for web service integration, the yfws file can be found at the builds download page. |
...