Page History
...
- Click Publish at the top-right corner of the story builder.
- In the new popup, you can enter or edit the story title. (If your story already has a title, the first field will display it; if you change the title, it will be updated in the story as well. If no title is provided, your story will be named 'Untitled Story'.)
- Provide a description for the story to assist users with understanding its purpose and content.

- Select a folder and sub folder to save the story into. You will only be able to select folders you have access to.


- Choose a story access setting:
- Public: permits all users with folder access to be able to view this story.
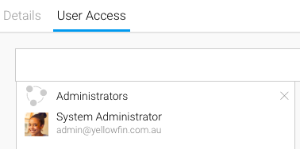
- Private: the author/collaborator may assign users access to the story. In this case, a new User Access tab will appear, allowing you to add specific users.

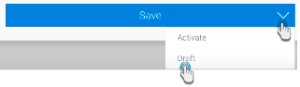
- Click the Save button Publish button to save and activate the story. Note: you can save your story as a draft and activate it at a later time, by expanding the drop down button next to Save and choosing Draft.
- Upon publishing, a share popup will appear. You can use this to share the published story with other users and groups. Click Submit after selecting users. The selected users will receive an email notification of the story.
Note: You can always share the story at a later time.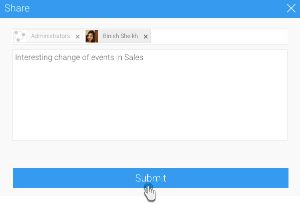
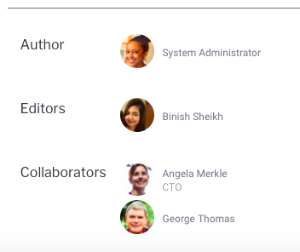
- Once a Story is published, you can view its author, editors, and collaborators at the bottom of the page.

...