Page History
...
- Open the application installer file (the .jar file for MacOS or Linux, or the .exe file for Windows (see Install And Deploy Yellowfin for further details.)
Click the arrow to start installation or it will automatically continue after 15 seconds.
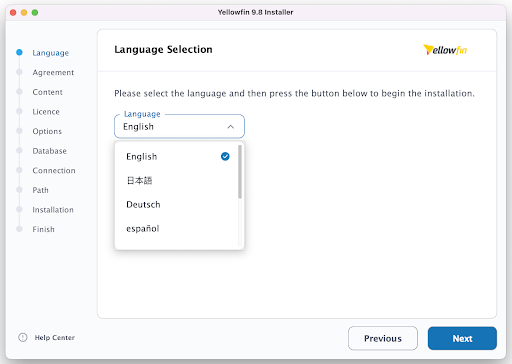
- Select the language, the default language will be displayed based on the user’s machine settings, click Next.
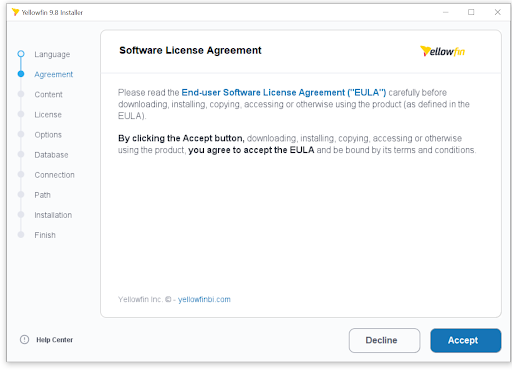
- Accept the Software License Agreement. The Yellowfin end-user software agreement is available here.
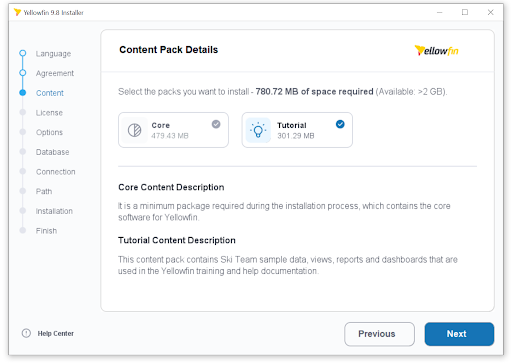
- Select the pack available for installation and click Next.
- Select the License file by clicking the Browse button to locate your downloaded license file and click Next.
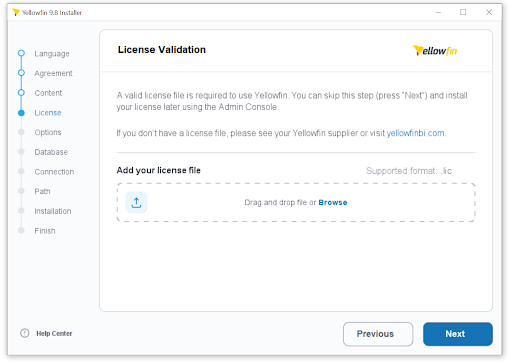
Click here, if you need a Yellowfin license.
You can leave the box blank and add a license later. Check the License Management page. - In the Options section, leave the default value or change the Server Port and Application Memory, click Next.
Refer to the following page for more information.
If you're installing on Windows, the Windows Service option will be added.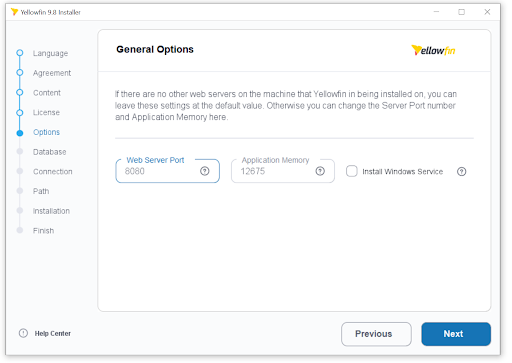
If you're installing on Mac OS or Linux, the Windows Service option is not displayed.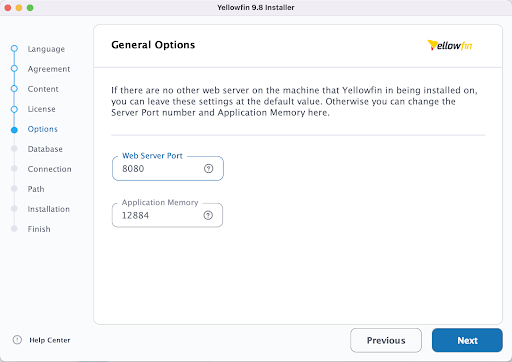
- In the Database Details section, click on the drop-down to select your database type. Based on your choice, the installation steps from here may differ. (Some drivers are included with Yellowfin and some are not — click here for more details.)
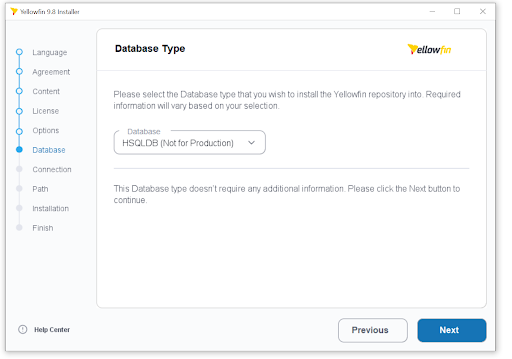
If you've chosen a database that Yellowfin doesn't include drivers for, you will be prompted to locate your driver files. Select any driver files using the Browse button and click Next.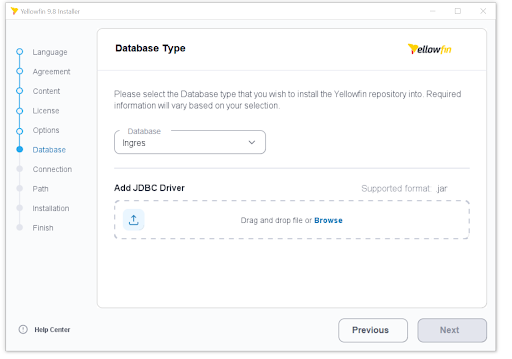
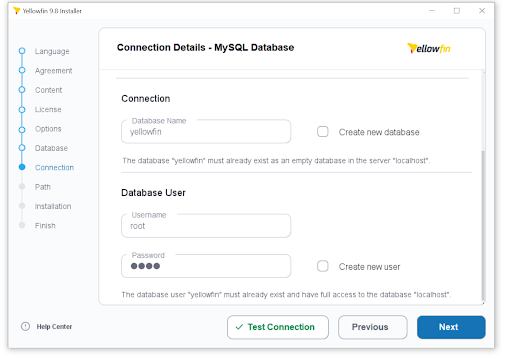
- The following screen only shows if you chose another database and not HSQLDB (Embedded - Not for Production) from the list. It shows different options for different database types.
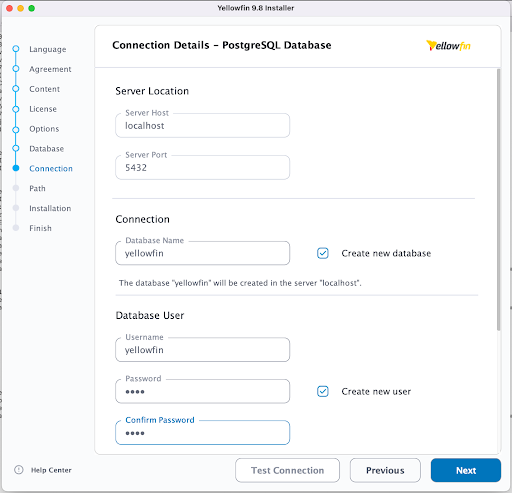
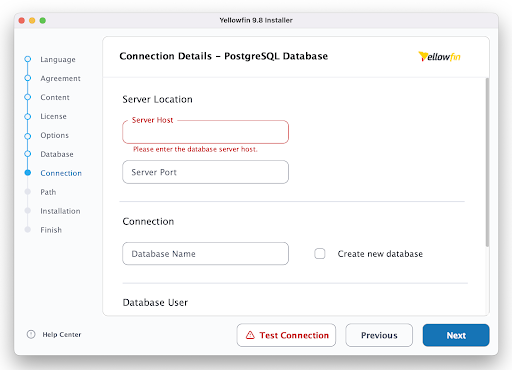
The image shows the options for PostgreSQL.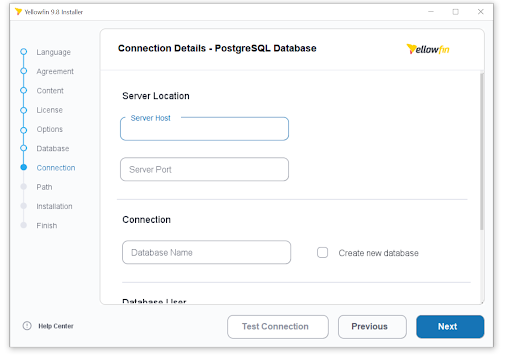
- Fill out the Connection Details, check the table above for reference. Then, click Test Connection.
- Select if you want to validate your credentials or not.
If the validation is successful, the installer will display the Test Connection button in green. If it's not validated, the Test Connection will appear in red, as shown below. Then, click Next.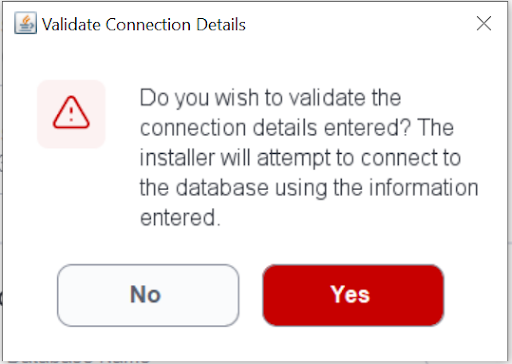
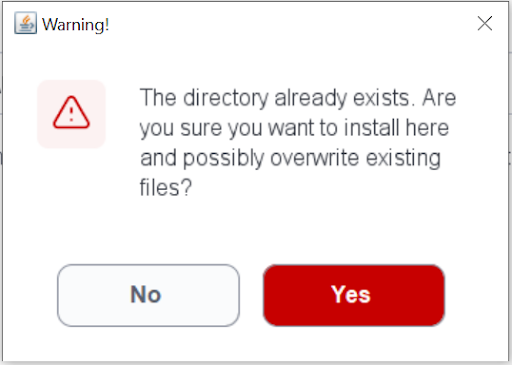
- In the Path section, users can select where to install Yellowfin by accepting the defaulted path, selecting an existing folder or by typing in the path name in the box. If the folder that is typed in does not exist, Yellowfin will offer to create the folder for you. Then, click Next.
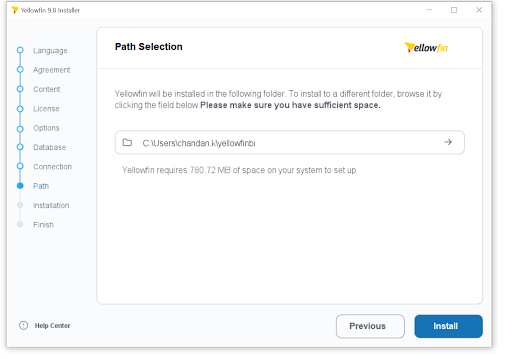
If Yellowfin doesn't recognize the folder, it will give you the option to create it.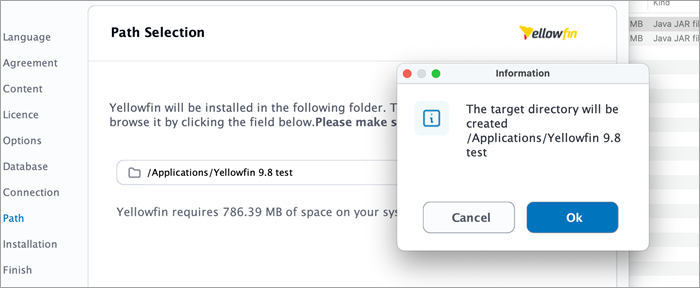
- Confirm the directory location.
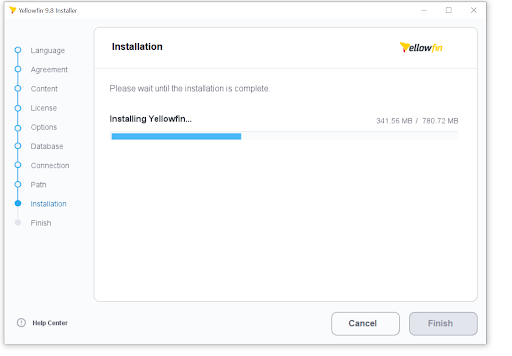
- The Yellowfin installer will begin the installation process, the time it takes depends on your hardware capacity and the packs you selected for installation. Once the installation is done, click Finish.
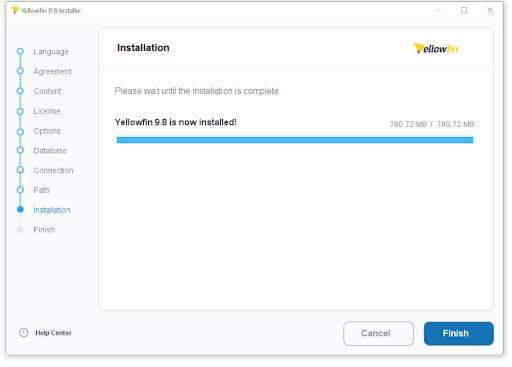
The Yellowfin installer will display useful information once you click Finish after a successful installation.
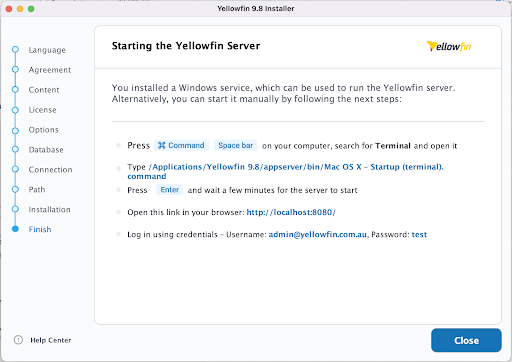
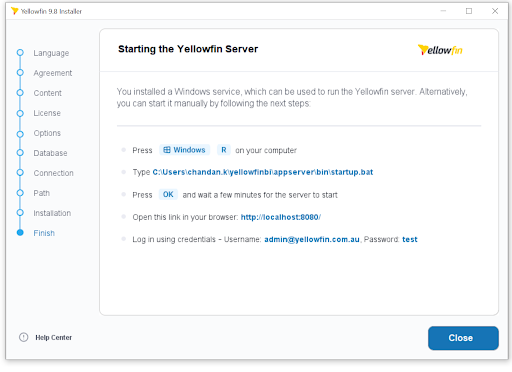
Note: In case you don’t select the Windows as Service checkbox, the finish screen will be a little different. - Click Close to complete the installation process.
If you do not see this screen, contact your Yellowfin representative, contact Yellowfin Support, or see the Troubleshooting section below.
If you do see this screen, take note of the information provided that details how to start the Yellowfin application and the information you need to log in to Yellowfin from a web browser.
Note: You can click on the left menu to browse previous steps. Clicking Next is not allowed.
...