In this section, we look at how to create a view which requires authorisation to be published; we will use the same sub-folder we enabled the view approval setting for for this process.
Note
These steps are normally performed by a user who is a view administrator or creator. It is assumed that this user does not have the authorisation to grant approval for the views.
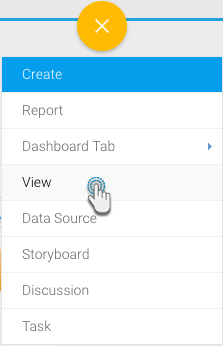
Click on the create icon (the yellow plus button on the top-right)
Info
Depending on the layout chosen by your administrator, you might be missing this icon. Instead, click on the Create button located at the top-left of your screen
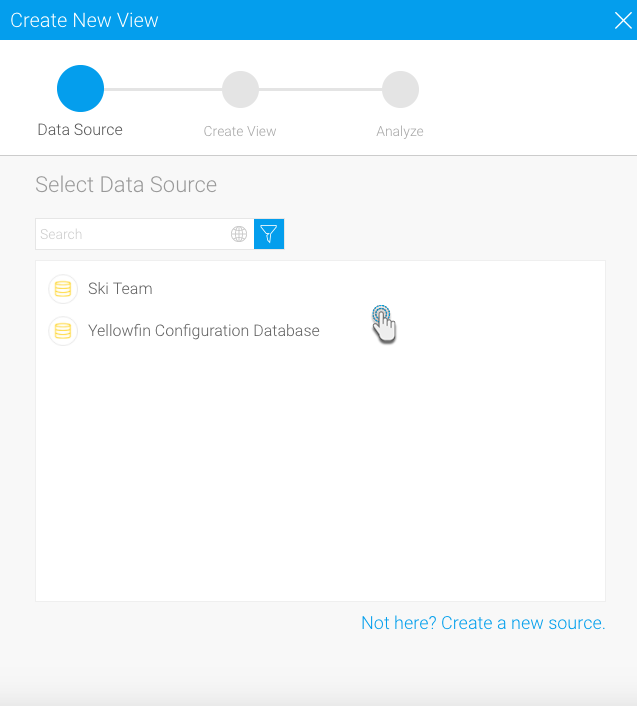
Then select View Image RemovedSelect a data source from the new popup window Image Removed
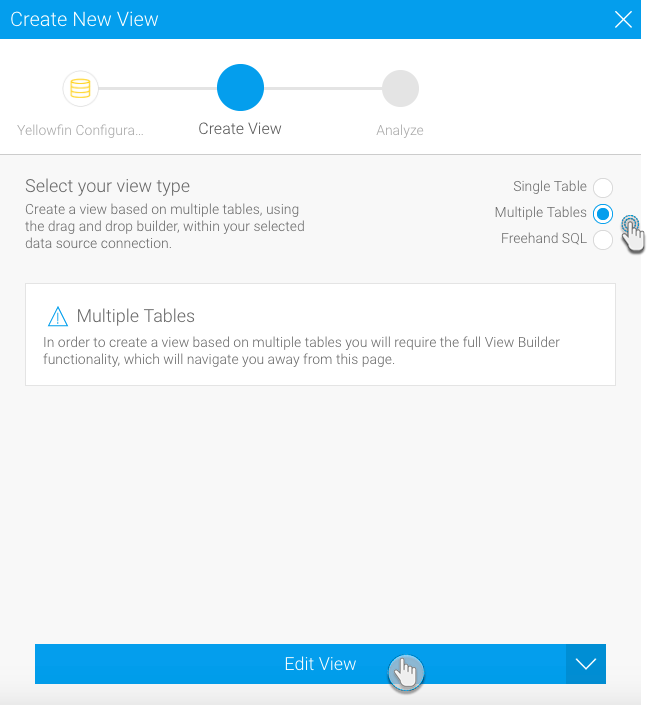
In the second step, select your preferred view type (in our example, we will choose the most-used type, 'multiple tables'). Click here for more information on all these types and how to continue with each. Then based on the above selection, fill the rest of the type related fields
Click on the Edit View button (Note: Based on our multiple tables selection, this is the button in this popup window) Image Removed
Once you get to the View Builder page, start adding tables to your view and creating relationships between them. (Click here to learn more about creating views through this builder <<link to prev. confluence page.>>)
Drag two or more tables to the canvas
Click on the edit table properties/settings icon of a table and select columns to include from the database table
Repeat the above step for the second table
Click on the join table/relationship icon on a table to make the joining popup window appear
Create a joining rule by selecting a column from one of the tables, then choose an operator for this rule and finally select a column from the other table; then click on Add
You can create more rules this way; Once done, click on the Save & Close button
Once you are done adding tables and joining them, click on the Prepare button to view the data that will be included in your view
Create and prepare a view. (See Creating a View for more information on how to do this.)
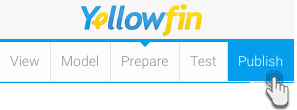
After creating the models and preparing the data, click on the Publishbutton
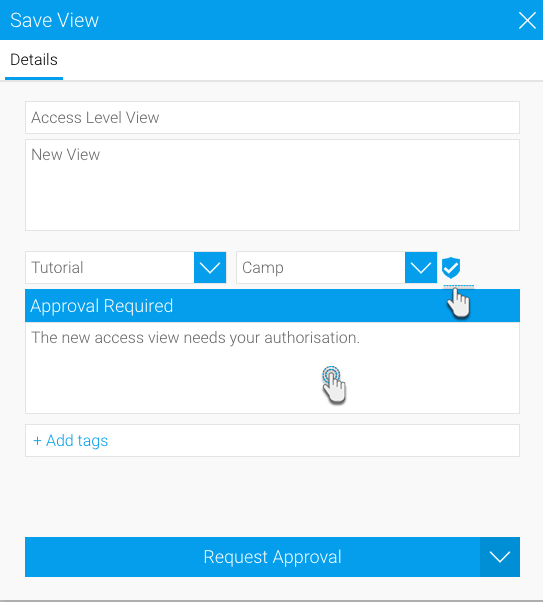
Add details of this new view in the Save View popup window
Give your view a name and add a description of it
Select the folder for your view
If the folder you have selected has the view approval setting enabled, a new Approval Required field will appear, along with a shield icon
In this approval required field, you You must add a message regarding the view approval that will be sent to the approver
You can click on the Add tags link use add tags to connect tags to your view
Finally, click on the Request Approval button
Your view has been created and sent for approval. It will only be published if it gets approved by the selected appointed approver