Page History
| Anchor | ||||
|---|---|---|---|---|
|
| Table of Contents | ||
|---|---|---|
|
Overview
| Styleclass | ||
|---|---|---|
|
...
...
| Wiki Markup |
|---|
{html}<iframe width="700" height="394" src="https://www.youtube.com/embed/9DQ__G45BGI?color=white" frameborder="0" allowfullscreen></iframe>{html} |
...
You can create a number of different types of calculated columns including:
Type | Description |
|---|
...
This allows you to build calculations through a builder interface, rather than having to write the SQL yourself. |
...
| This allows you to |
...
| build a calculation using a template, rather than having to use a builder, simply by specifying the fields it requires. | |
This allows you to |
...
...
This allows you to define a field that can have its value defined by a Report Reader and then passed into the report for What If analysis.
...
...
This allows you to create a set of fields to be used as filters in reports. This can include filter dependencies and cached values.
...
...
This allows you to build a calculation by writing the SQL, rather than using a builder.
...
Formula Templates (Custom Functions)
...
This allows you to build a calculation using a template, rather than having to use a builder, simply by specifying the fields it requires.
...
...
This allows you to create a time based hierarchy by converting date fields into various formats to create each level.
build a calculation by writing the SQL, rather than using a builder. |
Simple
| Styleclass | ||
|---|---|---|
| ||
Metric
This calculation returns numeric values and allows for standard Metric formatting options such as decimal places, prefix, suffix, and default aggregation.
Dimension
This calculation allows for all the standard Dimension formatting and functionality such as inclusion in Drill Down Hierarchies.
Creating a Calculation
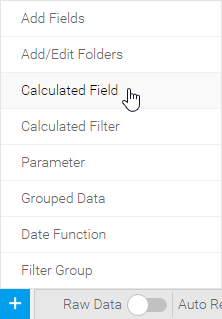
1. Click the Create button and select the Calculated Field option.
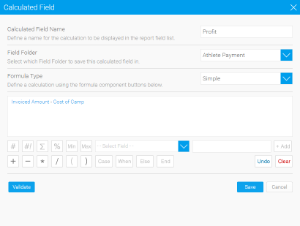
2. Provide a name for the field, to be displayed in the report builder.

3. Select a Field Folder to place the calculation into.

4. Leave the Formula Type set to Simple.

5. Define your calculation using the buttons at the bottom of the window, for example:
- Search for the Invoiced Amount field in the -- Select Field -- drop down list and click on it to add it to the formula box
- Press the minus ( – ) button
- Search for the Cost of Camp field and add it to the formula
- You will now have Invoiced Amount - Cost
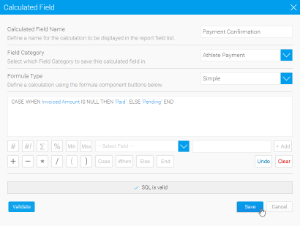
6. Test your formula by clicking the Validate button.

You will now see a message confirming that your formula is valid. If something has gone wrong you will see a relevant error message instead.

7. Save

Case Statements
More complex calculations can be created using the case statement. The case statement allows you to create new values in columns based on business logic. For example IF age is less than 20 then print “Young”.
Case Statement Structure
If you are not familiar with Case Statements, the basic structure is as follows:
| Code Block | ||||
|---|---|---|---|---|
| ||||
CASE
	WHEN this is true THEN return this
	WHEN this is true THEN return this
	WHEN this is true THEN return this
	...
	ELSE return this
END
|
Each of the items in CAPS are a component in the case statement:
Component | Description |
|---|---|
CASE | The calculation will always begin with the CASE component. Make sure you have added this before trying to build the formula, other components will not be available until you do. |
WHEN | You can have as many WHEN components as you like in a Case statement, but they will always need to be before the ELSE component. WHEN is used to define a condition, for example: |
THEN | This is linked to the WHEN component and instructs Yellowfin on what to return when the condition is met. For example: |
ELSE | This is an optional component that is used to tell Yellowfin what to do when none of the WHEN conditions are met. It basically works like an extra THEN component. |
END | The calculation will always end with an END component in order to tell Yellowfin that it's complete. Your calculation will not be valid if you don't have an END so be sure to add it. |
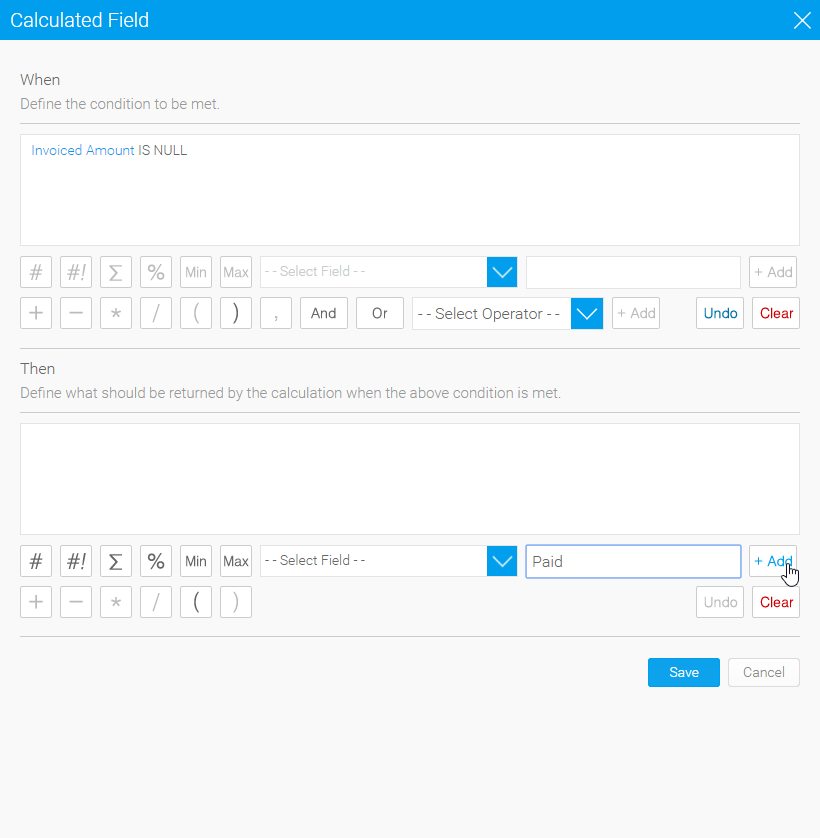
Creating a Case Statement
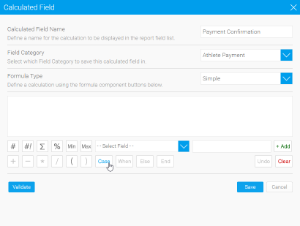
1. To create a CASE statement, click the Case button in the Simple Calculation builder (as above).
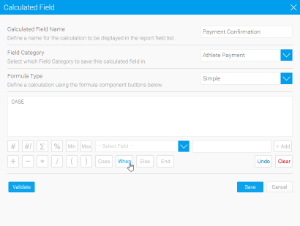
2. Click on the When button will open a popup and create your first When condition and Then instruction.
Note: it operates similar to the formula builder, only allowing formula objects to be inserted where they are valid.
3. Click Save to complete your condition/instruction.
4. Continue adding When conditions until you have covered all the possibilities required.
5. Add an Else condition if needed, this is optional, but recommended.

6. Add your End component.
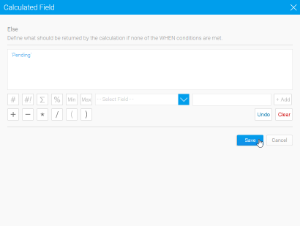
7. Validate & Save your calculation.
Pre-Defined
| Styleclass | ||
|---|---|---|
| ||
- Select the type of calculated field as Formula, and select the formula you wish to use from the drop down menu.
- Functions defined in the XML file will require you to enter a number of parameters (or arguments). Parameters can be chosen from a list of columns where the data type matches the data type of the give parameter.
- Assign a value by clicking each Argument and assigning a value to it. The value can either be a fixed data value or a column reference.
- Once values for each of the arguments has been assigned, click the save button to save the column to the list.
Creating New Custom Functions
Custom functions are a configurable item within your own installation of Yellowfin. To add new custom XML functions into the application contact your system administrator or see Custom Functions for more information.
Freehand SQL
| Styleclass | ||
|---|---|---|
| ||
Insert the SQL you wish to create your column.
- You should enter an SQL SELECT fragment, not including the SELECT keyword or any FROM or WHERE clauses.
- Any columns referenced must exist in this view, and aggregate functions (AVG, MAX, MIN, SUM and COUNT) should not be used.
Create New Column
| Styleclass | ||
|---|---|---|
| ||
- To create a new field open the Calculated Fields folder in the unattached folders list. Here you will see sub folders for:
- These are different ways that you can create calculations. Select how you wish to create the field by either selecting to create a new calculated formula, or type in an SQL statement, or use an existing function as defined in the custom function XML file (See Using Custom Functions).
- Choose the type you want and drag it into the report folders like you would a normal field. This will open the field edit section. Define the metadata for the field as usual.
- Advance to the formula entry by clicking the Formula tab, unless you chose the Date Hierarchy, this is set on the first tab.
| horizontalrule |
|---|
| Styleclass | ||
|---|---|---|
| ||
...