Overview
Transformation flows are created by combining various steps through connections. Use the information below to learn more about these steps and connections.
Steps
There are three types of steps that can be included in a transformation flow.
Input Steps
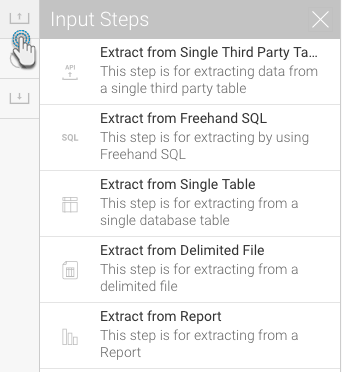
Include an input step to define where to extract your data from. The following types can be used:
Icon | Input Step | Description |
|---|---|---|
| Third-party Connector | To extract data from a single third-party connection table. The connectors currently supported are: Google Analytics, Google Sheets, and Salesforce. | |
Freehand SQL | Use this method to import data from a database using an SQL query. | |
Single table | This input step can be used to import data from a single database table. | |
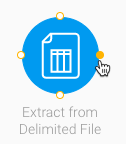
Delimited file | This input method is used when extracting data from a delimited file (that is, a file with separators). | |
Report | Use this method to use a Yellowfin report as the source of data. This method accepts 2-dimensional reports, but not multi-dimensional ones. The following types of reports are currently not supported: Jasper, SSRS, and BIRT. |
Click here to learn more about these steps and how to configure them.
Transformation Steps
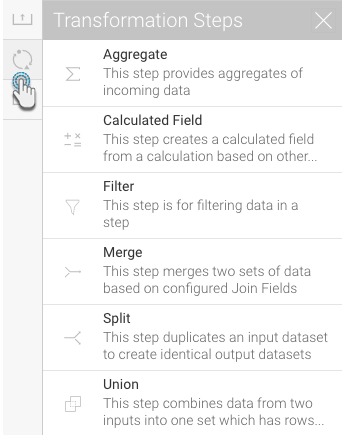
Use a transformation step to transform or convert the connected data. Yellowfin includes the following built-in transformations, however more can be added.
Icon | Transformation type | Description |
|---|---|---|
Aggregate Step | This step transforms your data into a summary form, by applying functions like count, count distinct, sum, average, etc. | |
| | Calculated Field | This step creates a calculated field based on other fields in the step. |
| | Filter | This step is for filtering data in a step. |
| | Merge | This step merges two sets of data based on the configured Join Fields. |
| | Split | This step duplicates an input dataset to create identical output datasets. |
| Union | This step combines data from two datasets together into a singular field |
This section teaches you how to configure each of these steps, along with other types of transformations.
Output Steps
Save the transformed data into a database using an output step.

Icon | Transformation type | Description |
|---|---|---|
| SQL Database | This outputs data to a selected writeable data source. There are multiple options to create and manage tables and indexes, and to insert or update data. |
Click here to learn how to configure this step.
Step Functions
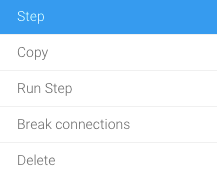
Once a step is added to the canvas, right-click on it to see the functions that can be performed on it.
These are explained below:
| Function | Description |
|---|---|
Copy | To create a copy of the step. |
| Run Step | To execute only this step. Doing so will flood the Data Preview Panel with the step's data. |
| To break any connections that the step has with other steps. | |
Delete | To delete the step. |
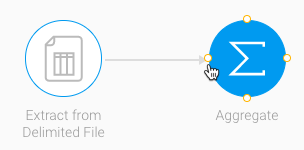
Connections
Connections are used to join steps together and create a relationship between them. Data will flow from one step to another step. Hover over a step to reveal its connecting points. These points are then used to connect one step to another. The flow of a connection is represented with an arrowhead at the end of it.
Creating a Connection
- Hover over a step. It's connecting points will become visible.
- Then hover over one of these points until it turns orange.
- Drag this point and drop it over another step that it needs to be connected to. A connection will be created between the steps.
Connection Rules
These rules are applicable on connections (running left to right).
- An input step can be connected to only one transformation or output step.
- A transformation step cannot be connected to an input step, but to another transformation or output step.
- All types of transformation steps, except the split step, can only be connected to one other step.
- A split step can be connected multiple times.
- A merge step can accept multiple inputs.
- Connections can only be made to an output step, but it cannot be the origin of a connection.
Connection Functions
Once a connection is created between steps, right-click on it to see the functions that can be performed.
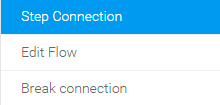
These are explained below:
| Function | Description |
|---|---|
| To configure the mapping between the data fields in the connecting steps. | |
| To delete the selected connection. |
Breaking a Connection
- Once a connection is created between two steps, it can be broken or deleted. Simply right-click on the connection itself and select Break Connections.
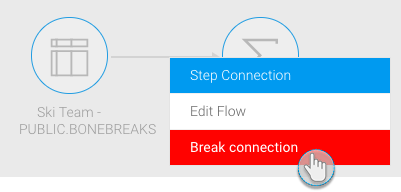
- Alternatively, right-click on one of the steps, and click on Break Connections. This will break all the connections associated with that step.
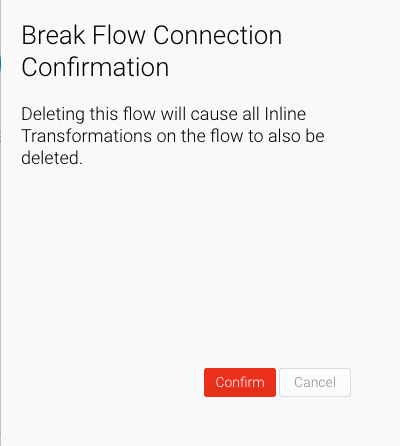
- Confirmation will be required before the connection is deleted. Just click on the Confirm button to do so when the popup appears.
Editing a Connection Flow
Connections allow for data to flow from one step to another. When they are established, data coming from the source step is automatically mapped to fields in the target step. However, with this option, you can change the mapping between the two steps. Any changes made to the flow will affect the target step and its subsequent steps; previous steps will not be affected.
Note: If data has already been mapped from one step to another, and then changed, it will need to be manually mapped again. For example, if data is extracted from a report and then connected to an aggregate step, but then the report fields get altered directly within the report, then the flow will have to be manually mapped to the new incoming fields.
Right-click on a connection to bring up the menu.
Click Edit Flow.
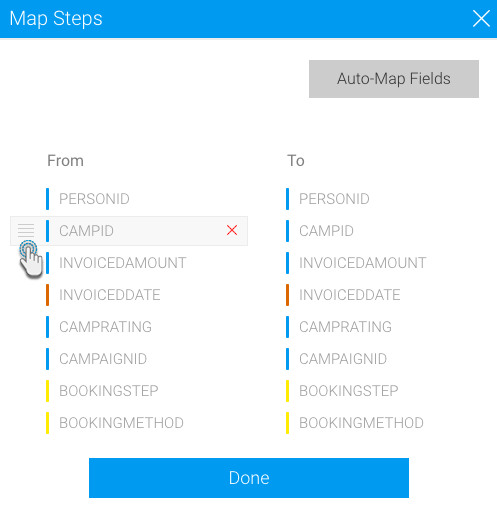
A popup will appear displaying the data mapped between the two steps. The incoming/source fields (from the previous step) will appear on the left side, and the target fields (for the next step) will appear on the right side.
You can perform the following types of actions on the mapping:
Auto-mapping: Allow Yellowfin to do the field mapping for you by clicking on the Auto-Map Fields button. The system automatically matches fields based on their names and data type. Note: This feature is ideal for situations in which a connection is deleted and then created again. The fields will not be mapped as before, and using this button will auto-map them correctly.
Change mapping: Hover your cursor over a field on the left side, and when the reorder icon appears, click and drag it to match any field on the right side.
Note: The target field will lose its previously mapped field, which will appear in the unmapped section.
Deleting fields: You can delete a field, in which case it will not be sent to the target step and any subsequent steps.
Hover over a field on the right side, and when the delete icon appears, click on it.
On doing so, the matched source field will be added to the unmapped section at the bottom.
Delete this field from the unmapped section as well. It will not appear in the target step.
Field unmapping: If a field on the left side is deleted first, then the target field will lose its mapping. Similarly, fields can get unmapped when a mapping is changed or reordered. Unmapped fields will have the following warning appear next to them.
All target fields are required to be mapped, therefore you can either delete that target field, or drag another field to match with it. The removed field will be added to the umapped section.
All unmapped fields appear at the bottom of the popup on the left side (as shown in the example below). Fields in the unmapped section will be sent to the target step, however any data conversions or field transformations previously made on them will be lost, and not be applied to these fields in the target and any subsequent steps. However, previous steps will not be affected.
Click on the Done button. A confirmation popup will appear, displaying mapping changes made to the flow.
Click Confirm to apply these changes.


