Overview
Content
The following steps can be applied to adding a Report, Dashboard Tab, Story, Storyboard, or Discussion Stream:
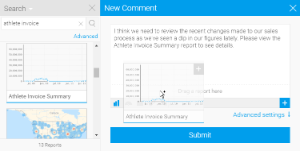
1. Click on the type of content you want to attach. You can select from the following:
 Report
 Dashboard Tab
![]() Story
Story
 Storyboard
 Discussion Stream
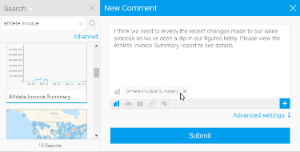
2. Locate the item you want to attach, and drag it into the attachment area.
3. You will now see your content listed. You can only attach one item per comment/task.
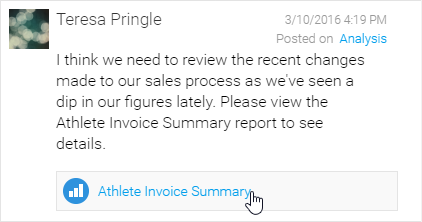
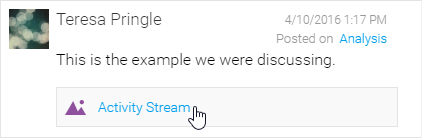
4. When your comment/task has been saved, you will see your content listed and linked.
Link
1. By default, the link is already selected, but if you have picked some other options ensure that the link is selected.

2. Type or paste the URL you want to use into the link box and submit your comment/task.
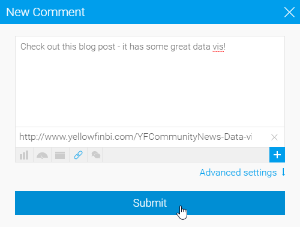
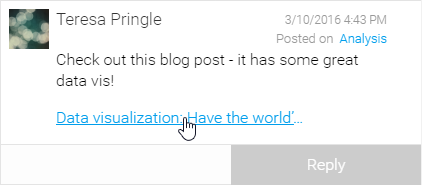
3. Your link will now appear at the end of your text.
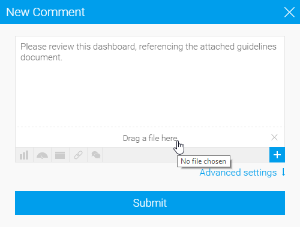
File
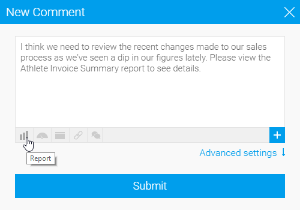
1. Click on the  icon.
icon.
2. Select the  File option.

3. Either drag and drop your file onto the file area, or click to browse the file system to locate it.
4. Submit your comment/task.
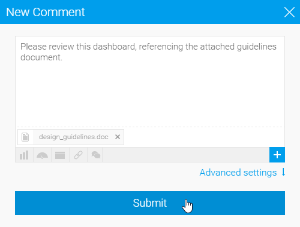
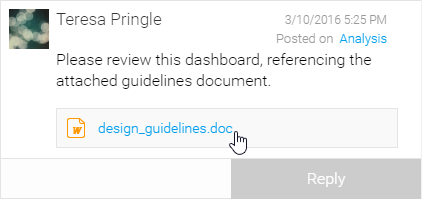
5. Your file will now appear at the end of your text.
Video
1. Click on the icon and select the  Video option.

2. Type or paste the URL of your video into the video box.
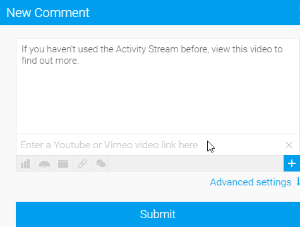
3. Submit your comment/task.

4. You will now see a link to the video at the bottom of your text.
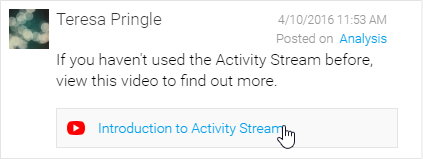
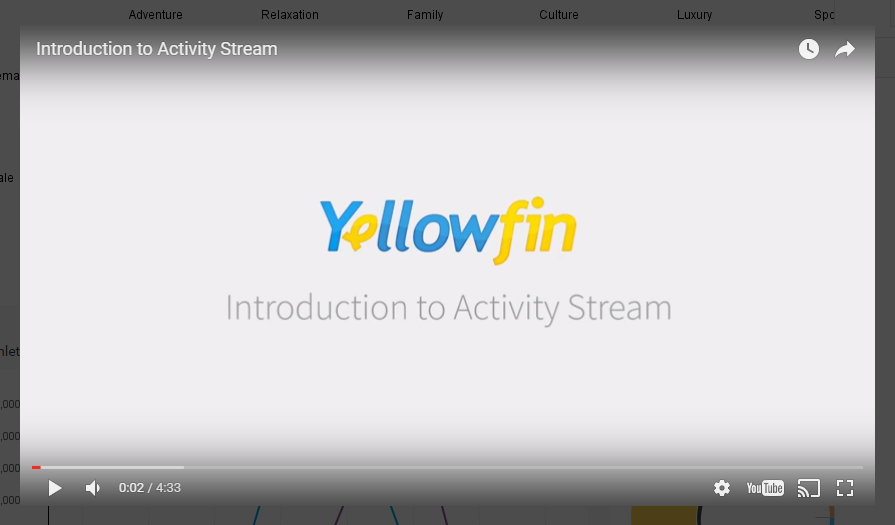
5. When someone clicks on the video link it will be opened in a lightbox for them to view.
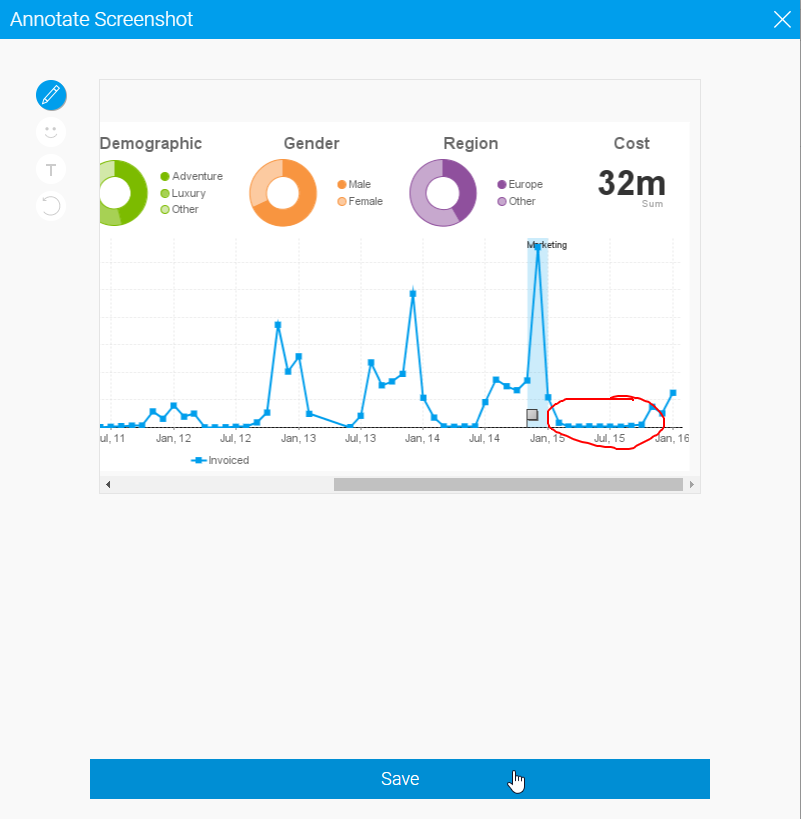
Screenshot
1. Click on the icon and select the  Screenshot option.

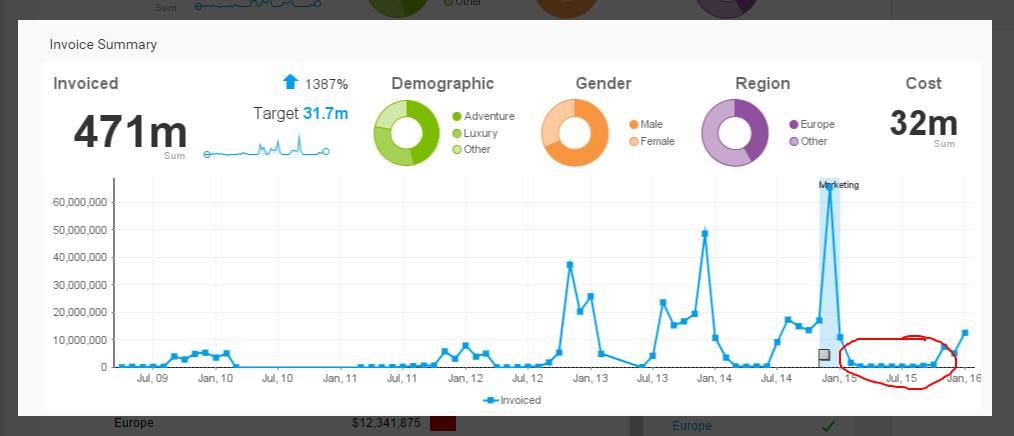
2. Yellowfin will now take a screenshot of the whole current page, minus any open menus such as the Activity Stream panel. From here you can crop your image down to the relevant section.
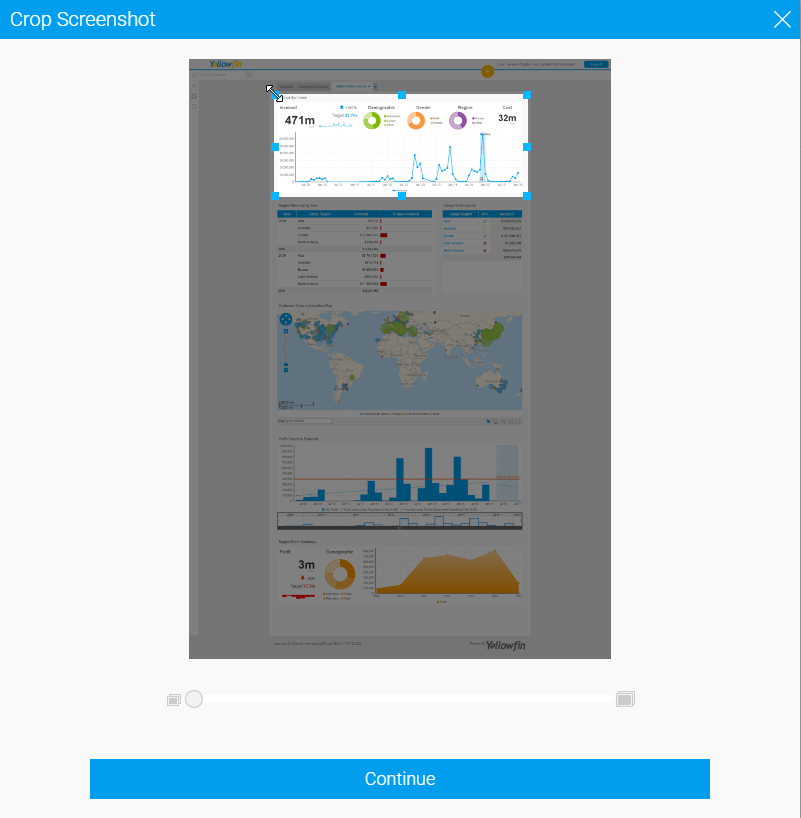
3. Now you can annotate your screenshot - the following options are available:
 Drawing - draw on the screenshot like a whiteboard.
![]() Icons - add preset icons to the screenshot.
Icons - add preset icons to the screenshot.
 Text - include custom text on the screenshot.
 Undo - clear all annotations made on the screenshot.
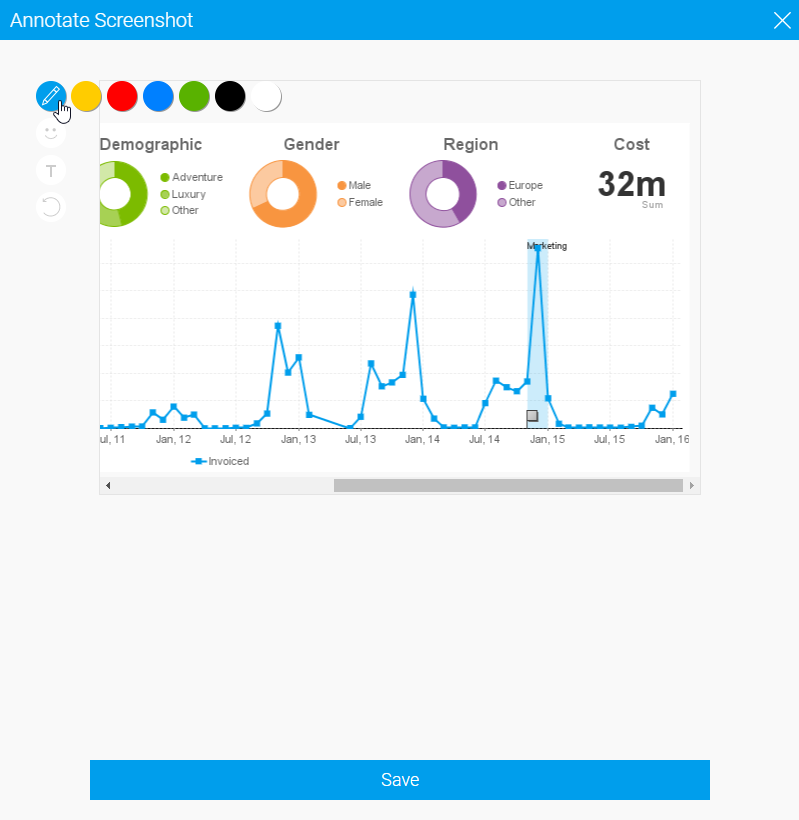
4. Save your screenshot.
5. You will now see that the screenshot has been included in your comment/task.
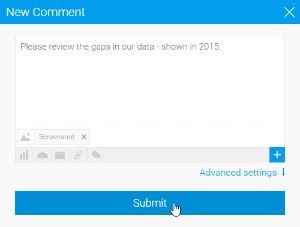
6. A link to your screenshot will now appear at the end of your text.
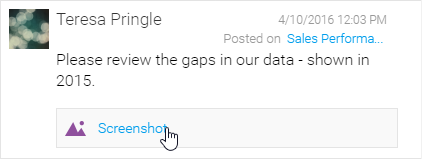
7. When someone clicks on the screenshot link it will be opened in a lightbox for them to view.
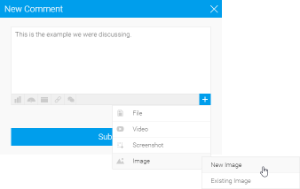
Image
1. Click on the icon and then select the  Image icon, choosing one of:
a. New Image (see step 2)
b. Existing Image (see step 4)
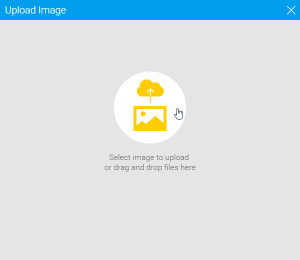
2. If you have selected New Image, drag and drop your image file or click to browse the file system and locate it.
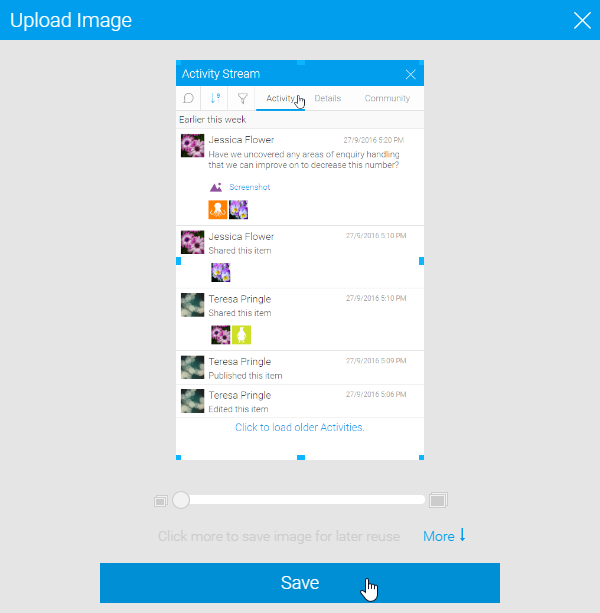
3. Crop the image if required, and Save. Proceed to step 5.
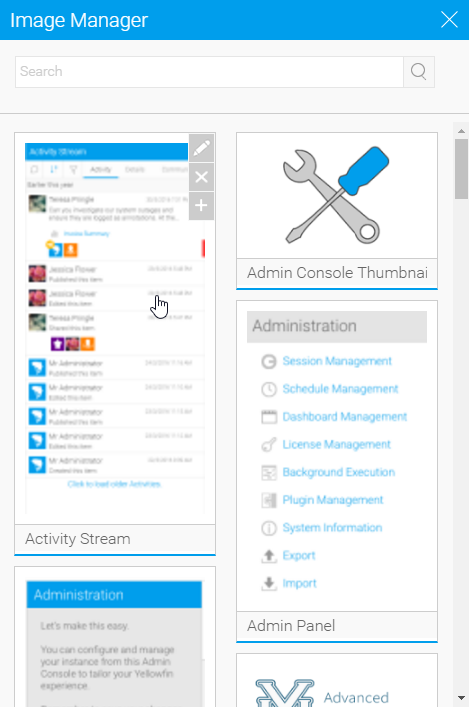
4. If you have selected Existing Image, browse and locate the image you wish to attach. Proceed to step 5.
5. You will now see that your image has been attached to your comment/task. Submit your post.
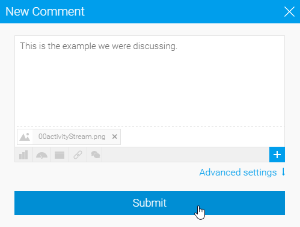
6. A link to your image will appear below the end of your text.
Polls
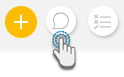
1. Click on the add post button, and choose the add comment or task option.

2. Enter the body text of your comment/task.
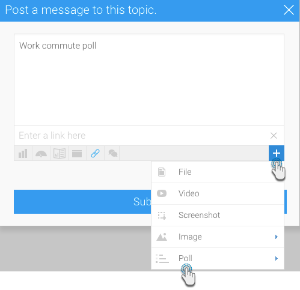
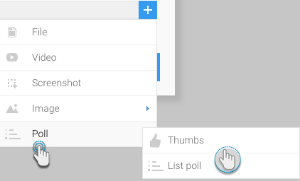
3. Click on the attachment icon  and select Poll.
4. Then select a poll style to choose.
- Thumbs: use this for a thumbs up or thumbs down vote on a statement.
- List poll: this allows you to provide a question or statement and a list of options users can vote on.
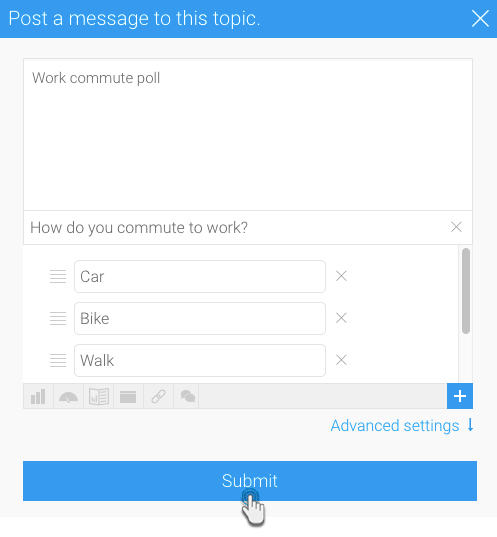
5. Enter the poll question.

6. If you selected a list poll, provide the options (at least 2). To add more, click on the add button.

7. Once done, click on the Submit button. The poll will be created.
Note: once voting commences, a poll comment cannot be edited.
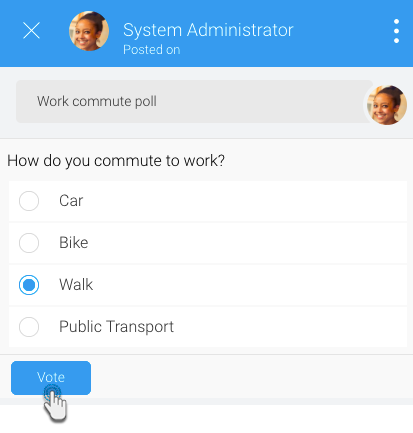
Voting on a poll
To answer the poll, a user must click on the reply button of the comment, make their selection, and click Vote.