To install Yellowfin successfully, the following components should be ready.
Hardware Requirements
To determine the minimum hardware specific requirements for your Yellowfin production environment based on the Yellowfin products you require, refer to the recommendations contained in the server specification section. The recommendations are for:
- Application Server: The Yellowfin application manages all of the functions of the Yellowfin environment. It is only necessary to install the Yellowfin application on a single computer that can be accessed by all Yellowfin users.
- Yellowfin database server: The Yellowfin application uses a database to store its configuration and operational information (including metadata, such as user permissions, report structure, data connections). This database is known as the Yellowfin Database. This is separate from any of the databases used as data sources for your Yellowfin reports, dashboards, etc.
Yellowfin Database
As discussed above, the Yellowfin database is required to store application configuration and operational information. You can use one of the supported database platforms for this purpose.
Supported Database Types
The Yellowfin database can be hosted on one of the following database platforms:
AS/400 DB2 | MySQL |
CacheDB | Oracle |
DB2 | PostgreSQL |
HSQLDB (Embedded - Not for Production) | Progress OpenEdge |
Ingres | Sybase ASE |
| Microsoft SQL Server | Sybase SQL Anywhere/IQ |
| Microsoft SQL Server Azure | TiDB (Beta) |
Notes:
- It is not necessary for the database server to reside on the same machine as the Yellowfin application.
- However, if installing Yellowfin on a laptop or notebook computer for personal evaluation and/or training use, it is recommended that the database server hosting the Yellowfin database should also be installed on the same laptop/notebook.
- Similarly, for shared evaluation and/or training environment, the database server hosting the Yellowfin database can be hosted on the same server as the Yellowfin application or on a different server.
- Yellowfin ships with an embedded HSQL for testing. We do not recommend using this for production.
- For a production Yellowfin environment, it is strongly recommended that the database server hosting the Yellowfin database is not on the same server as the Yellowfin application.
Database Drivers
Yellowfin does not ship with all the supported database drivers. If your selected database is one that isn’t packaged with the installer, then you must download a valid driver, before you begin the installation process. You can download the JDBC driver (jar file) from your preferred database provider's website. Following database drivers are not bundled with the Yellowfin installer.
- AS/400 DB2
- CacheDB
- DB2
- Ingres
- Sybase SQL Anywhere/IQ
- Oracle
- MySQL
- TiDB
Database Server Information
If you plan to use one of the compatible database servers, except HSQLDB (Embedded - Not for Production), you will need some or all of the information below during the installation process:
Yellowfin Client
All user actions for Yellowfin (e.g. system administration, creating content, consuming content, etc.) is done using an industry standard web browser. There are no client applications to install on the user's computer.
Supported Web Browsers
The Yellowfin application can be used on any of the following web browsers:
Internet Explorer 11+ | Opera 8+ |
Microsoft Edge | Safari 2+ |
Firefox 2+ | Chrome |
Java Runtime Environment
The computer running the Yellowfin application must have a minimum of the Java Runtime Environment (JRE) version 1.8 or later installed.
Download the Java installer and installation instructions from https://www.java.com. For detailed instructions on installing Java, see their instructions here.
License File
The Yellowfin application requires a licence key to enable the software. This license allows access to your purchased software plan.
You will receive a license file that uses the computer's host name. This will be delivered to you as a .LIC file. Download and save this file on your computer; you will need the location and name of this license key during the installation process.
Note: Existing Yellowfin customers who have not received a license email, should contact their account manager or representative for a new license.
Trial License
New customers can download a license from our website for a free trial. Click here to get started.
Yellowfin Installer
Download the latest Yellowfin installer from here: https://portal.yellowfinbi.com/yf_latestbuild.jsp. You will be able to find installers for Windows, Mac OS X, and Linux.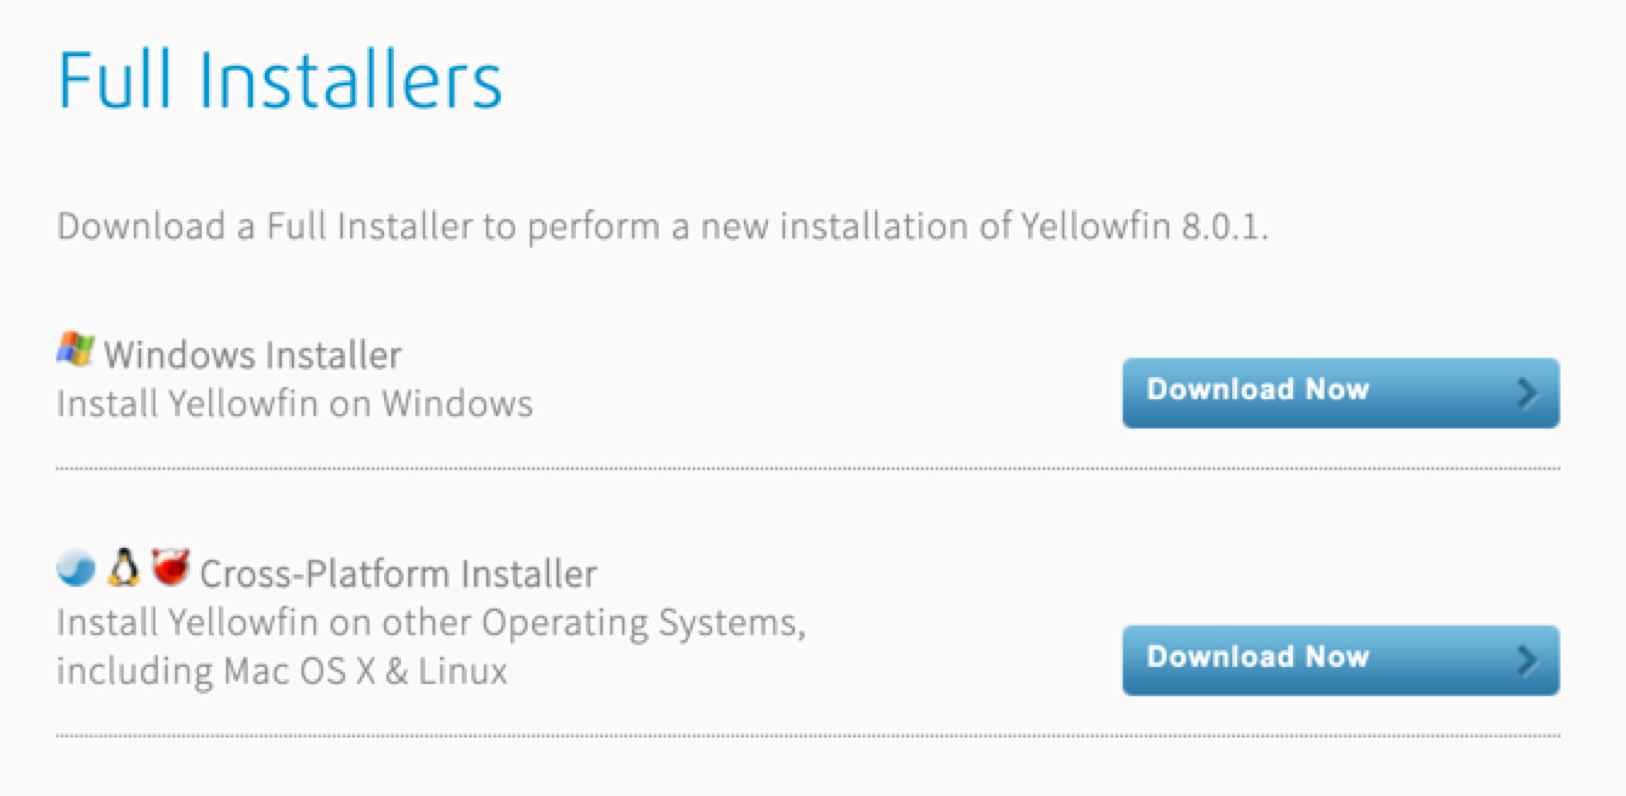
Click on the Download Now button of the version you want. After downloading, copy the installer file to a temporary directory on the server onto which the application is to reside. The next topic shows what steps to take next.
Previous topic: On-Premises Installation
Next topic: Installation Steps