Overview
Filters enable reports on your dashboards to be filtered by a set of values. For example, a region filter will allow you to consume region-specific data on the same dashboard. Yellowfin allows the use of single filters, as well as filter groups.
For filters to work on your dashboard, you must add reports with user-prompt filters. These filters can be used via the left side navigation filter panel. However, filter widgets can also be used to add filters to the global content containers, or anywhere on the dashboard canvas.
Filter widgets
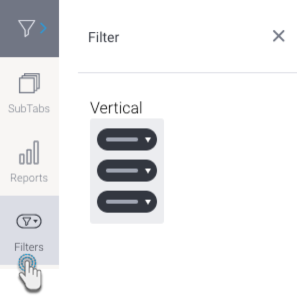
Filters are added to the dashboard through a filter widget. Access the filter widget by clicking on the Filters button on the left side of the dashboard.
The following types of filter widgets are available:
- Vertical Filter List: Displays the filter on your dashboard in a vertically aligned layout.
Left side navigation filters
Filters can also be added to dashboards without the use of a widget by using the left side navigation filters. This provides users with an alternate style of displaying filters in a slide out panel, rather than permanently displaying them on the dashboard.
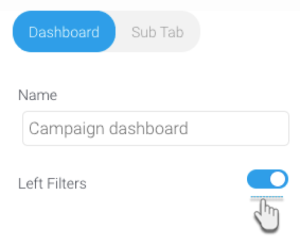
Click on the top filter button on the left to access a list of filters to be added directly to the dashboard.

Note that to see this left side navigation filter button, the Left Filters toggle in a dashboard properties panel should be enabled.
Global Filters
Filter widgets can be added to the left or right side content containers (i.e. on either side of the dashboard canvas or layout tab), or into the canvas tab (i.e. the middle section).

Those added to the side content containers can be considered ‘global filters’, as they will be visible for all sub tabs. However, you can also choose to add filters to the side containers without making them appear globally by turning off their respective Global settings.
Filter widgets added to the canvas (i.e the middle section) will only be visible for that sub tab.
Note: this does not affect actual filter functionality, all linked filters in a dashboard will still work globally regardless of which sub tab or side content container they are in, meaning that linked reports will get updated according to a filter selection.
Filter panel
You can add a single filter or filter groups to a filter panel through the filter widget. (See tutorial on how to add here). Once added, filters will display in the panel available for dashboard builders and end users to use on the dashboard.
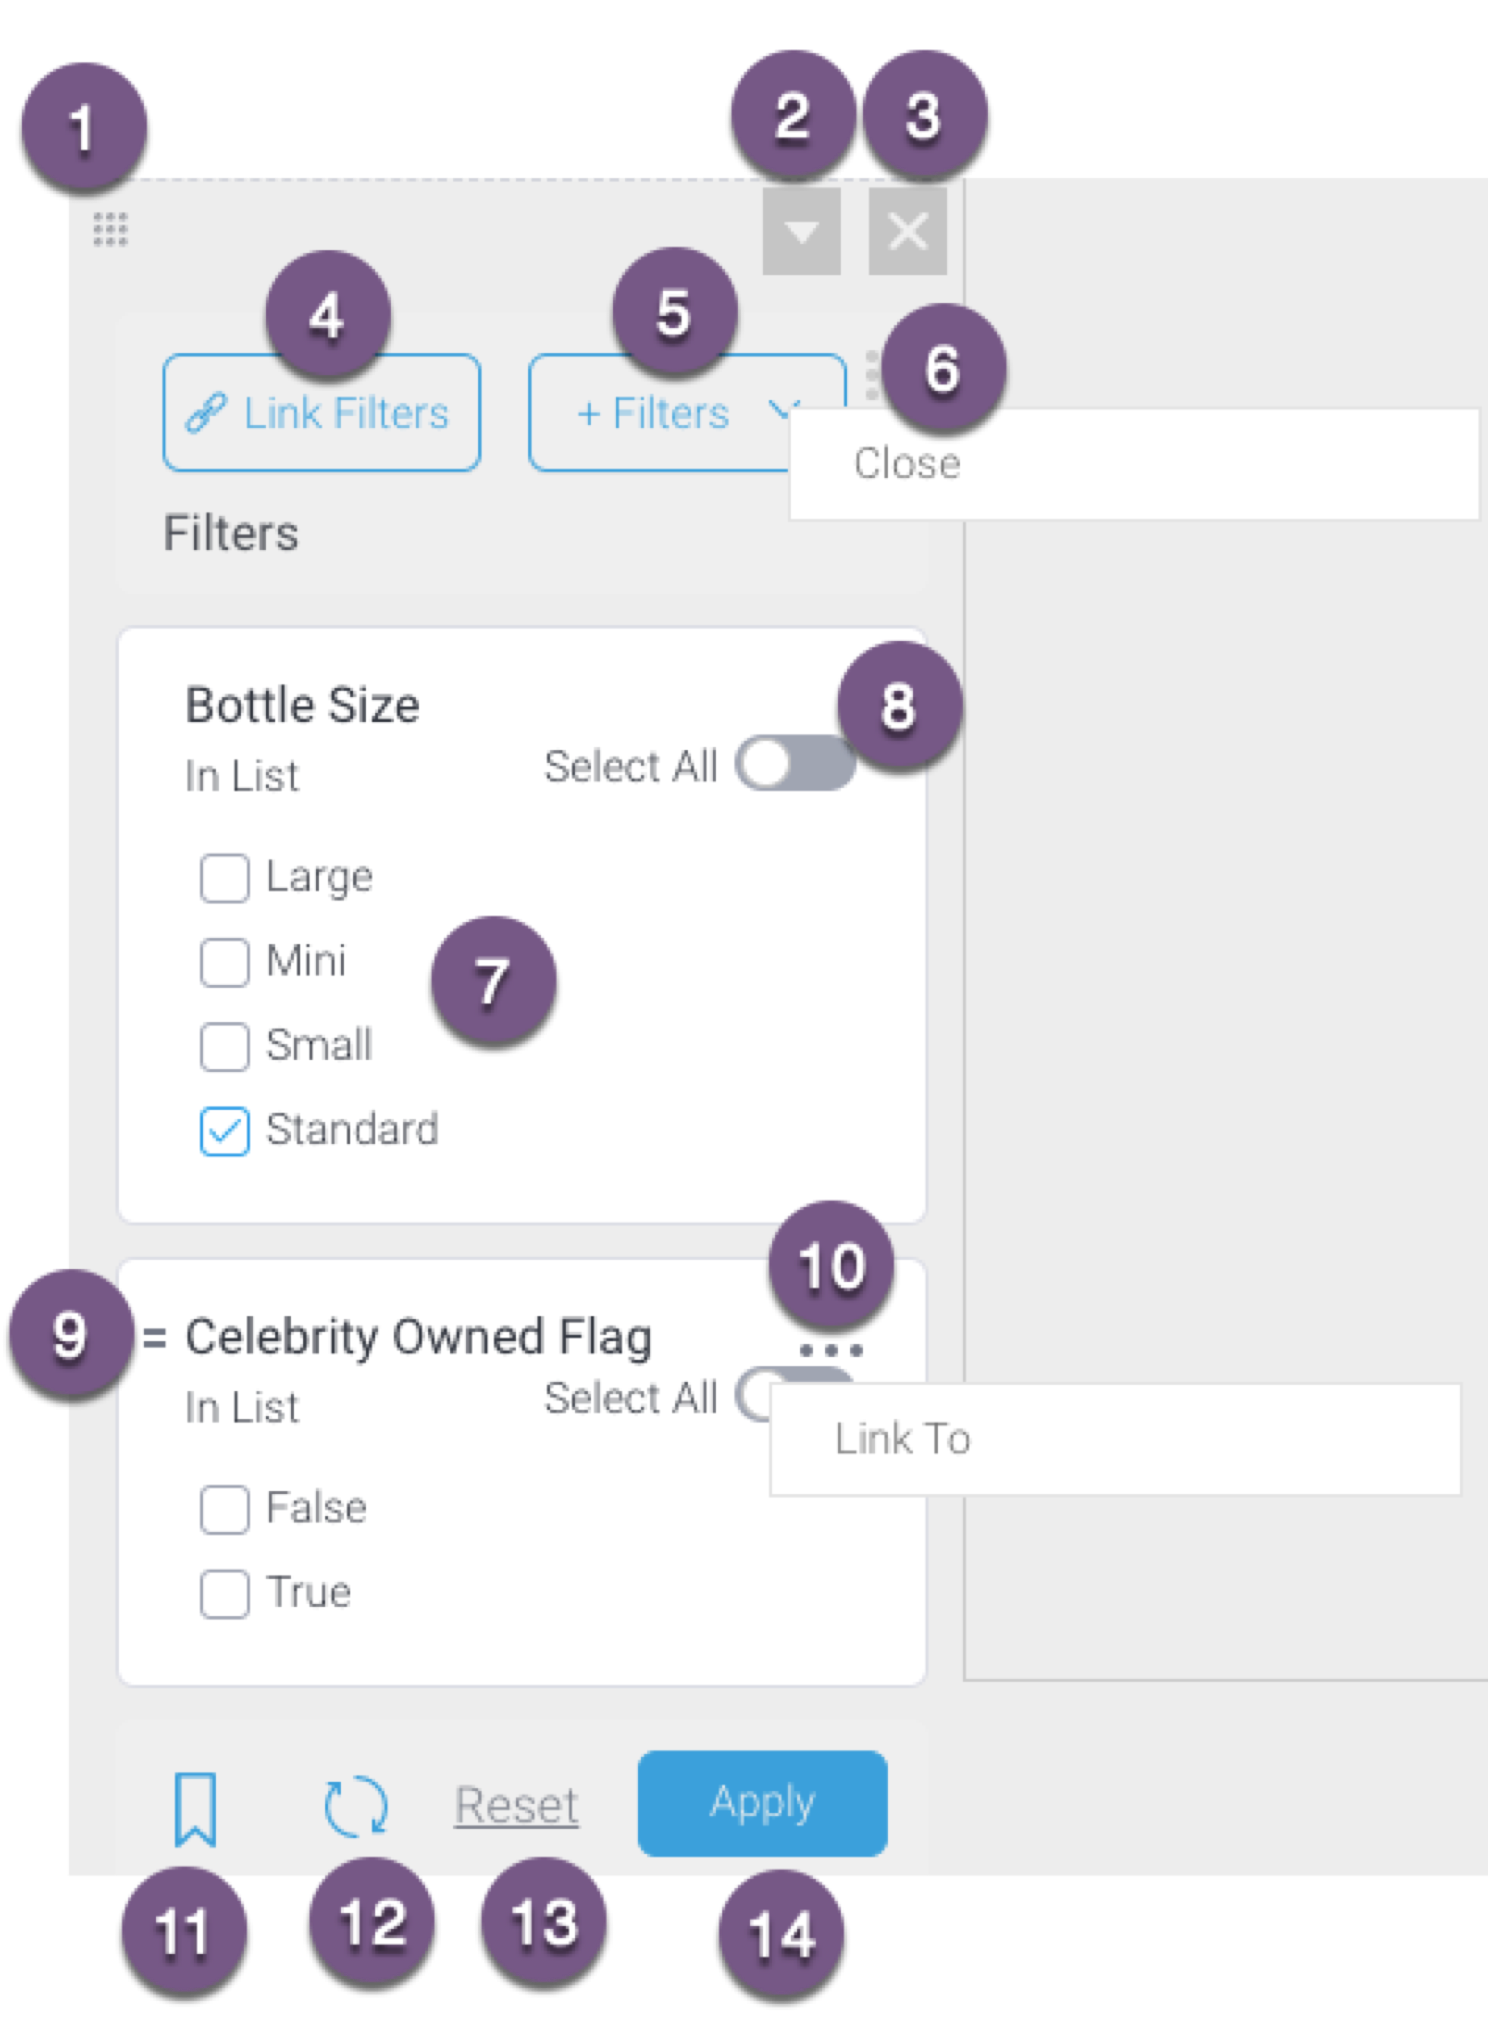
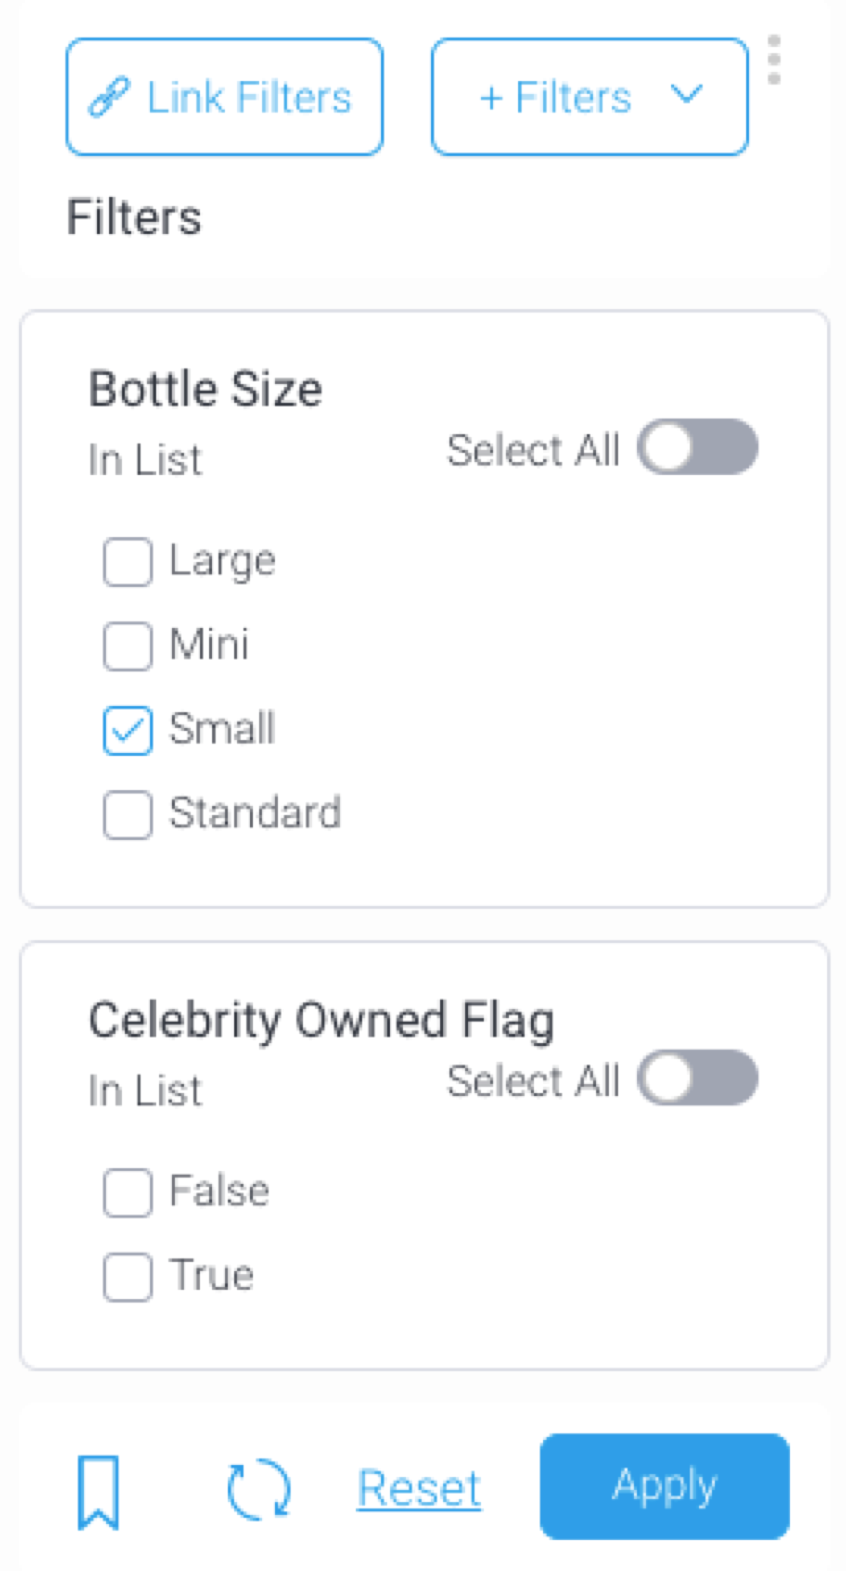
The diagram and table below provide a basic understanding of a filter panel.
Number | Feature | Description |
|---|---|---|
1 | Drag filter panel | Click and drag this icon to move the filter panel to another location. |
2 | Filter properties panel | This button brings up the filter properties panel. Learn more. |
3 | Remove filter panel | Click on this button to delete the filter panel. |
4 | Link Filters | This button allows you to open set up for manually linking all or multiple filters. (A separate option is available to link individual filters.) Learn more. |
5 | + Filters | This button allows you to add user prompt report filters to the filter panel. Options include adding individual filters, or a filter group. Learn more. |
6 | Menu option | Click on this menu option to perform actions on this filter panel. Option includes:
|
7 | Filter | The filter(s) added to this panel. Select a filter value or ‘all’ using the toggle (see below). |
8 | Select all | Enables users to select all filter options in a list filter. This appears only if you have a list. |
9 | Re-order filter | Use the icon to drag and move a filter above or below another. |
10 | Individual filter menu | Brings up a menu for the selected filter. Option includes:
|
11 | Dashboard filter bookmarks | Allows you to bookmark a filtered dashboards, or apply a saved bookmark. Learn more. |
12 | Refresh cached filters | The button allows you to refresh cached filter values. Note that this button will only appear if your filter contains cached values. |
13 | Reset filter | Removes selected filter values to reset filters to their default values or no selection. |
14 | Apply | Allows you to apply selected filter values. |
Note: Features 11, 12, 13, and 14 together make up the filter control. These always appear at the end of a filter panel, for the use of dashboard users. | ||
How to use a Filter Widget
This tutorial shows how to add filters to a dashboard using a Filter Widget. Before you begin, add reports that contain user prompt filters to your dashboard.
- Click on the Filters icon on your dashboard builder to bring up the Filter Widget list.

- Then drag a Filter Widget onto the dashboard at the exact location you would like to display the filter. This includes anywhere on the dashboard canvas, or within any of the global content containers (essential for global filter lists).
- A filter panel will appear on the location it was dropped. (Side note: click here for an overview of this filter panel).
- Add report filters to this panel by clicking on the + Filters button.

- Choose Filter to add individual filters (you can add multiple as well), or Filter Group to add a filter group. (In our example, we will choose Filter.)
- A pop up displaying available report filters will appear. This allows you to choose which filters to add from any of the reports.
Note: The filters in this popup are categorized, first according to the dashboard sub tab, and then reports within the tab.
Note 2: If none of the reports contain any filters, then the following notification will appear on this popup. Click on the Add a report link to open the Reports tab on the left side.
- Click on one or more filter checkboxes to select those that you want to add. Alternatively, enable the Select All toggle to select all the filters on this pop up. You can undo this selection by choosing the Clear All.

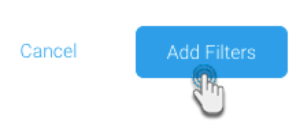
- Click on the Add Filters button on the bottom of this pop up to add the filters.
- The filters will then appear in the filter panel on the dashboard, as shown in the example below.
Filter properties
The filter properties panel lets you configure the following settings.

Property name | Description |
|---|---|
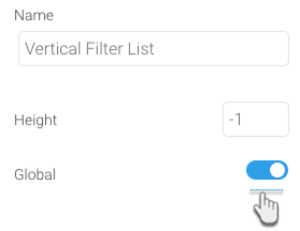
Name | Name of the filter. This can be edited as well. This name appears in the dashboard code mode, making it easy to edit the filter code. |
Height | Height of the filter in pixels. |
Global | Enable this toggle to make your filter lists globally available. Global filters are present for all sub tabs in the dashboard. So if disabled, this filter will only be available for a specific sub tab. Note that this only works for left or right container filters, not filters added to a dashboard content area. |
Horizontal | Enable this to display your filter in a horizontal alignment. By default filters are vertically aligned. |
Hide reset link | Allows you to hide the filter reset option. |
Hide control panel | Allows you to hide control buttons on a filter panel for the end user. These include bookmark, reset, and apply buttons. Dashboard users will not be able to use these filter features. |