Overview
Load CSV
Create
To import a CSV file through the Report Builder you will first need to open the builder:
- Click Create in the main navigation menu, and select the Report option.
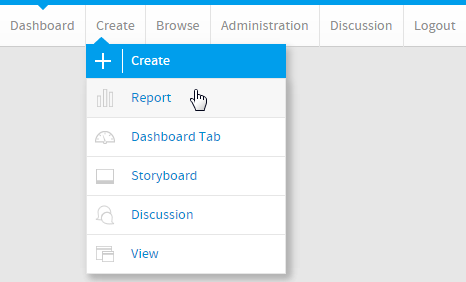
- Click the Create button on the Report Initialisation page.

- Select the Load CSV file option.

Load
From here you will be taken to the CSV File page, where you will need to locate and load the CSV file.
- Either click on the Browse Files link, or the CSV image to locate your file, or drag your file from the file system onto the grey area.
- Once selected, Yellowfin will confirm that the file has been uploaded.
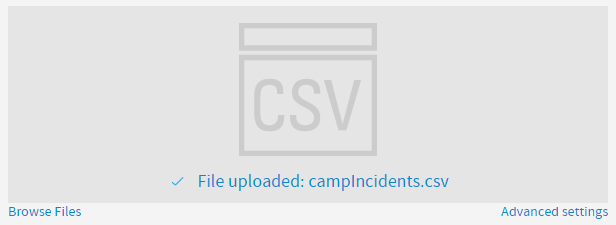
- From here, if you have Advanced CSV Settings permissions, you can click on the Advanced Settings link, otherwise progress to step 4.
Advanced Settings include:
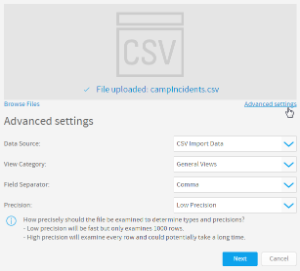
- Data Source - this allows you to select the writable data source you wish to import the CSV data into.
- View Category - this allows you to select the view category to store the CSV view, Yellowfin will create, into.
- Field Separator - this allows you to specify which character is used in the CSV to separate values in the case that it's not a comma. If Other is selected, you can type your own character.
- Precision - this allows you to define how many rows of the CSV Yellowfin will examine in order to define the field types and size.
- Low Precision is fast, and only examines the first 1000 rows of the file.
- High Precision is slower, depending on the size of the file, as it examines all rows.
- Once complete, click the Next button to progress to the formatting step.
Format & Configure Data
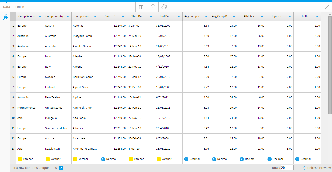
Once you've selected your file, and defined any settings required, you will be taken to the CSV Data step of the process. This is where you will be able to define several things, including Column Titles, Column Default Formatting Settings, CSV View Security, CSV View Settings, Additional Fields, and converted Fields.
Data Step Options
These options are available outside of the Data Step menus.
Column Titles |
By default, Yellowfin assumes that the first row of your CSV contains the text to be used as column titles, rather than data itself.
|
|---|---|
Rows |
This allows you to change the number of rows previewed. |
Refresh |
This allows you to refresh the data displayed in the preview. |


Field Drop Down Menu
This menu is accessed by clicking on the blue arrow on a Column Title.
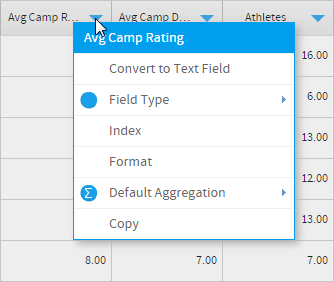
Convert to Text Field |
This allows the contents of the field to be treated as text, changing the functionality that's available to it from numeric or date to text. This option is only displayed on fields not recognised as text natively. |
|---|---|
Field Type |
This allows you to change the field from a Metric to a Dimension or Geography, or from a Dimension to Geography. |
Index |
This allows you to add an index to the field in order to increase read performance. Generally, indexes should be added to fields that will be used in joins or filters. |
Drill To |
This allows you to define a Dimension field to Drill Down to. |
Format |
This opens the Column Formatting menu, allowing you to apply default formatting options and apply meta data to the field. |
Default Aggregation |
This allows you to assign a default aggregation to be applied to the Metric field when added to reports. This can be overridden in the Report Builder. |
Copy |
This allows you to create a duplicate copy of the field, which can then be formatted, converted, or changed separately to the original. |
Column Formatting
Security
Settings
Add Fields
Create Report