Overview
CDATA (Character Data) is used in the markup languages SGML and XML. A CDATA section is an alternative syntax for expressing character data.
Install
Here are the steps to install a CDATA connector in Yellowfin.
In this example, Yellowfin is running on a Windows Server and we are using the CDATA Jira Connector.
The two primary steps involved are as follows:
- Download the CDATA driver and add it to your Yellowfin installation folder.
- Create a new data source connection to your Jira environment within Yellowfin - after which you can create a View against the Jira data source and build reports in the normal way in Yellowfin.
Download CDATA Jira driver and add it to your Yellowfin installation
- Download the JDBC driver from the CDATA website. In our example we are using the Jira connector from the following URL: https://www.cdata.com/drivers/jira/download/jdbc/
2. Run the .exe file. This step will install the drivers to a specified location. Follow the prompts and specify the folder where you want to install the driver.

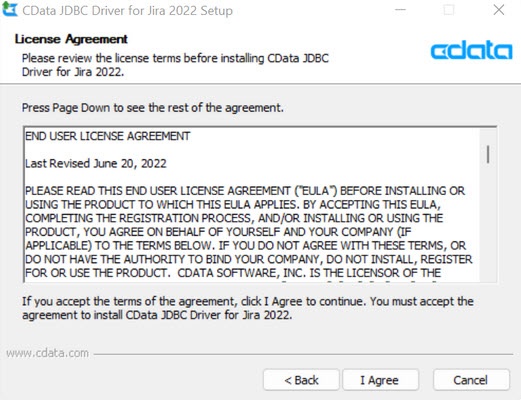
- Review the Licence Agreement as required.
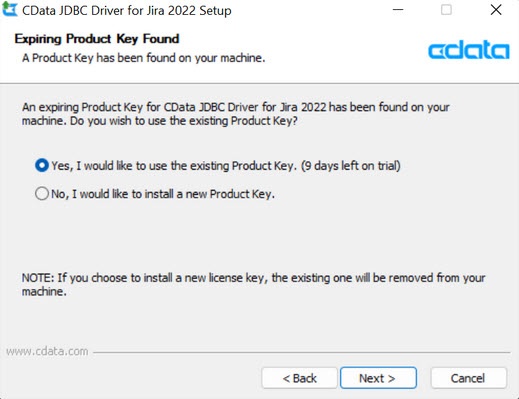
- If you have an existing Product Key you may choose to use it, otherwise a new Product Key is required. A new licence key will replace the existing key.
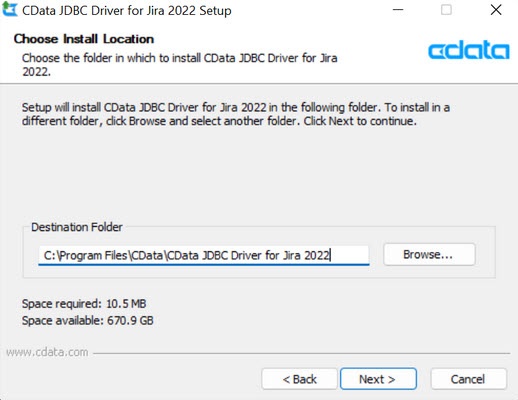
- Select the destination folder.
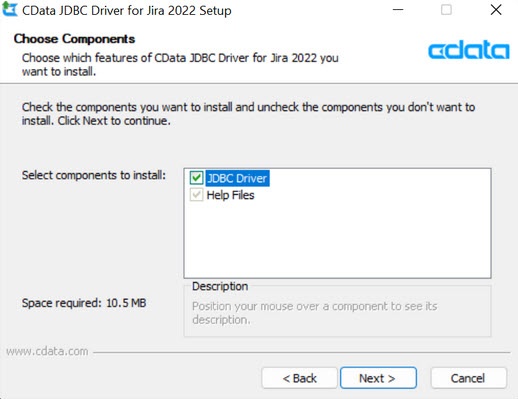
- Select the available components to be installed.
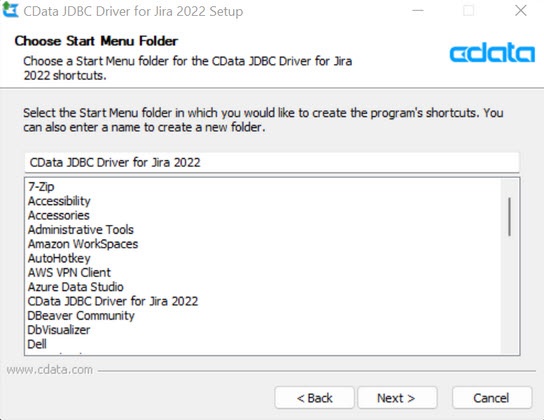
- Select a shortcut in the start menu folder.
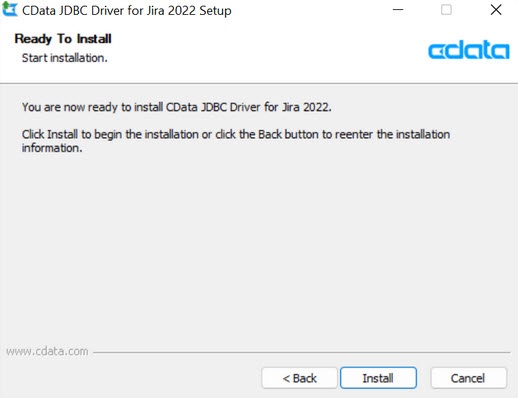
- Select Install to proceed with the installation.
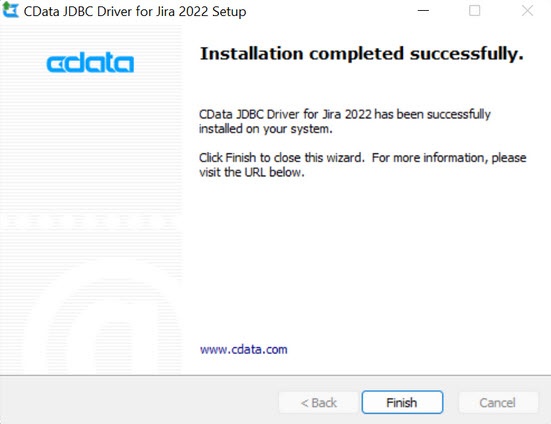
- Once the driver is installed, click Finish to complete the installation.
3. There are two ways to install the driver to Yellowfin:
- Copying the file into a specific folder where Yellowfin is installed.
OR
- Injecting the CDATA licence file into the drive jar file, uploading to Yellowfin and using the Yellowfin plugin manager.
3.1 File copy method.
Navigate to the folder where the driver is installed (default directory is CData\CData JDBC Driver for Jira 2022\lib) and copy the following three files:

- Paste the three files into the Yellowfin/appserver/webapps/ROOT/WEB-INF/lib/ directory.

- Edit the web.xml file (located under Yellowfin/appserver/webapps/ROOT/WEB-INF/ and add the following parameter to the driver list:
cdata.jdbc.jira.JIRADriver
Ensure this is added after the following tags:
<param-name>JDBCDrivers</param-name><param-value>
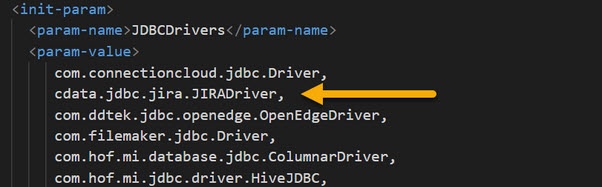
Remember to add a comma at the end of the driver string.
Note that it is necessary to restart the Yellowfin service for this to take effect.
3.2 Using plug-in manager
- Locate the files as in step 3.1. Open the CDATA Driver JAR file (as a zip file), and inject (copy) the licence file (.lic extension) into it:

Follow this instructions, to upload the file via the Plug-in Manager.
Restarting the Yellowfin service is not required if using this method.
4. Once the driver is installed, a new data source can be created.
Create a connection to your Jira environment in Yellowfin
- Login to Yellowfin.
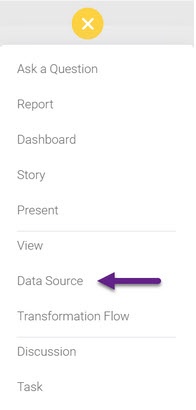
- Create a new data source connection.
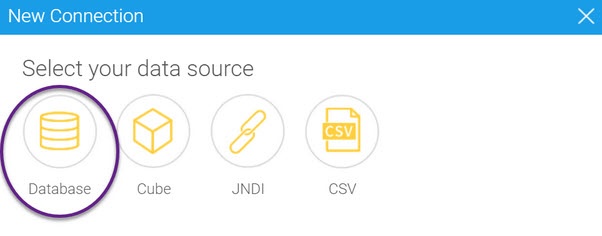
3. Select “Database.”
4. Complete the “New Connection” window with the following:
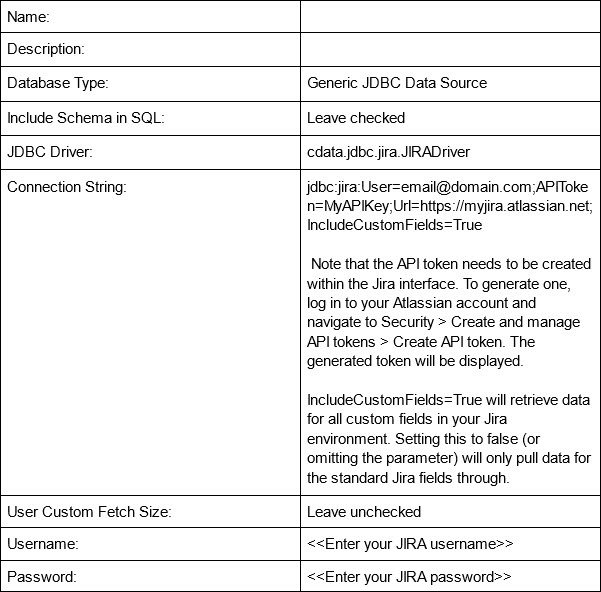
Note that the data retrieved by the driver will be limited to the data that is accessible in Jira using the user account associated with the username above.
For directions on connecting using other authentication types (including Okta), refer to this link.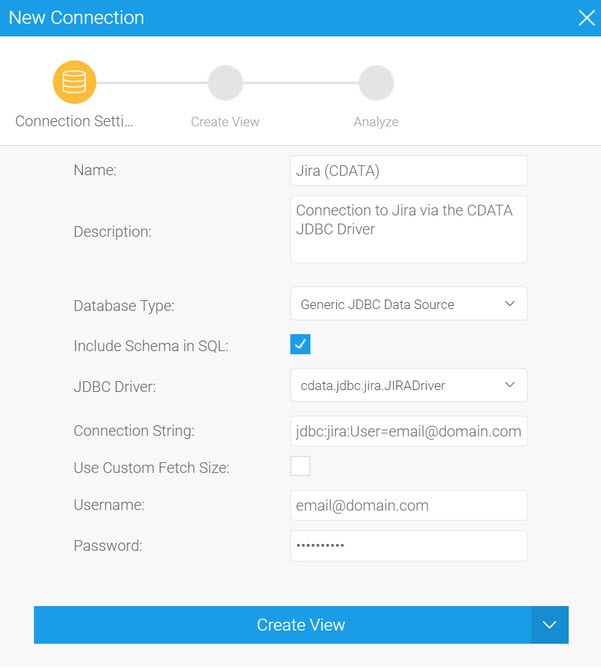
5. Select the drop-down arrow to the right of the “Create View” button and select “Test Connection” to ensure you’ve configured the connection correctly.
6. Select Save and close to save the data source.
For more information on the Jira JDBC driver, visit the following link.
Using the Jira JDBC Driver
Now that you’ve created a connection to your Jira environment, the next step is to create a view to allow you to analyse the data.
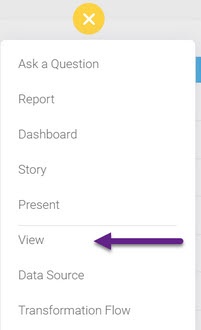
- Create a new view.
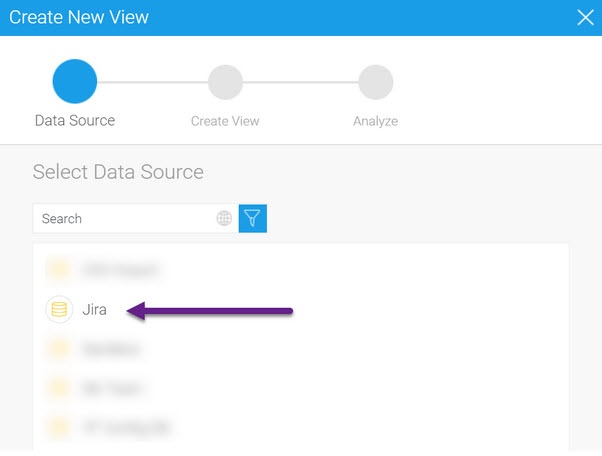
2. Select the data source you created in the previous step.
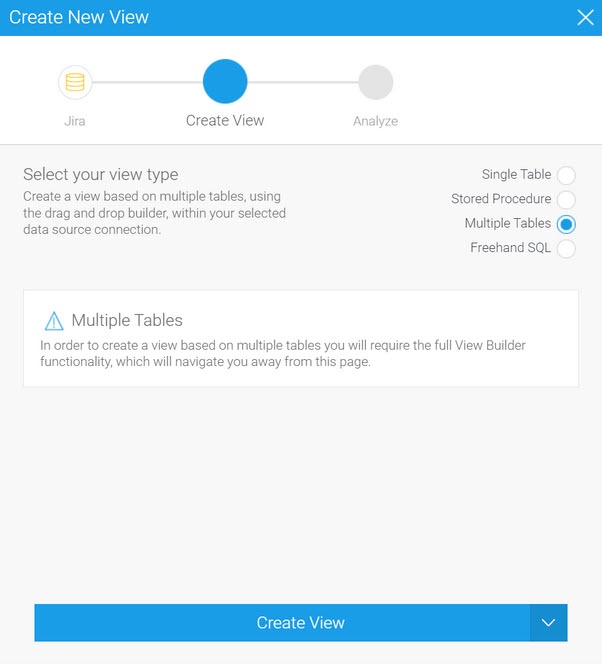
3. Select “Multiple tables,” and click on “Create view.”
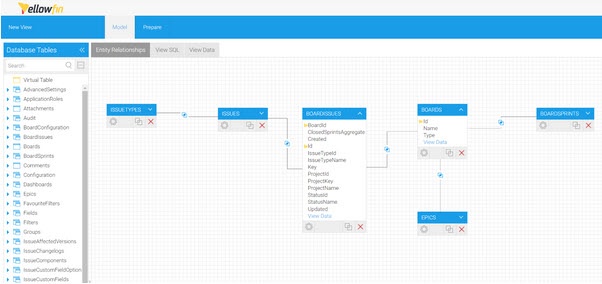
4. In the view builder, you can explore the tables/views retrieved by the driver in the list on the left and drag them into the Entity Relationships pane to add them to your view.
For detailed instructions on creating views and reports, visit the Yellowfin wiki.